drive Mercury Sable 2003 Owner's Manuals
[x] Cancel search | Manufacturer: MERCURY, Model Year: 2003, Model line: Sable, Model: Mercury Sable 2003Pages: 216, PDF Size: 1.66 MB
Page 1 of 216
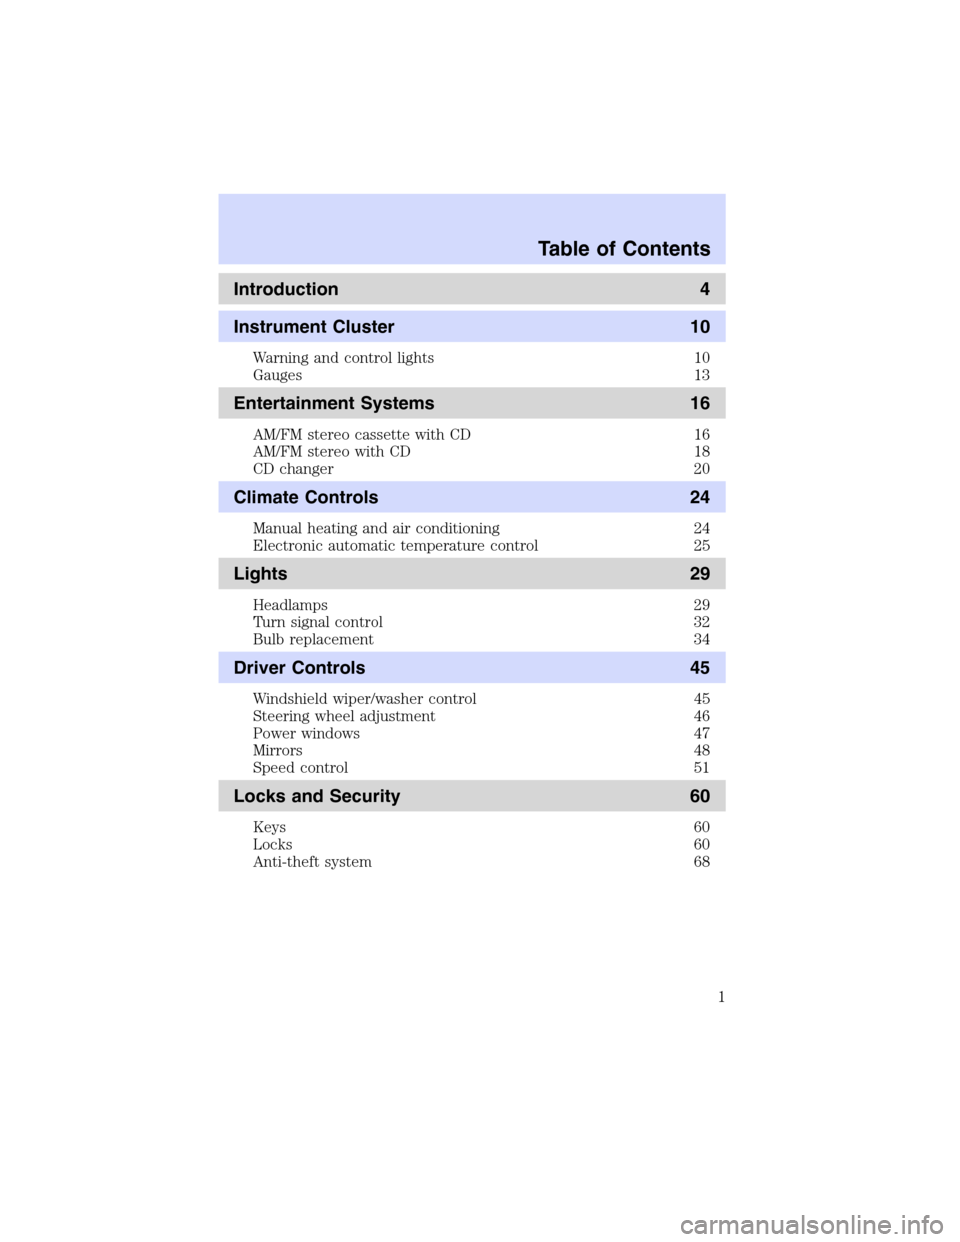
Introduction 4
Instrument Cluster 10
Warning and control lights 10
Gauges 13
Entertainment Systems 16
AM/FM stereo cassette with CD 16
AM/FM stereo with CD 18
CD changer 20
Climate Controls 24
Manual heating and air conditioning 24
Electronic automatic temperature control 25
Lights 29
Headlamps 29
Turn signal control 32
Bulb replacement 34
Driver Controls 45
Windshield wiper/washer control 45
Steering wheel adjustment 46
Power windows 47
Mirrors 48
Speed control 51
Locks and Security 60
Keys 60
Locks 60
Anti-theft system 68
Table of Contents
Table of Contents
1
Page 5 of 216
SAFETY AND ENVIRONMENT PROTECTION
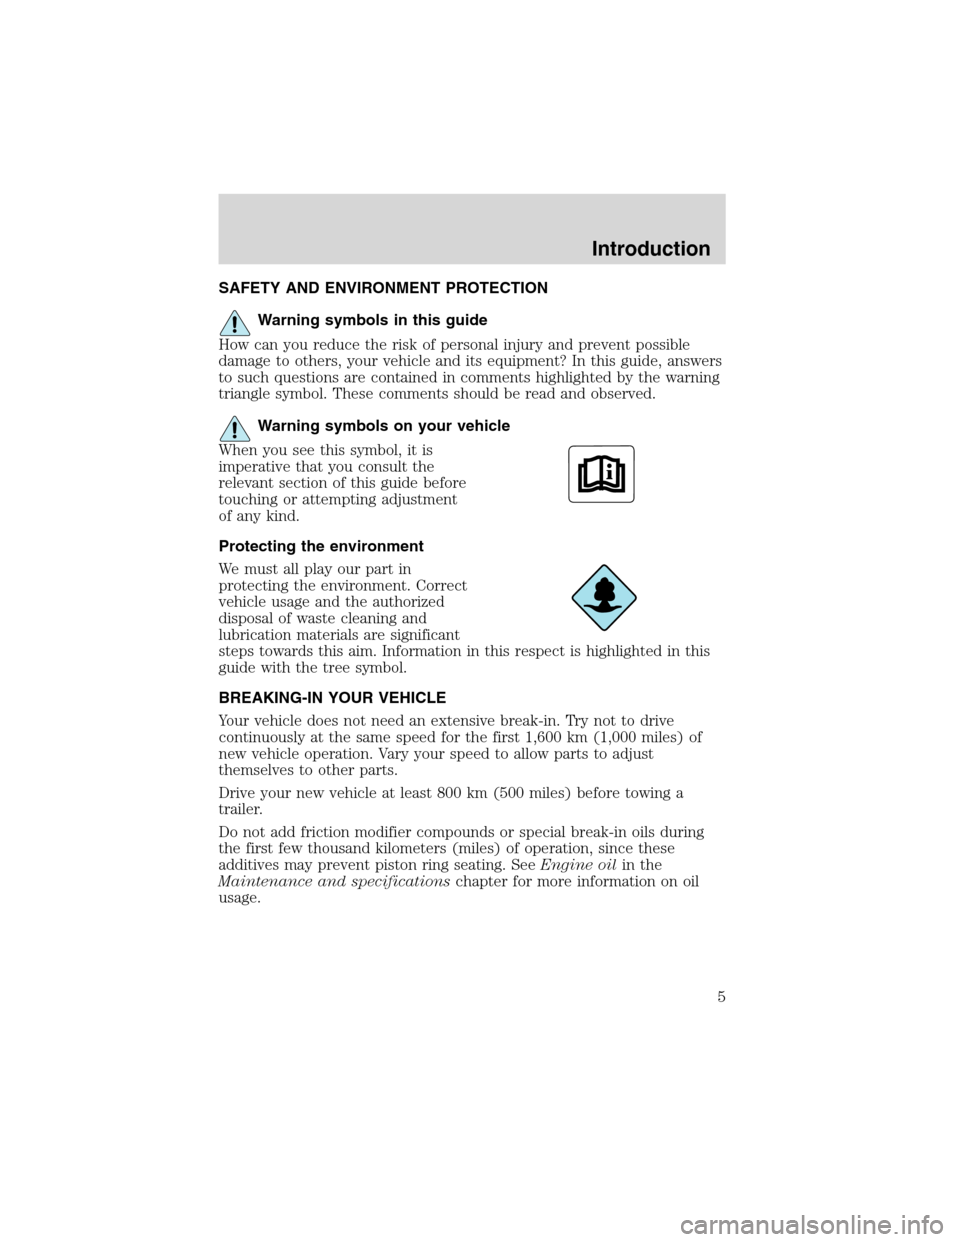
Warning symbols in this guide
How can you reduce the risk of personal injury and prevent possible
damage to others, your vehicle and its equipment? In this guide, answers
to such questions are contained in comments highlighted by the warning
triangle symbol. These comments should be read and observed.
Warning symbols on your vehicle
When you see this symbol, it is
imperative that you consult the
relevant section of this guide before
touching or attempting adjustment
of any kind.
Protecting the environment
We must all play our part in
protecting the environment. Correct
vehicle usage and the authorized
disposal of waste cleaning and
lubrication materials are significant
steps towards this aim. Information in this respect is highlighted in this
guide with the tree symbol.
BREAKING-IN YOUR VEHICLE
Your vehicle does not need an extensive break-in. Try not to drive
continuously at the same speed for the first 1,600 km (1,000 miles) of
new vehicle operation. Vary your speed to allow parts to adjust
themselves to other parts.
Drive your new vehicle at least 800 km (500 miles) before towing a
trailer.
Do not add friction modifier compounds or special break-in oils during
the first few thousand kilometers (miles) of operation, since these
additives may prevent piston ring seating. SeeEngine oilin the
Maintenance and specificationschapter for more information on oil
usage.
Introduction
5
Page 6 of 216
SPECIAL NOTICES
Emission warranty
The New Vehicle Limited Warranty includes Bumper-to-Bumper
Coverage, Safety Restraint Coverage, Corrosion Coverage, and 7.3L
Power Stroke Diesel Engine Coverage. In addition, your vehicle is eligible
for Emissions Defect and Emissions Performance Warranties. For a
detailed description of what is covered and what is not covered, refer to
theWarranty Guidethat is provided to you along with your Owner’s
Guide.
Data Recording
Computers in your vehicle are capable of recording detailed data
potentially including but not limited to information such as:
•the use of restraint systems including seat belts by the driver and
passengers,
•information about the performance of various systems and modules in
the vehicle, and
•information related to engine, throttle, steering, brake or other system
status.
Any of this information could potentially include information regarding
how the driver operates the vehicle potentially including but not limited
to information regarding vehicle speed, brake or accelerator application
or steering input. This information may be stored during regular
operation or in a crash or near crash event.
This stored information may be read out and used by:
•Ford Motor Company.
•service and repair facilities.
•law enforcement or government agencies.
•others who may assert a right or obtain your consent to know such
information.
Introduction
6
Page 10 of 216
WARNING LIGHTS AND CHIMES
Warning lights and gauges can alert you to a vehicle condition that may
become serious enough to cause expensive repairs. A warning light may
illuminate when a problem exists with one of your vehicle’s functions.
Many lights will illuminate when you start your vehicle to make sure the
bulb works. If any light remains on after starting the vehicle, have the
respective system inspected immediately.
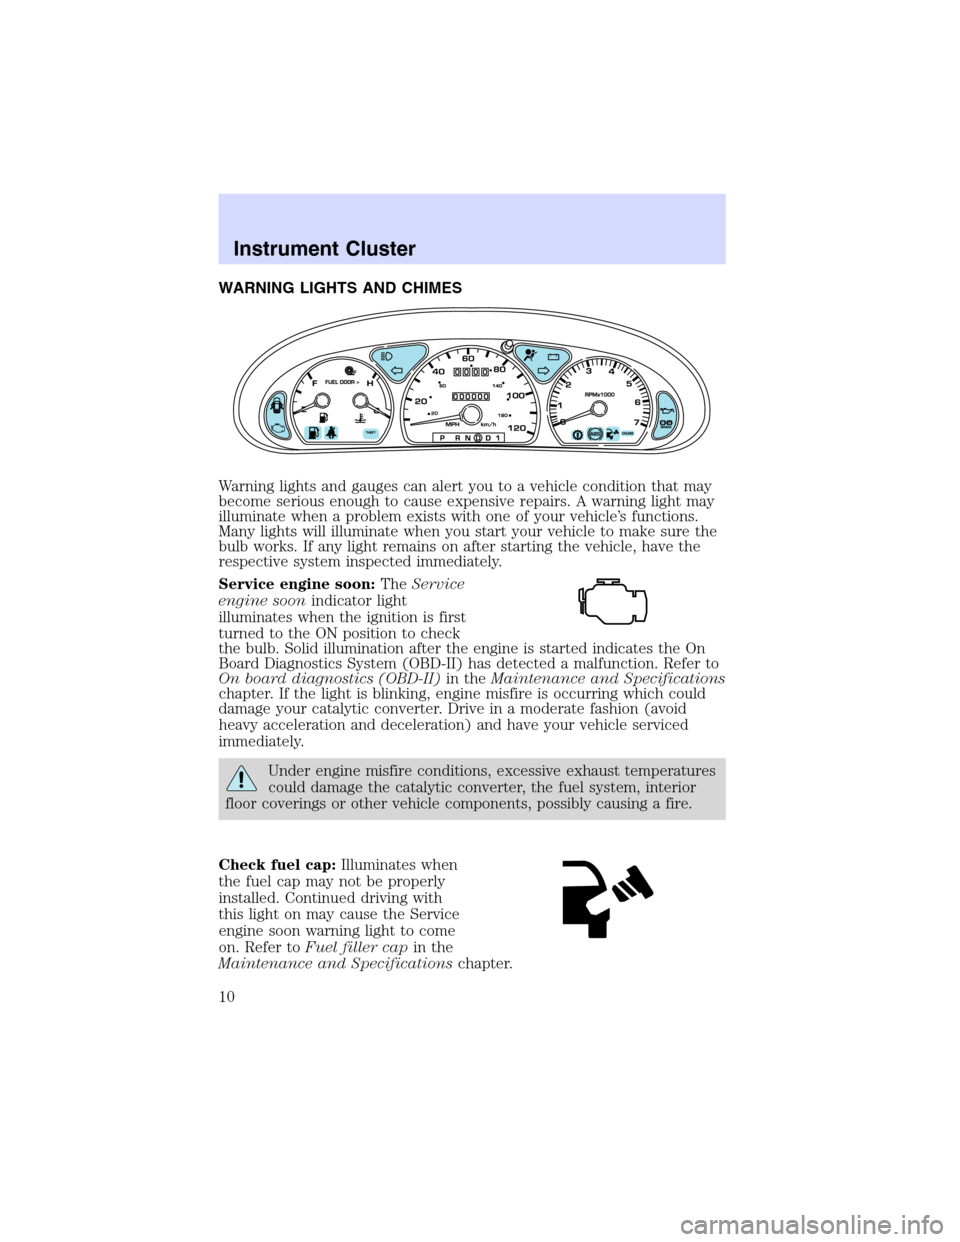
Service engine soon:TheService
engine soonindicator light
illuminates when the ignition is first
turned to the ON position to check
the bulb. Solid illumination after the engine is started indicates the On
Board Diagnostics System (OBD-II) has detected a malfunction. Refer to
On board diagnostics (OBD-II)in theMaintenance and Specifications
chapter. If the light is blinking, engine misfire is occurring which could
damage your catalytic converter. Drive in a moderate fashion (avoid
heavy acceleration and deceleration) and have your vehicle serviced
immediately.
Under engine misfire conditions, excessive exhaust temperatures
could damage the catalytic converter, the fuel system, interior
floor coverings or other vehicle components, possibly causing a fire.
Check fuel cap:Illuminates when
the fuel cap may not be properly
installed. Continued driving with
this light on may cause the Service
engine soon warning light to come
on. Refer toFuel filler capin the
Maintenance and Specificationschapter.
Instrument Cluster
Instrument Cluster
10
Page 13 of 216
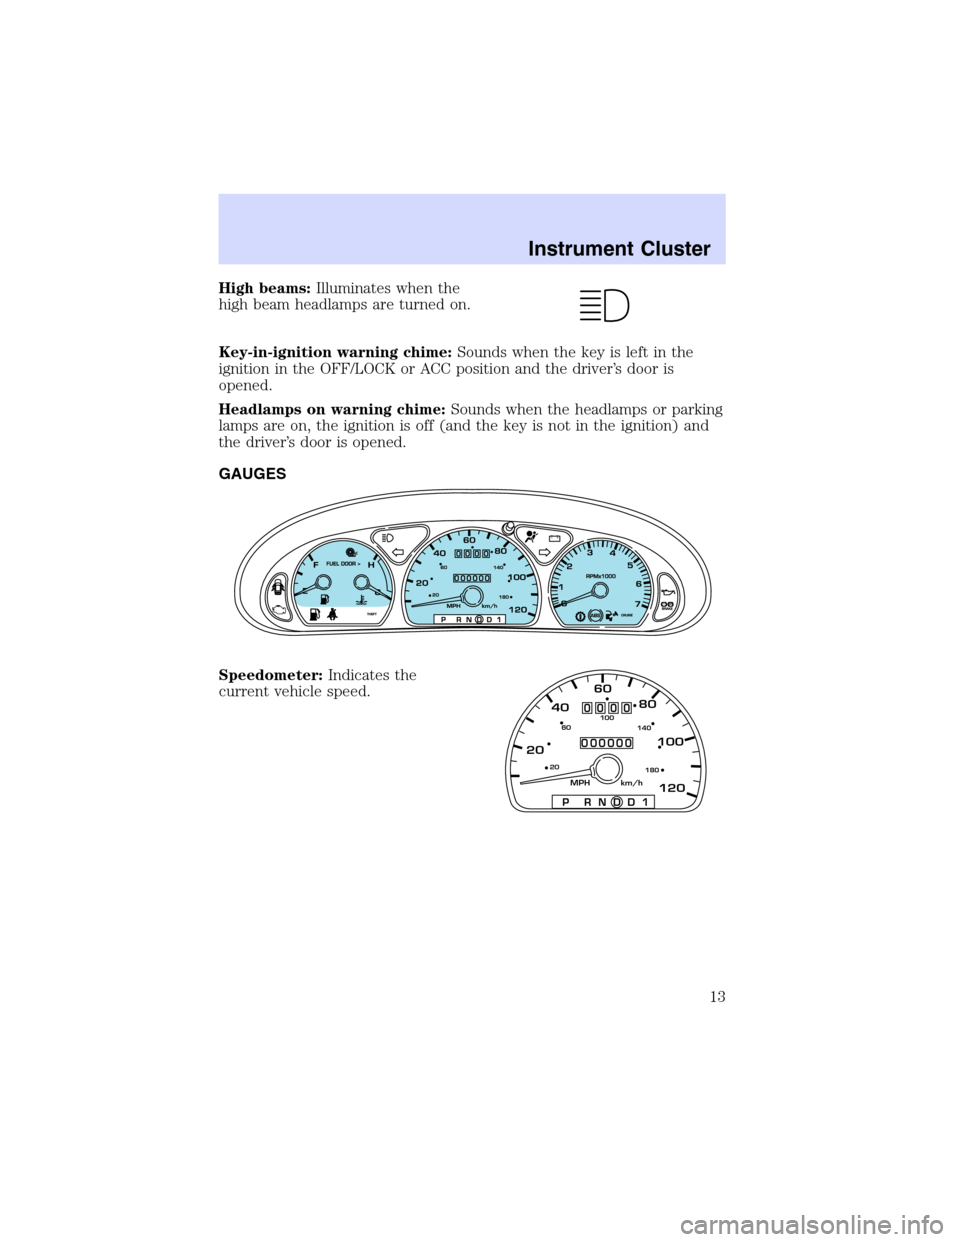
High beams:Illuminates when the
high beam headlamps are turned on.
Key-in-ignition warning chime:Sounds when the key is left in the
ignition in the OFF/LOCK or ACC position and the driver’s door is
opened.
Headlamps on warning chime:Sounds when the headlamps or parking
lamps are on, the ignition is off (and the key is not in the ignition) and
the driver’s door is opened.
GAUGES
Speedometer:Indicates the
current vehicle speed.
204060
80
100
1202060
140 100
180
P R N D D 1
MPH km/h
000000
0000
Instrument Cluster
13
Page 24 of 216
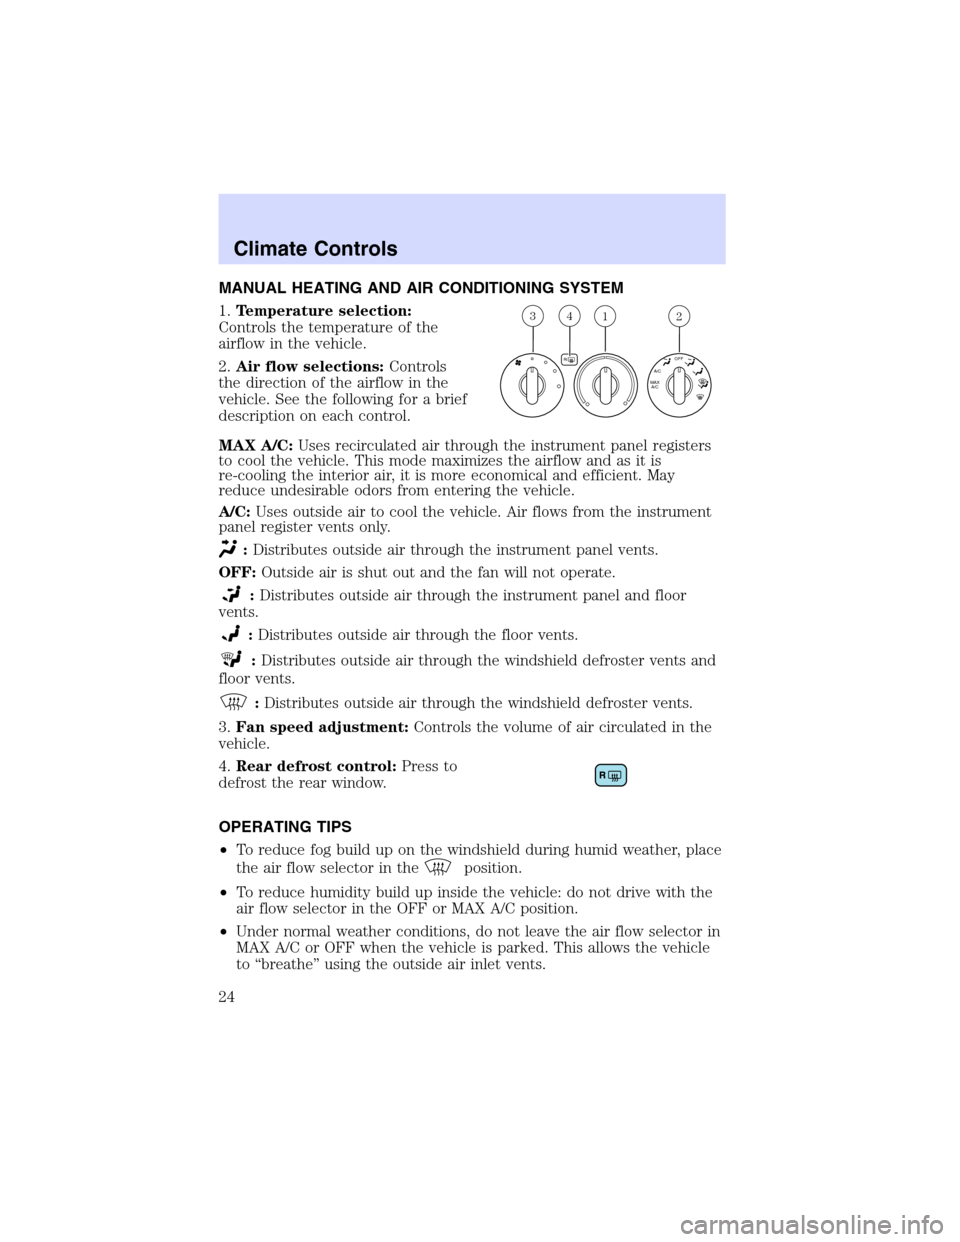
MANUAL HEATING AND AIR CONDITIONING SYSTEM
1.Temperature selection:
Controls the temperature of the
airflow in the vehicle.
2.Air flow selections:Controls
the direction of the airflow in the
vehicle. See the following for a brief
description on each control.
MAX A/C:Uses recirculated air through the instrument panel registers
to cool the vehicle. This mode maximizes the airflow and as it is
re-cooling the interior air, it is more economical and efficient. May
reduce undesirable odors from entering the vehicle.
A/C:Uses outside air to cool the vehicle. Air flows from the instrument
panel register vents only.
:Distributes outside air through the instrument panel vents.
OFF:Outside air is shut out and the fan will not operate.
:Distributes outside air through the instrument panel and floor
vents.
:Distributes outside air through the floor vents.
:Distributes outside air through the windshield defroster vents and
floor vents.
:Distributes outside air through the windshield defroster vents.
3.Fan speed adjustment:Controls the volume of air circulated in the
vehicle.
4.Rear defrost control:Press to
defrost the rear window.
OPERATING TIPS
•To reduce fog build up on the windshield during humid weather, place
the air flow selector in the
position.
•To reduce humidity build up inside the vehicle: do not drive with the
air flow selector in the OFF or MAX A/C position.
•Under normal weather conditions, do not leave the air flow selector in
MAX A/C or OFF when the vehicle is parked. This allows the vehicle
to“breathe”using the outside air inlet vents.
312
R
A/C
MAX
A/COFF
4
Climate Controls
Climate Controls
24
Page 27 of 216
10.:Distributes air through the windshield defroster ducts and floor
ducts. The system will automatically provide outside air to reduce
window fogging.
11.
:Distributes air through the floor and rear seat floor ducts
(if equipped).
12.
:Distributes air through the instrument panel and center console
registers (if equipped), the front and rear seat floor ducts.
13.
:Distributes air through the instrument panel and center console
registers (if equipped).
Fahrenheit/Celsius temperature:Press MAX A/C and F
to toggle
between Fahrenheit and Celsius temperature. The set point
temperatures in Celsius will be displayed in half-degree increments.
OPERATING TIPS
•To reduce fog build up on the windshield during humid weather, place
the air flow selector in the
position.
•To reduce humidity build up inside the vehicle: do not drive with the
air flow selector in the OFF or MAX A/C position.
•Under normal weather conditions, do not leave the air flow selector in
MAX A/C or OFF when the vehicle is parked. This allows the vehicle
to“breathe”using the outside air inlet vents.
•Do not put objects under the front seats that will interfere with the
airflow to the back seats.
•Remove any snow, ice or leaves from the air intake area at the base of
the windshield.
To aid in side window defogging/demisting in cold weather:
1. Select
2. Select A/C
3. Modulate the temperature control to maintain comfort.
4. Set the fan speed to HI
5. Direct the outer instrument panel vents towards the side windows
To increase airflow to the outer instrument panel vents, close the vents
located in the middle of the instrument panel.
Do not place objects on top of the instrument panel as these
objects may become projectiles in a collision or sudden stop.
Climate Controls
27
Page 28 of 216
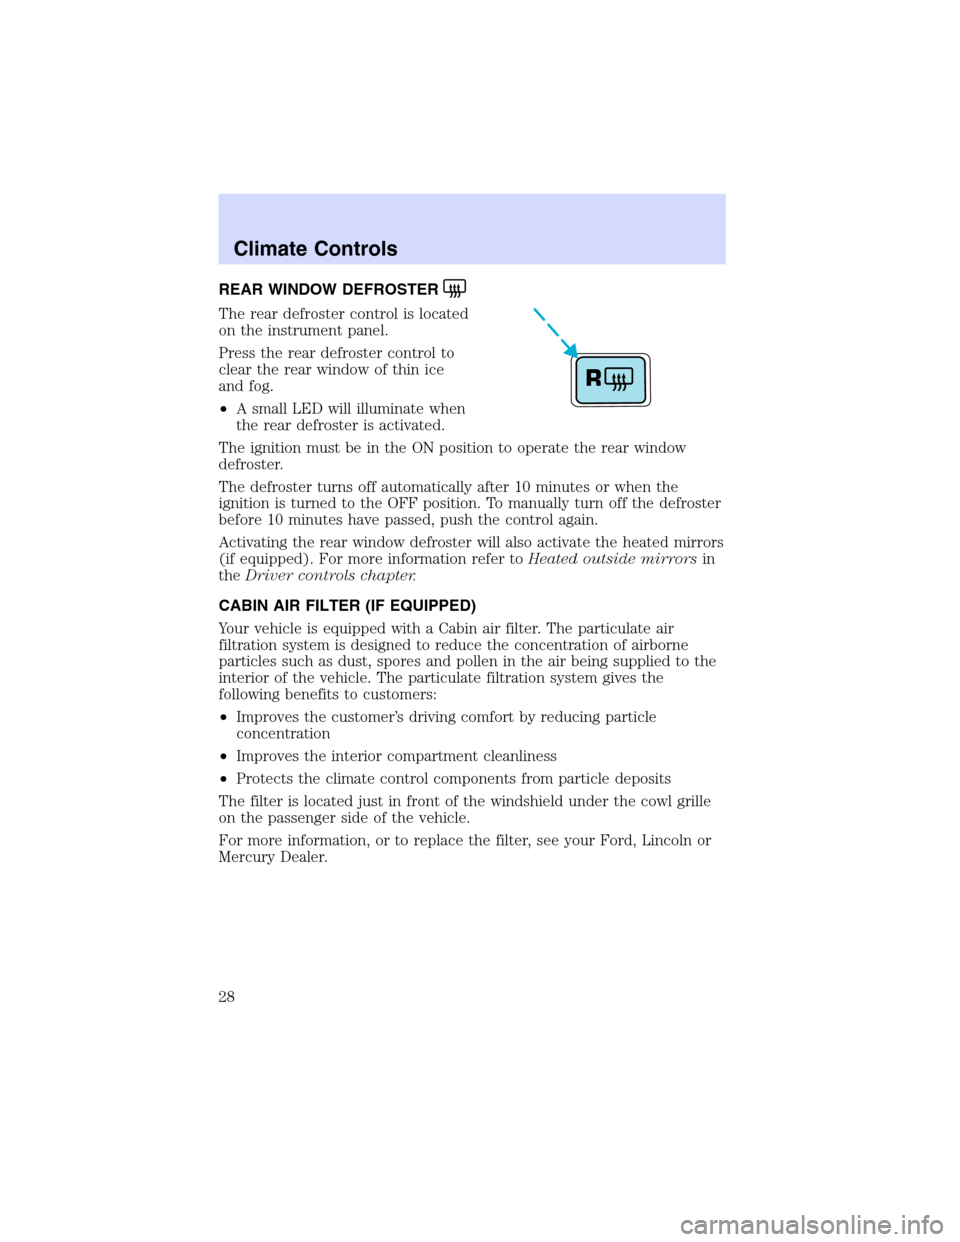
REAR WINDOW DEFROSTER
The rear defroster control is located
on the instrument panel.
Press the rear defroster control to
clear the rear window of thin ice
and fog.
•A small LED will illuminate when
the rear defroster is activated.
The ignition must be in the ON position to operate the rear window
defroster.
The defroster turns off automatically after 10 minutes or when the
ignition is turned to the OFF position. To manually turn off the defroster
before 10 minutes have passed, push the control again.
Activating the rear window defroster will also activate the heated mirrors
(if equipped). For more information refer toHeated outside mirrorsin
theDriver controls chapter.
CABIN AIR FILTER (IF EQUIPPED)
Your vehicle is equipped with a Cabin air filter. The particulate air
filtration system is designed to reduce the concentration of airborne
particles such as dust, spores and pollen in the air being supplied to the
interior of the vehicle. The particulate filtration system gives the
following benefits to customers:
•Improves the customer’s driving comfort by reducing particle
concentration
•Improves the interior compartment cleanliness
•Protects the climate control components from particle deposits
The filter is located just in front of the windshield under the cowl grille
on the passenger side of the vehicle.
For more information, or to replace the filter, see your Ford, Lincoln or
Mercury Dealer.
R
Climate Controls
28
Page 35 of 216

Function Number of bulbsTrade
number
Dome/map lamp 3 578
Dome lamp/moon roof 2 578
Visor vanity lamp
(passenger/driver)2 DE 3021
Floor console 2 194
Luggage compartment lamp 1 212–2
All replacement bulbs are clear in color except where noted.
To replace all instrument panel lights - see your dealer.
Replacing the interior bulbs
Check the operation of all bulbs frequently.
Replacing headlamp bulbs
To remove the headlamp bulb:
1. Make sure headlamp switch is in
OFF position.
2. Remove the bolt from the
headlamp housing.
3. At the back of the headlamp, pry
up and remove the two retainer pins
to release the headlamp assembly
from the vehicle and pull headlamp
forward.
Lights
35
Page 45 of 216
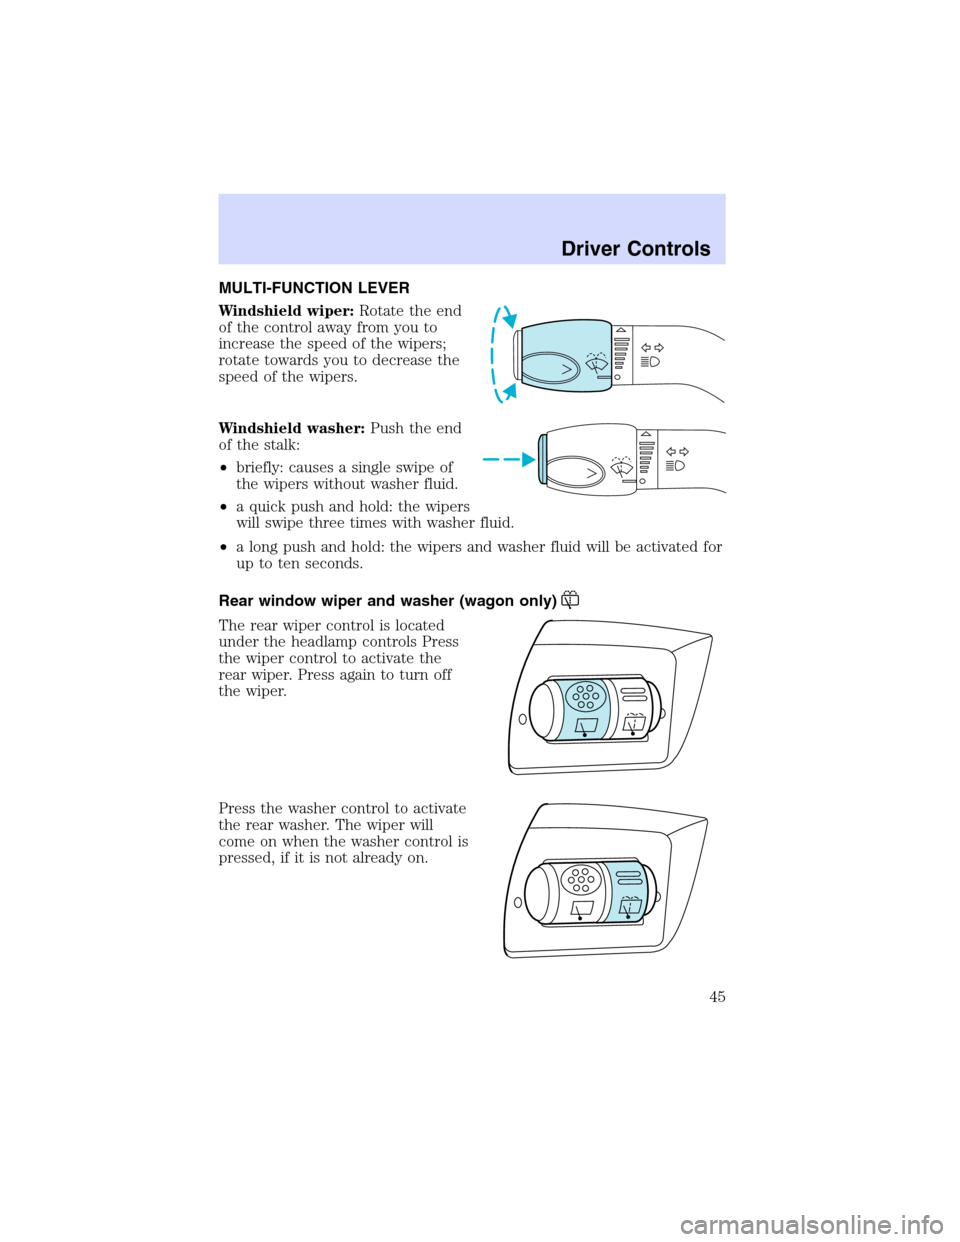
MULTI-FUNCTION LEVER
Windshield wiper:Rotate the end
of the control away from you to
increase the speed of the wipers;
rotate towards you to decrease the
speed of the wipers.
Windshield washer:Push the end
of the stalk:
•briefly: causes a single swipe of
the wipers without washer fluid.
•a quick push and hold: the wipers
will swipe three times with washer fluid.
•a long push and hold: the wipers and washer fluid will be activated for
up to ten seconds.
Rear window wiper and washer (wagon only)
The rear wiper control is located
under the headlamp controls Press
the wiper control to activate the
rear wiper. Press again to turn off
the wiper.
Press the washer control to activate
the rear washer. The wiper will
come on when the washer control is
pressed, if it is not already on.
Driver Controls
Driver Controls
45