drive Mercury Sable 2003 s User Guide
[x] Cancel search | Manufacturer: MERCURY, Model Year: 2003, Model line: Sable, Model: Mercury Sable 2003Pages: 216, PDF Size: 1.66 MB
Page 46 of 216

Changing the wiper blades
1. Pull the wiper arm away from the
vehicle. Turn the blade at an angle
from the wiper arm. Push the lock
pin manually to release the blade
and pull the wiper blade down
toward the windshield to remove it
from the arm.
2. Attach the new wiper to the
wiper arm and press it into place
until a click is heard.
3. Replace wiper blades every 6
months for optimum performance.
TILT STEERING WHEEL
To adjust the steering wheel:
1. Pull and hold the steering wheel
release control toward you.
2. Move the steering wheel up or
down until you find the desired
location.
3. Release the steering wheel
release control. This will lock the
steering wheel in position.
Never adjust the steering wheel when the vehicle is moving.
Driver Controls
46
Page 47 of 216

ILLUMINATED VISOR MIRROR (IF EQUIPPED)
To turn on the visor mirror lamps,
lift the mirror cover. Adjust the
amount of light by sliding the
control.
AUXILIARY POWER POINT
Power outlets are designed for accessory plugs only. Do not hang
any type of accessory or accessory bracket from the plug.
Improper use of the power outlet can cause damage not covered
by your warranty.
The auxiliary power point is located on the instrument panel below the
optional cigarette lighter (if equipped).
Do not plug optional electrical accessories into the cigarette
lighter. Use the power point.
POWER WINDOWS
When closing the power
windows, you should verify
they are free of obstructions and
ensure that children and/or pets
are not in the proximity of the
window openings.
Press and hold the bottom part of the rocker switch to open the window.
Press and hold the top part of the rocker switch to close the window.
Driver Controls
47
Page 48 of 216

One touch down
Allows the driver’s window to open
fully without holding the control
down. Press completely down on
AUTO and release quickly. Press
again to stop.
Window lock
The window lock feature allows only
the driver to operate the power
windows.
To lock out all the window controls
except for the driver’s press the left
side of the control. Press the right
side to restore the window controls.
Accessory delay (if equipped)
With accessory delay, the window switches may be used for up to ten
minutes after the ignition switch is turned to the OFF position or until
any door is opened.
MIRRORS
Automatic dimming inside rear view mirror with electric compass
(if equipped)
Your vehicle is equipped with an
inside rear view mirror which has an
auto-dimming function. The
electronic day/night mirror will
change from the normal state to the
non-glare state when bright lights
(glare) reach the mirror. When the
mirror detects bright light from
front or behind, it will automatically
adjust (darken) to minimize glare.
Do not block the sensor on the backside of the mirror since this may
impair proper mirror performance.
Press the MIRROR control to turn the mirror OFF or AUTO.
COMP MIRROR
Driver Controls
48
Page 49 of 216

The mirror will automatically return to the normal state whenever the
vehicle is placed in R (Reverse)(when the mirror is on) to ensure a
bright clear view when backing up.
Electronic compass (if equipped)
The compass reading will remain accurate during most driving
conditions. Unknown to the driver, the compass is continuously
recalibrating due to magnetic fields and subtle, slow changes in vehicle
magnetics which can occur over the life of the vehicle.
The compass reading will remain fixed when significant changes in the
local magnetic field are experienced (such as steel bridges). The
compass will return to normal operation upon leaving the magnetized
area.
If highly magnetized items (such as magnetic mount antennas) are
placed very near the compass the display will change to“C”for 15
seconds, then display all segments until the magnetized item is removed.
If a“C”is displayed, refer toCompass calibration adjustment.
Most geographic areas (zones) have a magnetic north compass point that
varies slightly from the northerly direction on maps. This variation is four
degrees between adjacent zones and will become noticeable as the
vehicle crosses multiple zones. A correct zone setting will eliminate this
error. Refer toCompass zone adjustment.
Compass zone adjustment
1. Determine which compass zone
you are in by referring to the zone
map.
1 2 3
4
5
6 7 8 9 101112 13 14 15
Driver Controls
49
Page 50 of 216

2. With the compass display turned
on, press and hold the COMP side of
the control for no more than five
seconds until the zone selection
number appears in the mirror
display window. If a“C”appears, see
Compass calibration adjustment.
3. Release the COMP side of the
control, then press it down again.
4. Press and release until your zone number is shown in the mirror
display.
5. The display will show all segments, then return to normal compass
mode within ten seconds.
Compass calibration adjustment
Perform this adjustment in an open area free from steel structures and
high voltage lines.
1. Start the vehicle.
2. Press and hold the COMP side of
the control for approximately six
seconds until“C”appears in the
mirror display.
3. Drive the vehicle slowly (less
than 5 km/h [3 mph]) in circles or
on your everyday routine until the
display reads a direction.
4. The compass is now calibrated.
Power side view mirrors
To adjust your mirrors
1. SelectLto adjust the left mirror
orRto adjust the right mirror.
2. Move the control in the direction
you wish to tilt the mirror.
3. Return to the center position to
disable the adjust function.
COMP MIRROR
NW
COMP MIRROR
NW
Driver Controls
50
Page 51 of 216

Heated outside mirrors(if equipped)
Both mirrors are heated
automatically to remove ice, mist
and fog when the rear window
defrost is activated.
Do not remove ice from the
mirrors with a scraper or
attempt to readjust the mirror
glass if it is frozen in place.
These actions could cause damage to the glass and mirrors.
POWER ADJUSTABLE FOOT PEDALS (IF EQUIPPED)
The accelerator and brake pedal
should only be adjusted when the
vehicle is stopped and the gearshift
lever is in the P(Park) position.
Press and hold the rocker control
(located on the instrument panel) to adjust accelerator and brake pedal.
•Press the right side of the control to adjust the pedals toward you.
•Press the left side of the control to adjust the pedals away from you.
The adjustment allows for approximately 76 mm (3 inches) of maximum
travel.
Never adjust the accelerator and brake pedal with feet on the
pedals while the vehicle is moving.
SPEED CONTROL (IF EQUIPPED)
With speed control set, you can maintain a speed of 48 km/h (30 mph)
or more without keeping your foot on the pedal. Speed control does not
work at speeds below 48 km/h (30 mph).
Do not use the speed control in heavy traffic or on roads that
are winding, slippery or unpaved.
Driver Controls
51
Page 52 of 216

Setting speed control
The controls for using your speed
control are located on the steering
wheel for your convenience.
1. Press the ON control and release
it.
2. Accelerate to the desired speed.
3. Press the SET + control and
release it.
4. Take your foot off the accelerator
pedal.
5. The indicator light on the
instrument cluster will turn on.
Note:
•Vehicle speed may vary momentarily when driving up and down a
steep hill.
•If the vehicle speed increases above the set speed on a downhill, you
may want to apply the brakes to reduce the speed.
•If the vehicle speed decreases more than 16 km/h (10 mph) below
your set speed on an uphill, your speed control will disengage.
•If the vehicle speed decreases to 40 km/h (25 mph) or less, your
speed control will disengage
Disengaging speed control
To disengage the speed control:
•Depress the brake pedal
Disengaging the speed control will not erase previous set speed.
Resuming a set speed
Press the RES (resume) control and
release it. This will automatically
return the vehicle to the previously
set speed. The RES control will not
work if the vehicle speed is not
faster than 48 km/h (30 mph).
OFF
ON
Driver Controls
52
Page 53 of 216

Increasing speed while using speed control
There are three ways to set a higher
speed:
•Press and hold the SET + control
until you get to the desired
speed, then release the control.
•Press and release the SET + control to operate the Tap-Up function.
Each tap will increase the set speed by 1.6 km/h (1 mph).
•Use the accelerator pedal to get to the desired speed. When the
vehicle reaches that speed press and release the SET + control.
Reducing speed while using speed control
There are three ways to reduce a
set speed:
•Press and hold the CST - control
until you get to the desired
speed, then release the control.
•Press and release the CST -
control to operate the Tap-Down function. Each tap will decrease the
set speed by 1.6 km/h (1 mph).
•Depress the brake pedal until the
desired vehicle speed is reached,
press the SET + control.
Turning off speed control
There are two ways to turn off the speed control:
•Press the speed control OFF
control.
•Turn OFF the ignition.
Note:When you turn off the speed
control or the ignition, your speed
control set speed memory is erased.
OFF
ON
Driver Controls
53
Page 54 of 216
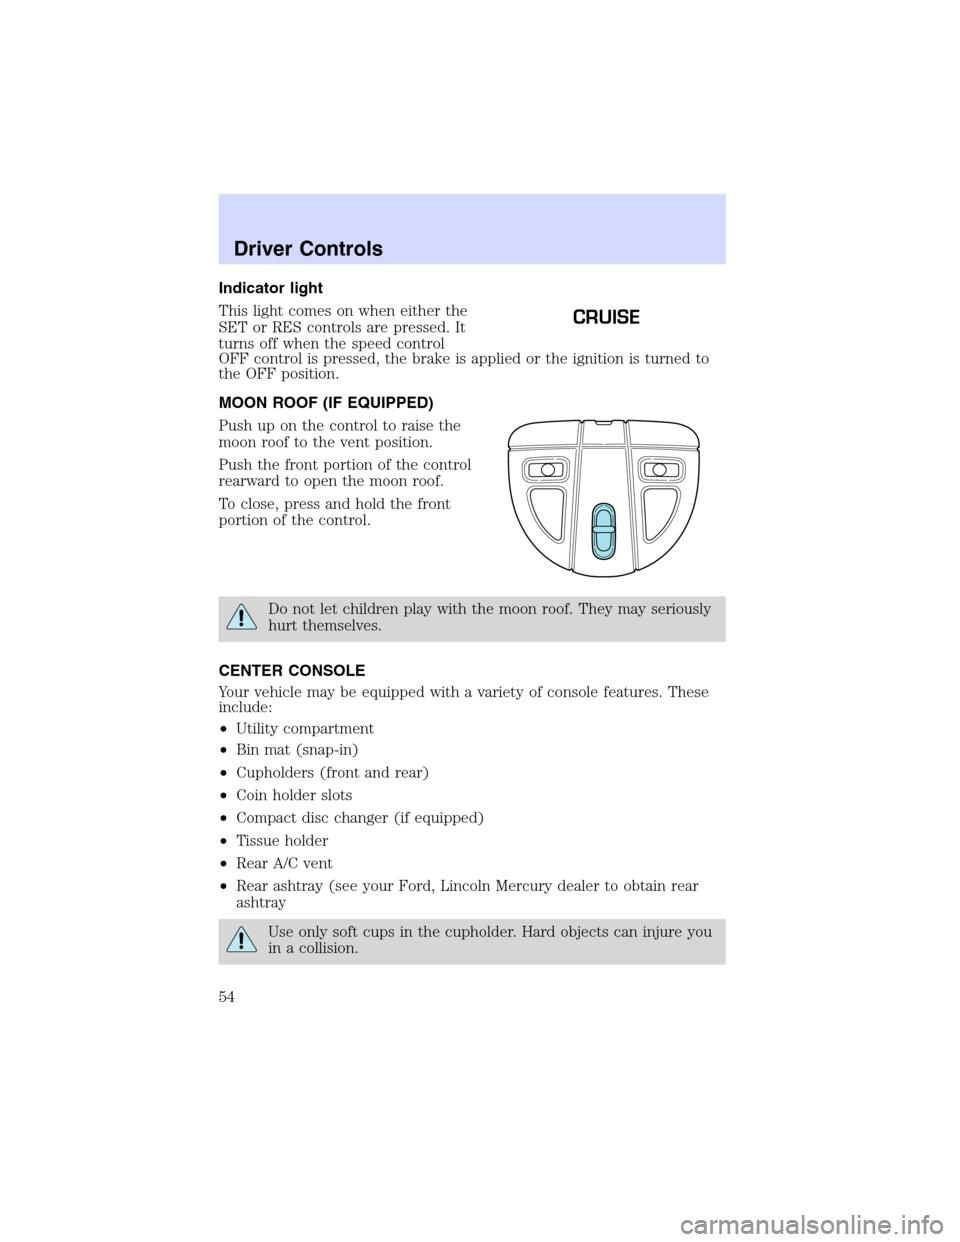
Indicator light
This light comes on when either the
SET or RES controls are pressed. It
turns off when the speed control
OFF control is pressed, the brake is applied or the ignition is turned to
the OFF position.
MOON ROOF (IF EQUIPPED)
Push up on the control to raise the
moon roof to the vent position.
Push the front portion of the control
rearward to open the moon roof.
To close, press and hold the front
portion of the control.
Do not let children play with the moon roof. They may seriously
hurt themselves.
CENTER CONSOLE
Your vehicle may be equipped with a variety of console features. These
include:
•Utility compartment
•Bin mat (snap-in)
•Cupholders (front and rear)
•Coin holder slots
•Compact disc changer (if equipped)
•Tissue holder
•Rear A/C vent
•Rear ashtray (see your Ford, Lincoln Mercury dealer to obtain rear
ashtray
Use only soft cups in the cupholder. Hard objects can injure you
in a collision.
CRUISE
Driver Controls
54
Page 55 of 216

If your vehicle is equipped with the column shift and a bench seat, it has
a center console in the center front seating position.
The center console has similar features as the full console. To open the
storage compartment, raise the armrest and pull the strap on the seat up
and toward the front of the vehicle. The rear seat area is provided with
dual cupholders.
CELL PHONE USE
The use of Mobile Communications Equipment has become increasingly
important in the conduct of business and personal affairs. However,
drivers must not compromise their own or others’safety when using
such equipment. Mobile Communications can enhance personal safety
and security when appropriately used, particularly in emergency
situations. Safety must be paramount when using mobile communications
equipment to avoid negating these benefits.
Mobile Communication Equipment includes, but is not limited to cellular
phones, pagers, portable email devices, in vehicle communications
systems, telematics devices and portable two-way radios.
A driver’s first responsibility is the safe operation of the vehicle.
The most important thing you can do to prevent a crash is to
avoid distractions and pay attention to the road. Wait until it is safe to
operate Mobile Communications Equipment.
POSITIVE RETENTION FLOOR MAT
Position the driver floor mat so that
the eyelet is over the pointed end of
the retention post and rotate
forward to lock in. Make sure that
the mat does not interfere with the
operation of the accelerator or the
brake pedal. To remove the floor
mat, reverse the installation
procedure.
Driver Controls
55