climate control Mercury Sable 2003 Owner's Manuals
[x] Cancel search | Manufacturer: MERCURY, Model Year: 2003, Model line: Sable, Model: Mercury Sable 2003Pages: 216, PDF Size: 1.66 MB
Page 1 of 216
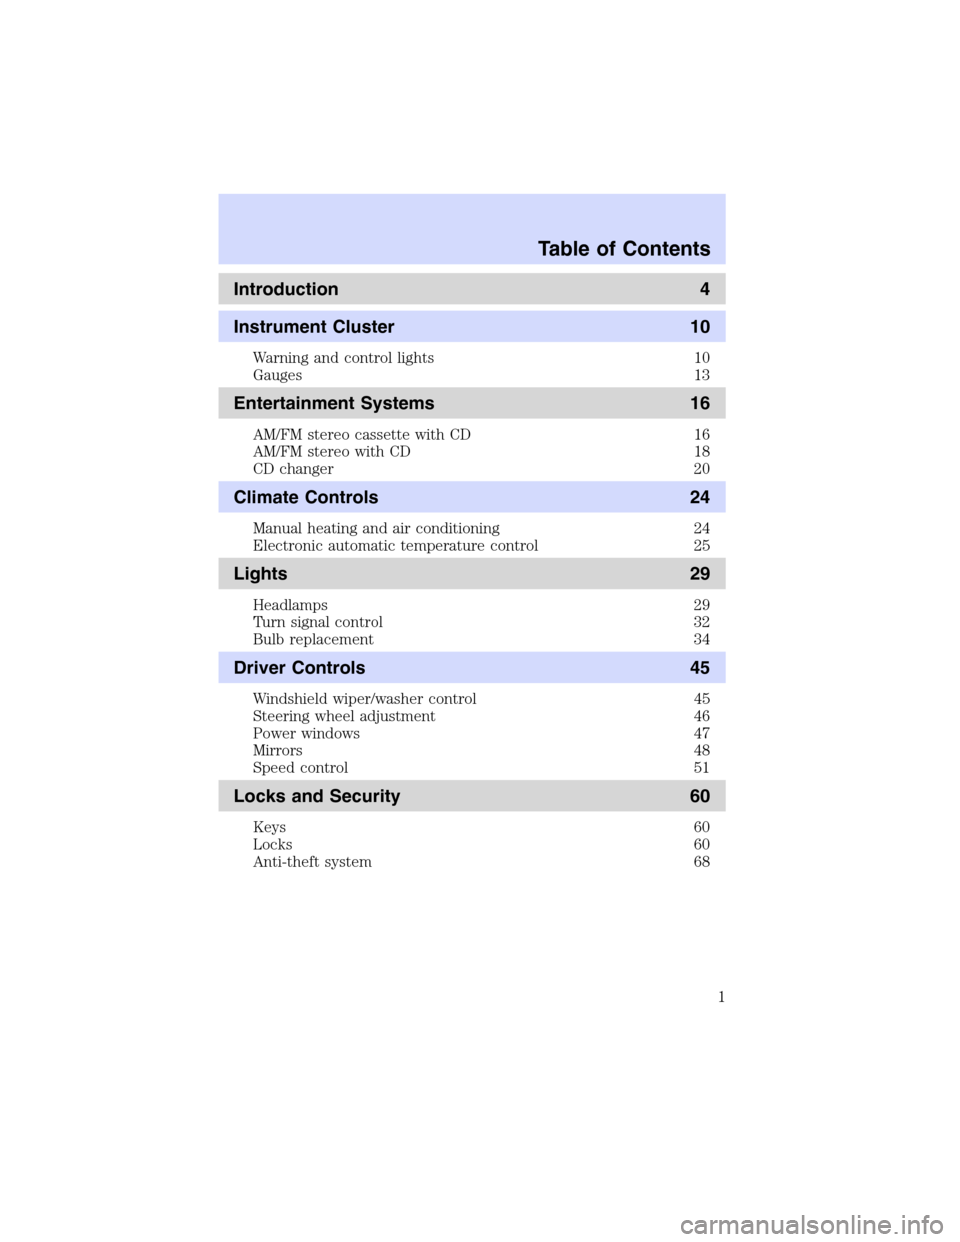
Introduction 4
Instrument Cluster 10
Warning and control lights 10
Gauges 13
Entertainment Systems 16
AM/FM stereo cassette with CD 16
AM/FM stereo with CD 18
CD changer 20
Climate Controls 24
Manual heating and air conditioning 24
Electronic automatic temperature control 25
Lights 29
Headlamps 29
Turn signal control 32
Bulb replacement 34
Driver Controls 45
Windshield wiper/washer control 45
Steering wheel adjustment 46
Power windows 47
Mirrors 48
Speed control 51
Locks and Security 60
Keys 60
Locks 60
Anti-theft system 68
Table of Contents
Table of Contents
1
Page 24 of 216
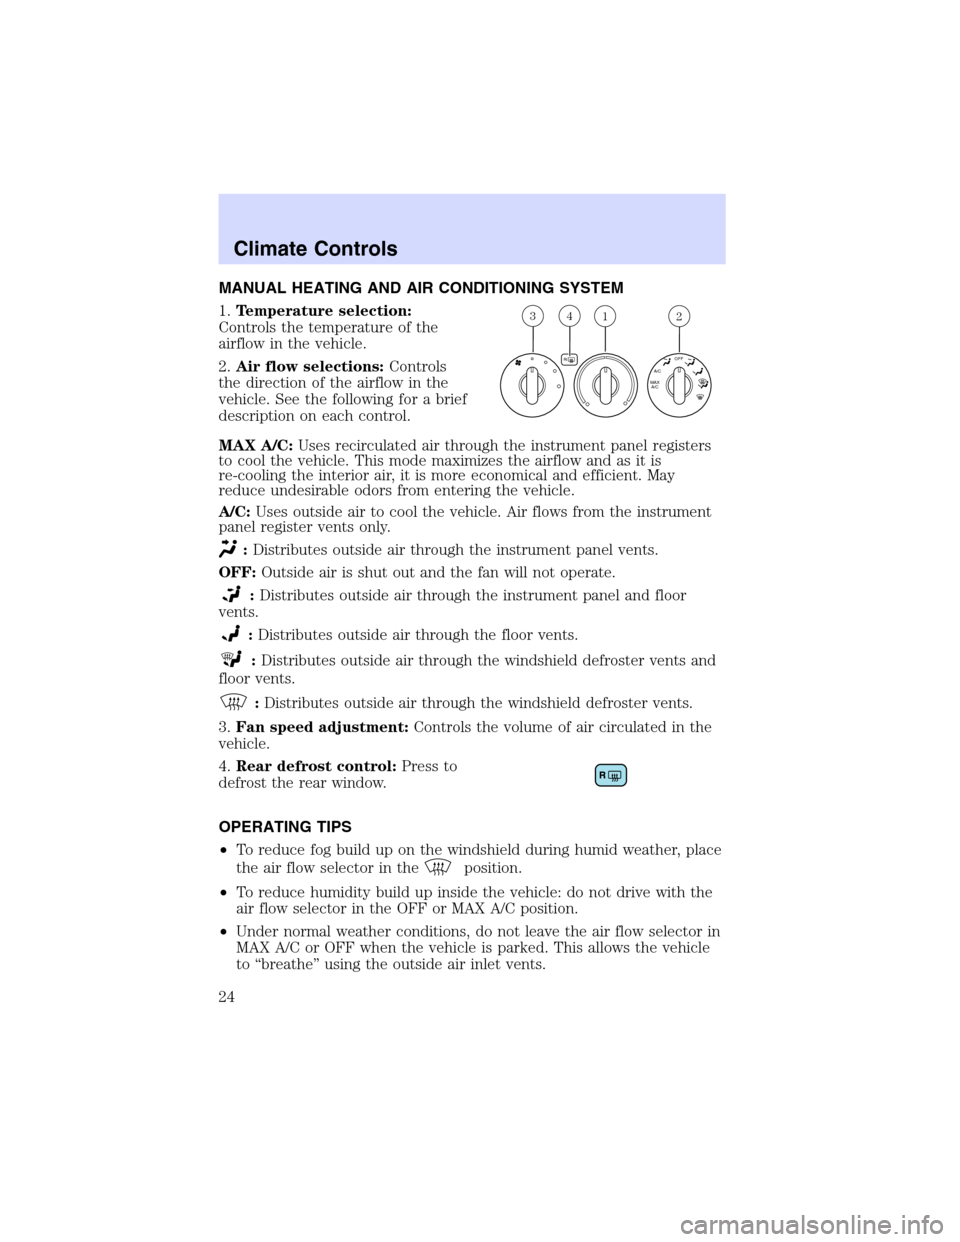
MANUAL HEATING AND AIR CONDITIONING SYSTEM
1.Temperature selection:
Controls the temperature of the
airflow in the vehicle.
2.Air flow selections:Controls
the direction of the airflow in the
vehicle. See the following for a brief
description on each control.
MAX A/C:Uses recirculated air through the instrument panel registers
to cool the vehicle. This mode maximizes the airflow and as it is
re-cooling the interior air, it is more economical and efficient. May
reduce undesirable odors from entering the vehicle.
A/C:Uses outside air to cool the vehicle. Air flows from the instrument
panel register vents only.
:Distributes outside air through the instrument panel vents.
OFF:Outside air is shut out and the fan will not operate.
:Distributes outside air through the instrument panel and floor
vents.
:Distributes outside air through the floor vents.
:Distributes outside air through the windshield defroster vents and
floor vents.
:Distributes outside air through the windshield defroster vents.
3.Fan speed adjustment:Controls the volume of air circulated in the
vehicle.
4.Rear defrost control:Press to
defrost the rear window.
OPERATING TIPS
•To reduce fog build up on the windshield during humid weather, place
the air flow selector in the
position.
•To reduce humidity build up inside the vehicle: do not drive with the
air flow selector in the OFF or MAX A/C position.
•Under normal weather conditions, do not leave the air flow selector in
MAX A/C or OFF when the vehicle is parked. This allows the vehicle
to“breathe”using the outside air inlet vents.
312
R
A/C
MAX
A/COFF
4
Climate Controls
Climate Controls
24
Page 25 of 216
•Do not put objects under the front seats that will interfere with the
airflow to the back seats.
•Remove any snow, ice or leaves from the air intake area at the base of
the windshield.
To aid in side window defogging/demisting in cold weather:
1. Select
2. Select A/C
3. Modulate the temperature control to maintain comfort.
4. Set the fan speed to HI
5. Direct the outer instrument panel vents towards the side windows
To increase airflow to the outer instrument panel vents, close the vents
located in the middle of the instrument panel.
Do not place objects on top of the instrument panel as these
objects may become projectiles in a collision or sudden stop.
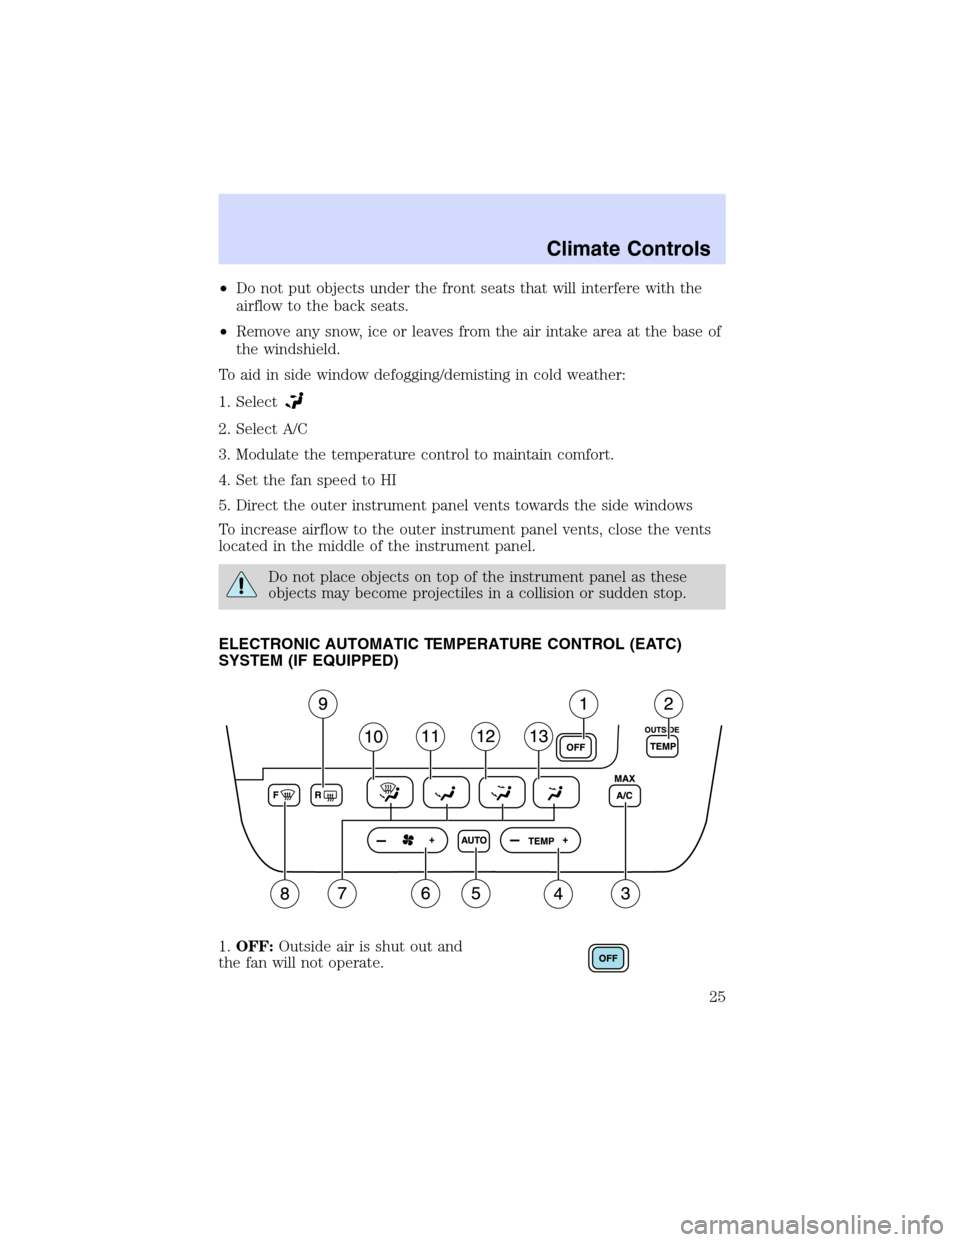
ELECTRONIC AUTOMATIC TEMPERATURE CONTROL (EATC)
SYSTEM (IF EQUIPPED)
1.OFF:Outside air is shut out and
the fan will not operate.
Climate Controls
25
Page 26 of 216
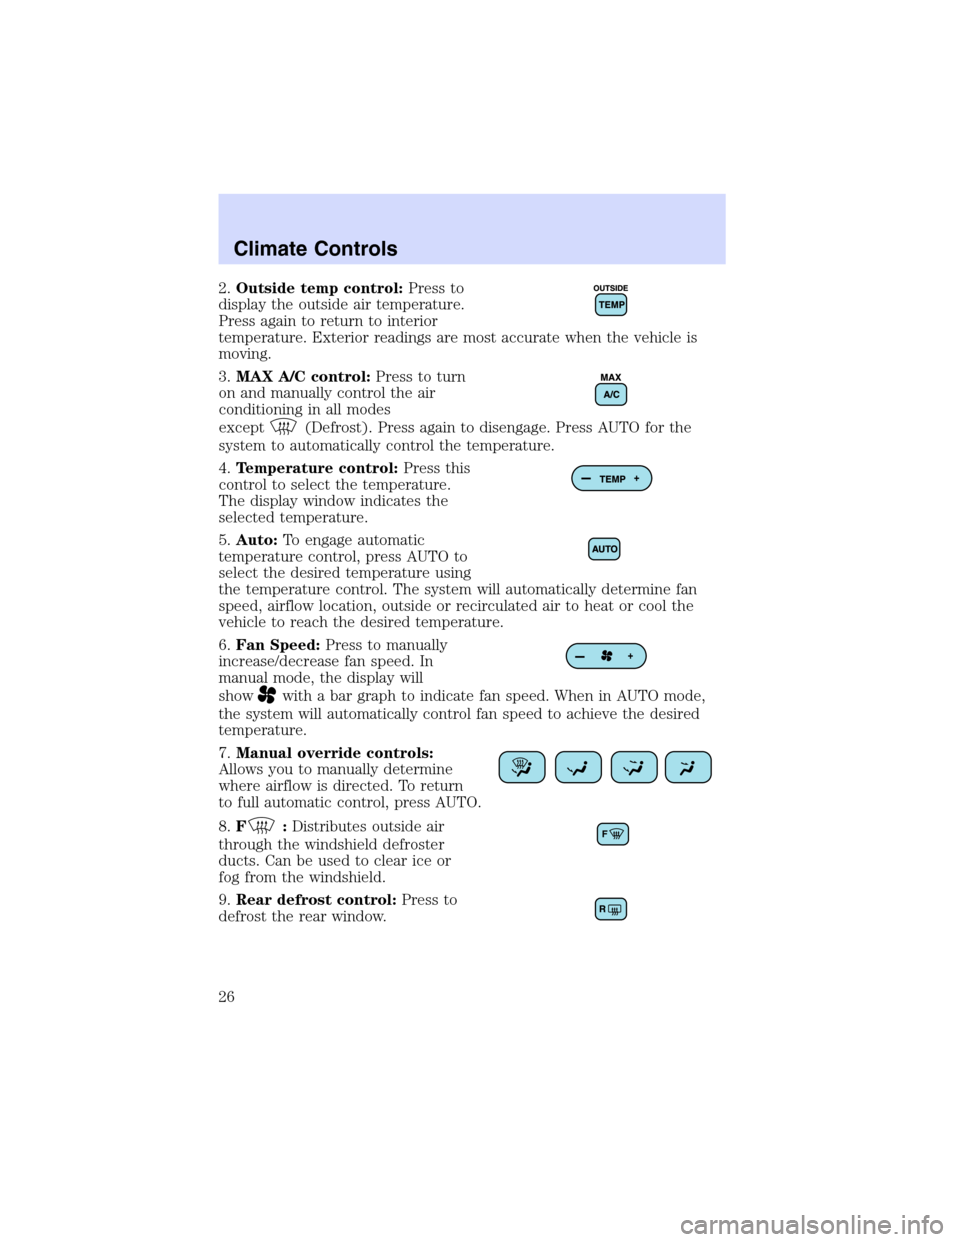
2.Outside temp control:Press to
display the outside air temperature.
Press again to return to interior
temperature. Exterior readings are most accurate when the vehicle is
moving.
3.MAX A/C control:Press to turn
on and manually control the air
conditioning in all modes
except
(Defrost). Press again to disengage. Press AUTO for the
system to automatically control the temperature.
4.Temperature control:Press this
control to select the temperature.
The display window indicates the
selected temperature.
5.Auto:To engage automatic
temperature control, press AUTO to
select the desired temperature using
the temperature control. The system will automatically determine fan
speed, airflow location, outside or recirculated air to heat or cool the
vehicle to reach the desired temperature.
6.Fan Speed:Press to manually
increase/decrease fan speed. In
manual mode, the display will
show
with a bar graph to indicate fan speed. When in AUTO mode,
the system will automatically control fan speed to achieve the desired
temperature.
7.Manual override controls:
Allows you to manually determine
where airflow is directed. To return
to full automatic control, press AUTO.
8.F
:Distributes outside air
through the windshield defroster
ducts. Can be used to clear ice or
fog from the windshield.
9.Rear defrost control:Press to
defrost the rear window.
Climate Controls
26
Page 27 of 216
10.:Distributes air through the windshield defroster ducts and floor
ducts. The system will automatically provide outside air to reduce
window fogging.
11.
:Distributes air through the floor and rear seat floor ducts
(if equipped).
12.
:Distributes air through the instrument panel and center console
registers (if equipped), the front and rear seat floor ducts.
13.
:Distributes air through the instrument panel and center console
registers (if equipped).
Fahrenheit/Celsius temperature:Press MAX A/C and F
to toggle
between Fahrenheit and Celsius temperature. The set point
temperatures in Celsius will be displayed in half-degree increments.
OPERATING TIPS
•To reduce fog build up on the windshield during humid weather, place
the air flow selector in the
position.
•To reduce humidity build up inside the vehicle: do not drive with the
air flow selector in the OFF or MAX A/C position.
•Under normal weather conditions, do not leave the air flow selector in
MAX A/C or OFF when the vehicle is parked. This allows the vehicle
to“breathe”using the outside air inlet vents.
•Do not put objects under the front seats that will interfere with the
airflow to the back seats.
•Remove any snow, ice or leaves from the air intake area at the base of
the windshield.
To aid in side window defogging/demisting in cold weather:
1. Select
2. Select A/C
3. Modulate the temperature control to maintain comfort.
4. Set the fan speed to HI
5. Direct the outer instrument panel vents towards the side windows
To increase airflow to the outer instrument panel vents, close the vents
located in the middle of the instrument panel.
Do not place objects on top of the instrument panel as these
objects may become projectiles in a collision or sudden stop.
Climate Controls
27
Page 28 of 216
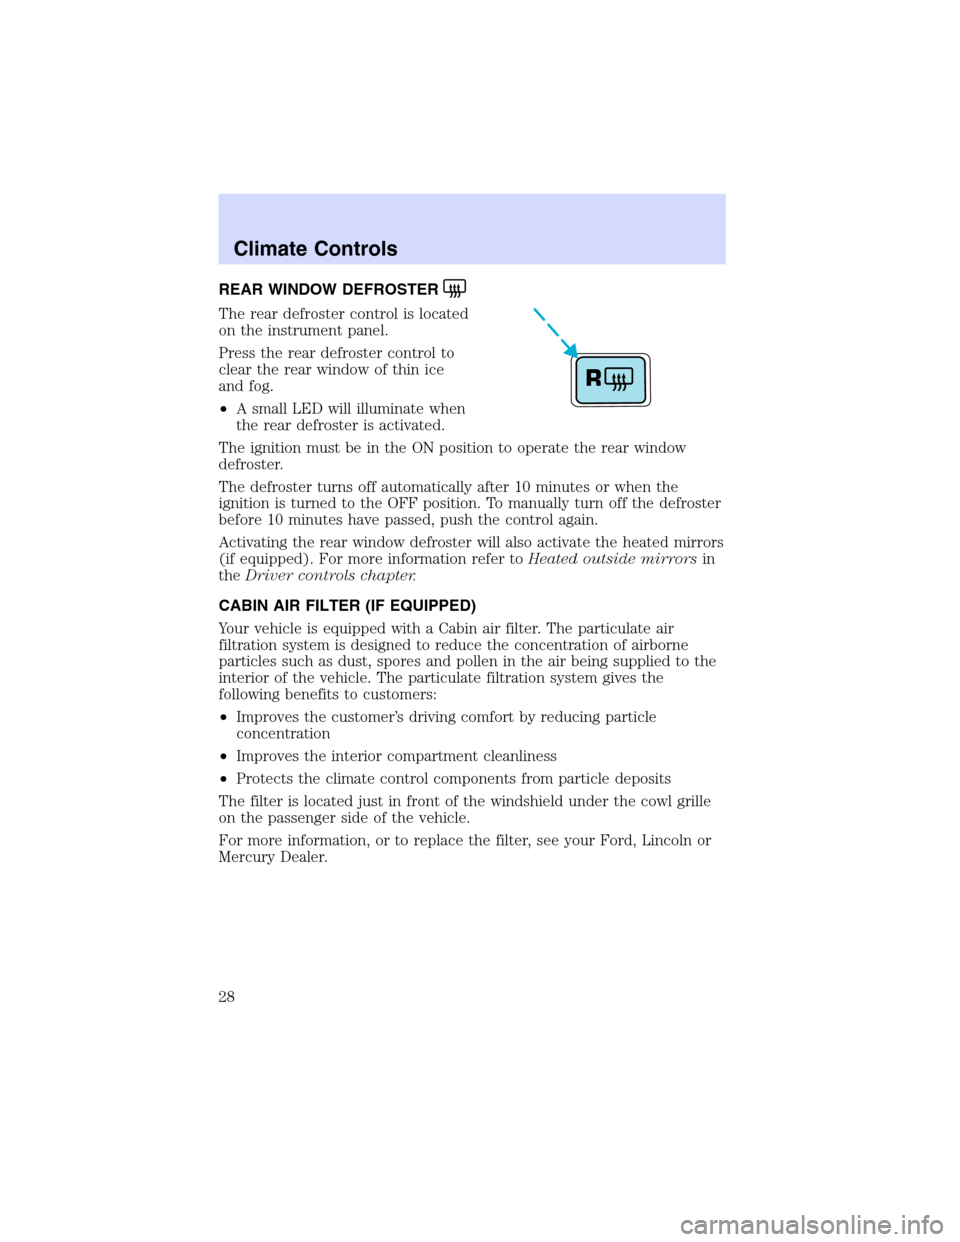
REAR WINDOW DEFROSTER
The rear defroster control is located
on the instrument panel.
Press the rear defroster control to
clear the rear window of thin ice
and fog.
•A small LED will illuminate when
the rear defroster is activated.
The ignition must be in the ON position to operate the rear window
defroster.
The defroster turns off automatically after 10 minutes or when the
ignition is turned to the OFF position. To manually turn off the defroster
before 10 minutes have passed, push the control again.
Activating the rear window defroster will also activate the heated mirrors
(if equipped). For more information refer toHeated outside mirrorsin
theDriver controls chapter.
CABIN AIR FILTER (IF EQUIPPED)
Your vehicle is equipped with a Cabin air filter. The particulate air
filtration system is designed to reduce the concentration of airborne
particles such as dust, spores and pollen in the air being supplied to the
interior of the vehicle. The particulate filtration system gives the
following benefits to customers:
•Improves the customer’s driving comfort by reducing particle
concentration
•Improves the interior compartment cleanliness
•Protects the climate control components from particle deposits
The filter is located just in front of the windshield under the cowl grille
on the passenger side of the vehicle.
For more information, or to replace the filter, see your Ford, Lincoln or
Mercury Dealer.
R
Climate Controls
28
Page 192 of 216

•Treadwear 200 Traction AA Temperature A
These Tire Quality Grades are determined by standards that the United
States Department of Transportation has set.
Tire Quality Grades apply to new pneumatic tires for use on passenger
cars. They do not apply to deep tread, winter-type snow tires,
space-saver or temporary use spare tires, tires with nominal rim
diameters of 10 to 12 inches or limited production tires as defined in
Title 49 Code of Federal Regulations Part 575.104(c)(2).
U.S. Department of Transportation-Tire quality grades:The U.S.
Department of Transportation requires Ford to give you the following
information about tire grades exactly as the government has written it.
Treadwear
The treadwear grade is a comparative rating based on the wear rate of
the tire when tested under controlled conditions on a specified
government test course. For example, a tire graded 150 would wear one
and one-half (1 1/2) times as well on the government course as a tire
graded 100. The relative performance of tires depends upon the actual
conditions of their use, however, and may depart significantly from the
norm due to variations in driving habits, service practices, and
differences in road characteristics and climate.
Traction AA A B C
The traction grades, from highest to lowest are AA, A, B, and C. The
grades represent the tire’s ability to stop on wet pavement as measured
under controlled conditions on specified government test surfaces of
asphalt and concrete. A tire marked C may have poor traction
performance.
The traction grade assigned to this tire is based on
straight-ahead braking traction tests, and does not include
acceleration, cornering, hydroplaning or peak traction characteristics.
Maintenance and Specifications
192
Page 195 of 216

Failure to follow these precautions may adversely affect the
handling of the vehicle, and increase the risk of loss of vehicle
control, vehicle rollover and/or personal injury.
Tires that are larger or smaller than your vehicle’s original tires may also
affect the accuracy of your speedometer.
SNOW TIRES AND CHAINS
Snow tires must be the same size and grade as the tires you
currently have on your vehicle.
The tires on your vehicle have all weather treads to provide traction in
rain and snow. However, in some climates, you may need to use snow
tires and chains. If you need to use snow tires and chains, it is
recommended that steel wheels are used of the same size and
specifications as those originally installed.
Follow these guidelines when using snow tires and chains:
•Use only cable type chains offered by Ford as an accessory or
equivalent. SAE class“S”or other conventional link type chains may
cause damage to the vehicle’s wheel house and/or body.
•Install cable chains securely, verifying that the cables do not touch any
wiring, brake lines or fuel lines.
•Drive cautiously. If you hear the cables rub or bang against your
vehicle, stop and re-tighten the cables. If this does not work, remove
the cables to prevent damage to your vehicle.
•If possible, avoid fully loading your vehicle.
•Remove the tire cables when they are no longer needed. Do not use
tire cables on dry roads.
•The suspension insulation and bumpers will help prevent vehicle
damage. Do not remove these components from your vehicle when
using snow tires and cables.
•Do not exceed 48 km/h (30 mph) with tire cables on your vehicle.
Maintenance and Specifications
195
Page 208 of 216
instrument panel ....................159
interior .............................159–160
interior trim ............................160
plastic parts ............................158
washing ....................................156
waxing .....................................156
wheels ......................................157
wiper blades ............................159
Climate control (see Air
conditioning or Heating) ............25
Compass, electronic ....................49
calibration .................................50
set zone adjustment .................49
Console ........................................54
Controls
power seat .................................75
Coolant
checking and adding ..............172
refill capacities ................175, 197
specifications ..................198, 200
Cruise control (see Speed
control) ........................................51
Customer Assistance ................127
Ford accessories for your
vehicle .....................................161
Ford Extended Service
Plan ..........................................149
Getting assistance outside the
U.S. and Canada .....................153
Getting roadside assistance ...127
Getting the service you need 147
Ordering additional owner’s
literature .................................154
The Dispute Settlement
Board .......................................149
Utilizing the
Mediation/Arbitration
Program ...................................152D
Daytime running lamps
(see Lamps) ................................29
Defrost
rear window ..............................28
Dipstick
automatic transmission fluid .190
engine oil .................................167
Doors
lubricant specifications ..........198
Driving under special
conditions ..................................120
through water .........................121
E
Emergencies, roadside
jump-starting ..........................140
Emergency Flashers .................128
Emission control system ..........186
Engine ........................................200
cleaning ...................................157
coolant .....................................172
idle speed control ...................170
lubrication specifications ......198,
200
refill capacities ........................197
service points ..................164–165
starting after a collision .........128
Engine block heater .................113
Engine oil ..................................167
checking and adding ..............167
dipstick ....................................167
filter, specifications ........169, 196
recommendations ...................169
refill capacities ........................197
specifications ..................198, 200
Exhaust fumes ..........................113
Index
208