key Mercury Villager 2002 s User Guide
[x] Cancel search | Manufacturer: MERCURY, Model Year: 2002, Model line: Villager, Model: Mercury Villager 2002Pages: 256, PDF Size: 1.91 MB
Page 156 of 256

If you smell exhaust fumes inside your vehicle, have your dealer
inspect your vehicle immediately. Do not drive if you smell
exhaust fumes.
Important safety precautions
A computer system controls the engine’s idle revolutions per minute
(RPM). When the engine starts, the idle RPM runs higher than normal in
order to warm the engine. If the engine idle speed does not slow down
automatically, have the vehicle checked. Do not allow the vehicle to idle
for more than 10 minutes at the higher engine RPM.
Before starting the vehicle:
1. Make sure all vehicle occupants have buckled their safety belts. For
more information on safety belts and their proper usage, refer to the
Seating and safety restraintschapter.
2. Make sure the headlamps and vehicle accessories are off.
3. Make sure the parking brake is
set.
4. Make sure the gearshift is in P
(Park).
5. Turn the key to 3 (ON) without
turning the key to 4 (START).
If there is difficulty in turning the
key, firmly rotate the steering wheel
left and right until the key turns
freely. This condition may occur
when:
•front wheels are turned
•front wheel is against the curb
PUSH
TO
RELEASE
P RND21
4
3
2
1
Driving
156
Page 157 of 256
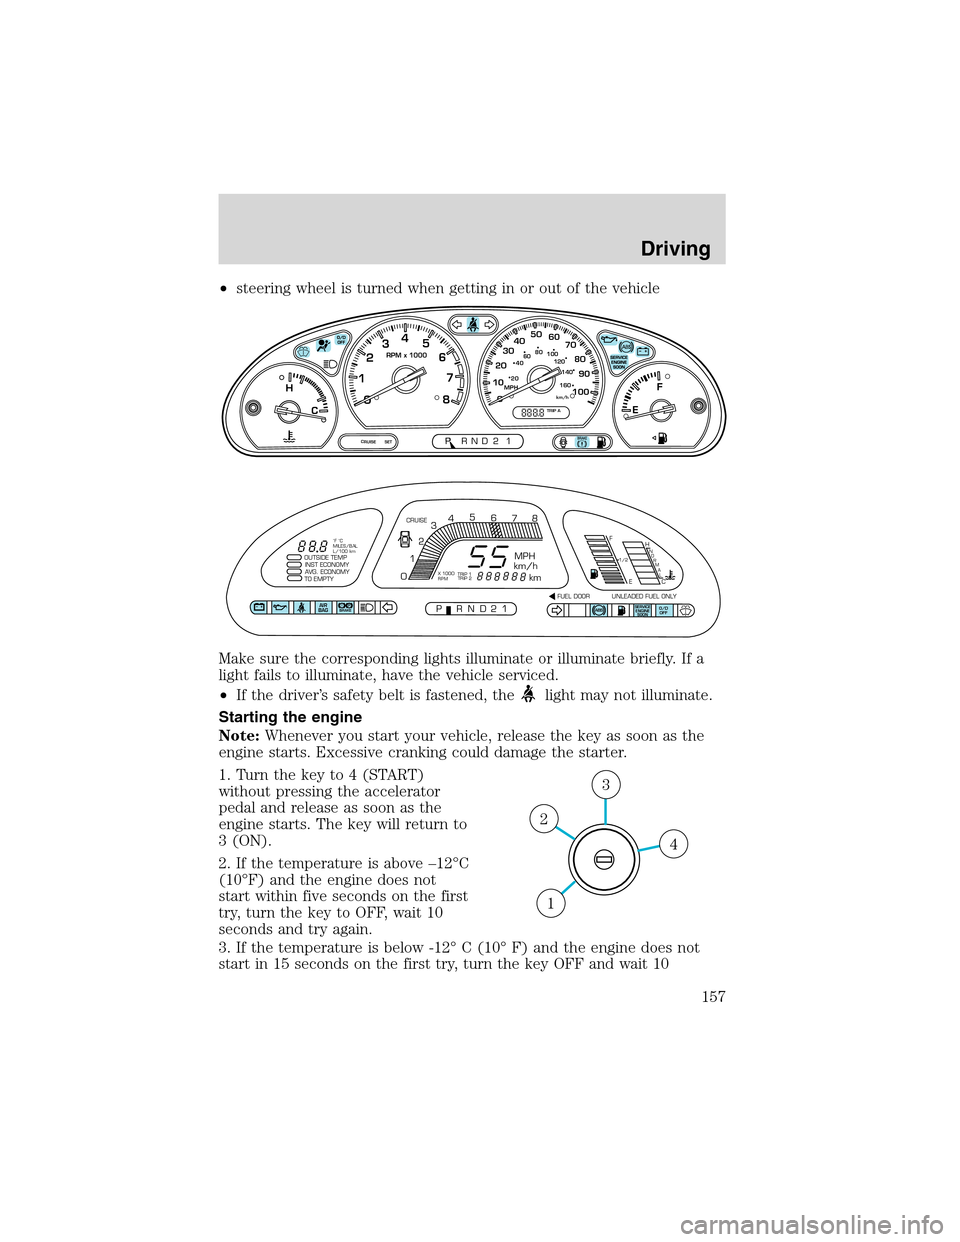
•steering wheel is turned when getting in or out of the vehicle
Make sure the corresponding lights illuminate or illuminate briefly. If a
light fails to illuminate, have the vehicle serviced.
•If the driver’s safety belt is fastened, the
light may not illuminate.
Starting the engine
Note:Whenever you start your vehicle, release the key as soon as the
engine starts. Excessive cranking could damage the starter.
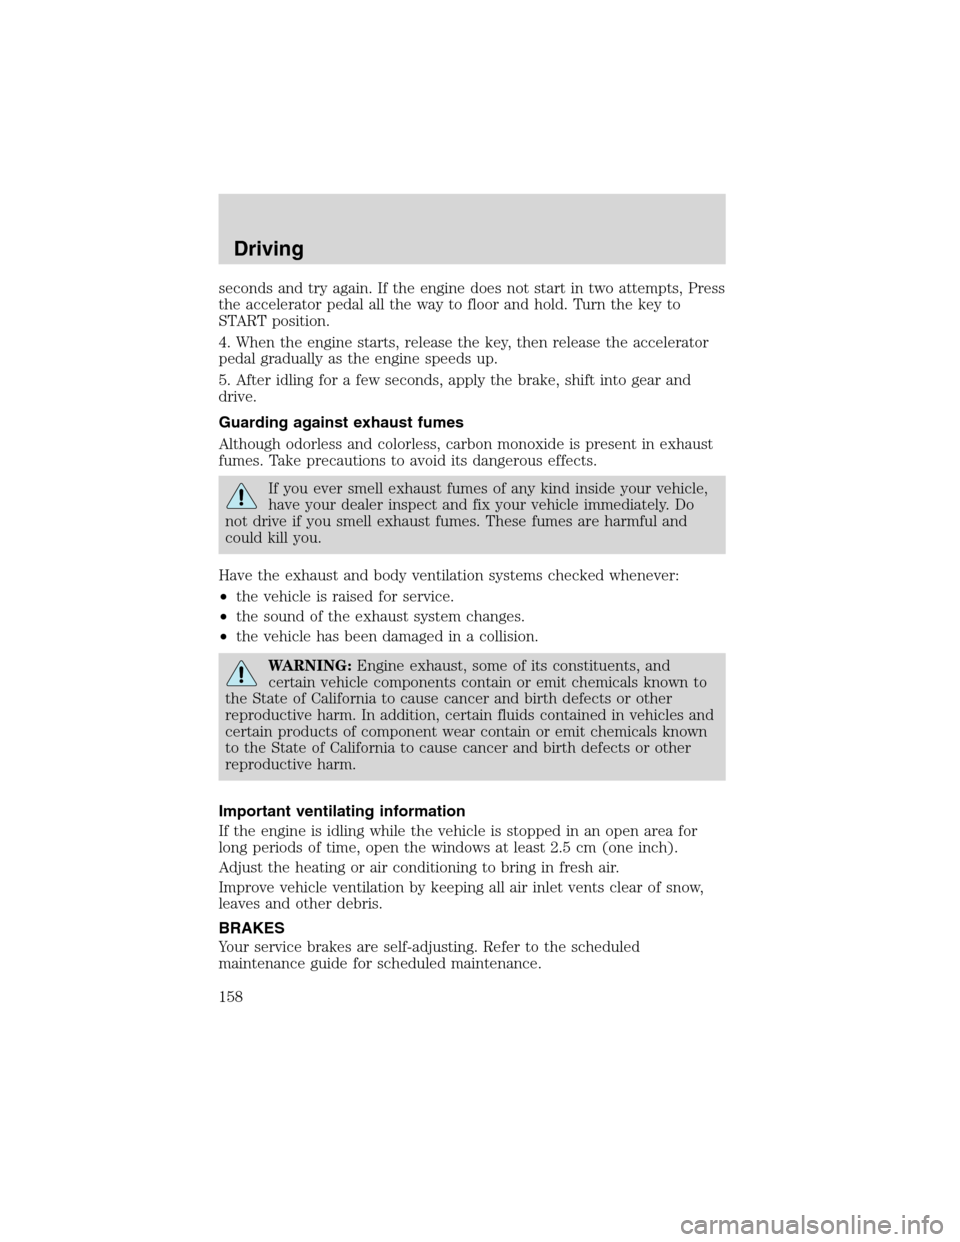
1. Turn the key to 4 (START)
without pressing the accelerator
pedal and release as soon as the
engine starts. The key will return to
3 (ON).
2. If the temperature is above–12°C
(10°F) and the engine does not
start within five seconds on the first
try, turn the key to OFF, wait 10
seconds and try again.
3. If the temperature is below -12°C (10°F) and the engine does not
start in 15 seconds on the first try, turn the key OFF and wait 10
km/h0 1020304050
60
70
80
90
100MPH
TRIP A
RPM x 1000
20406080
100
120
140
160
0 1234
5
6
7
8F
H
CE
CRUISE SETPRND2P1
SERVICE
ENGINE
SOONABSAIR
BAGABSO/D
OFF
OUTSIDE TEMP
INST ECONOMY
AVG. ECONOMY
TO EMPTY
PRND21FUEL DOOR UNLEADED FUEL ONLY CRUISE
MPH
km/h
km
F
EH
C
1/2N
O
R
M
A
L
012345
6
78
P!BRAKE
X 1000
RPMTRIP 1
TRIP 2 ˚F ˚C
MILES/BAL
L/100 km
4
3
2
1
Driving
157
Page 158 of 256
seconds and try again. If the engine does not start in two attempts, Press
the accelerator pedal all the way to floor and hold. Turn the key to
START position.
4. When the engine starts, release the key, then release the accelerator
pedal gradually as the engine speeds up.
5. After idling for a few seconds, apply the brake, shift into gear and
drive.
Guarding against exhaust fumes
Although odorless and colorless, carbon monoxide is present in exhaust
fumes. Take precautions to avoid its dangerous effects.
If you ever smell exhaust fumes of any kind inside your vehicle,
have your dealer inspect and fix your vehicle immediately. Do
not drive if you smell exhaust fumes. These fumes are harmful and
could kill you.
Have the exhaust and body ventilation systems checked whenever:
•the vehicle is raised for service.
•the sound of the exhaust system changes.
•the vehicle has been damaged in a collision.
WARNING:Engine exhaust, some of its constituents, and
certain vehicle components contain or emit chemicals known to
the State of California to cause cancer and birth defects or other
reproductive harm. In addition, certain fluids contained in vehicles and
certain products of component wear contain or emit chemicals known
to the State of California to cause cancer and birth defects or other
reproductive harm.
Important ventilating information
If the engine is idling while the vehicle is stopped in an open area for
long periods of time, open the windows at least 2.5 cm (one inch).
Adjust the heating or air conditioning to bring in fresh air.
Improve vehicle ventilation by keeping all air inlet vents clear of snow,
leaves and other debris.
BRAKES
Your service brakes are self-adjusting. Refer to the scheduled
maintenance guide for scheduled maintenance.
Driving
158
Page 162 of 256

•Uneven vehicle loading
•High crown in center of road
•High crosswinds
•Wheels out of alignment
•Loose or worn suspension components
AUTOMATIC TRANSAXLE OPERATION
Brake-shift interlock
This vehicle is equipped with a brake-shift interlock feature that prevents
the gearshift lever from being moved from P (Park) when the ignition is
in the ON position unless brake pedal is depressed.
If you cannot move the gearshift lever out of P (Park) with ignition in
the ON position and the brake pedal depressed:
1. Apply the parking brake, turn ignition key to OFF/LOCK, then remove
the key.
2. Insert the key and turn it to ACC. Apply the brake pedal and shift to
N (Neutral).
3. Start the vehicle.
Do not drive your vehicle until you verify that the brakelamps
are working.
If your vehicle gets stuck in mud or snow it may be rocked out by
shifting from forward and reverse gears, stopping between shifts, in a
steady pattern. Press lightly on the accelerator in each gear.
Do not rock the vehicle if the engine is not at normal operating
temperature or damage to the transmission may occur.
Do not rock the vehicle for more than a few minutes or damage
to the transmission and tires may occur or the engine may
overheat.
Always set the parking brake fully and make sure the gearshift is
latched in P (Park). Turn the ignition to the LOCK position and
remove the key whenever you leave your vehicle.
Driving
162
Page 163 of 256
If the parking brake is fully released, but the brake warning lamp
remains illuminated, the brakes may not be working properly.
See your dealer or a qualified service technician.
Understanding gearshift positions
Your automatic transaxle electronically controls the shift feel by using an
adaptive learning strategy. This feature is designed to optimize shift
smoothness. It is normal for your transaxle to shift firmly during the first
few hundred kilometers (miles) of operation until the adaptive strategy
has been learned. The adaptive learning strategy is maintained by power
from the battery. When the battery is disconnected or a new battery is
installed, the transaxle must relearn its adaptive strategy. Optimal
shifting will resume within a few hundred kilometers (miles) of
operation.
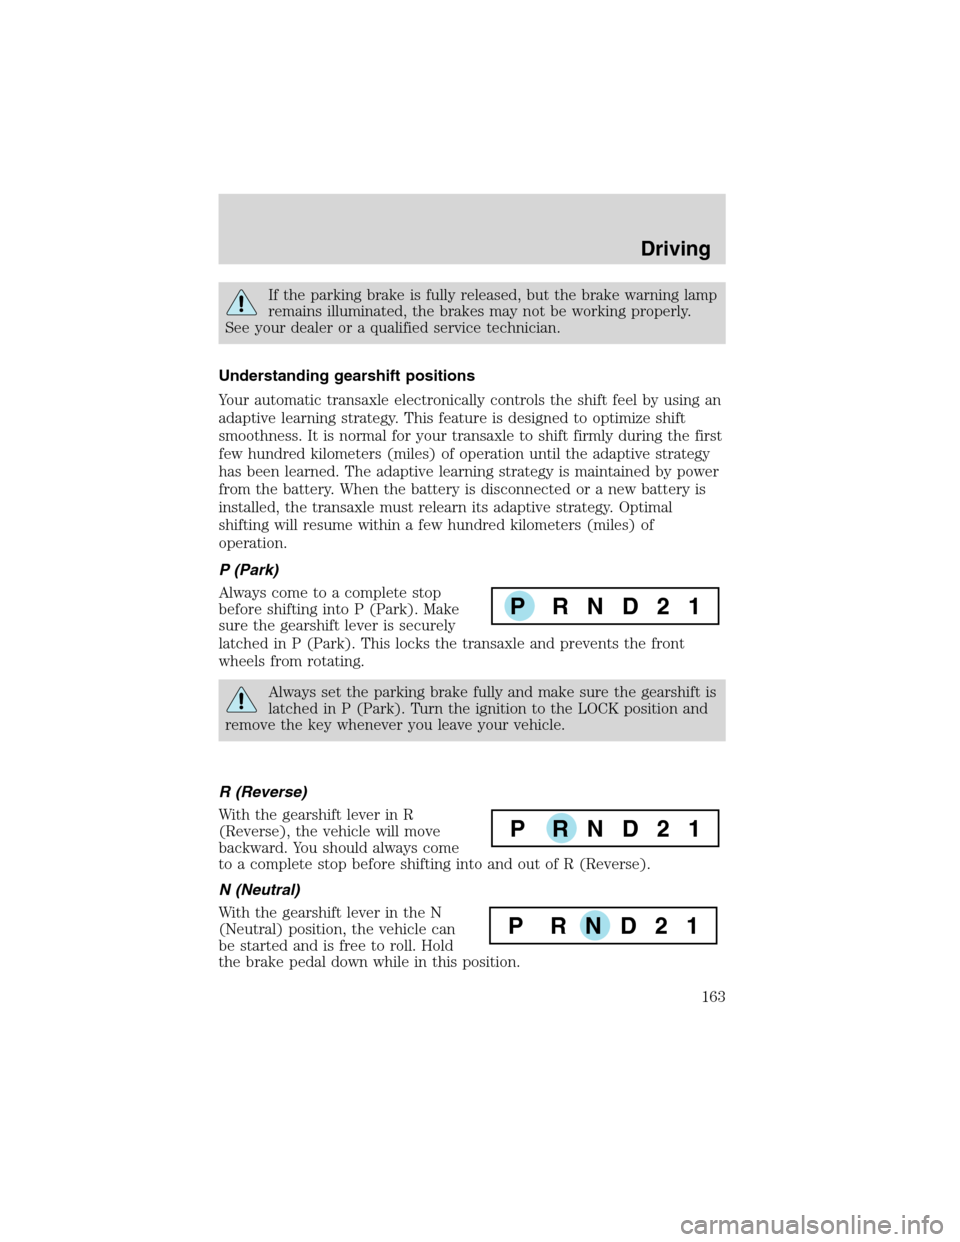
P (Park)
Always come to a complete stop
before shifting into P (Park). Make
sure the gearshift lever is securely
latched in P (Park). This locks the transaxle and prevents the front
wheels from rotating.
Always set the parking brake fully and make sure the gearshift is
latched in P (Park). Turn the ignition to the LOCK position and
remove the key whenever you leave your vehicle.
R (Reverse)
With the gearshift lever in R
(Reverse), the vehicle will move
backward. You should always come
to a complete stop before shifting into and out of R (Reverse).
N (Neutral)
With the gearshift lever in the N
(Neutral) position, the vehicle can
be started and is free to roll. Hold
the brake pedal down while in this position.
P RND21
P RND21
P RND21
Driving
163
Page 175 of 256

The fuel pump shut-off switch is
located in the driver’s foot well,
behind the kick panel. The reset
button (RED) for the fuel pump
shut-off switch is accessible through
an opening in the kick panel.
Use the following procedure to reset the fuel pump shut-off switch.
1. Turn the ignition to the OFF position.
2. Check the fuel system for leaks.
3. If no fuel leak is apparent, reset the fuel pump shut-off switch by
pushing in on the reset button.
4. Turn the ignition to the RUN position. Pause for a few seconds and
return the key to the OFF position.
5. Make a further check for leaks in the fuel system.
FUSES AND RELAYS
Fuses
If electrical components in the
vehicle are not working, a fuse may
have blown. Blown fuses are
identified by a broken wire within
the fuse. Check the appropriate
fuses before replacing any electrical
components.
Note:Always replace a fuse with one that has the specified amperage
rating. Using a fuse with a higher amperage rating can cause severe wire
damage and could start a fire.
15
Roadside Emergencies
175
Page 209 of 256
SERVICE RECOMMENDATIONS
To help you service your vehicle:
•We highlight do-it-yourself items in the engine compartment for easy
location.
•We provide a scheduled maintenance guide which makes tracking
routine service easy.
If your vehicle requires professional service, your dealership can provide
the necessary parts and service. Check yourWarranty Guideto find out
which parts and services are covered.
Use only recommended fuels, lubricants, fluids and service parts
conforming to specifications. Motorcraft parts are designed and built to
provide the best performance in your vehicle.
PRECAUTIONS WHEN SERVICING YOUR VEHICLE
Be especially careful when inspecting or servicing your vehicle.
•Do not work on a hot engine.
•When the engine is running, make sure that loose clothing, jewelry or
long hair does not get caught up in moving parts.
•Do not work on a vehicle with the engine running in an enclosed
space, unless you are sure you have enough ventilation.
•Keep all lit cigarettes, open flames and other lit material away from
the battery and all fuel related parts.
If you disconnect the battery, the engine must“relearn”its idle
conditions before your vehicle will drive properly, as explained in the
Batterysection of this chapter.
Working with the engine off
1. Set the parking brake and ensure the gearshift is securely latched in P
(Park).
2. Turn off the engine and remove the key.
3. Block the wheels to prevent the vehicle from moving unexpectedly.
Working with the engine on
1. Set the parking brake and ensure the gearshift is securely latched in P
(Park).
2. Block the wheels to prevent the vehicle from moving unexpectedly.
Note:Do not start your engine with the air cleaner removed and do not
remove it while the engine is running.
Maintenance and Specifications
209
Page 251 of 256
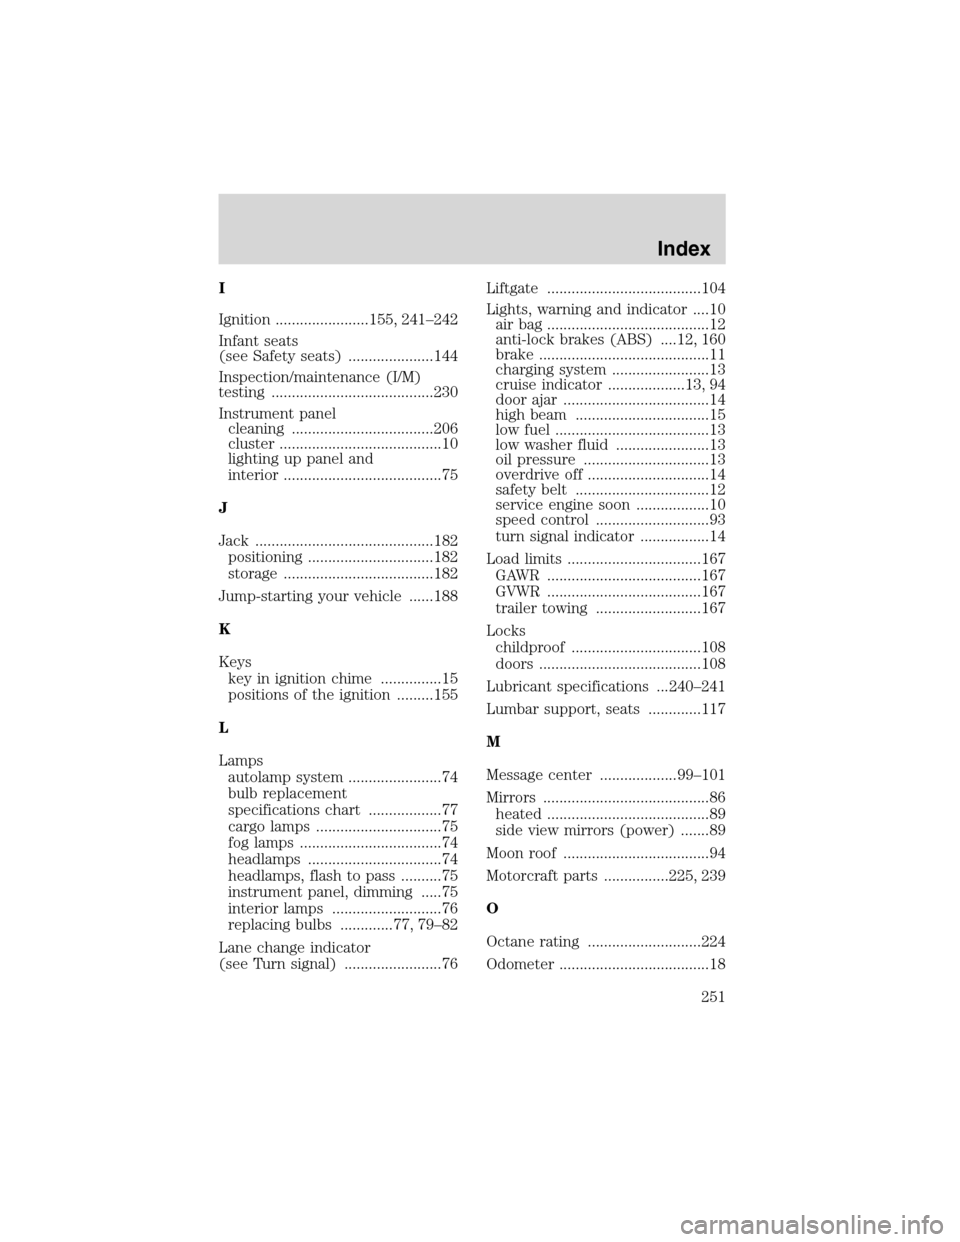
I
Ignition .......................155, 241–242
Infant seats
(see Safety seats) .....................144
Inspection/maintenance (I/M)
testing ........................................230
Instrument panel
cleaning ...................................206
cluster ........................................10
lighting up panel and
interior .......................................75
J
Jack ............................................182
positioning ...............................182
storage .....................................182
Jump-starting your vehicle ......188
K
Keys
key in ignition chime ...............15
positions of the ignition .........155
L
Lamps
autolamp system .......................74
bulb replacement
specifications chart ..................77
cargo lamps ...............................75
fog lamps ...................................74
headlamps .................................74
headlamps, flash to pass ..........75
instrument panel, dimming .....75
interior lamps ...........................76
replacing bulbs .............77, 79–82
Lane change indicator
(see Turn signal) ........................76Liftgate ......................................104
Lights, warning and indicator ....10
air bag ........................................12
anti-lock brakes (ABS) ....12, 160
brake ..........................................11
charging system ........................13
cruise indicator ...................13, 94
door ajar ....................................14
high beam .................................15
low fuel ......................................13
low washer fluid .......................13
oil pressure ...............................13
overdrive off ..............................14
safety belt .................................12
service engine soon ..................10
speed control ............................93
turn signal indicator .................14
Load limits .................................167
GAWR ......................................167
GVWR ......................................167
trailer towing ..........................167
Locks
childproof ................................108
doors ........................................108
Lubricant specifications ...240–241
Lumbar support, seats .............117
M
Message center ...................99–101
Mirrors .........................................86
heated ........................................89
side view mirrors (power) .......89
Moon roof ....................................94
Motorcraft parts ................225, 239
O
Octane rating ............................224
Odometer .....................................18
Index
251