remote control MINI Clubman 2011 (Mini Connected) Owner's Guide
[x] Cancel search | Manufacturer: MINI, Model Year: 2011, Model line: Clubman, Model: MINI Clubman 2011Pages: 256, PDF Size: 3.75 MB
Page 93 of 256
Practical interior accessoriesCONTROLS
91
Canada: if the LED is not flashing rapidly
after 60 seconds, change the distance and
repeat the step or, if the programming was
interrupted by the hand-held transmitter,
press and hold the memory button and
press the button on the hand-held transmit-
ter for 2 seconds and release several times.
5. To program other original hand-held trans-
mitters, repeat steps 3 and 4.
The corresponding memory button 1 is now
programmed with the signal of the original
hand-held transmitter.
You can operate the system with the engine
running or with the ignition switched on.
If the system fails to function even after
repeated programming, check whether
the original hand-held transmitter uses an alter-
nating-code system. To do so, either read the
instructions for the original hand-held transmit-
ter or hold down the programmed memory
button 1 of the integrated universal remote con-
trol. If the LED 2 for the integrated universal
remote control quickly flashes for a short period
of time and is then continuously on, then the
original hand-held transmitter is equipped with
an alternating-code system . If it uses an alter-
nating-code system, program the memory
buttons 1 as described under Alternating-code
hand-held transmitters. <
Alternating-code hand-held
transmitters
To program the integrated universal remote
control, consult the operating instructions for
the device to be set. You will find information
there on the possibilities for synchronization or
programming of additional hand-held transmit-
ters.
When programming hand-held transmitters that
employ an alternating co de, please observe the
following supplementary instructions:
Programming will be easier with the aid of
a second person. < 1.
Park your vehicle within the range of the
remote-controlled device.
Do not exceed the 164 ft/50 m range
of the remote-controlled device.
2. Program the integrated universal remote
control as described above in the section
Fixed-code hand-held transmitters.
3. Locate the button on the receiver of the
device to be set, e.g. on the drive unit.
4. Press the button on the receiver of the
device to be set. After Step 4, there remain
approx. 30 seconds for Step 5.
5. Press and hold the programmed memory
button 1 on the integrated universal remote
control for approx. 3seconds.
If necessary, repeat the step up to three
times.
The corresponding memory button1 is now
programmed with the signal of the original
hand-held transmitter.
Clearing stored programs
Press both oute r memory buttons 1 for approx.
20 seconds until the LED 2 flashes: all stored
programs are cleared.
It is not possible to cl ear individual programs.
Reassigning individual programs
1.Hold the original hand-held transmitter at a
distance of approx. 1 in/2.5 cm to 3 in/8 cm
from the memory buttons 1.
The required distance between the
hand-held transmitter and the mem-
ory buttons 1 depends on the system of the
respective original hand-held transmitter
used. <
2. Press the desired memory button 1 of the
integrated universal remote control.
If the LED 2 flashes slowly after approx.
20 seconds, press the transmit key of the
original hand-held tr ansmitter and release
both buttons as soon as the LED 2 flashes
rapidly.
Page 123 of 256
Route guidanceNAVIGATION
121
>Gray road sign: the obstruction does not
relate to the planned route or direction of
travel.
Traffic information, refer to page 122.
Planned route
After route guidance is started, the planned
route is displayed on the map.
Status boxes
Show/hide: press the MINI joystick.
>Upper status box: time, phone details, and
entertainment details.
> Lower status box: symbol for active route
guidance, traffic inform ation status, arrival
time, and distance from destination.
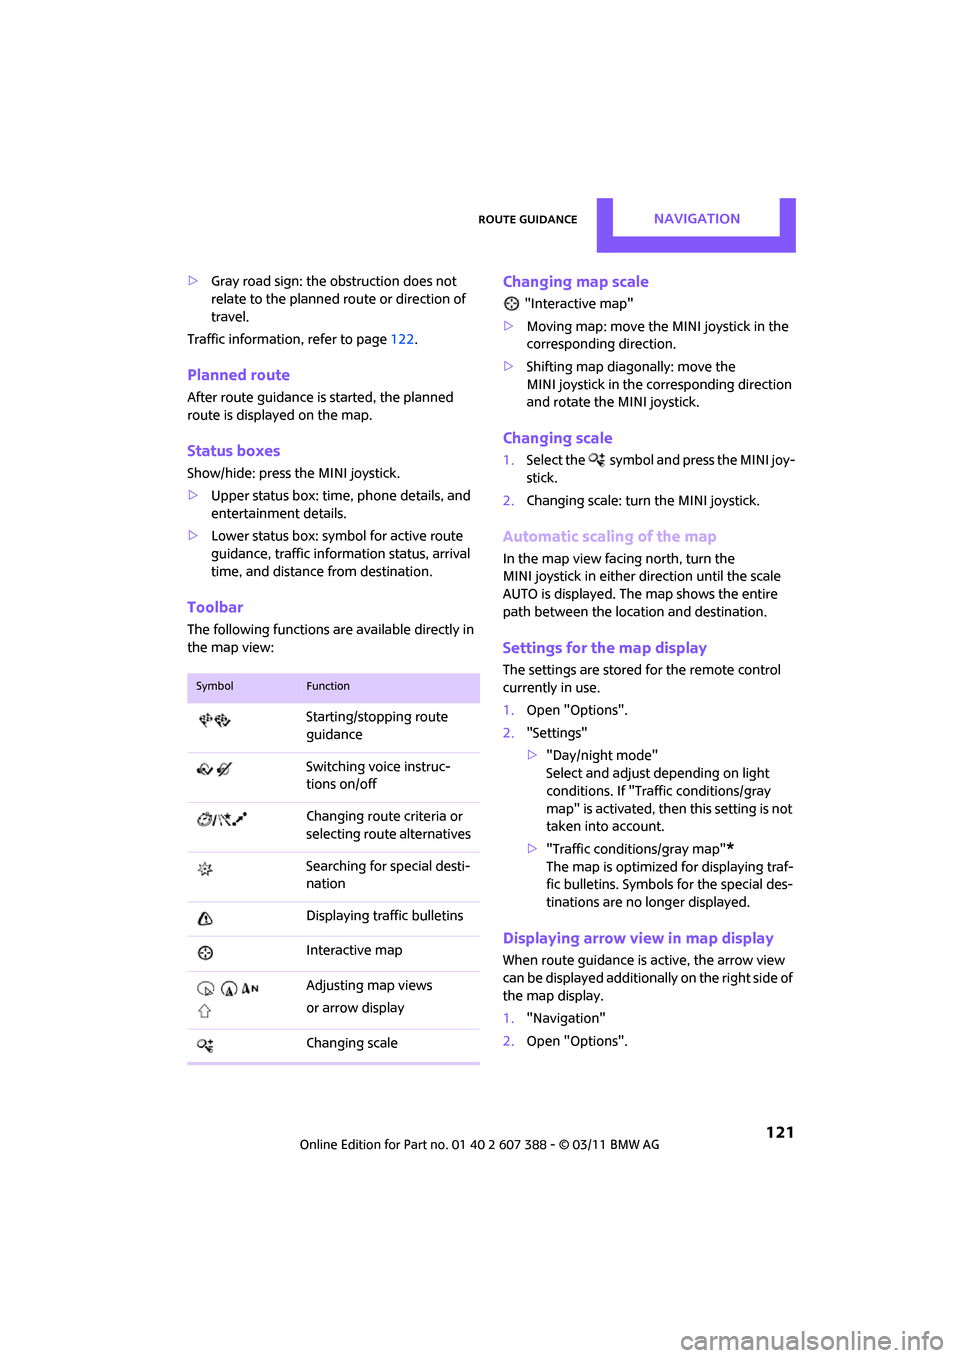
Toolbar
The following functions ar e available directly in
the map view:
Changing map scale
"Interactive map"
> Moving map: move the MINI joystick in the
corresponding direction.
> Shifting map diag onally: move the
MINI joystick in the corresponding direction
and rotate the MINI joystick.
Changing scale
1. Select the symbol and press the MINI joy-
stick.
2. Changing scale: turn the MINI joystick.
Automatic scaling of the map
In the map view facing north, turn the
MINI joystick in either direction until the scale
AUTO is displayed. The map shows the entire
path between the location and destination.
Settings for the map display
The settings are stored for the remote control
currently in use.
1.Open "Options".
2. "Settings"
>"Day/night mode"
Select and adjust depending on light
conditions. If "Traffic conditions/gray
map" is activated, then this setting is not
taken into account.
> "Traffic conditions/gray map"
*
The map is optimized for displaying traf-
fic bulletins. Symbols for the special des-
tinations are no longer displayed.
Displaying arrow view in map display
When route guidance is active, the arrow view
can be displayed additionally on the right side of
the map display.
1. "Navigation"
2. Open "Options".
SymbolFunction
Starting/stopping route
guidance
Switching voice instruc-
tions on/off
Changing route criteria or
selecting rout e alternatives
Searching for special desti-
nation
Displaying traffic bulletins
Interactive map
Adjusting map views
or arrow display
Changing scale
Page 124 of 256
NAVIGATIONRoute guidance
122
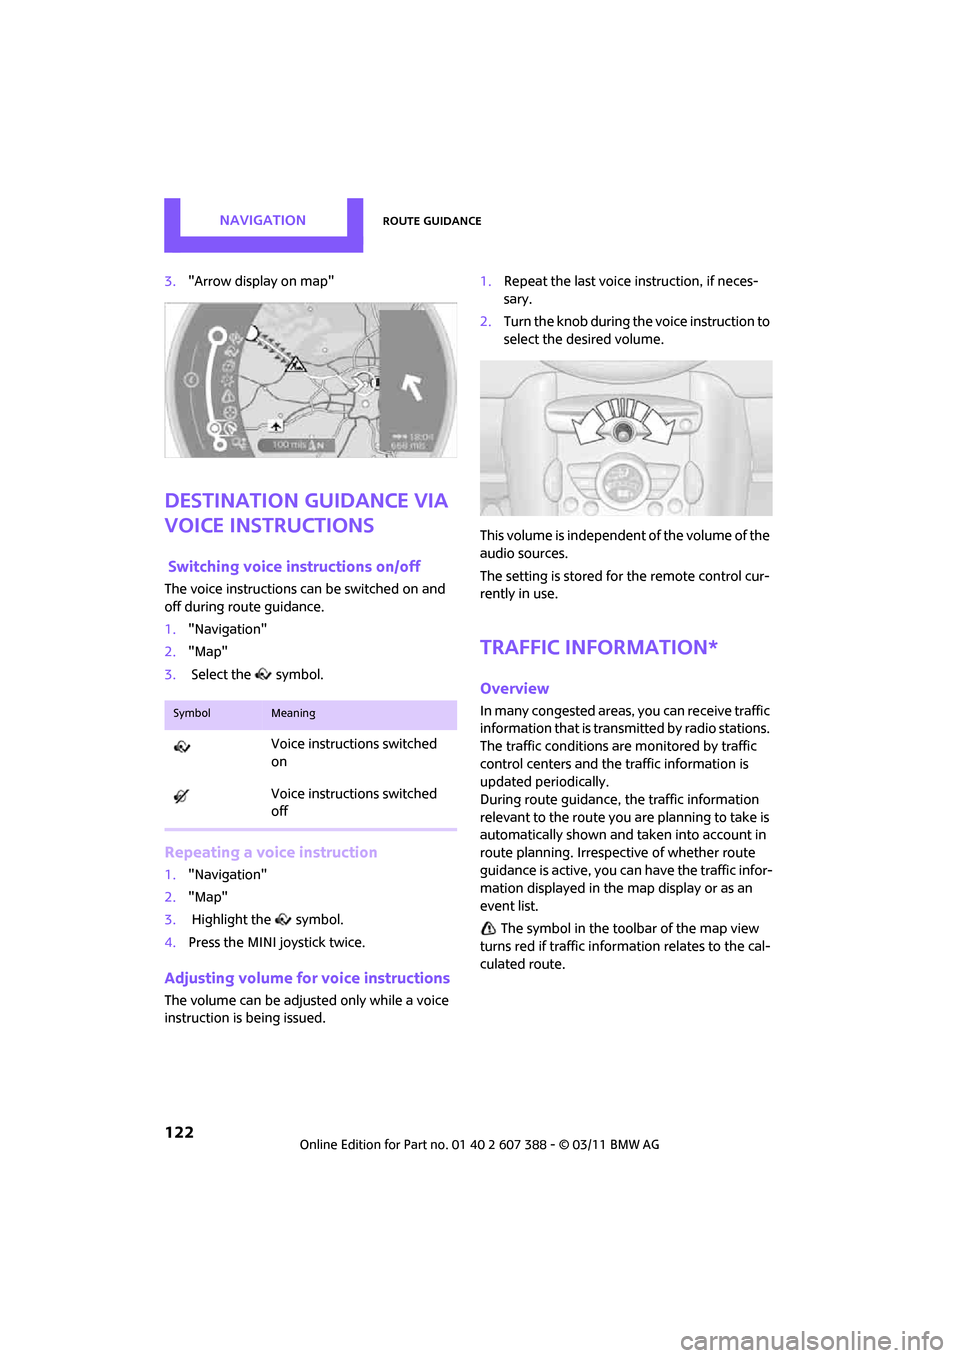
3."Arrow display on map"
Destination guidance via
voice instructions
Switching voice in structions on/off
The voice instructions can be switched on and
off during route guidance.
1. "Navigation"
2. "Map"
3. Select the symbol.
Repeating a voice instruction
1."Navigation"
2. "Map"
3. Highlight the symbol.
4. Press the MINI joystick twice.
Adjusting volume fo r voice instructions
The volume can be adjusted only while a voice
instruction is being issued. 1.
Repeat the last voice instruction, if neces-
sary.
2. Turn the knob during the voice instruction to
select the de sired volume.
This volume is independent of the volume of the
audio sources.
The setting is stored fo r the remote control cur-
rently in use.
Traffic information*
Overview
In many congested areas, you can receive traffic
information that is transmitted by radio stations.
The traffic conditions are monitored by traffic
control centers and the traffic information is
updated periodically.
During route guidance, the traffic information
relevant to the route you are planning to take is
automatically shown and taken into account in
route planning. Irrespective of whether route
guidance is active, you can have the traffic infor-
mation displayed in the map display or as an
event list.
The symbol in the toolbar of the map view
turns red if traffic inform ation relates to the cal-
culated route.SymbolMeaning
Voice instructions switched
on
Voice instructions switched
off
Page 132 of 256
ENTERTAINMENTOn/off and tone
130
On/off and tone
The following audio sources have shared control
elements and setting options:
> Radio
> CD player
> External devices, e.g. MP3 player
Controls
The audio sources can be operated using:
>Buttons near the CD player
> On-board computer
> Buttons on the steering wheel, refer to
page 10
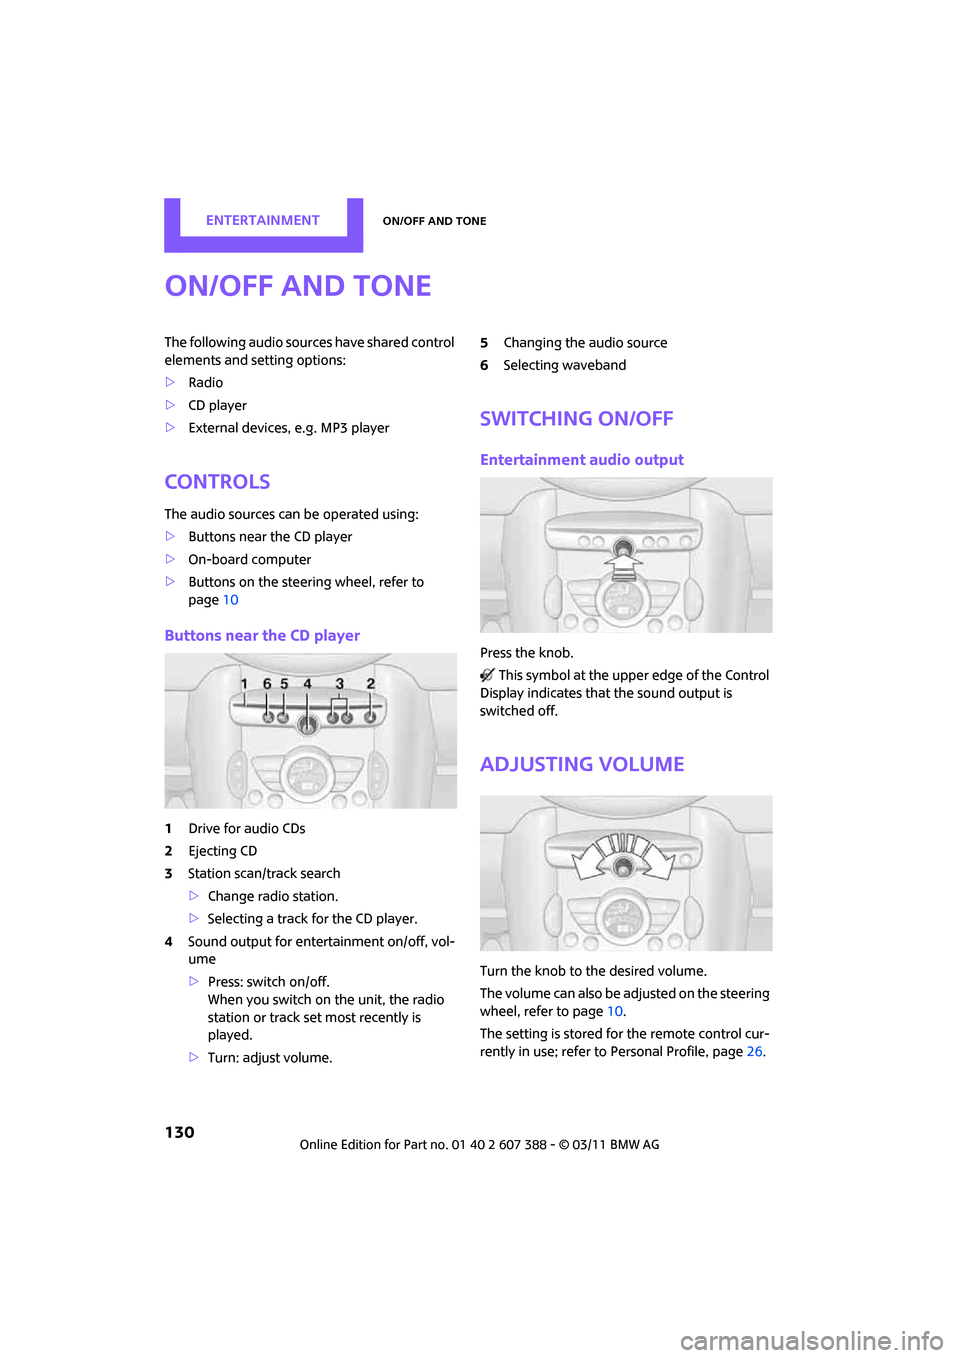
Buttons near the CD player
1Drive for audio CDs
2 Ejecting CD
3 Station scan/track search
>Change radio station.
> Selecting a track for the CD player.
4 Sound output for ente rtainment on/off, vol-
ume
> Press: switch on/off.
When you switch on the unit, the radio
station or track set most recently is
played.
> Turn: adjust volume. 5
Changing the audio source
6 Selecting waveband
Switching On/Off
Entertainment audio output
Press the knob.
This symbol at the upper edge of the Control
Display indicates that the sound output is
switched off.
Adjusting volume
Turn the knob to the desired volume.
The volume can also be adjusted on the steering
wheel, refer to page 10.
The setting is stored fo r the remote control cur-
rently in use; refer to Personal Profile, page 26.
Page 133 of 256
On/off and toneENTERTAINMENT
131
Tone control
Various tone settings can be changed, e.g. treble
and bass or the speed-dependent volume con-
trol.
The tone settings are set for all audio sources at
once.
The settings are stored for the remote control
currently in use; refer to Personal Profile,
page 26.
Treble, bass, balance, fader
> "Treble": treble setting.
> "Bass": bass.
> "Balance": volume distribution right/left.
> "Fader": volume distribution front/back.
Adjustments
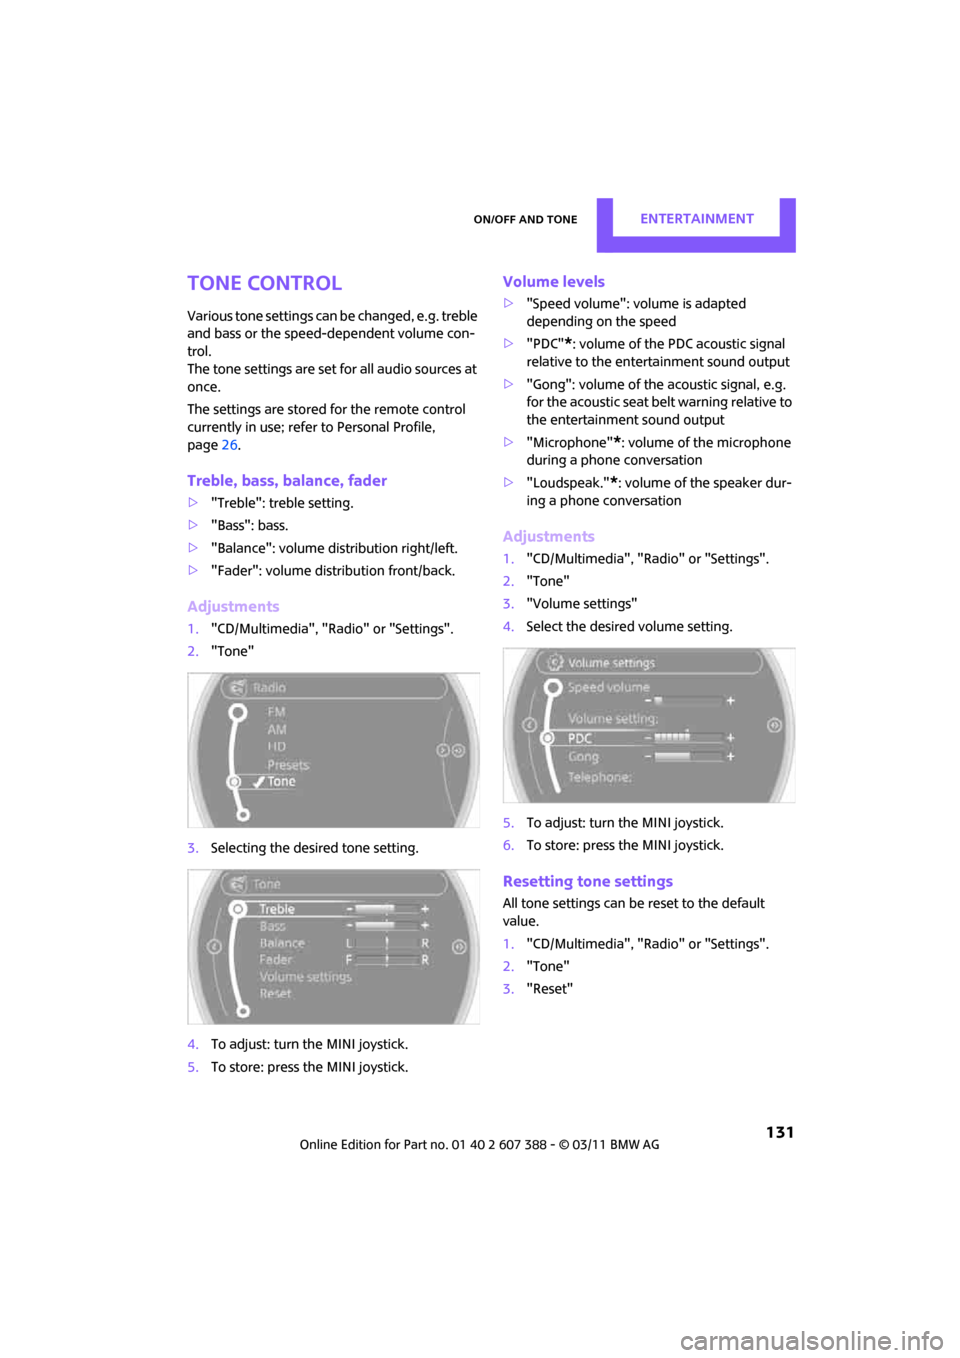
1."CD/Multimedia", "Rad io" or "Settings".
2. "Tone"
3. Selecting the desired tone setting.
4. To adjust: turn the MINI joystick.
5. To store: press the MINI joystick.
Volume levels
>"Speed volume": vo lume is adapted
depending on the speed
> "PDC"
*: volume of the PDC acoustic signal
relative to the entertainment sound output
> "Gong": volume of the acoustic signal, e.g.
for the acoustic seat belt warning relative to
the entertainment sound output
> "Microphone"
*: volume of the microphone
during a phone conversation
> "Loudspeak."
*: volume of the speaker dur-
ing a phone conversation
Adjustments
1. "CD/Multimedia", "Rad io" or "Settings".
2. "Tone"
3. "Volume settings"
4. Select the desired volume setting.
5. To adjust: turn the MINI joystick.
6. To store: press the MINI joystick.
Resetting tone settings
All tone settings can be reset to the default
value.
1."CD/Multimedia", "Rad io" or "Settings".
2. "Tone"
3. "Reset"
Page 134 of 256
ENTERTAINMENTRadio
132
Radio
Your radio is designed for reception of the fol-
lowing stations:
> FM and AM
> HD Radio
*
>Satellite radio*
AM/FM station
Selecting a station
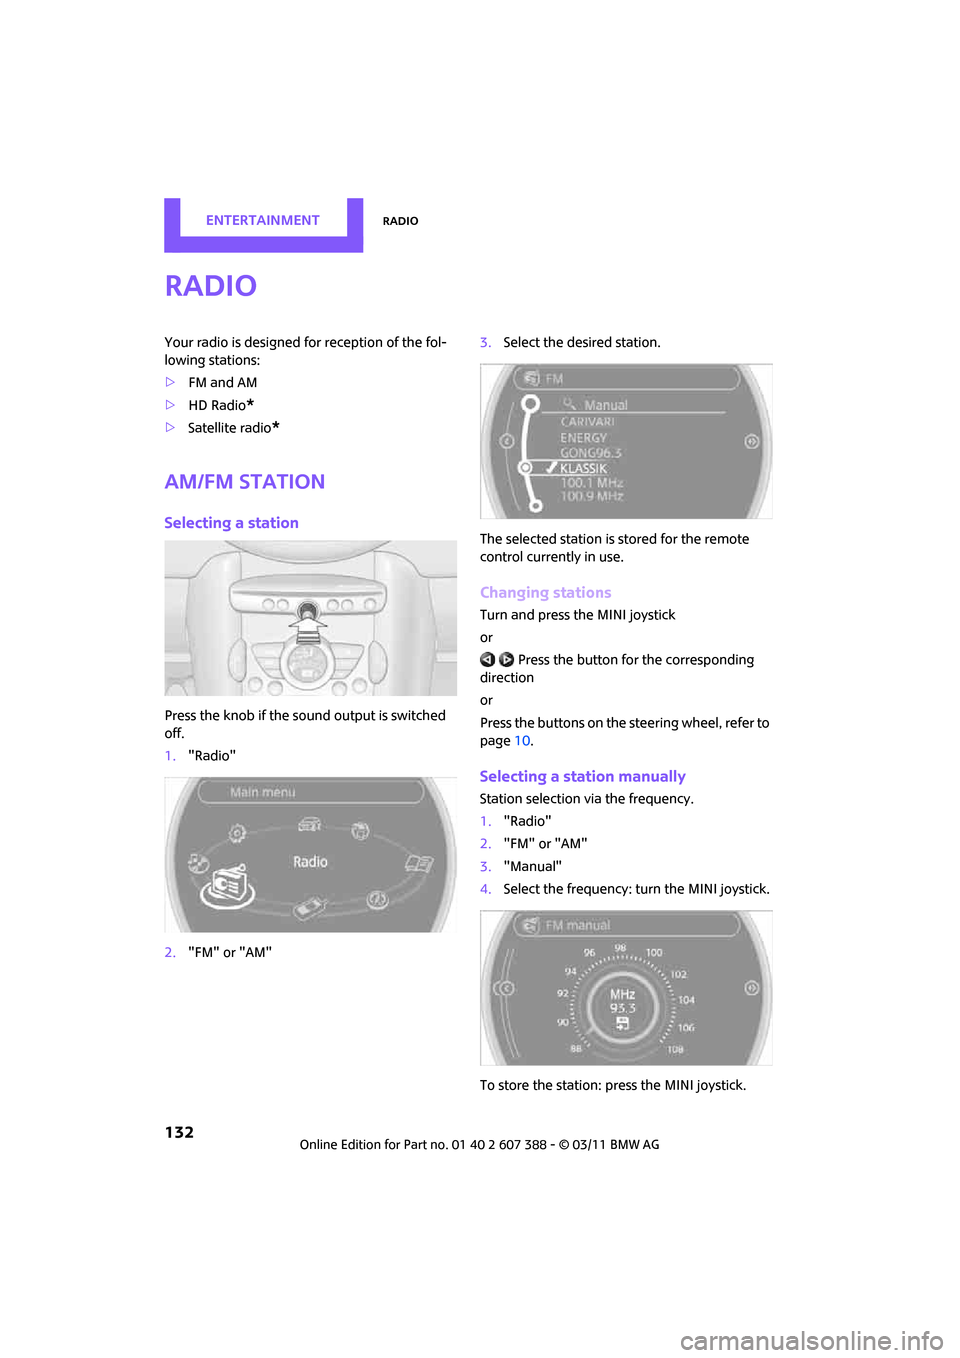
Press the knob if the so und output is switched
off.
1. "Radio"
2. "FM" or "AM" 3.
Select the desired station.
The selected station is stored for the remote
control currently in use.
Changing stations
Turn and press the MINI joystick
or Press the button for the corresponding
direction
or
Press the buttons on the steering wheel, refer to
page 10.
Selecting a station manually
Station selection via the frequency.
1. "Radio"
2. "FM" or "AM"
3. "Manual"
4. Select the frequency: turn the MINI joystick.
To store the station: press the MINI joystick.
Page 135 of 256
RadioENTERTAINMENT
133
Storing stations
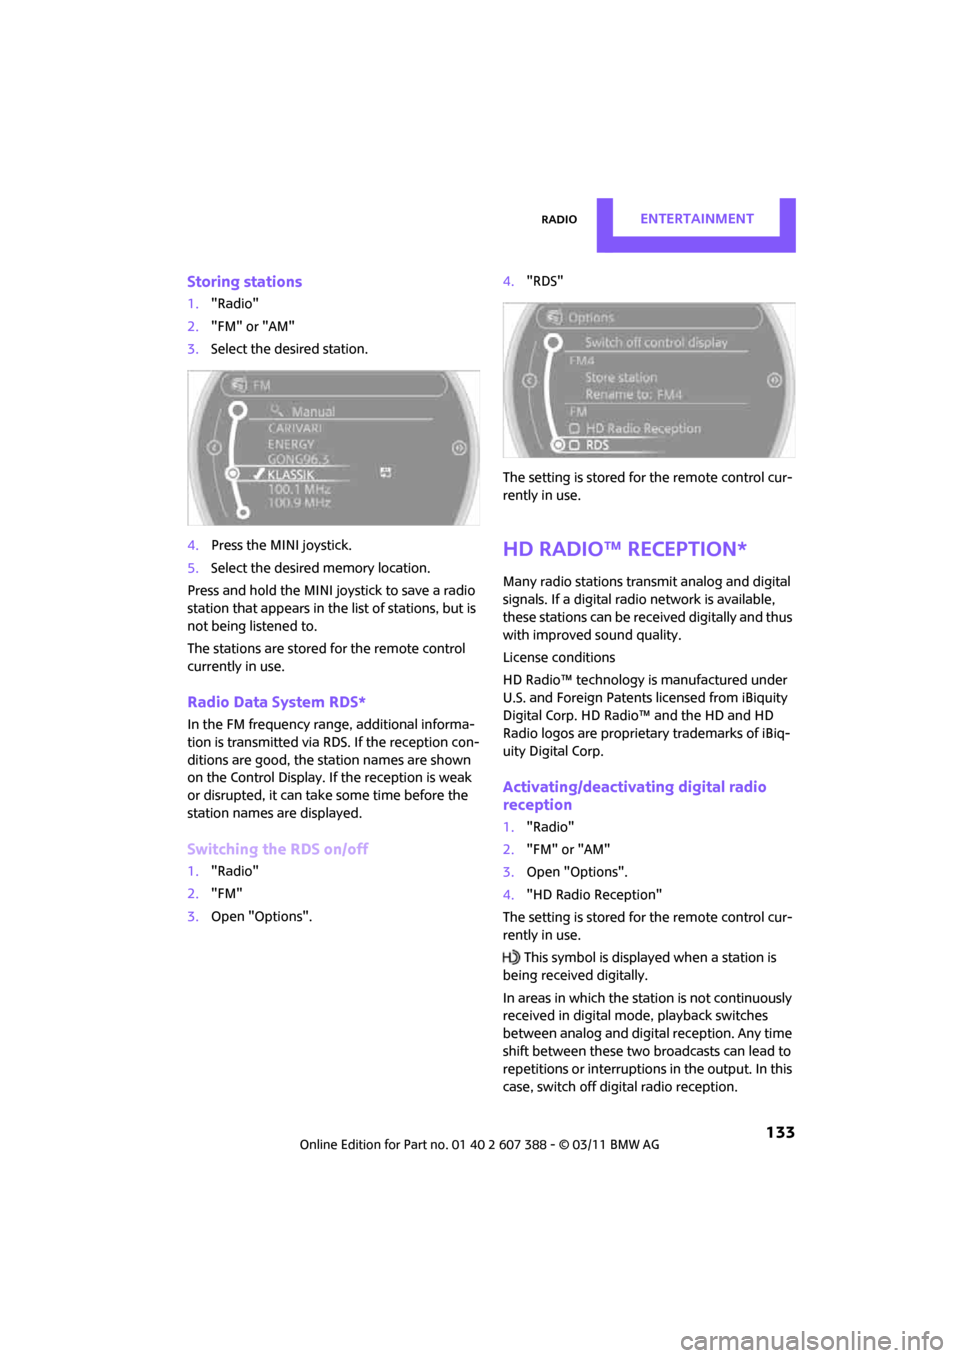
1."Radio"
2. "FM" or "AM"
3. Select the desired station.
4. Press the MINI joystick.
5. Select the desired memory location.
Press and hold the MINI joystick to save a radio
station that appears in the list of stations, but is
not being listened to.
The stations are stored for the remote control
currently in use.
Radio Data System RDS*
In the FM frequency range, additional informa-
tion is transmitted via RDS. If the reception con-
ditions are good, the st ation names are shown
on the Control Display. If the reception is weak
or disrupted, it can take some time before the
station names are displayed.
Switching the RDS on/off
1. "Radio"
2. "FM"
3. Open "Options". 4.
"RDS"
The setting is stored for the remote control cur-
rently in use.
HD Radio™ reception*
Many radio stations transmit analog and digital
signals. If a digital radio network is available,
these stations can be received digitally and thus
with improved sound quality.
License conditions
HD Radio™ technology is manufactured under
U.S. and Foreign Patents licensed from iBiquity
Digital Corp. HD Radio™ and the HD and HD
Radio logos are proprietary trademarks of iBiq-
uity Digital Corp.
Activating/deactivating digital radio
reception
1. "Radio"
2. "FM" or "AM"
3. Open "Options".
4. "HD Radio Reception"
The setting is stored for the remote control cur-
rently in use.
This symbol is displayed when a station is
being received digitally.
In areas in which the station is not continuously
received in digital mode, playback switches
between analog and digita l reception. Any time
shift between these two broadcasts can lead to
repetitions or interruptions in the output. In this
case, switch off digi tal radio reception.
Page 136 of 256
ENTERTAINMENTRadio
134
Displaying additional information
Some stations broadcast additional information
on the current track, such as the name of the art-
ist.
1. Select the desired station.
2. Open "Options".
3. "Station info"
Selecting a substation
The symbol indicates that a main station also
broadcasts additional su bstations. The station
name of the main station ends in HD1. The sta-
tion names of the substa tions end in HD2, HD3,
etc.
1. Select the desired station.
2. Press the MINI joystick.
3. Select the substation.
When reception is poor, the substation is muted
for several seconds. If reception is interrupted
for an extended period, the radio switches back
to the main station.
Stored stations
It is possible to store up to 40 stations.
Selecting a station
1. "Radio"
2. "Presets"
3. Select the desired station.
Storing a station
The station currently selected is stored.
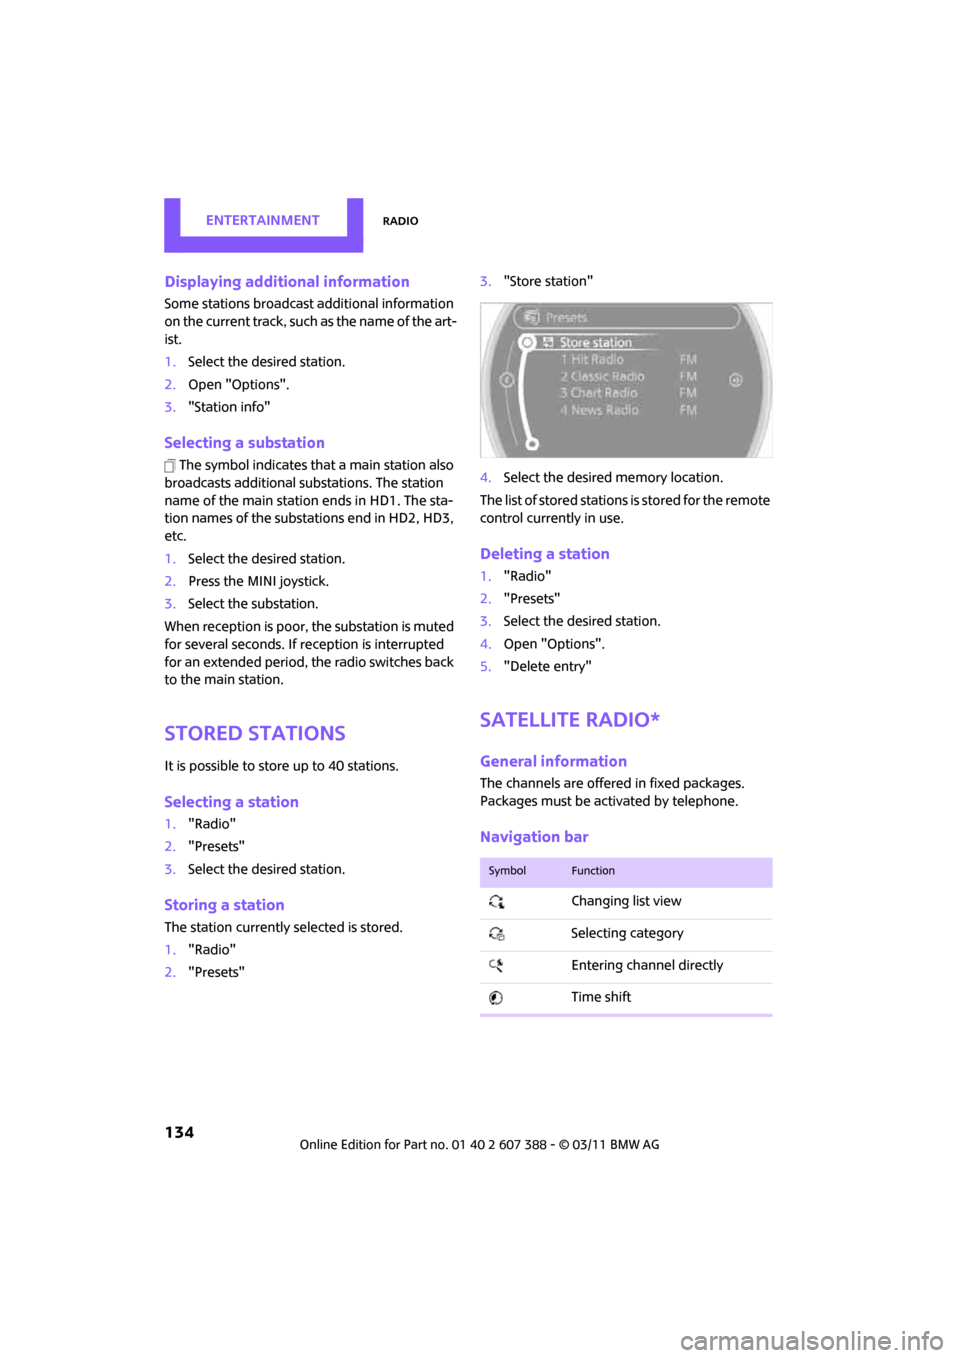
1. "Radio"
2. "Presets" 3.
"Store station"
4. Select the desired memory location.
The list of stored stations is stored for the remote
control currently in use.
Deleting a station
1. "Radio"
2. "Presets"
3. Select the desired station.
4. Open "Options".
5. "Delete entry"
Satellite radio*
General information
The channels are offered in fixed packages.
Packages must be activated by telephone.
Navigation bar
SymbolFunction
Changing list view
Selecting category
Entering channel directly
Time shift
Page 137 of 256
RadioENTERTAINMENT
135
Managing subscription
Clear reception is required for activating and
deactivating channels. Reception is best when
you have an unobstructed view to the sky. The
channel name is displayed in the status line.
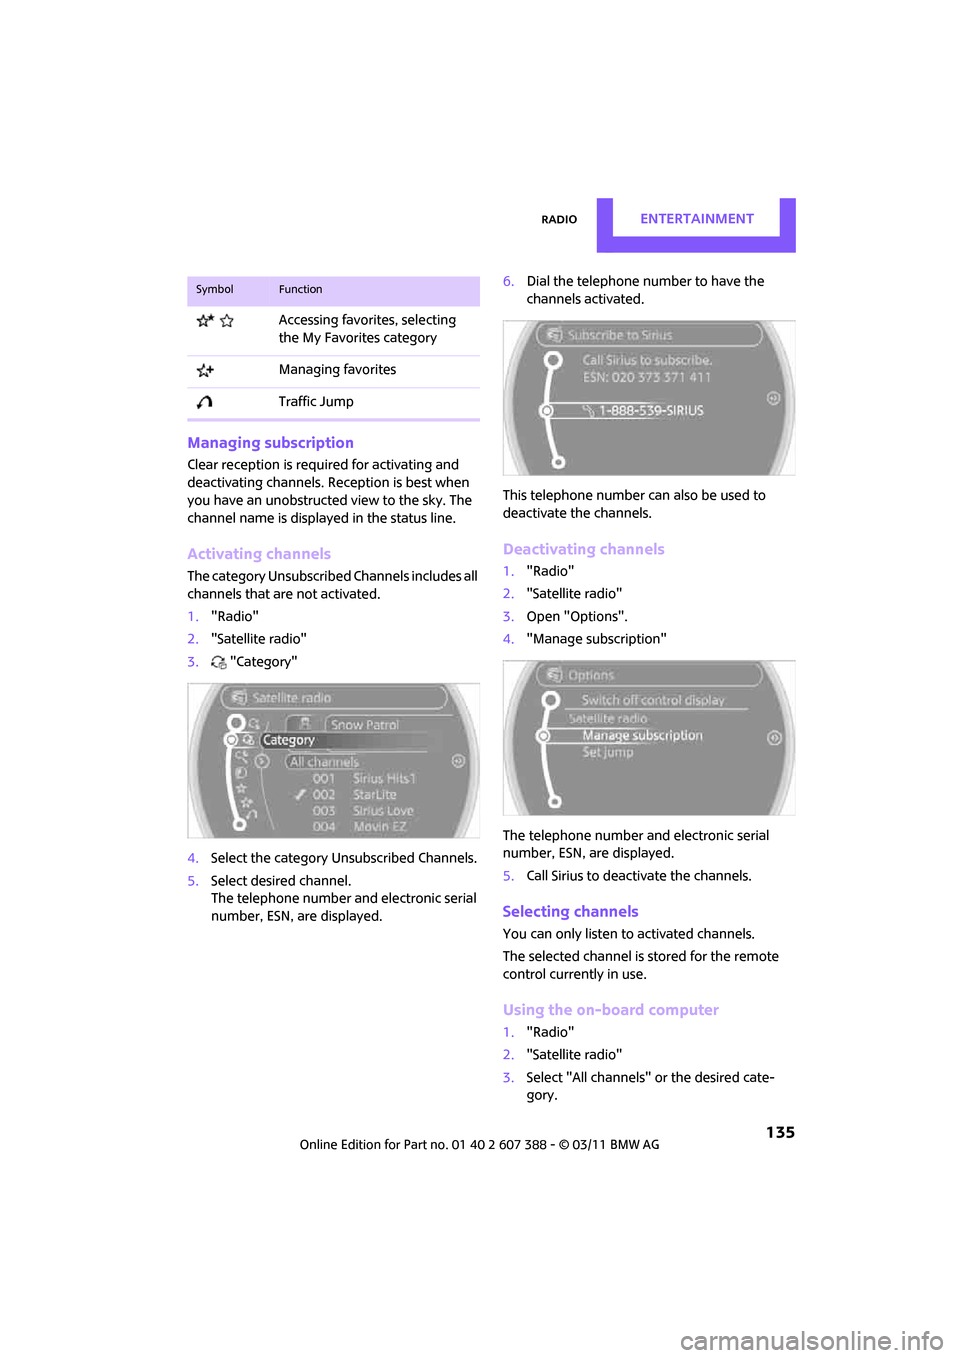
Activating channels
The category Unsubscribed Channels includes all
channels that are not activated.
1. "Radio"
2. "Satellite radio"
3. "Category"
4. Select the category Unsubscribed Channels.
5. Select desired channel.
The telephone number and electronic serial
number, ESN, are displayed. 6.
Dial the telephone number to have the
channels activated.
This telephone number can also be used to
deactivate the channels.
Deactivating channels
1. "Radio"
2. "Satellite radio"
3. Open "Options".
4. "Manage subscription"
The telephone number and electronic serial
number, ESN, are displayed.
5. Call Sirius to deactivate the channels.
Selecting channels
You can only listen to activated channels.
The selected channel is stored for the remote
control current ly in use.
Using the on-board computer
1."Radio"
2. "Satellite radio"
3. Select "All channels" or the desired cate-
gory.
Accessing favorites, selecting
the My Favorites category
Managing favorites
Traffic Jump
SymbolFunction
Page 138 of 256
ENTERTAINMENTRadio
136
4.Select desired channel.
Using the buttons near the CD player
Press the button fo r the corresponding
direction.
The next channel is selected.
Using direct channel entry
1. "Radio"
2. "Satellite radio"
3. "Set channel"
4. Turn the MINI joystick until you reach the
desired channel and then press the MINI joy-
stick.
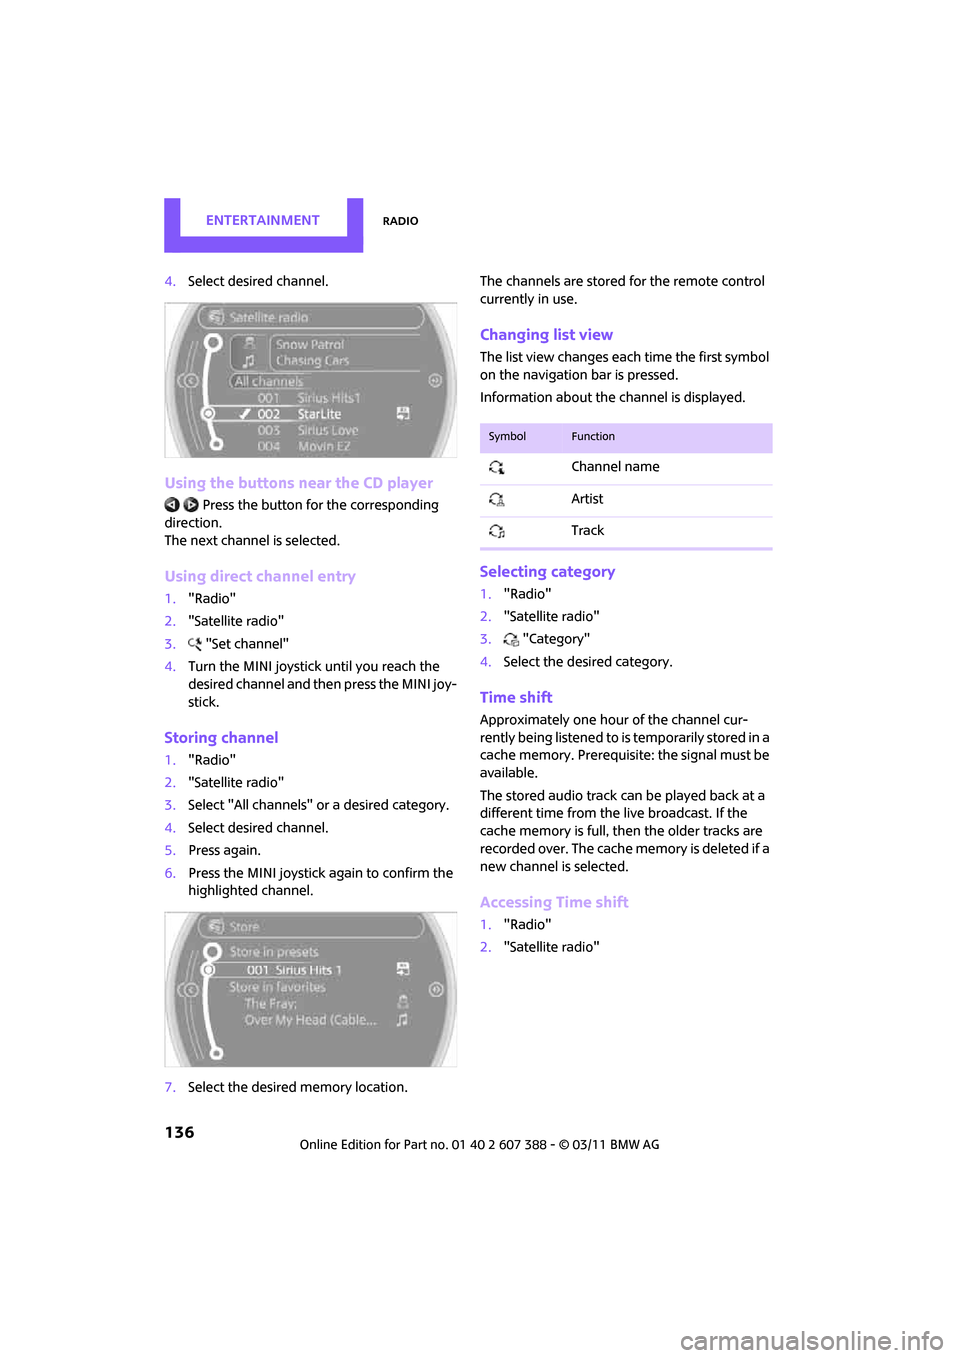
Storing channel
1."Radio"
2. "Satellite radio"
3. Select "All channels" or a desired category.
4. Select desired channel.
5. Press again.
6. Press the MINI joystick again to confirm the
highlighted channel.
7. Select the desired memory location. The channels are stored for the remote control
currently in use.
Changing list view
The list view changes each time the first symbol
on the navigation bar is pressed.
Information about the channel is displayed.
Selecting category
1.
"Radio"
2. "Satellite radio"
3. "Category"
4. Select the desired category.
Time shift
Approximately one hour of the channel cur-
rently being listened to is temporarily stored in a
cache memory. Prerequisite: the signal must be
available.
The stored audio track can be played back at a
different time from the live broadcast. If the
cache memory is full, then the older tracks are
recorded over. The cache memory is deleted if a
new channel is selected.
Accessing Time shift
1. "Radio"
2. "Satellite radio"
SymbolFunction
Channel name
Artist
Track