Led MINI COOPER 2012 User Guide
[x] Cancel search | Manufacturer: MINI, Model Year: 2012, Model line: COOPER, Model: MINI COOPER 2012Pages: 207, PDF Size: 3.18 MB
Page 39 of 207
CONTROLSAdjustments
38
Front
1.Pull up as far as it will go.
2. Fold the backrest forward slightly.
3. Press button 1 and pull the head restraint
out as far as it will go.
4. Fold back the backrest.
Rear
1.Pull up as far as it will go.
2. Press button 1 and pull the head restraint
out completely.
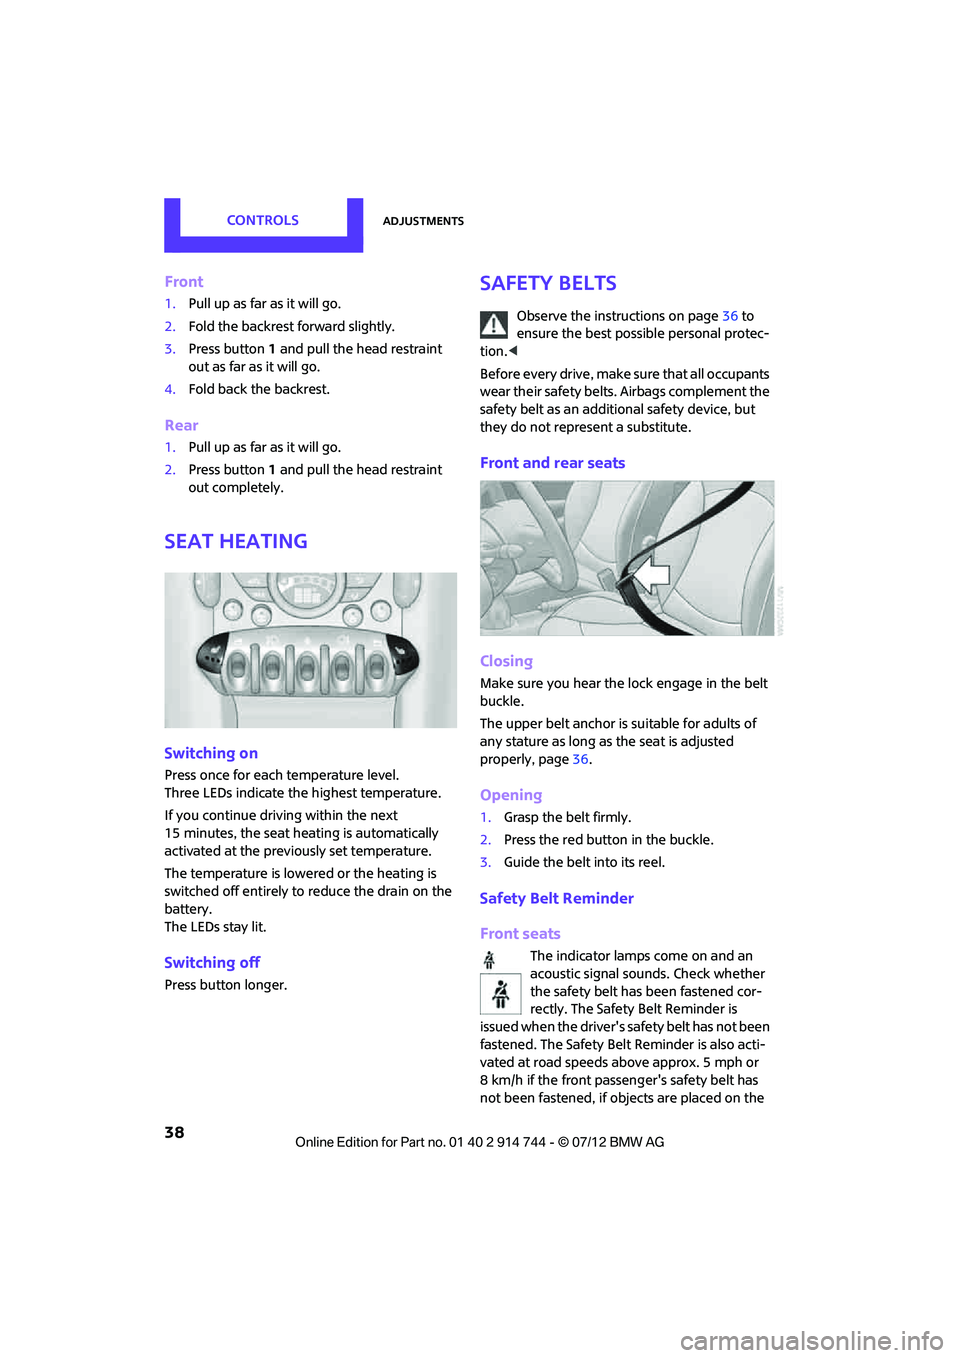
Seat heating
Switching on
Press once for each temperature level.
Three LEDs indicate the highest temperature.
If you continue driving within the next
15 minutes, the seat heat ing is automatically
activated at the previously set temperature.
The temperature is lowe red or the heating is
switched off entirely to reduce the drain on the
battery.
The LEDs stay lit.
Switching off
Press button longer.
Safety belts
Observe the instructions on page 36 to
ensure the best possible personal protec-
tion. <
Before every drive, make sure that all occupants
wear their safety belts. Airbags complement the
safety belt as an additional safety device, but
they do not represent a substitute.
Front and rear seats
Closing
Make sure you hear the lock engage in the belt
buckle.
The upper belt anchor is suitable for adults of
any stature as long as the seat is adjusted
properly, page 36.
Opening
1. Grasp the belt firmly.
2. Press the red button in the buckle.
3. Guide the belt into its reel.
Safety Belt Reminder
Front seats
The indicator lamps come on and an
acoustic signal sounds. Check whether
the safety belt has been fastened cor-
rectly. The Safety Be lt Reminder is
issued when the driver's safety belt has not been
fastened. The Safety Belt Reminder is also acti-
vated at road speeds above approx. 5 mph or
8 km/h if the front passeng er's safety belt has
not been fastened, if objects are placed on the
Online Edition for Part no. 01 40 2 914 744 - \251 07/12 BMW AG
Page 41 of 207
CONTROLSAdjustments
40
Interior and exterior mirrors,
automatic dimming feature
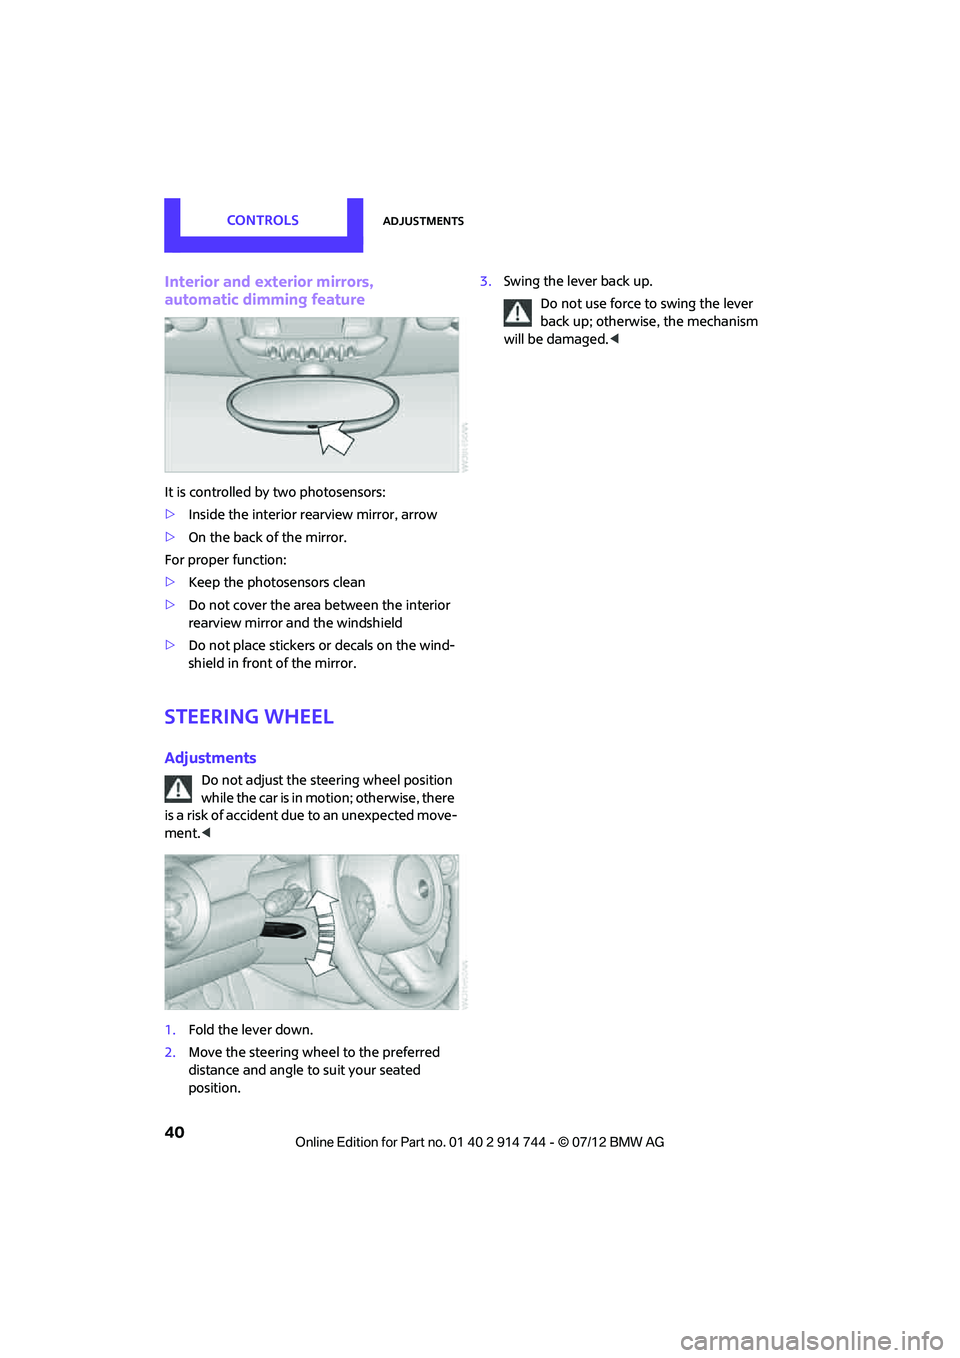
It is controlled by two photosensors:
>Inside the interior rearview mirror, arrow
> On the back of the mirror.
For proper function:
> Keep the photosensors clean
> Do not cover the area between the interior
rearview mirror and the windshield
> Do not place stickers or decals on the wind-
shield in front of the mirror.
Steering wheel
Adjustments
Do not adjust the steering wheel position
while the car is in motion; otherwise, there
is a risk of accident du e to an unexpected move-
ment. <
1. Fold the lever down.
2. Move the steering wheel to the preferred
distance and angle to suit your seated
position. 3.
Swing the lever back up.
Do not use force to swing the lever
back up; otherwise, the mechanism
will be damaged. <
Online Edition for Part no. 01 40 2 914 744 - \251 07/12 BMW AG
Page 42 of 207
Transporting children safelyCONTROLS
41
Transporting children safely
Vehicle equipment
In this chapter, all production, country, and
optional equipment that is offered in the model
range is described. Equipment is also described
that is not available because of, for example,
selected options or count ry version. This also
applies to safety related functions and systems.
The right place for
children
Do not leave children unattended in the
vehicle; otherwise, they could endanger
themselves and/or other persons by opening the
doors, for example.<
Children should always sit in the rear
Accident research has shown that the safest
place for children is on the rear seat.
Only transport children under the age of
13 or smaller than 5 ft/150 cm in the rear
in a child restraint system suitable for their age,
weight and size. Othe rwise, there is an
increased risk of injury in the event of an acci-
dent. <
Children 13 years of age or older must be
buckled in with a safety belt as soon as there no
longer is any child restraint system that is appro-
priate for their age, size and weight. Only install child seats in the rear when the
rear seat backrest is folded all the way
back and engaged. Otherwise, there is an
increased risk of injury in the event of an
accident. <
Exception for front passenger seat
Front passenger airbags
Should it be necessary to use a child
restraint system on the front passenger
seat, the front and side airbags must be deacti-
vated. Otherwise, there is an increased risk of
injury to the child if th e airbags deploy, even if
the child is seated in a child restraint system. <
For more informat ion on automatic deactivation
of the front passenger airbags, refer to page 72.
Child restraint systems,
installation
Observe the child restraint system manu-
facturer's instructions when selecting,
installing and using ch ild restraint systems.
Otherwise, the protective effect may be
diminished. <
On the front passenger seat
After installing a child restraint system on
the front passenger seat, make sure that
the front and side airbags for the front passen-
ger are deactivated; otherwise, there is an
increased risk of injury if the airbags deploy. <
Seat position
Before installing a child restraint system, move
the front passenger seat as far back and up as
possible to obtain the be st possible position for
the belt. Do not change the seat position after
this.
Online Edition for Part no. 01 40 2 914 744 - \251 07/12 BMW AG
Page 43 of 207
CONTROLSTransporting children safely
42
Child seat security
All rear safety belts and the safety belt for the
front passenger can be prevented from being
pulled out in order to secure child restraint
systems.
Locking the safety belt
1.Secure the child restraint system with the
belt.
2. Pull the belt strap all the way out.
3. Allow the belt strap to retract and pull it taut
against the child restraint system.
The safety belt is locked.
Unlocking the safety belt
1. Open the belt buckle.
2. Remove the child restraint system.
3. Allow the safety belt strap to retract all the
way.
LATCH child restraint
fixing system
LATCH: Lower Anchors and Tethers for Children.
To install and use the LATCH child restraint
system, follow the operating and safety
instructions provided by the manufacturer of the
system; otherwise, the protective function of the
seat may be compromised. <
Anchor points for LATCH anchors
Before installing the child seat, pull the belt out
of the area for the child restraint fixing system.
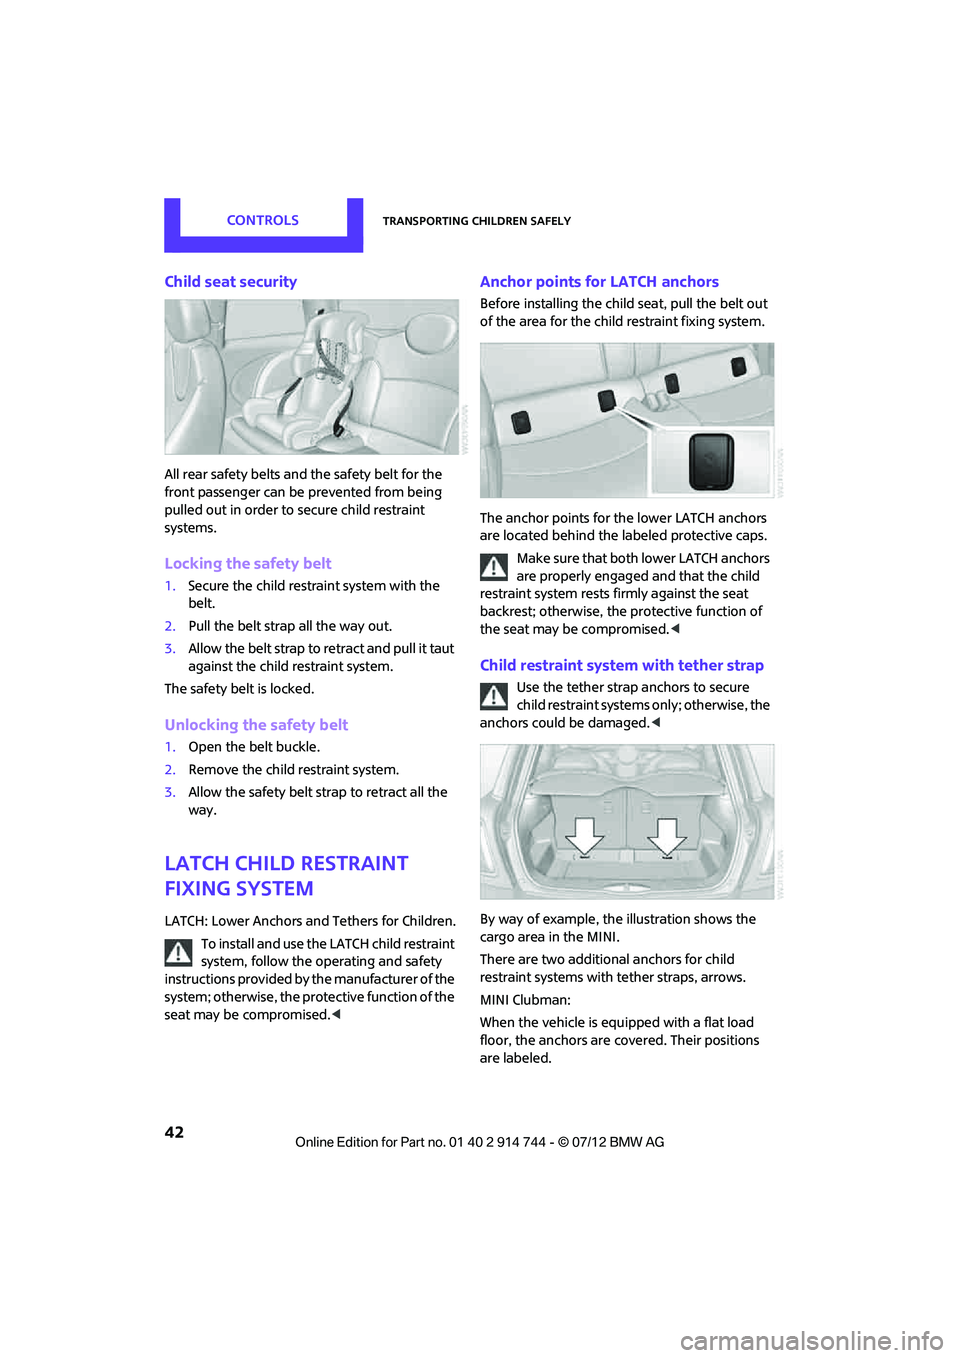
The anchor points for the lower LATCH anchors
are located behind the labeled protective caps.
Make sure t hat bo th l owe r LATCH ancho rs
are properly engaged and that the child
restraint system rests fi rmly against the seat
backrest; otherwise, the protective function of
the seat may be compromised. <
Child restraint system with tether strap
Use the tether strap anchors to secure
child restraint systems only; otherwise, the
anchors could be damaged. <
By way of example, the illustration shows the
cargo area in the MINI.
There are two additional anchors for child
restraint systems with tether straps, arrows.
MINI Clubman:
When the vehicle is equi pped with a flat load
floor, the anchors are covered. Their positions
are labeled.
Online Edition for Part no. 01 40 2 914 744 - \251 07/12 BMW AG
Page 50 of 207

DrivingCONTROLS
49
5.Move the selector le ver into the desired
position by pressing the button on the front
of the selector lever.
Before manually unlocking the selector
lever lock, firmly set the parking brake to
prevent the vehicle from rolling away. <
Turn signals/
headlamp flasher
1Turn signal
2 Headlamp flasher
Using turn signals
Press the lever beyond the resistance point.
To turn off manually, press the lever to the
resistance point. Unusually rapid flashi ng of the indicator
lamp indicates that an indicator bulb has
failed. <
Signaling a turn briefly
Press the lever as far as the resistance point for
as long as you wish to signal a turn.
Triple turn signal activation
Press the lever as far as the resistance point.
You can set whether the turn signal flashes once
or three times. 1.
Switch on the ignition, refer to page 44.
2. Press the button in the turn signal indicator
as often as necessary until "SET/INFO" is
displayed.
3. Press and hold the butt on until the display
changes.
4. Press the button as of ten as necessary until
the symbol and "SET" are displayed.
5. Press and hold the butt on until the display
changes.
6. Press the button repeatedly until the display
shows the illustra ted symbol, arrow.
7. Press and hold the butt on until the display
changes.
Online Edition for Part no. 01 40 2 914 744 - \251 07/12 BMW AG
Page 51 of 207

CONTROLSDriving
50
8.Press the button to select:
>
Brief indication of a turn.
> Triple turn signal.
9. Press and hold the button until the display
changes. The setting is stored.
Wiper system
Do not turn on the wipers when they are
frozen; otherwise, th e wiper blades and
the windshield wiper motor may be damaged. <
Do not use the windshield wipers when
the windshield is dry; otherwise the wiper
blades may wear out faster or be damaged. <
1 Switching on wipers
2 Switching off wipe rs or brief wipe
3 Activating/deactivating intermittent wipe or
rain sensor
4 Cleaning windshield and headlamps
Switching on wipers
Press the lever upward, arrow 1.
The lever automatically returns to its initial
position when released.
Normal wiper speed
Press once.
The system switches to intermittent operation
when the vehicle is stationary.
Fast wiper speed
Press twice or press beyond the resistance point.
The system switches to normal speed when the
vehicle is stationary.
Intermittent wipe or rain sensor
If the car is not equipped with a rain sensor, the
intermittent-wipe time is preset.
If the car is equipped with a rain sensor, the time
between wipes is contro lled automatically and
depends on the intensity of the rainfall. The rain
sensor is mounted on the windshield, directly in
front of the interior rearview mirror.
Activating intermittent wipe or rain
sensor
Press button, arrow 3.
This symbol is displayed in the tacho-
meter.
Deactivate the rain se nsor before entering
an automatic car wash. Failure to do so
could result in damage caused by undesired
wiper activation. <
Adjusting the sensitivity of the rain
sensor
1.Switch on the ignition, refer to page 44.
2. Press the button in the turn signal indicator
as often as necessary until "SET/INFO" is
displayed.
3. Press and hold the button until the display
changes.
Online Edition for Part no. 01 40 2 914 744 - \251 07/12 BMW AG
Page 54 of 207

DrivingCONTROLS
53
pedal is released, the stored speed is achieved
again and maintained.
The stored speed is cleared when the ignition is
switched off.
Maintaining current speed
Press button 1.
The system maintains and stores the current
vehicle speed.
If, on a downhill grade, the engine braking effect
is not sufficient, the controlled speed may be
exceeded. On uphill grades vehicle speed may
drop if the engine output is insufficient.
Increasing speed
Press button 1 repeatedly until the desired
speed is reached. Every time you press the
button, the speed increases by approx. 1 mph or
1km/h.
Accelerating using the button
Press and hold button 1.
The vehicle accelerates wi thout pressure on the
accelerator pedal. After the button is released,
the driving speed is maintained and stored.
Decreasing speed
Press button 3 repeatedly until the desired
speed is reached.
The functions here are the same as for increas-
ing the speed or accelerating, except that the
speed will be decreased.
Resuming a speed stored beforehand
Press button 4.
The last speed stored is achieved again and
maintained.
The stored speed is cleared when the ignition is
switched off.
Display on tachometer
Selected speed is displayed briefly. If --- mph or --- km/h is displayed briefly in
the tachometer, the conditions necessary
for operation may not be fulfilled.<
Malfunction
The warning lamp in the tachometer
lights up if the system fails.
Online Edition for Part no. 01 40 2 914 744 - \251 07/12 BMW AG
Page 60 of 207
Controls overviewCONTROLS
59
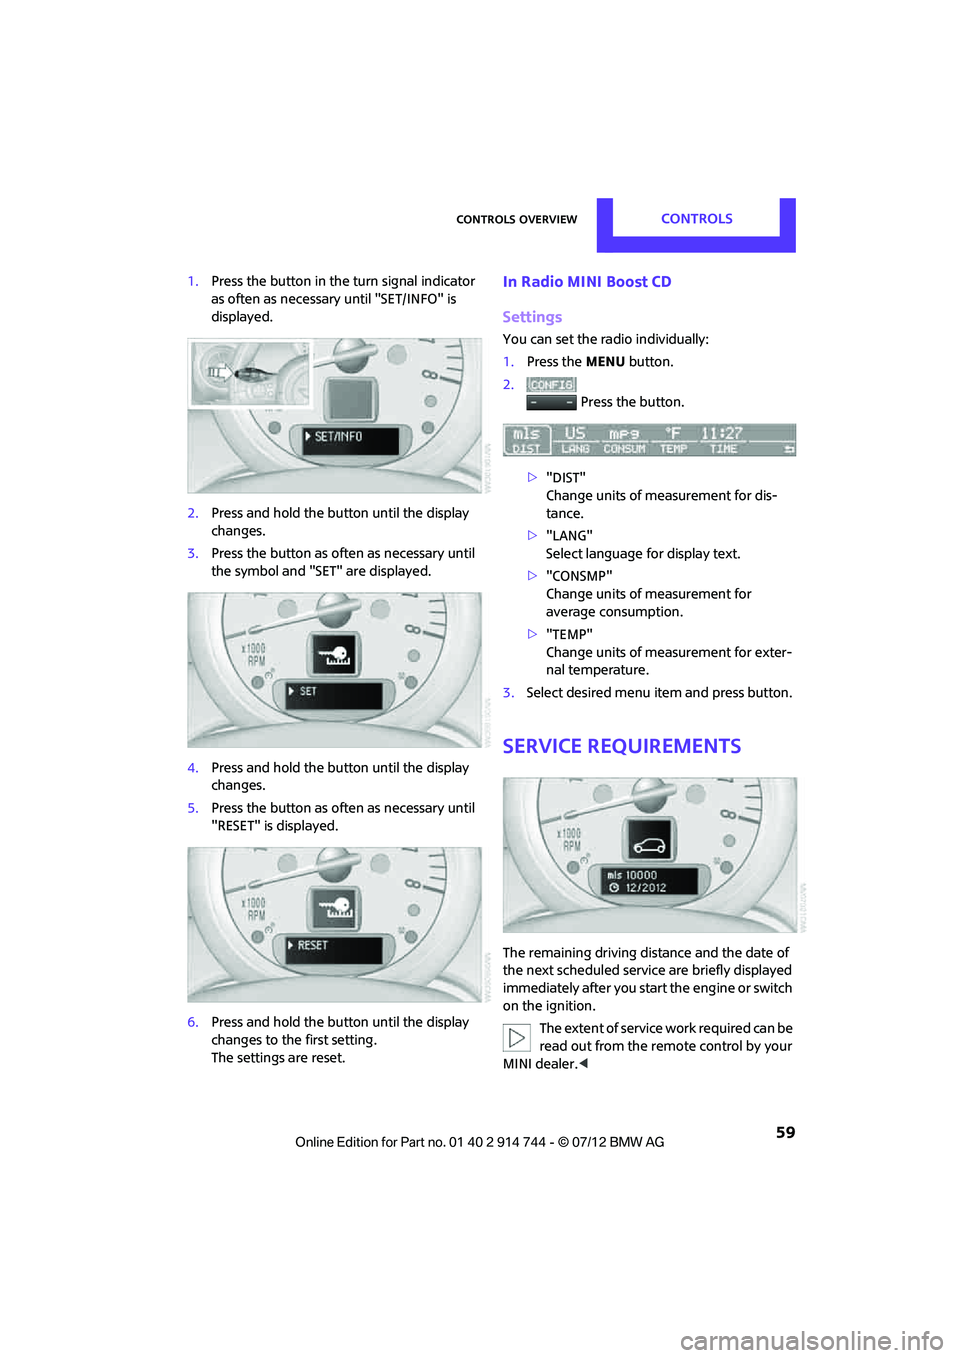
1.Press the button in the turn signal indicator
as often as necessary until "SET/INFO" is
displayed.
2. Press and hold the butt on until the display
changes.
3. Press the button as of ten as necessary until
the symbol and "SET" are displayed.
4. Press and hold the butt on until the display
changes.
5. Press the button as of ten as necessary until
"RESET" is displayed.
6. Press and hold the butt on until the display
changes to the first setting.
The settings are reset.In Radio MINI Boost CD
Settings
You can set the radio individually:
1. Press the MENU button.
2. Press the button.
> "DIST"
Change units of measurement for dis-
tance.
> "LANG"
Select language for display text.
> "CONSMP"
Change units of measurement for
average consumption.
> "TEMP"
Change units of measurement for exter-
nal temperature.
3. Select desired menu item and press button.
Service requirements
The remaining driving dist ance and the date of
the next scheduled service are briefly displayed
immediately after you start the engine or switch
on the ignition.
The extent of service work required can be
read out from the remo te control by your
MINI dealer. <
Online Edition for Part no. 01 40 2 914 744 - \251 07/12 BMW AG
Page 64 of 207

Technology for driving comfort and safetyCONTROLS
63
Technology for driving comfort and
safety
Vehicle equipment
In this chapter, all production, country, and
optional equipment that is offered in the model
range is described. Equipment is also described
that is not available because of, for example,
selected options or count ry version. This also
applies to safety related functions and systems.
Park Distance Control
PDC
The concept
PDC assists you with parking in reverse. Acoustic
signals warn you of the presence of an object
behind the vehicle. To measure the distance,
there are four ultrasonic sensors in either
bumper.
However, an acoustic warning does not sound
until an object is approx. 24 in/60 cm from the
corner sensors, or approx. 5 ft/1.50 m from the
center sensors.
PDC is a parking aid that can indicate
objects when they are approached slowly,
as is usually the case when parking. Avoid
approaching an object at high speed; otherwise,
physical circumstances ma y lead to the system
warning being issued too late.<
Automatic mode
With the engine running or the ignition switched
on, the system is activated automatically after
approx. 1 second when you engage reverse
gear or move the automatic transmission selec-
tor lever to position R. Wait this short period
before driving.
Acoustic signals
As the distance between vehicle and object
decreases, the intervals between the tones
become shorter. If the distance to the nearest
object falls to below roughly 1 ft/30 cm, then a
continuous tone sounds.
If the distance remains constant, e.g. when
driving parallel to a wall, the acoustic signal
stops after approx. 3 seconds.
Adjustments
The volume of the acoustic signals can be set,
refer to page 104.
Malfunction
Indicator lamp lights up. PDC has failed.
Have the system checked.
To avoid this problem, keep the sensors
clean and free of ice or snow in order to ensure
that they will continue to operate effectively.
When using a high-pressure cleaner, do not
direct the jet toward the sensors for lengthy
periods and only spray from a distance of at least
4in/10cm.
System limitations
Even with PDC, final re sponsibility for esti-
mating the distance between the vehicle
and any obstructions always remains with the
driver. Sensors, too, ha ve blind spots in which
objects cannot be detected. Moreover, ultra-
sonic detection can reach its physical limits with
objects such as trailer tow bars and couplings,
thin and wedge-shaped objects, etc. Low
objects already indicated, such as curbs, may
enter the sensors' blind spots before or after a
continuous audible signal is given. Higher, pro-
truding objects, such as wall ledges, may not be
detectable. Therefore, al ways drive cautiously;
otherwise, there is a risk of personal injury or
Online Edition for Part no. 01 40 2 914 744 - \251 07/12 BMW AG
Page 65 of 207
CONTROLSTechnology for driving comfort and safety
64
property damage. Loud sound sources outside
or inside the car can drown out the PDC signal.<
Driving stability control
systems
Your MINI has a number of systems that help to
maintain the vehicle's stability even in adverse
driving conditions.
The laws of physics cannot be repealed,
even with driving stability control systems.
An appropriate driving style always remains the
responsibility of the driver. Therefore do not
reduce the additional safe t y m a r g i n b y e n g a g i n g
in hazardous driving thereby running the risk of
an accident. <
Antilock Brake System ABS
ABS prevents locking of the wheels during
braking. Safe steering response is maintained
even during full braking. Active safety is thus
increased.
Braking safely, refer to page 95.
ABS is operational every time you start the
engine.
Cornering Brake Control CBC
Driving stability and stee ring characteristics are
further enhanced while braking in turns or
during a lane change.
Electronic brake-force distribution EBV
The system controls the brake pressure in the
rear wheels to ensure stable braking behavior.
Brake Assist
Rapidly depressing the brake causes this system
to automatically develop maximum braking
force. Thus, the system helps keep braking dis-
tance to a minimum. At the same time, all the
benefits provided by ABS are exploited.
Do not reduce the pressure on the brake for the
duration of the full braking application.
Dynamic Stability Control DSC
The concept
DSC prevents the driving wheels from losing
traction when you pull away from rest or
accelerate.
DSC also detect s unstable driving conditions
such as when the vehicle's rear end fishtails or
the vehicle is sliding on its front wheels. In these
cases, DSC helps the ve hicle maintain a safe
course within physical limits by reducing engine
output and through braking actions at the indi-
vidual wheels.
Every time that the engine is started, DSC is
ready to operate.
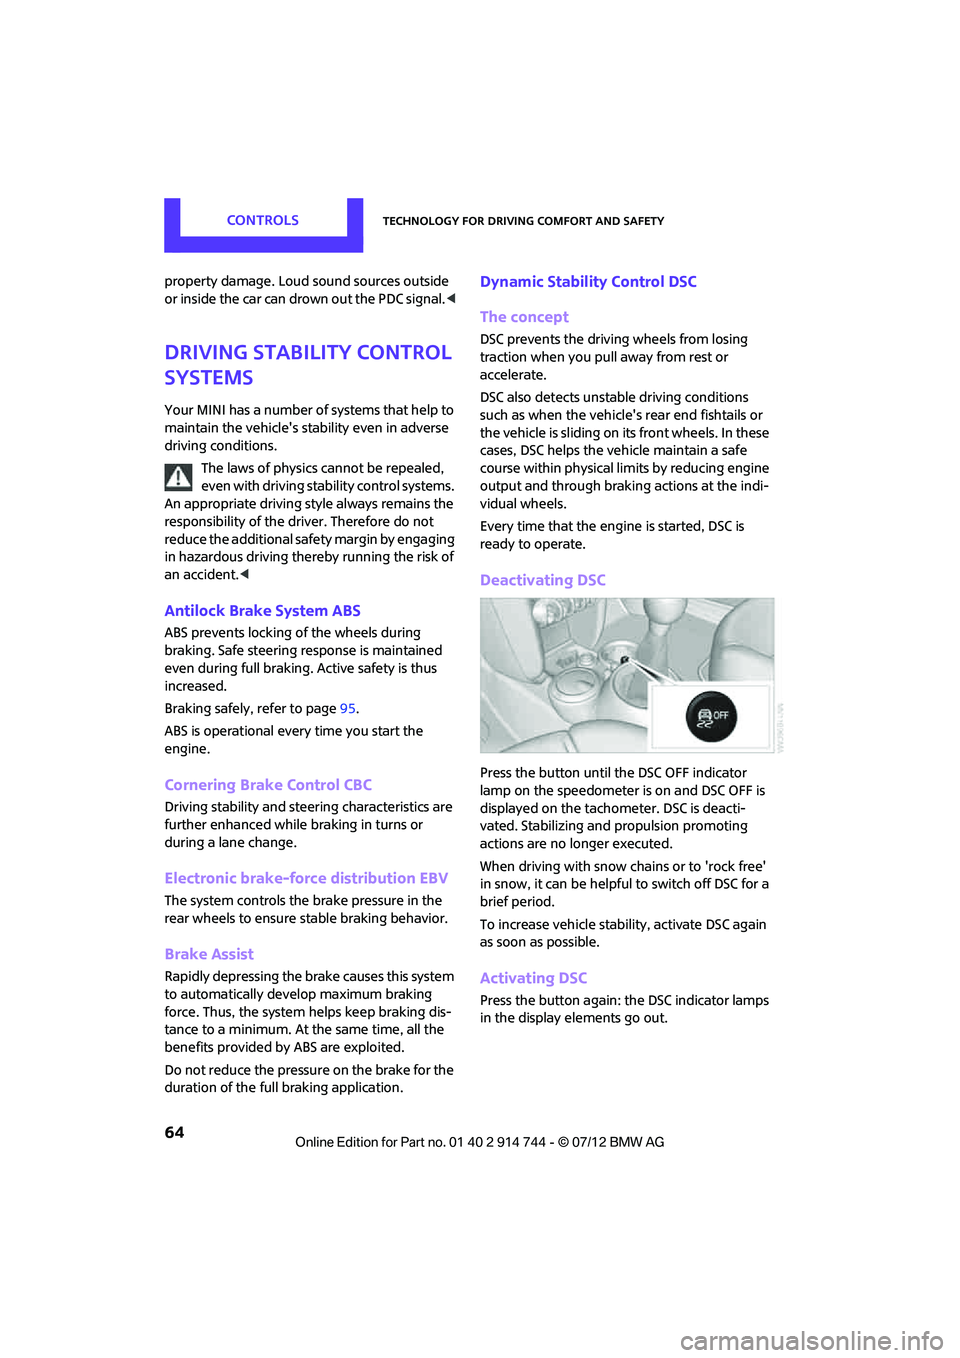
Deactivating DSC
Press the button until the DSC OFF indicator
lamp on the speedometer is on and DSC OFF is
displayed on the tachometer. DSC is deacti-
vated. Stabilizing and propulsion promoting
actions are no longer executed.
When driving with snow chains or to 'rock free'
in snow, it can be helpfu l to switch off DSC for a
brief period.
To increase vehicle stabil ity, activate DSC again
as soon as possible.
Activating DSC
Press the button again: the DSC indicator lamps
in the display elements go out.
Online Edition for Part no. 01 40 2 914 744 - \251 07/12 BMW AG