light MINI Paceman 2013 Workshop Manual
[x] Cancel search | Manufacturer: MINI, Model Year: 2013, Model line: Paceman, Model: MINI Paceman 2013Pages: 275, PDF Size: 4.23 MB
Page 134 of 275
Route guidanceNAVIGATION
133
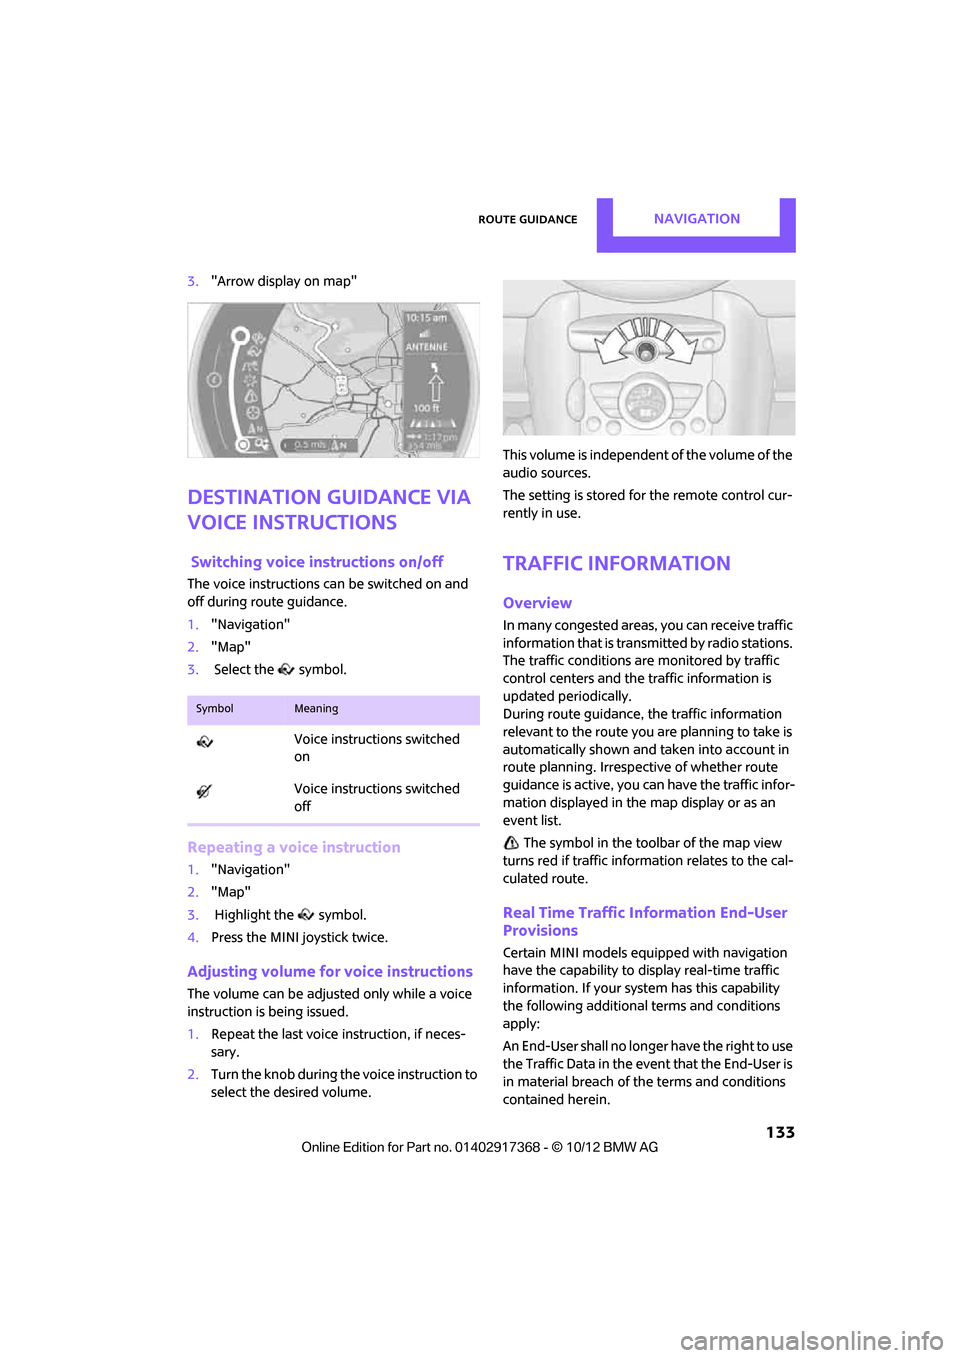
3."Arrow display on map"
Destination guidance via
voice instructions
Switching voice in structions on/off
The voice instructions ca n be switched on and
off during route guidance.
1. "Navigation"
2. "Map"
3. Select the symbol.
Repeating a voice instruction
1."Navigation"
2. "Map"
3. Highlight the symbol.
4. Press the MINI joystick twice.
Adjusting volume for voice instructions
The volume can be adjust ed only while a voice
instruction is being issued.
1. Repeat the last voice instruction, if neces-
sary.
2. Turn the knob during th e voice instruction to
select the desired volume. This volume is independent of the volume of the
audio sources.
The setting is stored for the remote control cur-
rently in use.
Traffic information
Overview
In many congested areas,
you can receive traffic
information that is transm itted by radio stations.
The traffic conditions are monitored by traffic
control centers and the traffic information is
updated periodically.
During route guidance, the traffic information
relevant to the route you are planning to take is
automatically shown and taken into account in
route planning. Irrespective of whether route
guidance is active, you can have the traffic infor-
mation displayed in the map display or as an
event list.
The symbol in the toolbar of the map view
turns red if traffic inform ation relates to the cal-
culated route.
Real Time Traffic Information End-User
Provisions
Certain MINI models equipped with navigation
have the capability to display real-time traffic
information. If your system has this capability
the following additional terms and conditions
apply:
An End-User shall no longer have the right to use
the Traffic Data in the event that the End-User is
in material breach of the terms and conditions
contained herein.
SymbolMeaning
Voice instructions switched
on
Voice instructions switched
off
00320051004F004C00510048000300280047004C0057004C005200510003
Page 148 of 275
RadioEntertainment
147
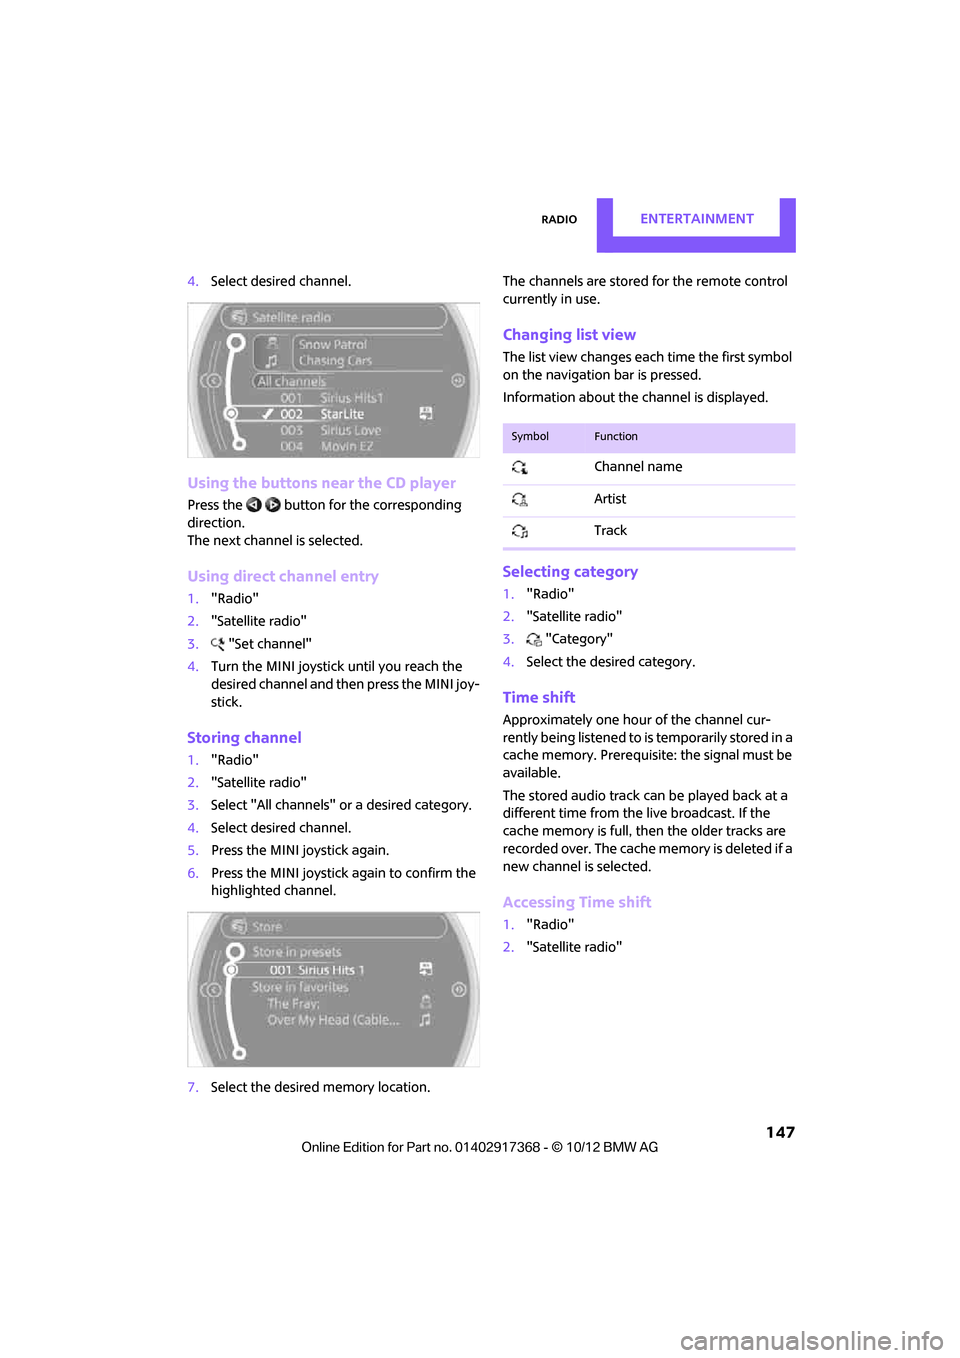
4.Select desired channel.
Using the buttons near the CD player
Press the button for the corresponding
direction.
The next channel is selected.
Using direct channel entry
1."Radio"
2. "Satellite radio"
3. "Set channel"
4. Turn the MINI joystick until you reach the
desired channel and then press the MINI joy-
stick.
Storing channel
1."Radio"
2. "Satellite radio"
3. Select "All channels" or a desired category.
4. Select desired channel.
5. Press the MINI joystick again.
6. Press the MINI joystick again to confirm the
highlighted channel.
7. Select the desired memory location. The channels are stored for the remote control
currently in use.
Changing list view
The list view changes each time the first symbol
on the navigation bar is pressed.
Information about the channel is displayed.
Selecting category
1.
"Radio"
2. "Satellite radio"
3. "Category"
4. Select the desired category.
Time shift
Approximately one hour of the channel cur-
rently being listened to is temporarily stored in a
cache memory. Prerequisite: the signal must be
available.
The stored audio track ca n be played back at a
different time from the live broadcast. If the
cache memory is full, then the older tracks are
recorded over. The cache memory is deleted if a
new channel is selected.
Accessing Time shift
1. "Radio"
2. "Satellite radio"
SymbolFunction
Channel name
Artist
Track
00320051004F004C00510048000300280047004C0057004C005200510003
Page 150 of 275
RadioEntertainment
149
5.Select the desired league.
6. Select "Add all teams" or a desired team.
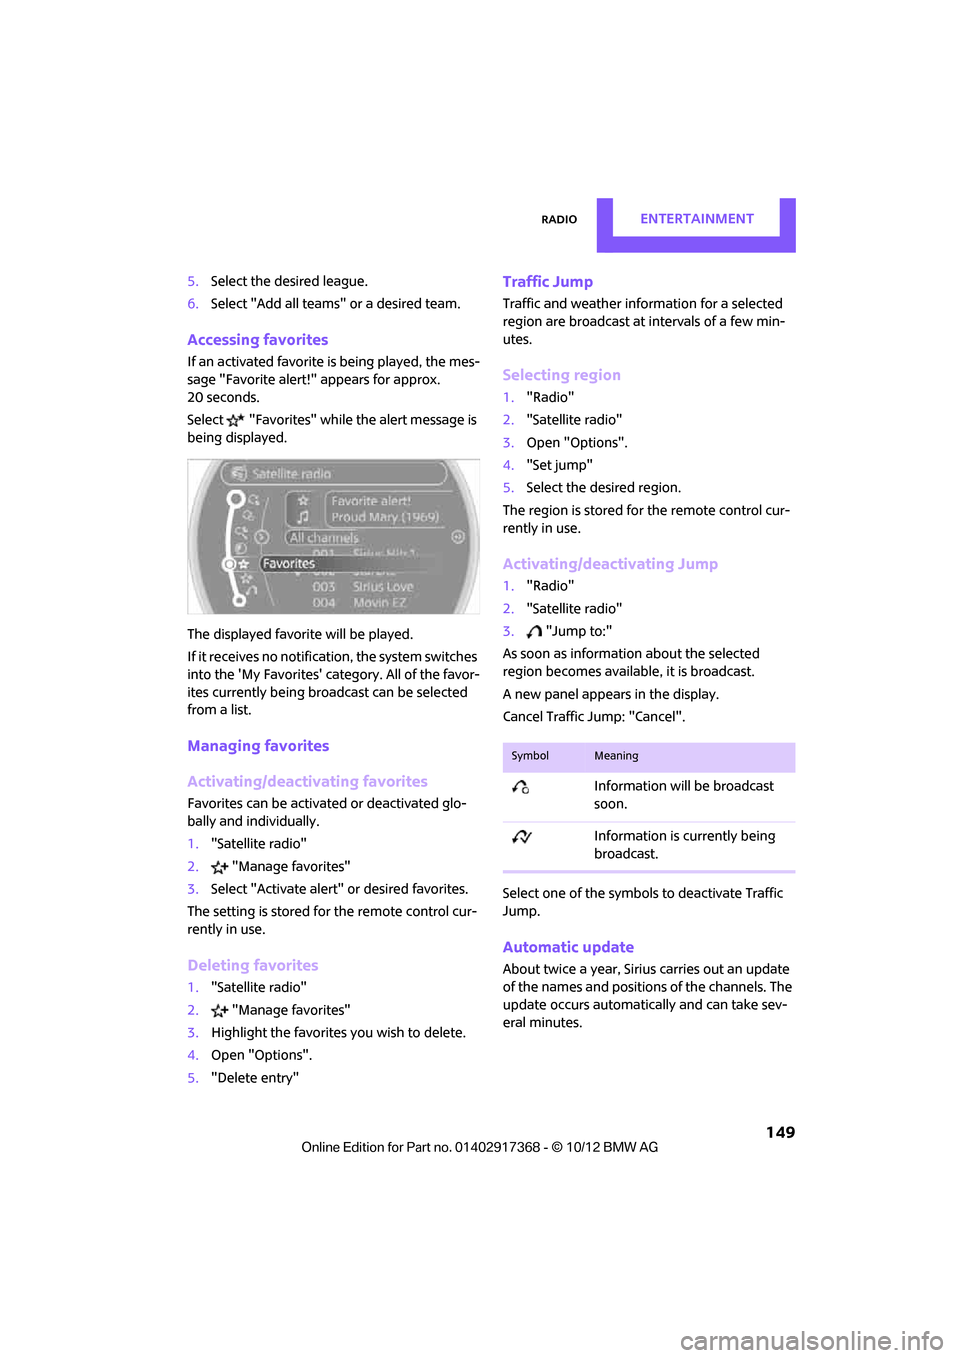
Accessing favorites
If an activated favorite is being played, the mes-
sage "Favorite alert!" appears for approx.
20 seconds.
Select "Favorites" while the alert message is
being displayed.
The displayed favorite will be played.
If it receives no notification, the system switches
into the 'My Favorites' category. All of the favor-
ites currently being broadcast can be selected
from a list.
Managing favorites
Activating/deactivating favorites
Favorites can be activated or deactivated glo-
bally and individually.
1. "Satellite radio"
2. "Manage favorites"
3. Select "Activate alert" or desired favorites.
The setting is stored for the remote control cur-
rently in use.
Deleting favorites
1. "Satellite radio"
2. "Manage favorites"
3. Highlight the favorites you wish to delete.
4. Open "Options".
5. "Delete entry"
Traffic Jump
Traffic and weather information for a selected
region are broadcast at intervals of a few min-
utes.
Selecting region
1."Radio"
2. "Satellite radio"
3. Open "Options".
4. "Set jump"
5. Select the desired region.
The region is stored fo r the remote control cur-
rently in use.
Activating/deactivating Jump
1. "Radio"
2. "Satellite radio"
3. "Jump to:"
As soon as information about the selected
region becomes available, it is broadcast.
A new panel appears in the display.
Cancel Traffic Jump: "Cancel".
Select one of the symbols to deactivate Traffic
Jump.
Automatic update
About twice a year, Sirius carries out an update
of the names and position s of the channels. The
update occurs automatically and can take sev-
eral minutes.
SymbolMeaning
Information will be broadcast
soon.
Information is currently being
broadcast.
00320051004F004C00510048000300280047004C0057004C005200510003
Page 161 of 275
EntertainmentExternal devices
160
Player program
Depending on the device, there may be various
programs for playing music files.
1."CD/Multimedia"
2. "External devices"
3. Select the symbol.
4. Open "Options".
5. "Select player"
6. Select the desired program.
Disconnecting an audio connection
1."CD/Multimedia"
2. "Bluetooth® (audio)"
3. Select the desired device from the list of con-
nected devices.
4. Open "Options".
5. "Configure phone"
6. Deactivate "Audio".
7. "OK"
With a mobile phone, only the audio connection
is disconnected. All other connections remain
active.
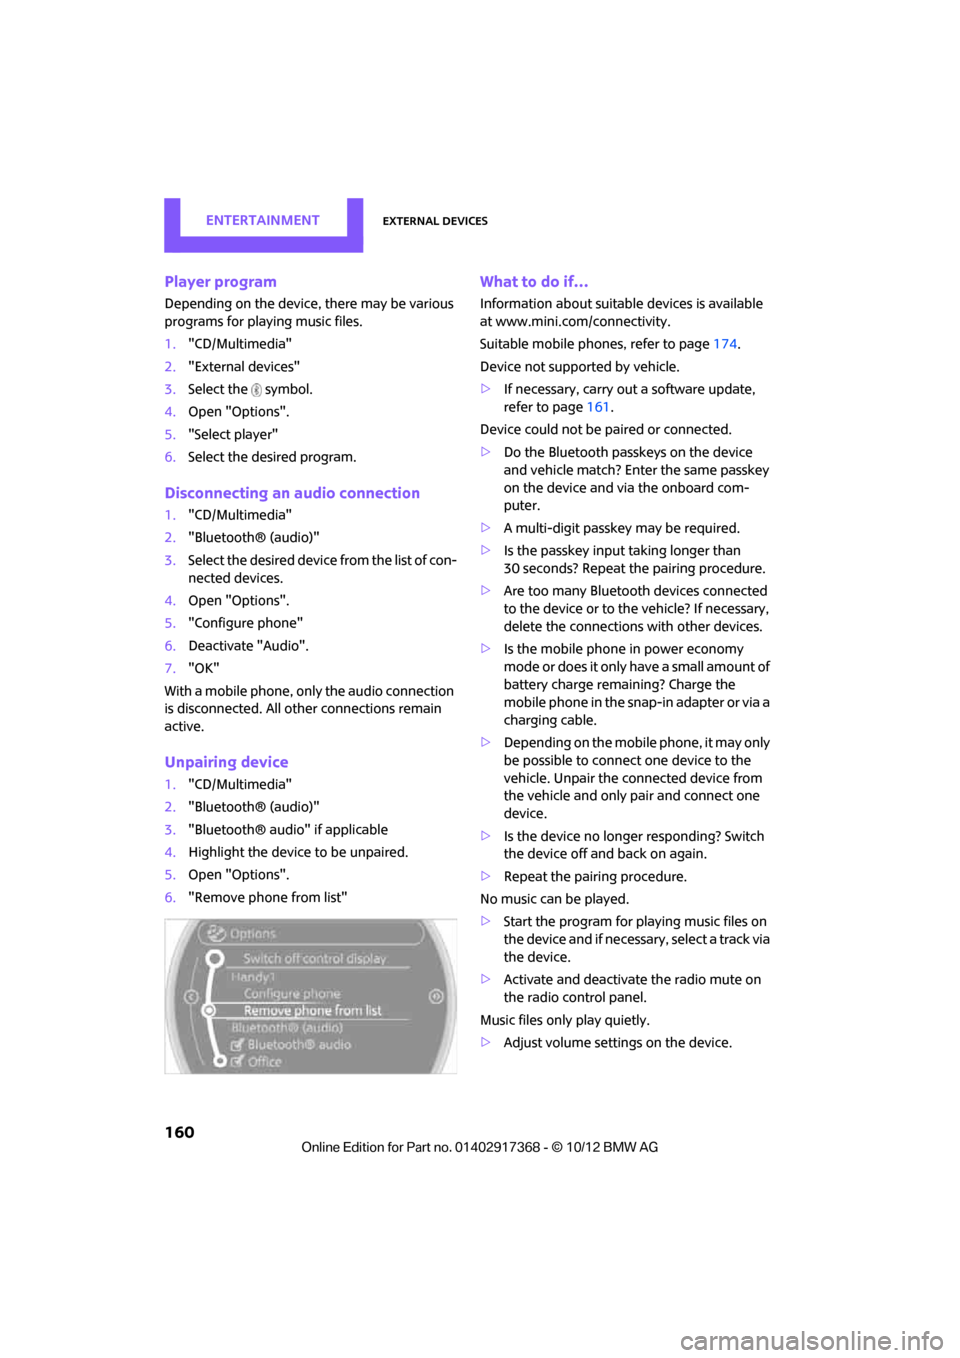
Unpairing device
1. "CD/Multimedia"
2. "Bluetooth® (audio)"
3. "Bluetooth® audio" if applicable
4. Highlight the device to be unpaired.
5. Open "Options".
6. "Remove phone from list"
What to do if…
Information about suitable devices is available
at www.mini.com /connectivity.
Suitable mobile phones, refer to page 174.
Device not supported by vehicle.
> If necessary, carry ou t a software update,
refer to page 161.
Device could not be paired or connected.
> Do the Bluetooth passkeys on the device
and vehicle match? Enter the same passkey
on the device and via the onboard com-
puter.
> A multi-digit passkey may be required.
> Is the passkey input taking longer than
30 seconds? Repeat th e pairing procedure.
> Are too many Bluetoot h devices connected
to the device or to the vehicle? If necessary,
delete the connections with other devices.
> Is the mobile phone in power economy
m o d e o r d o e s i t o n l y have a small amount of
battery charge remaining? Charge the
mobile phone in the snap-in adapter or via a
charging cable.
> Depending on the mobile phone, it may only
be possible to connect one device to the
vehicle. Unpair the connected device from
the vehicle and only pair and connect one
device.
> Is the device no longer responding? Switch
the device off and back on again.
> Repeat the pairing procedure.
No music can be played.
> Start the program for playing music files on
the device and if necessary, select a track via
the device.
> Activate and deactivate the radio mute on
the radio control panel.
Music files only play quietly.
> Adjust volume settings on the device.
00320051004F004C00510048000300280047004C0057004C005200510003
Page 167 of 275
COMMUNICATIONSHands-free device Bluetooth
166
If pairing was successful, the mobile phone
appears at the top of the list of mobile phones.
If the pairing was not successful: what to do if…,
refer to page 166.
Following the initial pairing
>The mobile phone is detected/connected in
the vehicle within a short period of time
when the engine is running or radio readi-
ness is switched on.
> After identification, phone book entries are
imported from the mobile phone and/or SIM
card of the telephone, depending on the
telephone.
> Four mobile phones can be paired.
> Specific settings may be necessary in some
mobile phones, e.g. authorization or a
secure connection, re fer to the Owner's
Manual for the mobile phone.
Connecting a particular mobile phone
1. "Telephone"
2. "Bluetooth® (phone)"
All paired mobile phones are listed.
3. Select the mobile phone to be connected.
Unpairing mobile phone
1."Telephone"
2. "Bluetooth® (phone)"
All paired mobile phones are listed.
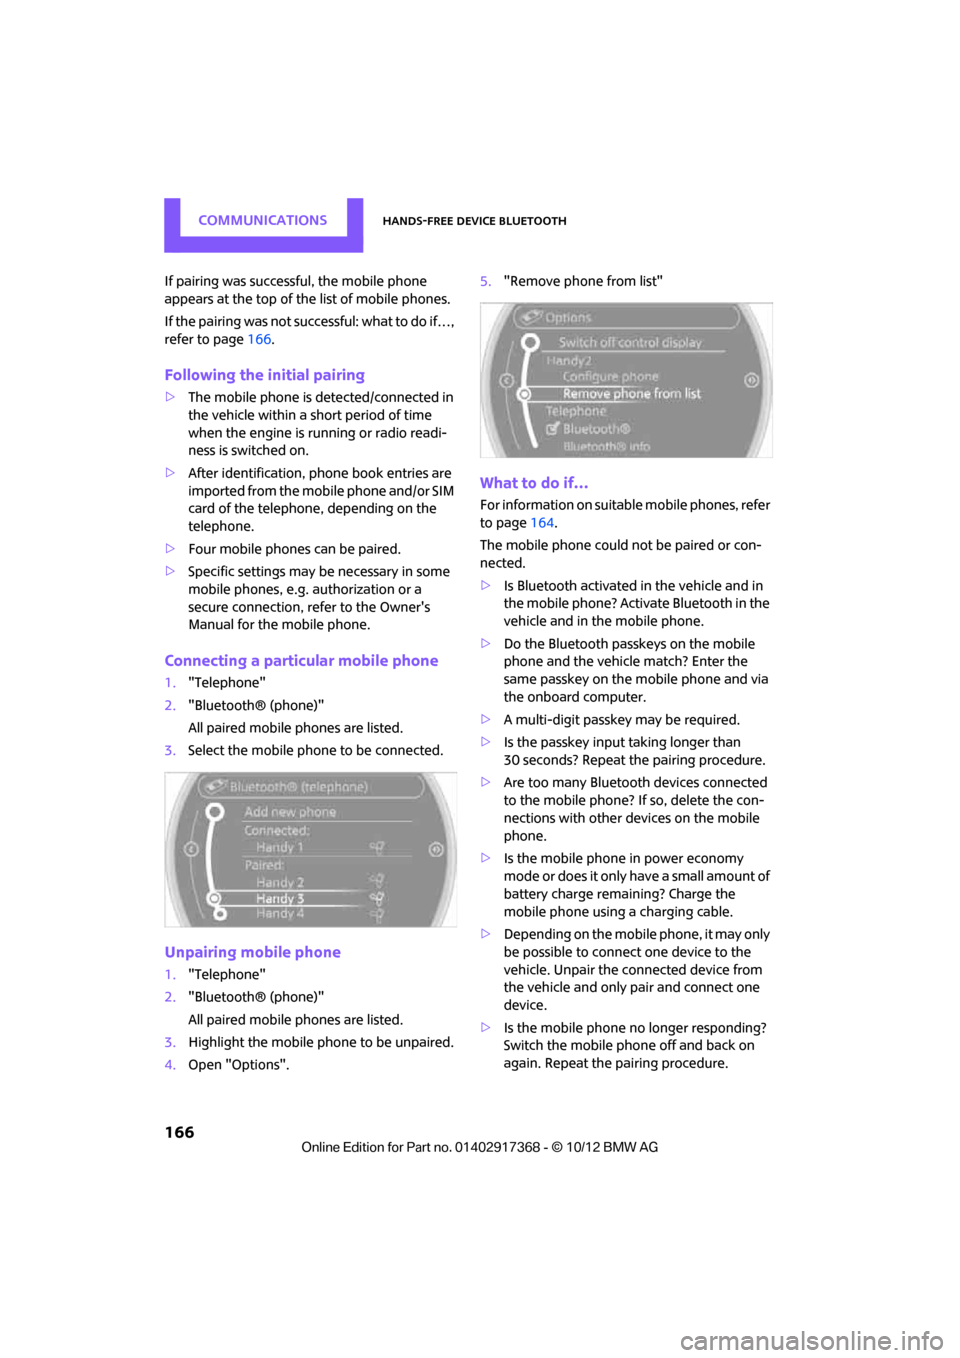
3. Highlight the mobile phone to be unpaired.
4. Open "Options". 5.
"Remove phone from list"
What to do if…
For information on suitab le mobile phones, refer
to page 164.
The mobile phone could not be paired or con-
nected.
> Is Bluetooth activated in the vehicle and in
the mobile phone? Activate Bluetooth in the
vehicle and in the mobile phone.
> Do the Bluetooth passkeys on the mobile
phone and the vehicle match? Enter the
same passkey on the mobile phone and via
the onboard computer.
> A multi-digit passkey may be required.
> Is the passkey input taking longer than
30 seconds? Repeat th e pairing procedure.
> Are too many Bluetoot h devices connected
to the mobile phone? If so, delete the con-
nections with other devices on the mobile
phone.
> Is the mobile phone in power economy
m o d e o r d o e s i t o n l y have a small amount of
battery charge remaining? Charge the
mobile phone using a charging cable.
> Depending on the mobile phone, it may only
be possible to connect one device to the
vehicle. Unpair the connected device from
the vehicle and only pair and connect one
device.
> Is the mobile phone no longer responding?
Switch the mobile phone off and back on
again. Repeat the pairing procedure.
00320051004F004C00510048000300280047004C0057004C005200510003
Page 170 of 275
Hands-free device BluetoothCOMMUNICATIONS
169
Switching between two calls, toggling
Active call: highlighted.
The call on hold is identified with:
"on hold...".
Select the symbol to switch to the call on
hold.
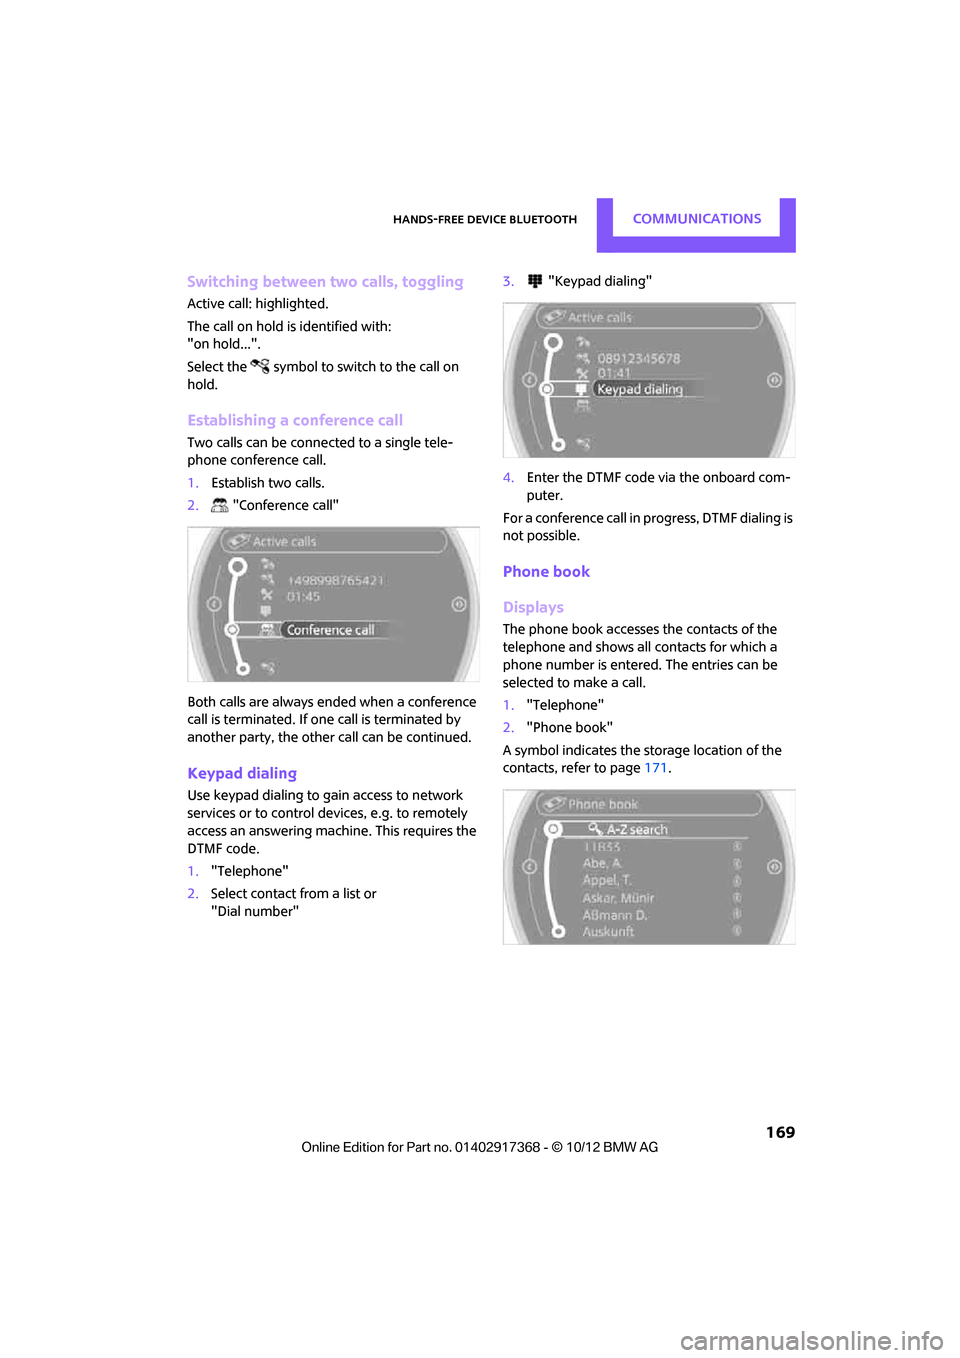
Establishing a conference call
Two calls can be connected to a single tele-
phone conference call.
1. Establish two calls.
2. "Conference call"
Both calls are always ended when a conference
call is terminated. If on e call is terminated by
another party, the other call can be continued.
Keypad dialing
Use keypad dialing to gain access to network
services or to control de vices, e.g. to remotely
access an answering machine. This requires the
DTMF code.
1. "Telephone"
2. Select contact from a list or
"Dial number" 3.
"Keypad dialing"
4. Enter the DTMF code via the onboard com-
puter.
For a conference call in progress, DTMF dialing is
not possible.
Phone book
Displays
The phone book accesses the contacts of the
telephone and shows all contacts for which a
phone number is entered. The entries can be
selected to make a call.
1. "Telephone"
2. "Phone book"
A symbol indicates the storage location of the
contacts, refer to page 171.
00320051004F004C00510048000300280047004C0057004C005200510003
Page 171 of 275
COMMUNICATIONSHands-free device Bluetooth
170
Calling a contact
1.Select the desired contact.
Select the symbol. Contact with one
phone number. The connection is estab-
lished.
2. Select the symbol. Contact with more than
one phone number. Select phone number,
the connection is established.
Call not possible, the mobile phone has no
reception or network.
Editing a contact
Changing entries in the "Contacts" menu. If a
contact is changed, the changes are not stored
in the mobile phone. A copy of the entry is
stored in the vehicle.
1. Highlight the contact.
2. Open "Options".
3. "Edit entry"
The contact can be edited.
Redialing
General information
The list of dialed numbers in the telephone are
transferred to the vehicle, depending on the
mobile phone. The last 20 phone numbers
dialed are displayed. The sorting of the phone
numbers depends on the mobile phone.
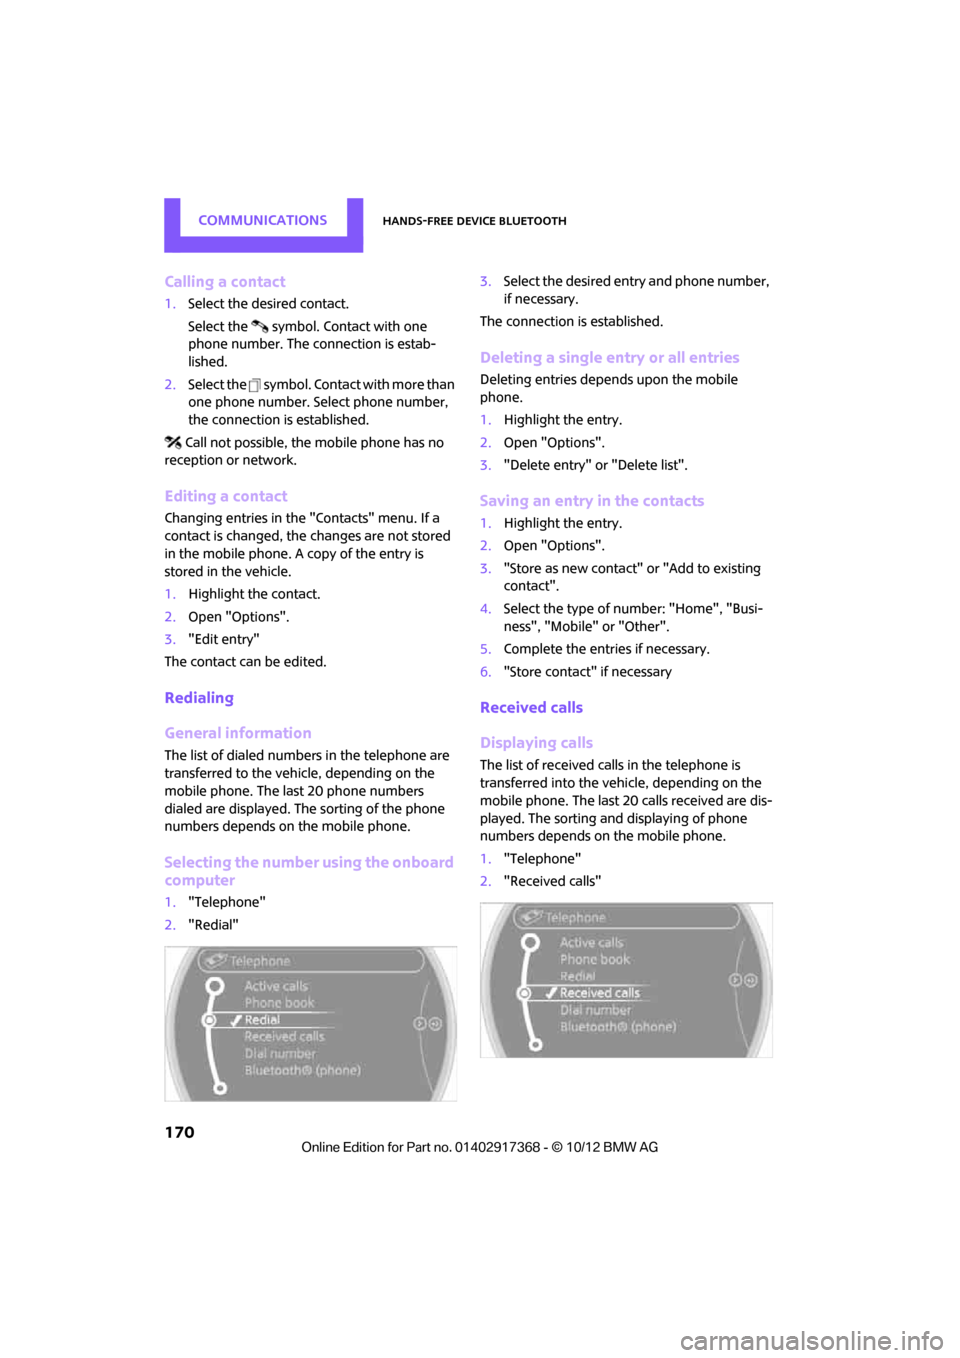
Selecting the number using the onboard
computer
1. "Telephone"
2. "Redial" 3.
Select the desired entry and phone number,
if necessary.
The connection is established.
Deleting a single entry or all entries
Deleting entries depends upon the mobile
phone.
1. Highlight the entry.
2. Open "Options".
3. "Delete entry" or "Delete list".
Saving an entry in the contacts
1.Highlight the entry.
2. Open "Options".
3. "Store as new contact" or "Add to existing
contact".
4. Select the type of number: "Home", "Busi-
ness", "Mobile" or "Other".
5. Complete the entries if necessary.
6. "Store contact" if necessary
Received calls
Displaying calls
The list of received calls in the telephone is
transferred into the vehi cle, depending on the
mobile phone. The last 20 calls received are dis-
played. The sorting and displaying of phone
numbers depends on the mobile phone.
1. "Telephone"
2. "Received calls"
00320051004F004C00510048000300280047004C0057004C005200510003
Page 172 of 275
Hands-free device BluetoothCOMMUNICATIONS
171
Calling a number from the list
Select an entry.
The connection is established.
Deleting a single entry or all entries
Deleting entries depends upon the mobile
phone.
1.Highlight the entry.
2. Open "Options".
3. "Delete entry" or "Delete list".
Saving an entry in the contacts
1.Highlight the entry.
2. Open "Options".
3. "Store as new contact" or "Add to existing
contact".
4. Select the type of number: "Home", "Busi-
ness", "Mobile" or "Other".
5. Complete the entries if necessary.
6. "Store contact" if necessary
Hands-free system
General information
Calls being conducted using the hands-free sys-
tem can be continued using the mobile phone
and vice versa.
From the mobile phone to the hands-
free system
Calls that have been initiated from outside the
Bluetooth range of the vehicle can be continued
using the hands-free system if the ignition is
switched on.
Depending on the mobile phone, the call is
automatically switched to hands-free mode.
If the switch does not occur automatically, then
follow the instructions th at appear on the dis-
play of the mobile phone, also refer to the
Owner's Manual for the mobile phone.
From hands-free system to mobile
phone
Calls being conducted using the hands-free sys-
tem can also be continued using the mobile
phone if so desired, depending on the mobile
phone.
At this point, follow the instructions that appear
on the display of the mobile phone, also refer to
the Owner's Manual for the mobile phone.
Contacts
General information
Contacts can be created and edited. The
addresses can be used as destinations for navi-
gation.
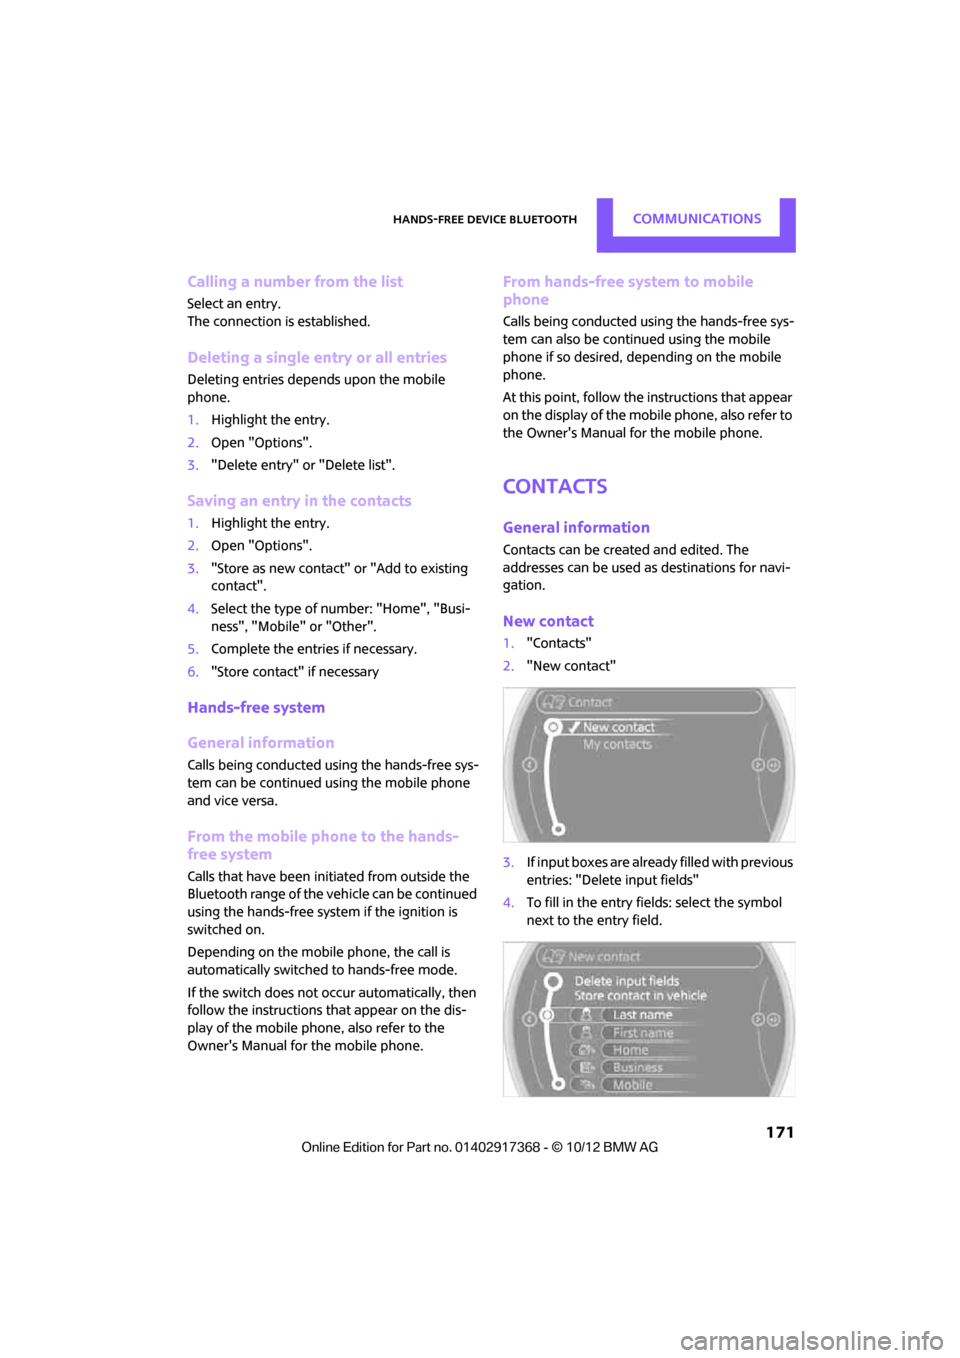
New contact
1. "Contacts"
2. "New contact"
3. If input boxes are already filled with previous
entries: "Delete input fields"
4. To fill in the entry fields: select the symbol
next to the entry field.
00320051004F004C00510048000300280047004C0057004C005200510003
Page 174 of 275
Hands-free device BluetoothCOMMUNICATIONS
173
Checking the address as a destination
An address that is to be used in route guidance
must correspond to the navigation data stored
in the vehicle. The address can be checked to
ensure this.
1.Select the desired contact and highlight the
address.
2. Open "Options".
3. "Check as destination"
4. Correct and store the address, if necessary.
Selecting name sorting
Names can be displayed in different orders.
1."My contacts"
2. Open "Options".
3. "Display: last, first name " or "Display: first,
last name"
Depending on how the cont acts were stored in
the mobile phone, the sorting of names can dif-
fer from the sorting selected.
Deleting contacts
1. "My contacts"
2. Highlight the contact.
3. Open "Options".
4. "Delete contact" or "Delete all contacts".
00320051004F004C00510048000300280047004C0057004C005200510003
Page 178 of 275
Mobile phone preparation BluetoothCOMMUNICATIONS
177
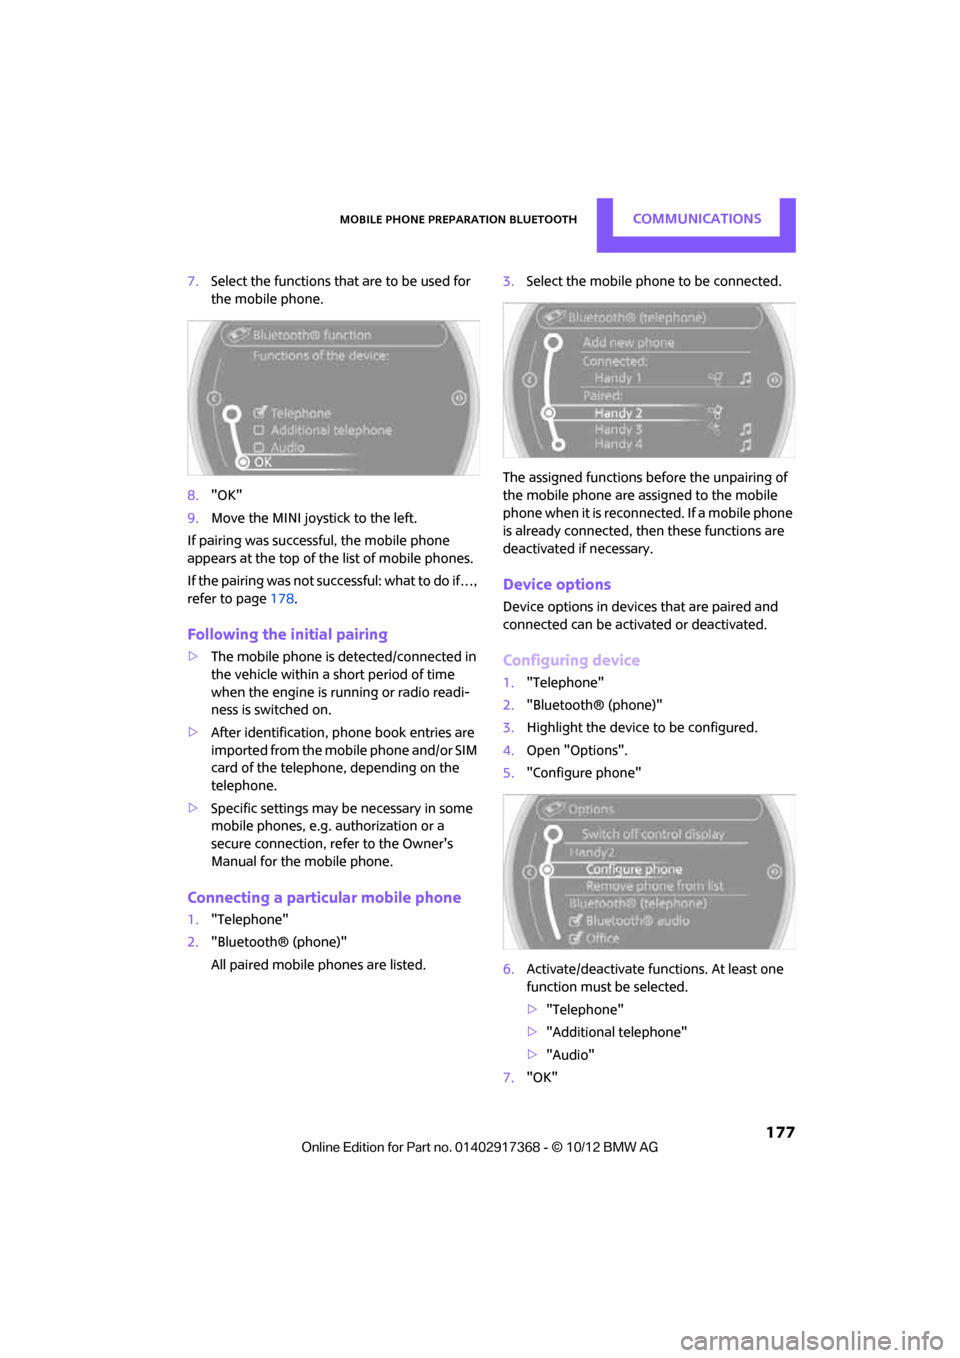
7.Select the functions that are to be used for
the mobile phone.
8. "OK"
9. Move the MINI joystick to the left.
If pairing was successful, the mobile phone
appears at the top of the list of mobile phones.
If the pairing was not succ essful: what to do if…,
refer to page 178.
Following the initial pairing
>The mobile phone is detected/connected in
the vehicle within a short period of time
when the engine is running or radio readi-
ness is switched on.
> After identification, phone book entries are
imported from the mobile phone and/or SIM
card of the telephone, depending on the
telephone.
> Specific settings may be necessary in some
mobile phones, e.g. authorization or a
secure connection, re fer to the Owner's
Manual for the mobile phone.
Connecting a particular mobile phone
1. "Telephone"
2. "Bluetooth® (phone)"
All paired mobile phones are listed. 3.
Select the mobile phone to be connected.
The assigned functions be fore the unpairing of
the mobile phone are assigned to the mobile
phone when it is reconnected. If a mobile phone
is already connected, then these functions are
deactivated if necessary.
Device options
Device options in device s that are paired and
connected can be activated or deactivated.
Configuring device
1. "Telephone"
2. "Bluetooth® (phone)"
3. Highlight the device to be configured.
4. Open "Options".
5. "Configure phone"
6. Activate/deactivate func tions. At least one
function must be selected.
> "Telephone"
> "Additional telephone"
> "Audio"
7. "OK"
00320051004F004C00510048000300280047004C0057004C005200510003