radio controls MITSUBISHI ECLIPSE CROSS 2020 Owner's Manual (in English)
[x] Cancel search | Manufacturer: MITSUBISHI, Model Year: 2020, Model line: ECLIPSE CROSS, Model: MITSUBISHI ECLIPSE CROSS 2020Pages: 427, PDF Size: 78.05 MB
Page 32 of 427
Telematics Control Unit (TCU) (if so equipped)
General information 3-11
3
Geofence If the specified area is set beforehand using the smartphone app, an alert is sent to the smartphone using a short messageservice (SMS), e-mail, or push notifica- tion when the vehicle enters or leaves that area. Curfew alert If the specified time of day is set before- hand using the smartphone app and theowner portal, an alert is sent to the smart-phone using a short message service (SMS), e-mail, or push notification when the curfew is violated. Vehicle settings You can change settings of items such as “Auto Fold Mirrors” and “HeadlightTimeout when Exiting Vehicle” from the smartphone app and the owner portal. Vehicle Status Report (VSR) The vehicle communication and informa- tion regarding malfunctions can be trans- mitted using the TCU so that thecondition of the vehicle can be checked using the smartphone app and the owner portal. Over The Air Update When software and firmware updates are available, notifications via SMS will besent to you to install the updates. You can also check for available updates manually.
Model name: LE920A4-NA Auto FCC ID: RI7LE920A4NAYour TCU operates on a radio frequency sub-ject to Federal Communications Commission (FCC) Rules (for vehicles sold in U.S.A.). This device complies with Part 15 of the FCCRules. Operation is subject to the following two conditions: This device may not cause harmful inter- ference. This device must accept any interference received, including interference that may cause undesired operation.
FCC Notice: This equipment has been tested and found to comply with the limits for a Class B digital device, pursuant to part 15 of
WA R N I N G Do not use the TCU if children, persons in need of care, pets, etc., are in the vehicle. Even if the remote climate control is used, the cabin may become too hot or cold if the system stops automatically or due tosome other reason. The cabin temperature may quickly rise in sunshine, which poses a risk of heat stroke and dehydration. Incold weather, on the other hand, the cabin temperature may quickly drop. Either of which could lead to death in the worstcase. In addition, children can activate switches and controls, resulting in an injury orfatal accident.CAUTION When using the remote climate control, do not use a car cover.NOTE
Air conditioning performance may deterio- rate under the following conditions: • In extremely hot weather • In hot sunshine • In extremely cold weather The remote climate control turns off auto- matically after approximately 10 minutes.The remote climate control can be operated up to two times consecutively.
Use the remote climate control according to the state or local regulations regarding idling vehicles.
General information
CAUTION Changes or modifications made to this equipment not expressly approved by themanufacturer may void the FCC authoriza- tion to operate this equipment.NOTE
BK0277700US.bo
ok 11 ページ 2019年3月8日 金曜日 午前9時23分
Page 97 of 427
Free-hand Advanced Security Transmitter (F.A.S.T.-key) (if so equipped) 5-16 Features and controls
5
N00503401485
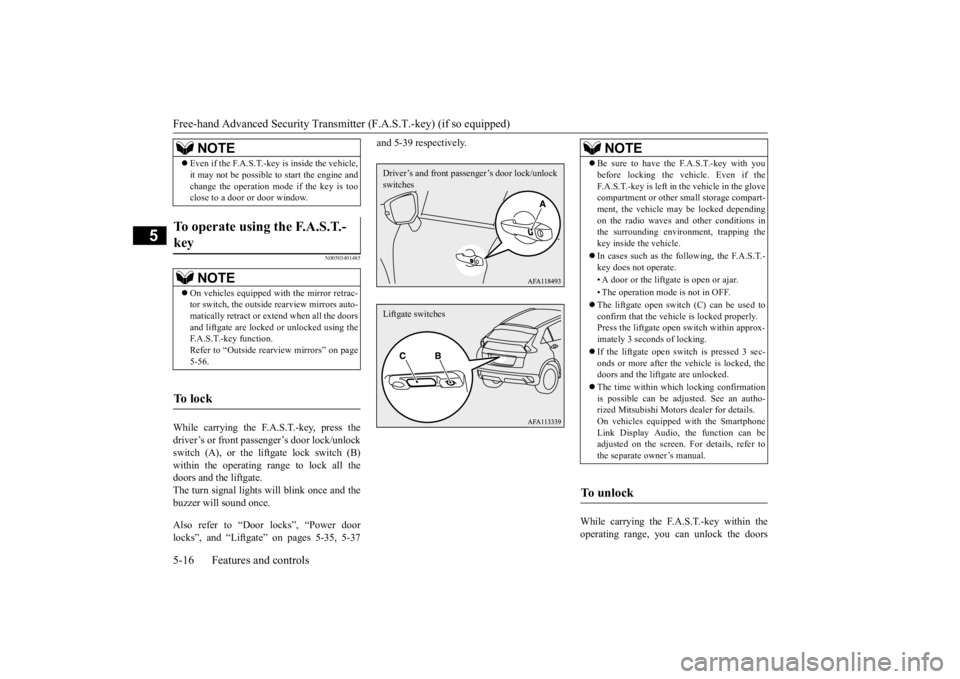
While carrying the F.A.S.T.-key, press the driver’s or front passenger’s door lock/unlock switch (A), or the liftgate lock switch (B) within the operating range to lock all thedoors and the liftgate. The turn signal lights will blink once and the buzzer will sound once. Also refer to “Door locks”, “Power door locks”, and “Liftgate” on pages 5-35, 5-37
and 5-39 respectively.
While carrying the F.A.S.T.-key within the operating range, you can unlock the doors
Even if the F.A.S.T.-key is inside the vehicle, it may not be possible to start the engine and change the operation mode if the key is too close to a door or door window.
To operate using the F.A.S.T.- key
NOTE
On vehicles equipped with the mirror retrac- tor switch, the outside rearview mirrors auto- matically retract or extend when all the doors and liftgate are locked or unlocked using theF.A.S.T.-key function. Refer to “Outside rearview mirrors” on page 5-56.
To l o c k
NOTE
Driver’s and front passen
ger’s door lock/unlock
switchesLiftgate switches
NOTE
Be sure to have the F.A.S.T.-key with you before locking the vehicle. Even if the F.A.S.T.-key is left in the vehicle in the glove compartment or other small storage compart- ment, the vehicle may be locked dependingon the radio waves and other conditions in the surrounding environment, trapping the key inside the vehicle. In cases such as the following, the F.A.S.T.- key does not operate. • A door or the liftgate is open or ajar. • The operation mode is not in OFF. The liftgate open switch (C) can be used to confirm that the vehicle is locked properly. Press the liftgate open switch within approx- imately 3 seconds of locking. If the liftgate open switch is pressed 3 sec- onds or more after the vehicle is locked, thedoors and the liftgate are unlocked. The time within which locking confirmation is possible can be adjusted. See an autho- rized Mitsubishi Motors dealer for details. On vehicles equipped with the SmartphoneLink Display Audio, the function can be adjusted on the screen. For details, refer to the separate owner’s manual.
To u n l o c k
BK0277700US.bo
ok 16 ページ 2019年3月8日 金曜日 午前9時23分
Page 113 of 427

Free-hand Advanced Security Transmitter (F.A.S.T.-key) (if so equipped) 5-32 Features and controls
5
1. Press the PANIC button (3) for more than 1 second. 2. The headlights will blink on and off and the horn will sound intermittently forapproximately 3 minutes. 3. To turn off the alarm, press any button on the key.NOTE
The indicator light (4) comes on each time a button is pressed. The F.A.S.T.-key can be used from approxi- mately 40 feet (12 m) away. However, thisdistance may change if your vehicle is near a TV transmitting tower, a power station, or a radio station. If the following conditions are observed after pressing the LOCK (1) or UNLOCK (2) but-ton on the key, the battery in the F.A.S.T.-key may need to be replaced. • The doors and the liftgate cannot be locked or unlocked. • The panic alarm cannot be operated. • The indicator light (4) is dim or does not come on.
If you lose your F.A.S.T.-key, please contact an authorized Mitsubishi Motors dealer for a replacement. If you wish to obtain an
additional F.A.S.T.-
key, please contact an authorized MitsubishiMotors dealer. A maximum of four F.A.S.T.- keys can be programmed for your vehicle.
To use the new keys, it is necessary to regis- ter the key with both the electronic immobi- lizer and keyless entry system. Also refer to “Electr
onic immobilizer (Anti-
theft starting system): Customer F.A.S.T.-key programming” on page 5-28.NOTE
BK0277700US.bo
ok 32 ページ 2019年3月8日 金曜日 午前9時23分
Page 115 of 427
Free-hand Advanced Security Transmitter (F.A.S.T.-key) (if so equipped) 5-34 Features and controls
5
N00562001091
Your F.A.S.T.-key operates on a radio fre- quency subject to Federal Communications Commission (FCC) Rules (For vehicles soldin U.S.A.) and Industry Canada Rules (Forvehicles sold in Canada). This device com- plies with Part 15 of FCC Rules and Industry Canada’s applicable licence-exempt RSSstandard(s). Operation is subject to the fol- lowing two conditions. This device may not cause harmful inter- ference, and This device must accept any interference received, including interference that may cause undesired operation of this device.
N00562101106
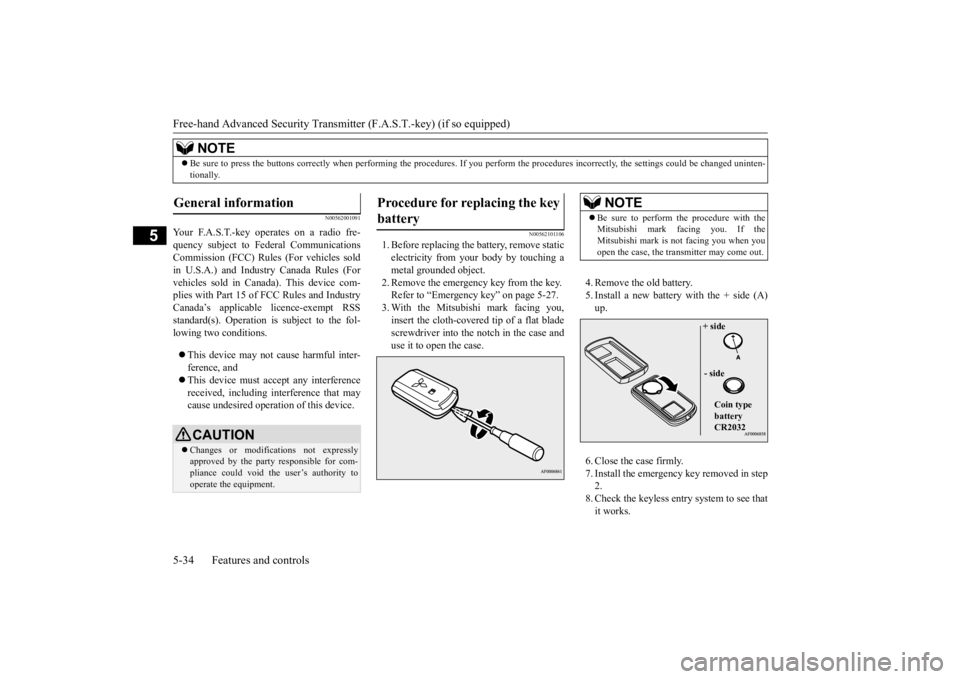
1. Before replacing the battery, remove staticelectricity from your body by touching ametal grounded object.2. Remove the emergency key from the key. Refer to “Emergency key” on page 5-27. 3. With the Mitsubishi mark facing you,insert the cloth-covered tip of a flat blade screwdriver into the notch in the case and use it to open the case.
4. Remove the old battery. 5. Install a new battery with the + side (A) up. 6. Close the case firmly. 7. Install the emergency key removed in step 2. 8. Check the keyless entry system to see thatit works.
NOTE
Be sure to press the buttons correctly when performing the pro
cedures. If you perform the proce
dures incorrectly, the settings
could be changed uninten-
tionally.
General information
CAUTION Changes or modifications not expressly approved by the party responsible for com-pliance could void the user’s authority to operate the equipment.
Procedure for replacing the key battery
NOTE
Be sure to perform the procedure with the Mitsubishi mark facing you. If the Mitsubishi mark is not facing you when you open the case, the transmitter may come out.
+ side - side Coin type battery CR2032
BK0277700US.bo
ok 34 ページ 2019年3月8日 金曜日 午前9時23分
Page 211 of 427
Tire pressure monitoring system (TPMS) 5-130 Features and controls
5
A window tint that affects the radio wave signals is installed.
N00532900081
If new wheels with new tire inflation pressuresensors are installed, their ID codes must beprogrammed into the tire pressure monitoring system. Have tire and wheel replacement per- formed by an authorized Mitsubishi Motorsdealer to avoid the risk of damaging the tire inflation pressure sensors. If the wheel replacement is not done by an authorizedMitsubishi Motors dealer, it is not covered by your warranty.
N00584300042
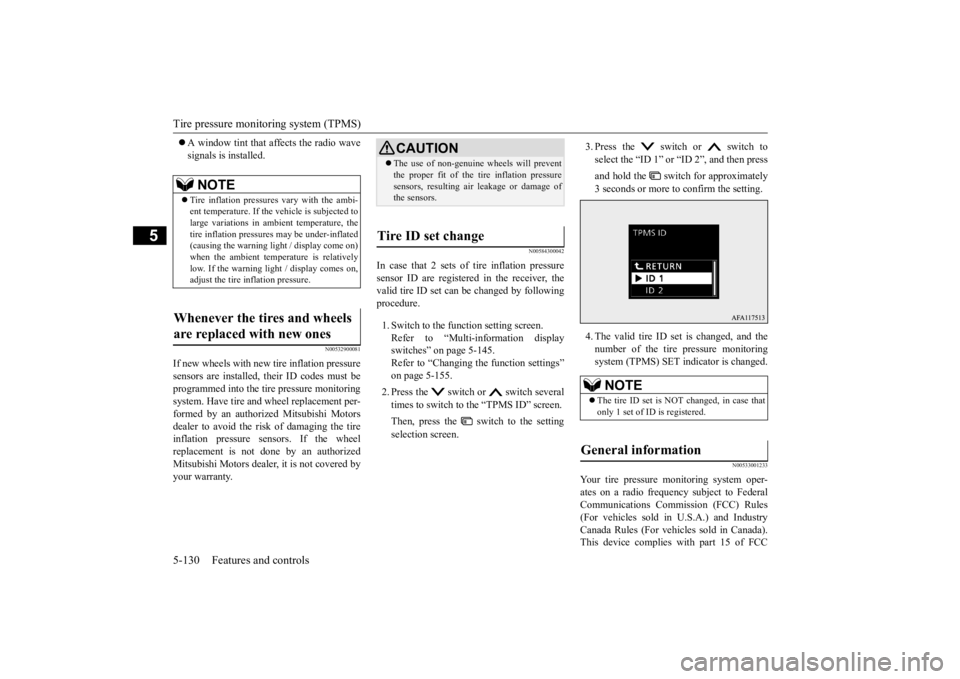
In case that 2 sets of tire inflation pressuresensor ID are registered in the receiver, the valid tire ID set can be changed by followingprocedure. 1. Switch to the function setting screen. Refer to “Multi-information display switches” on page 5-145.Refer to “Changing the function settings” on page 5-155. 2. Press the switch or switch several times to switch to the “TPMS ID” screen. Then, press the switch to the setting selection screen.
3. Press the switch or switch to select the “ID 1” or “ID 2”, and then press and hold the switch for approximately 3 seconds or more to confirm the setting. 4. The valid tire ID set is changed, and the number of the tire pressure monitoringsystem (TPMS) SET indicator is changed.
N00533001233
Your tire pressure monitoring system oper- ates on a radio frequency subject to Federal Communications Commission (FCC) Rules(For vehicles sold in U.S.A.) and Industry Canada Rules (For vehicles sold in Canada). This device complies with part 15 of FCC
NOTE
Tire inflation pressures vary with the ambi- ent temperature. If the
vehicle is subjected to
large variations in ambient temperature, thetire inflation pressures may be under-inflated (causing the warning light / display come on) when the ambient temperature is relativelylow. If the warning light / display comes on, adjust the tire inflation pressure.
Whenever the tires and wheels are replaced with new ones
CAUTION The use of non-genuine wheels will prevent the proper fit of the tire inflation pressure sensors, resulting air leakage or damage of the sensors.
Tire ID set change
NOTE
The tire ID set is NOT changed, in case that only 1 set of ID is registered.
General information
BK0277700US.book
130 ページ 2019年3月8日 金曜日 午前9時23分
Page 245 of 427

Indicator light, warning light, an
d information screen display list
5-164 Features and controls
5
N00557901122
When there is information to be announced, such as light reminder,
the tone sounds and the screen switches to the displays show
n below.
Refer to the appropriate page and take the necessary measures. When the cause of the warning display is eliminated, the warning display goes out automatically.Refer to Warning display list on page 5-165. Refer to Other interrupt displays on page 5-180. 17- Supplemental Restraint System (SRS)
warning light
P. 4-36
18- Engine malfunction indicator (“SER-
VICE ENGINE SOON” or “Check engine light”)
P.5-185
19- Seat belt reminder/warning light
P.4-18
20- Tire pressure monitoring system warn-
ing light
P.5-127
21- Brake auto hold indicator (if so
equipped)
P.5-77
22- Brake warning light
P.5-184
Information screen display
NOTE
In the following cases, a warning may be displayed on the inform
ation screen and the buzzer may
sound for a few seconds, at tim
es.
This is caused by the system picking up interference such as stro
ng electromagnetic waves or nois
e, and is not a functional pro
blem.
• An extremely strong electromagnetic wave is received from a source
such as an illegal radio set,
a spark from a wire, or a rad
ar station.
• Abnormal voltage or a static electricity discharge is genera
ted by the operation of your vehicle’s electronics (including afte
r-market parts).
If the warning display has occurred a number of times, take your vehicle to an authorized Mitsubishi Motors dealer or a repair
facility of your choice and
have the system checked.
BK0277700US.book
164 ページ 2019年3月8日 金曜日 午前9時23分
Page 293 of 427
HomeLink® Wireless Control System (if so equipped) 5-212 Features and controls
5
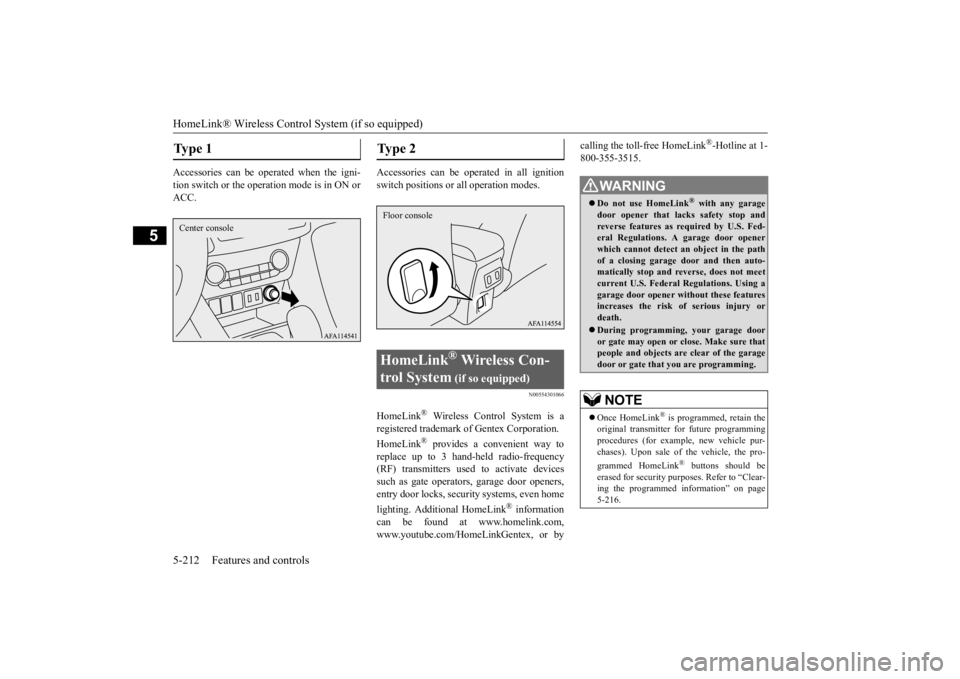
Accessories can be operated when the igni- tion switch or the operation mode is in ON or ACC.
Accessories can be operated in all ignition switch positions or all operation modes.
N00554301066
HomeLink
® Wireless Control System is a
registered trademark of Gentex Corporation. HomeLink
® provides a convenient way to
replace up to 3 hand-held radio-frequency (RF) transmitters used
to activate devices
such as gate operators, garage door openers,entry door locks, security systems, even home lighting. Additional HomeLink
® information
can be found at www.homelink.com,www.youtube.com/HomeLinkGentex, or by
calling the toll-free HomeLink
®-Hotline at 1-
800-355-3515.
Type 1 Center console
Type 2 HomeLink
® Wireless Con-
trol System
(if so equipped)
Floor console
WA R N I N G Do not use HomeLink
® with any garage
door opener that lacks safety stop and reverse features as required by U.S. Fed-eral Regulations. A garage door opener which cannot detect an object in the path of a closing garage door and then auto-matically stop and reverse, does not meet current U.S. Federal Regulations. Using a garage door opener without these featuresincreases the risk of serious injury or death. During programming, your garage door or gate may open or close. Make sure that people and objects are clear of the garagedoor or gate that you are programming.NOTE
Once HomeLink
® is programmed, retain the
original transmitter for future programming procedures (for example, new vehicle pur- chases). Upon sale of
the vehicle, the pro-
grammed HomeLink
® buttons should be
erased for security purposes. Refer to “Clear-ing the programmed information” on page 5-216.
BK0277700US.book
212 ページ 2019年3月8日 金曜日 午前9時23分
Page 294 of 427
HomeLink® Wireless Control System (if so equipped)
Features and controls 5-213
5
N00584600029
Some garage door openers manufactured after 1995 have “rolling code protection”. To program a garage door opener equipped with “rolling code protection”;you will need to access the garage door opener motor to press the motor’s “Learn” or “Smart” buttons. For convenience, usea ladder and another person to assist you. It is recommended that a new battery be placed in the hand-held transmitter of the device being programmed to HomeLink
®
for quicker training and accurate trans- mission of the radio-frequency signal.
N00584700046
To program HomeLink
® to operate a garage
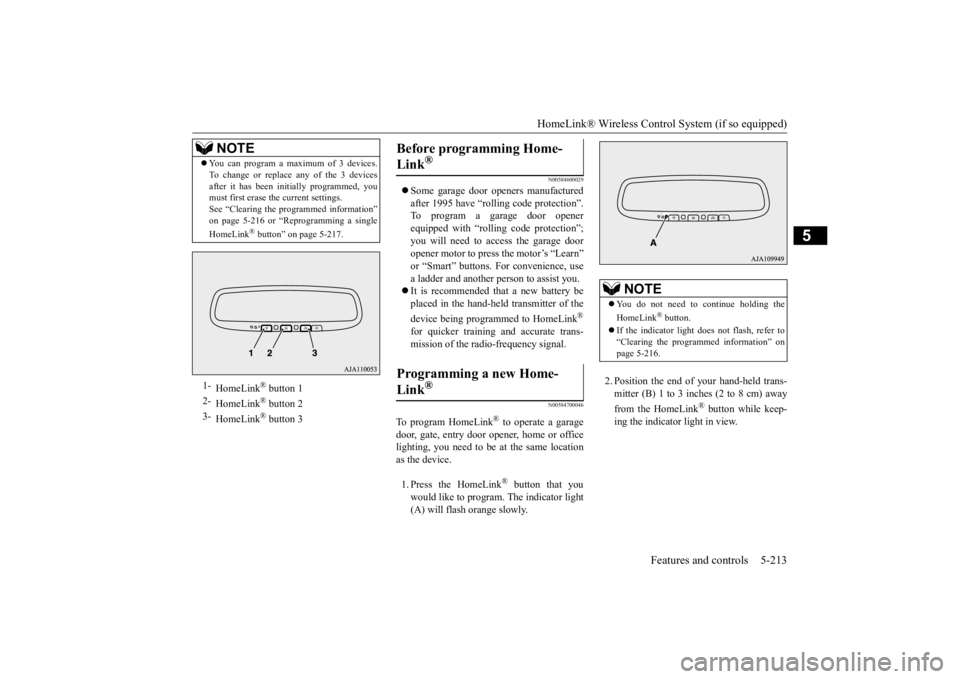
door, gate, entry door opener, home or officelighting, you need to be at the same location as the device. 1. Press the HomeLink
® button that you
would like to program. The indicator light(A) will flash orange slowly.
2. Position the end of your hand-held trans- mitter (B) 1 to 3 inches (2 to 8 cm) away from the HomeLink
® button while keep-
ing the indicator light in view.
You can program a maximum of 3 devices. To change or replace any of the 3 devices after it has been initially programmed, you must first erase the current settings. See “Clearing the programmed information”on page 5-216 or “Reprogramming a single HomeLink
® button” on page 5-217.
1-
HomeLink
® button 1
2-
HomeLink
® button 2
3-
HomeLink
® button 3
NOTE
Before programming Home- Link
®
Programming a new Home-Link
®
NOTE
You do not need to continue holding the HomeLink
® button.
If the indicator light
does not flash, refer to
“Clearing the programmed information” on page 5-216.
BK0277700US.book
213 ページ 2019年3月8日 金曜日 午前9時23分
Page 296 of 427
HomeLink® Wireless Control System (if so equipped)
Features and controls 5-215
5
N00584800021
Canadian radio-frequency laws require trans- mitter signals to “time-out” (or quit) after several seconds of transmission - which may not be long enough for HomeLink
® to pick
up the signal during programming. Similar tothis Canadian law, some U.S. gate operators are designed to “time-out” in the same man- ner.The indicator LED on the hand-held transmit- ter will go off when the device times out indi- cating that it has finished transmitting.If you live in Canada
or you are having diffi-
culties programming a gate operator or garage door opener by using the “Program-ming” procedures, replace “Programming a new HomeLink
®” step 3 with the following:
3. Press and release - every 2 seconds (“cycle”) your hand-held transmitter until the HomeLink
® indicator light changes from
slowly flashing orange to either rapidly flash-ing green (rolling code) or continuously lit green (fixed code). Now you may release the hand-held transmitter button.Proceed with “Programming a new Home- Link
®” step 4 to complete.
N00584900022
The HomeLink
® has the capability of receiv-
ing garage door status from compatible garage door opener systems. Check your garage door opener manual for the available feature and HomeLink
® compatibility. Also
for a listing of compatible systems contact HomeLink
® at: www.homelink.com
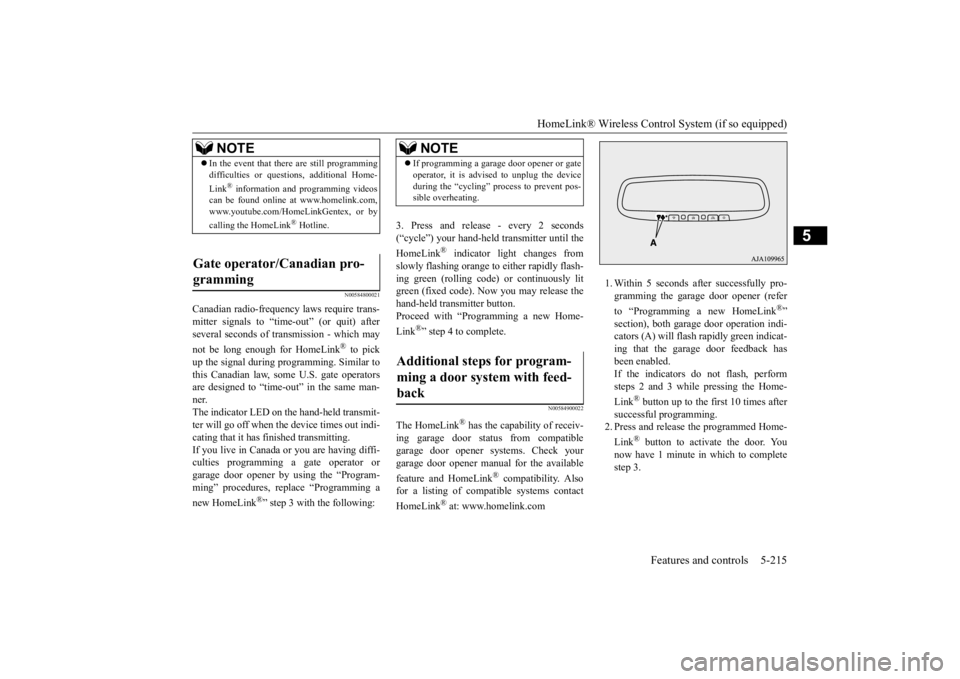
1. Within 5 seconds after successfully pro- gramming the garage door opener (refer to “Programming a new HomeLink
®”
section), both garage door operation indi- cators (A) will flash rapidly green indicat- ing that the garage door feedback hasbeen enabled. If the indicators do not flash, perform steps 2 and 3 while pressing the Home- Link
® button up to the first 10 times after
successful programming. 2. Press and release the programmed Home- Link
® button to activate the door. You
now have 1 minute in which to complete step 3.
NOTE
In the event that there are still programming difficulties or questions, additional Home- Link
® information and programming videos
can be found online at www.homelink.com, www.youtube.com/HomeLinkGentex, or by calling the HomeLink
® Hotline.
Gate operator/Canadian pro- gramming
NOTE
If programming a garage door opener or gate operator, it is advised to unplug the device during the “cycling” process to prevent pos- sible overheating.
Additional steps for program- ming a door system with feed-back
BK0277700US.book
215 ページ 2019年3月8日 金曜日 午前9時23分
Page 298 of 427
HomeLink® Wireless Control System (if so equipped)
Features and controls 5-217
5
1. Press and hold the 2 outer HomeLink
®
buttons for at least
10 seconds. The indi-
cator will change from continuous yellow to rapidly flashing green.2. Release both buttons. 3. HomeLink
® is now in the training (or
learning) mode and can be programmed at any time beginning with “Programming a new HomeLink
®” step 1.
N00585400024
To reprogram a HomeLink
® button, complete
the following. 1. Press and hold the desired HomeLink
®
button. Do not release the button. 2. The indicator light will begin to slowlyflash orange after 20 seconds. The Home- Link
® button can be released at this point.
Proceed with “Programming a new HomeLink
®” step 2.
N00585600042
Your HomeLink
® system operates on a radio
frequency subject to Federal Communica- tions Commission (FCC) Rules (For vehiclessold in U.S.A.) and Industry Canada Rules (For vehicles sold in Canada). This device complies with Part 15 of the FCC Rules andRSS-210 of the Industry Canada Rules. Oper- ation is subject to the following two condi- tions. This device may not cause harmful inter- ference. This device must accept any interference that may be received, including interfer-ence that may cause undesired operation.
This equipment complies with FCC radiation exposure limits set forth for an uncontrolledenvironment. End Users must follow the spe-cific operating instructions for satisfying RF exposure compliance. This transmitter must be at least 8 inches (20 cm) from the user andmust not be co-located or operating in con- junction with any other antenna or transmit- ter.The term “IC:” before the certification/regis- tration number only signifies that Industry Canada technical specifications were met.
NOTE
Do not hold for longer than 20 seconds.
Reprogramming a single HomeLink
® button
NOTE
If you do not complete the programming of a new device to the button,
it will revert to the
previously stored programming. For questions or comments, visit www.homelink.com,www.youtube.com/HomeLinkGentex, or by calling the HomeLink
® Hotline.
General information
CAUTION The transmitter has been tested and complies with FCC and IC rules. Changes or modifications not expressly approved by the party responsible for com- pliance could void the user’s authority tooperate the device.
BK0277700US.book
217 ページ 2019年3月8日 金曜日 午前9時23分