Compass calibration MITSUBISHI TRITON 2011 Owners Manual
[x] Cancel search | Manufacturer: MITSUBISHI, Model Year: 2011, Model line: TRITON, Model: MITSUBISHI TRITON 2011Pages: 369, PDF Size: 26.15 MB
Page 107 of 369
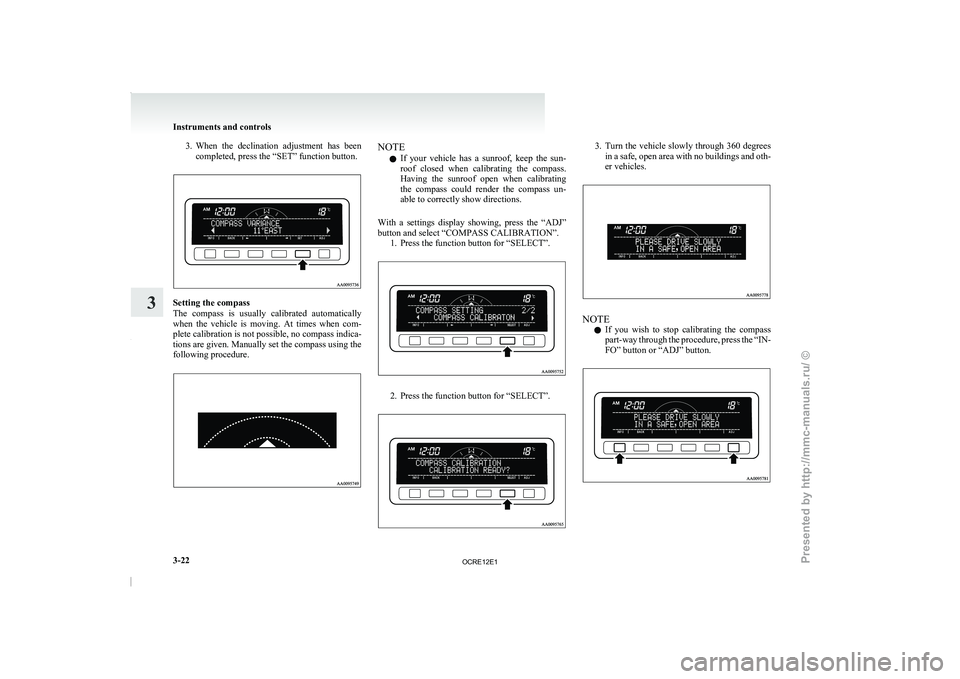
3. When the declination adjustment has been
completed, press the “SET” function button. Setting the compass
The compass is usually
calibrated
automatically
when the vehicle is moving. At times when com-
plete calibration is not possible, no compass indica-
tions are given. Manually set the compass using the
following procedure. NOTE
l If
your vehicle has a
sunroof, keep the sun-
roof closed when calibrating the compass.
Having the sunroof open when calibrating
the compass could render the compass un-
able to correctly show directions.
With a settings display showing, press the “ADJ”
button and select “COMPASS CALIBRATION”. 1. Press the function button for “SELECT”. 2. Press the function button for “SELECT”. 3. Turn the vehicle slowly through 360 degrees
in a safe, open area with no buildings and oth-
er vehicles. NOTE
l If
you wish to stop
calibrating the compass
part-way through the procedure, press the “IN-
FO” button or “ADJ” button. Instruments and controls
3-22
3
OCRE12E1
Presented by http://mmc-manuals.ru/ \251
Page 108 of 369
NOTE
l The
“Completed the calibration”. message
may
be displayed even if you terminate the
turn before it is complete and return to the ve-
hicle’s original direction. The compass may
not be properly calibrated in this case, so you
must turn the vehicle through at least
360 degrees.
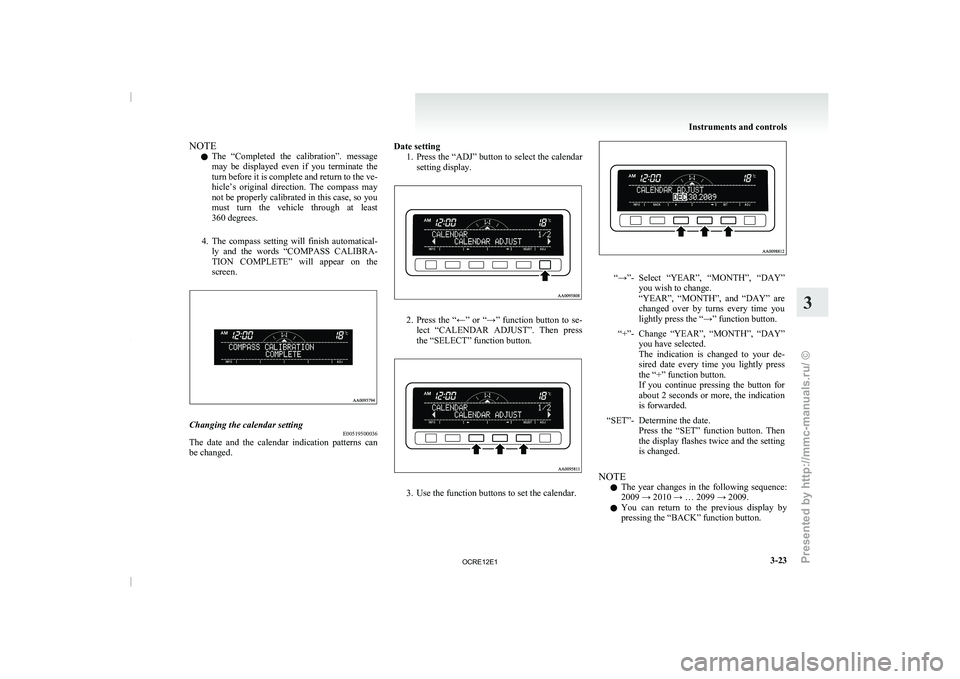
4. The compass setting will finish automatical- ly and the words “COMPASS CALIBRA-
TION COMPLETE” will appear on the
screen. Changing the calendar setting
E00519500036
The date and the calendar indication patterns can
be changed. Date setting
1. Press the “ADJ” button to select the calendar
setting display. 2. Press the “←” or “→” function button to se-
lect “CALENDAR ADJUST”. Then
press
the “SELECT” function button. 3. Use the function buttons to set the calendar. “→”- Select “YEAR”, “MONTH”, “DAY”
you wish to change.
“YEAR”, “MONTH”, and “DAY” are
changed
over by turns every time you
lightly press the “→” function button.
“+”- Change “YEAR”, “MONTH”, “DAY” you have selected.
The indication is changed to
your de-
sired date every time you lightly press
the “+” function button.
If you continue pressing the button for
about 2 seconds or more, the indication
is forwarded.
“SET”- Determine the date. Press the “SET” function button.
Then
the display flashes twice and the setting
is changed.
NOTE l The
year changes in the
following sequence:
2009 → 2010 → … 2099 → 2009.
l You can return to the previous display by
pressing the “BACK” function button. Instruments and controls
3-23 3
OCRE12E1
Presented by http://mmc-manuals.ru/ \251