navigation NISSAN GT-R 2013 R35 Multi Function Display Service Manual
[x] Cancel search | Manufacturer: NISSAN, Model Year: 2013, Model line: GT-R, Model: NISSAN GT-R 2013 R35Pages: 315, PDF Size: 6.96 MB
Page 60 of 315

2-32Navigation
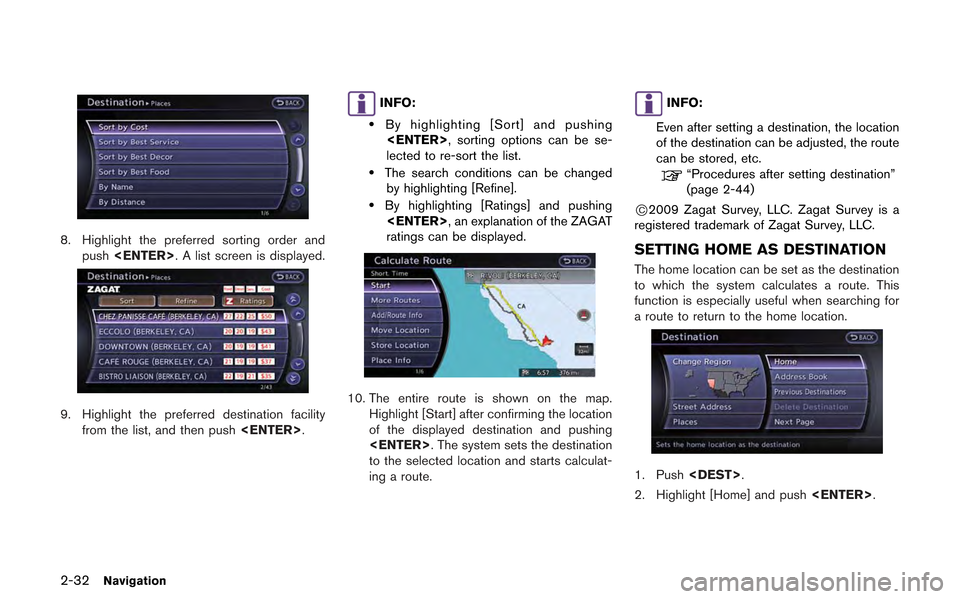
8. Highlight the preferred sorting order andpush
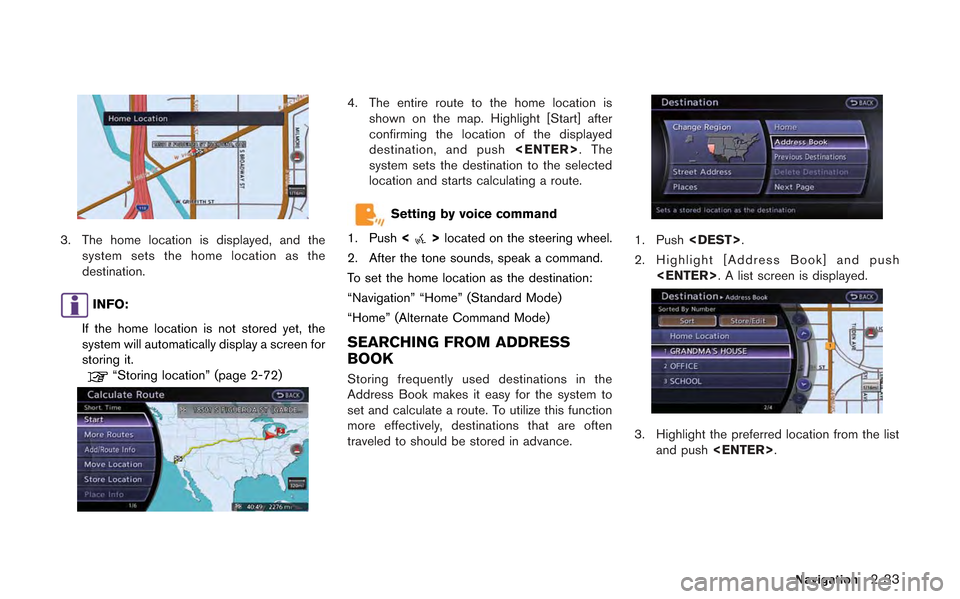
9. Highlight the preferred destination facility
from the list, and then push
INFO:
.By highlighting [Sort] and pushing
lected to re-sort the list.
.The search conditions can be changed by highlighting [Refine].
.By highlighting [Ratings] and pushing
ratings can be displayed.
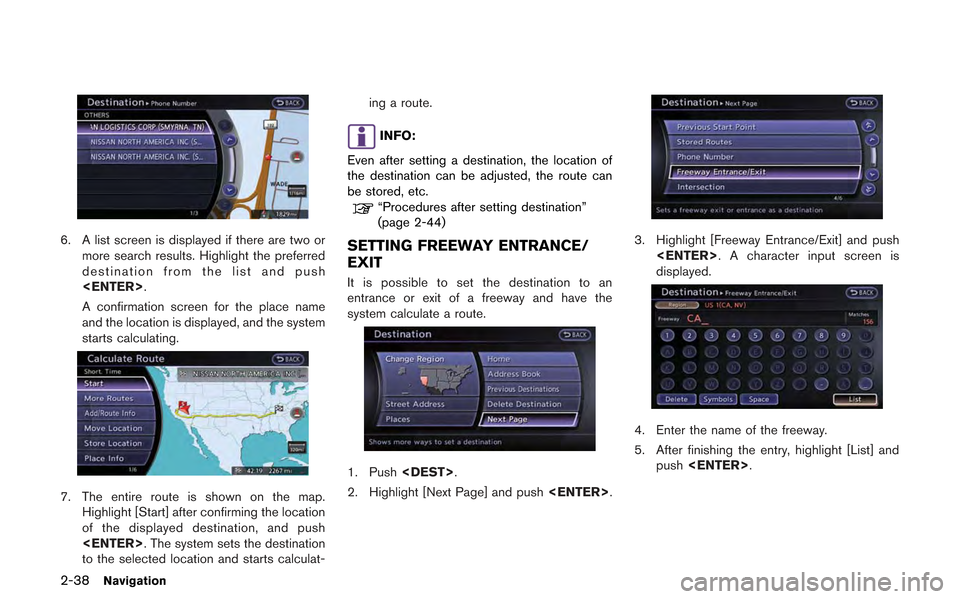
10. The entire route is shown on the map.
Highlight [Start] after confirming the location
of the displayed destination and pushing
to the selected location and starts calculat-
ing a route.
INFO:
Even after setting a destination, the location
of the destination can be adjusted, the route
can be stored, etc.
“Procedures after setting destination”
(page 2-44)
*C2009 Zagat Survey, LLC. Zagat Survey is a
registered trademark of Zagat Survey, LLC.
SETTING HOME AS DESTINATION
The home location can be set as the destination
to which the system calculates a route. This
function is especially useful when searching for
a route to return to the home location.
1. Push
2. Highlight [Home] and push
Page 61 of 315

3. The home location is displayed, and thesystem sets the home location as the
destination.
INFO:
If the home location is not stored yet, the
system will automatically display a screen for
storing it.
“Storing location” (page 2-72)
4. The entire route to the home location is shown on the map. Highlight [Start] after
confirming the location of the displayed
destination, and push
system sets the destination to the selected
location and starts calculating a route.
Setting by voice command
1. Push <
>located on the steering wheel.
2. After the tone sounds, speak a command.
To set the home location as the destination:
“Navigation” “Home” (Standard Mode)
“Home” (Alternate Command Mode)
SEARCHING FROM ADDRESS
BOOK
Storing frequently used destinations in the
Address Book makes it easy for the system to
set and calculate a route. To utilize this function
more effectively, destinations that are often
traveled to should be stored in advance.
1. Push
2. Highlight [Address Book] and push
3. Highlight the preferred location from the listand push
Navigation2-33
Page 62 of 315
![NISSAN GT-R 2013 R35 Multi Function Display Service Manual 2-34Navigation
INFO:
Selecting [Sort] displays a list of various sort
functions. To use the sort functions, stored
locations must be set in advance.
“Storing location” (page 2-72)
INFO:
.Sorted By NISSAN GT-R 2013 R35 Multi Function Display Service Manual 2-34Navigation
INFO:
Selecting [Sort] displays a list of various sort
functions. To use the sort functions, stored
locations must be set in advance.
“Storing location” (page 2-72)
INFO:
.Sorted By](/img/5/316/w960_316-61.png)
2-34Navigation
INFO:
Selecting [Sort] displays a list of various sort
functions. To use the sort functions, stored
locations must be set in advance.
“Storing location” (page 2-72)
INFO:
.Sorted By Number: The Address Book entries are displayed
in ascending numerical order.
.Sorted By Name:The Address Book entries are displayed
in alphabetic order.
.Sorted By Icon:By selecting a particular icon, a list that
contains only the Address Book entries
associated with that icon is displayed.
.Sorted By Group:By selecting a particular group (family,
friends, leisure, etc.), the selected group
is displayed at the top of the list.
4. The entire route is shown on the map. Highlight [Start] after confirming the location
of the displayed destination, and push
to the selected location and starts calculat-
ing a route.
INFO:
Even after setting a destination, the location of
the destination can be adjusted, the route can
be stored, etc.
“Procedures after setting destination”
(page 2-44)
Setting by voice command
1. Push <
>located on the steering wheel.
2. After the tone sounds, speak a command.
To set the destination from the Address Book:
“Navigation” “Address Book” (Standard Mode)
“Address book” (Alternate Command Mode)
SETTING PREVIOUS DESTINATION
It is possible to set the destination to a location
that has been previously set as a destination and
have the system calculate a route. Up to 300
previous destinations will be automatically
stored.
If the number of previous destinations exceeds
300, the oldest one will be replaced by the
newest one.
1. Push
Page 63 of 315
![NISSAN GT-R 2013 R35 Multi Function Display Service Manual 2. Highlight [Previous Destinations] and push<ENTER>. A list screen is displayed.
3. Highlight the preferred destination from thelist and push <ENTER>.
INFO:
The list can be sorted by selecting [By Da NISSAN GT-R 2013 R35 Multi Function Display Service Manual 2. Highlight [Previous Destinations] and push<ENTER>. A list screen is displayed.
3. Highlight the preferred destination from thelist and push <ENTER>.
INFO:
The list can be sorted by selecting [By Da](/img/5/316/w960_316-62.png)
2. Highlight [Previous Destinations] and push
3. Highlight the preferred destination from thelist and push
INFO:
The list can be sorted by selecting [By Date]
or [By Name]. Highlight [By Date] to sort the
list in chronological order. Highlight [By
Name] to sort the list in alphabetical order.
4. The entire route is shown on the map. Highlight [Start] after confirming the location
of the displayed destination, and push
to the selected location and starts calculat-
ing a route.
INFO:
Even after setting a destination, the location of
the destination can be adjusted, the route can
be stored, etc.
“Procedures after setting destination”
(page 2-44)
Setting by voice command
1. Push <
>located on the steering wheel.
2. After the tone sounds, speak a command.
To display the previous destinations list:
“Navigation” “Previous Destinations” (Standard
Mode)
“Previous Destinations” (Alternate Command
Mode)
SETTING PREVIOUS START POINT
It is possible to set the destination to the start
point of a previous route guidance and have the
system calculate a route.
1. Push
2. Highlight [Next Page] and push
3. Highlight [Previous Start Point] and push
Navigation2-35
Page 64 of 315
![NISSAN GT-R 2013 R35 Multi Function Display Service Manual 2-36Navigation
4. The previous start point is set as a destina-tion, and the entire route is shown on the
map. Highlight [Start] after confirming the
location of the displayed destination, and
push <E NISSAN GT-R 2013 R35 Multi Function Display Service Manual 2-36Navigation
4. The previous start point is set as a destina-tion, and the entire route is shown on the
map. Highlight [Start] after confirming the
location of the displayed destination, and
push <E](/img/5/316/w960_316-63.png)
2-36Navigation
4. The previous start point is set as a destina-tion, and the entire route is shown on the
map. Highlight [Start] after confirming the
location of the displayed destination, and
push
destination to the selected location and
starts calculating a route.
INFO:
Even after setting a destination, the location of
the destination can be adjusted, the route can
be stored, etc.
“Procedures after setting destination”
(page 2-44)
Setting by voice command
1. Push <
>located on the steering wheel.
2. After the tone sounds, speak a command.
To set a previous start point as the destination:
“Previous Start Point” (Alternate Command
Mode)
SETTING FROM STORED ROUTES
It is possible to select a preferred route from the
stored routes.
1. Push
2. Highlight [Next Page] and push
3. Highlight [Stored Routes] and push
4. Highlight the preferred route from the listand push
destination is set.
Page 65 of 315
![NISSAN GT-R 2013 R35 Multi Function Display Service Manual 5. The entire route is shown on the map.Highlight [Start] after confirming the location
of the displayed destination, and push
<ENTER>. The system sets the destination
to the selected location and sta NISSAN GT-R 2013 R35 Multi Function Display Service Manual 5. The entire route is shown on the map.Highlight [Start] after confirming the location
of the displayed destination, and push
<ENTER>. The system sets the destination
to the selected location and sta](/img/5/316/w960_316-64.png)
5. The entire route is shown on the map.Highlight [Start] after confirming the location
of the displayed destination, and push
to the selected location and starts calculat-
ing a route.
INFO:
. Even after setting a destination, the location
of the destination can be adjusted, the
location can be stored, etc.
“Procedures after setting destination”
(page 2-44)
. The stored route includes only locations
(destination and waypoints) and route cal-
culation conditions, not the route itself.
Therefore, when the destination is set using
a stored route, a different route may be
suggested if the current vehicle location is
different from the one when the route was stored.
SETTING BY PHONE NUMBER
If the phone number of a facility is known, it is
possible to search for a facility by entering the
phone number, and have the system calculate a
route.
INFO:
. Telephone numbers that were stored for
stored destinations can also be used.
. If the area code of the specified telephone
number does not exist in the map data, the
system cannot search for the location.
. Only the locations included in the database
in the map data can be searched by the
phone number. Residential phone numbers
cannot be used to search for a location.
1. Push
2. Highlight [Next Page] and push
3. Highlight [Phone Number] and push
screen is displayed.
4. Enter the telephone number including thearea code.
5. After finishing the entry, highlight [List] and push
“Number input screen” (page 1-17)
Navigation2-37
Page 66 of 315

2-38Navigation
6. A list screen is displayed if there are two ormore search results. Highlight the preferred
destination from the list and push
A confirmation screen for the place name
and the location is displayed, and the system
starts calculating.
7. The entire route is shown on the map.Highlight [Start] after confirming the location
of the displayed destination, and push
to the selected location and starts calculat- ing a route.
INFO:
Even after setting a destination, the location of
the destination can be adjusted, the route can
be stored, etc.
“Procedures after setting destination”
(page 2-44)
SETTING FREEWAY ENTRANCE/
EXIT
It is possible to set the destination to an
entrance or exit of a freeway and have the
system calculate a route.
1. Push
2. Highlight [Next Page] and push
3. Highlight [Freeway Entrance/Exit] and push
displayed.
4. Enter the name of the freeway.
5. After finishing the entry, highlight [List] and
push
Page 67 of 315
![NISSAN GT-R 2013 R35 Multi Function Display Service Manual 6. Highlight the freeway of the destination fromthe list, and push <ENTER>.
7. Highlight [Entrance] or [Exit] and push
<ENTER>. A list screen is displayed.
8. Select the preferred destination from the NISSAN GT-R 2013 R35 Multi Function Display Service Manual 6. Highlight the freeway of the destination fromthe list, and push <ENTER>.
7. Highlight [Entrance] or [Exit] and push
<ENTER>. A list screen is displayed.
8. Select the preferred destination from the](/img/5/316/w960_316-66.png)
6. Highlight the freeway of the destination fromthe list, and push
7. Highlight [Entrance] or [Exit] and push
8. Select the preferred destination from the list.The position of the selected location is
displayed in the preview on the right side
of the screen. Then, push
INFO:
Select [By Distance] to sort the list by the
nearest distance.
9. The entire route is shown on the map. Highlight [Start] after confirming the location
of the displayed destination, and push
to the selected location and starts calculat-
ing a route.
INFO:
Even after setting a destination, the location of
the destination can be adjusted, the route can
be stored, etc.
“Procedures after setting destination”
(page 2-44)
SETTING INTERSECTION
It is possible to set an intersection of any two
streets as the destination and have the system
calculate a route.
Navigation2-39
Page 68 of 315
![NISSAN GT-R 2013 R35 Multi Function Display Service Manual 2-40Navigation
1. Push<DEST>.
2. Highlight [Next Page] and push <ENTER>.
3. Highlight [Intersection] and push
<ENTER>. A character input screen is
displayed.
4. Enter the name of the 1st street.
After NISSAN GT-R 2013 R35 Multi Function Display Service Manual 2-40Navigation
1. Push<DEST>.
2. Highlight [Next Page] and push <ENTER>.
3. Highlight [Intersection] and push
<ENTER>. A character input screen is
displayed.
4. Enter the name of the 1st street.
After](/img/5/316/w960_316-67.png)
2-40Navigation
1. Push
2. Highlight [Next Page] and push
3. Highlight [Intersection] and push
displayed.
4. Enter the name of the 1st street.
After finishing the entry, highlight [List] and
push
5. Highlight a street as the 1st street from the
list and push
screen is displayed.
6. Enter the name of the 2nd street.
After finishing the entry, highlight [List] and
push
7. Highlight a street as the 2nd street from the
list and push
Page 69 of 315
![NISSAN GT-R 2013 R35 Multi Function Display Service Manual 8. The entire route is shown on the map.Highlight [Start] after confirming the location
of the displayed destination, and push
<ENTER>. The system sets the destination
to the selected location and sta NISSAN GT-R 2013 R35 Multi Function Display Service Manual 8. The entire route is shown on the map.Highlight [Start] after confirming the location
of the displayed destination, and push
<ENTER>. The system sets the destination
to the selected location and sta](/img/5/316/w960_316-68.png)
8. The entire route is shown on the map.Highlight [Start] after confirming the location
of the displayed destination, and push
to the selected location and starts calculat-
ing a route.
INFO:
Even after setting a destination, the location of
the destination can be adjusted, the route can
be stored, etc.
“Procedures after setting destination”
(page 2-44)
SETTING CITY CENTER
It is possible to set the center of a city as a
destination and have the system calculate a
route.
1. Push
2. Highlight [Next Page] and push
3. Highlight [City Center] and push
displayed.
4. Enter the name of the city, highlight [List] and push
displayed.
INFO:
Highlight [Last 5 Cities] and push
recently set as destinations.
5. Highlight the preferred destination from the list and push
selected location is displayed in the preview
Navigation2-41