center console NISSAN PICK-UP 1998 Repair Manual
[x] Cancel search | Manufacturer: NISSAN, Model Year: 1998, Model line: PICK-UP, Model: NISSAN PICK-UP 1998Pages: 1659, PDF Size: 53.39 MB
Page 112 of 1659

CAUTION:
lDisconnect both terminals from battery in advance.
lDisconnect air bag module connector in advance.
lBe careful not to scratch finishers and other parts.
lNever tamper with or force air bag lid open, as this may adversely affect air bag performance.
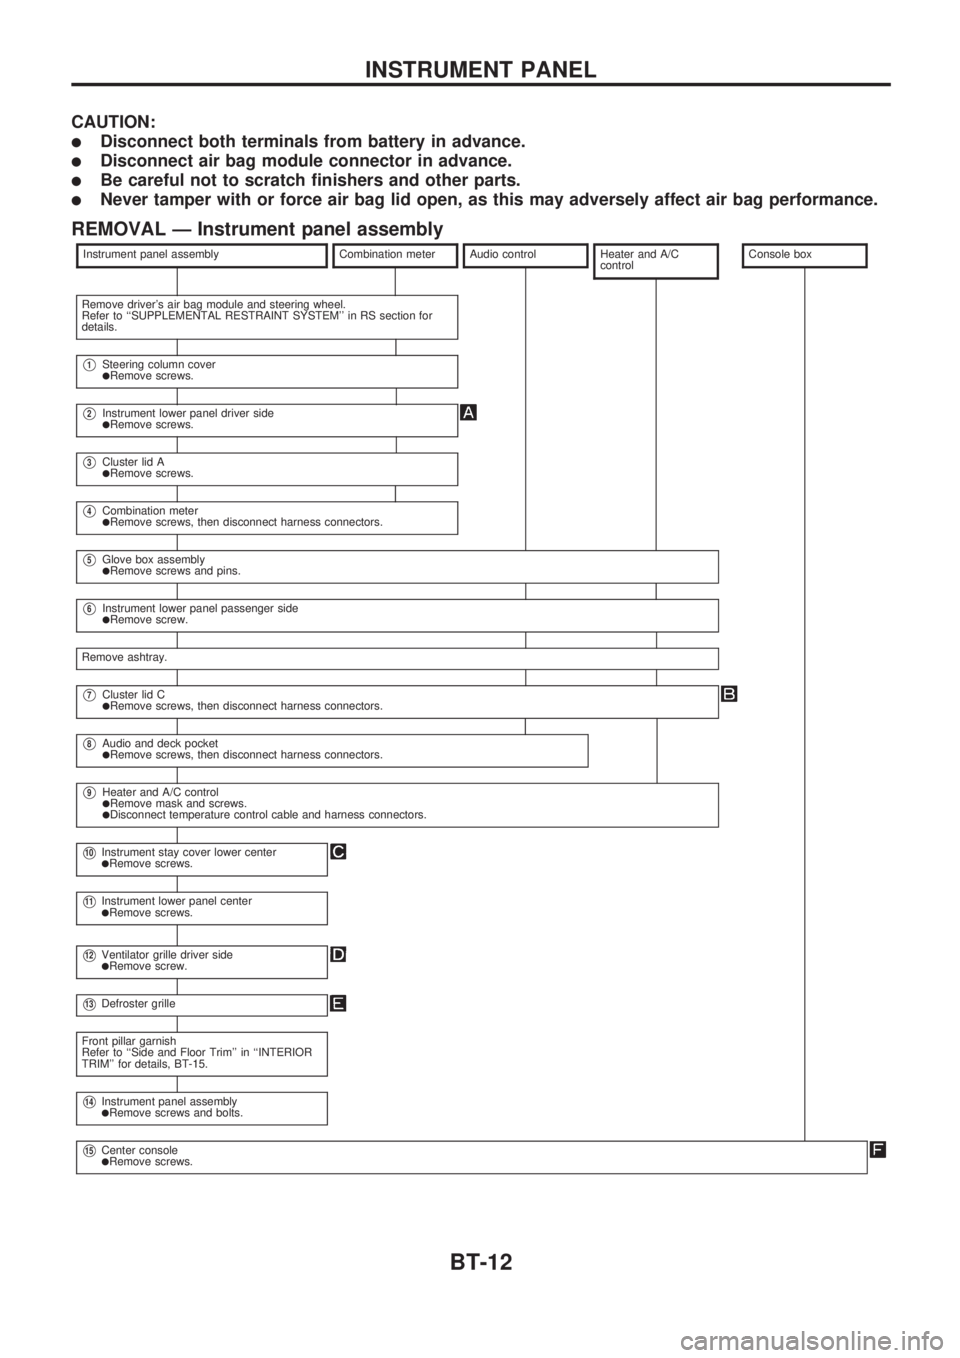
REMOVAL Ð Instrument panel assembly
Instrument panel assemblyCombination meterAudio controlHeater and A/C
controlConsole box
Remove driver's air bag module and steering wheel.
Refer to ``SUPPLEMENTAL RESTRAINT SYSTEM'' in RS section for
details.
V1Steering column coverlRemove screws.
V2Instrument lower panel driver sidelRemove screws.
V3Cluster lid AlRemove screws.
V4Combination meterlRemove screws, then disconnect harness connectors.
V5Glove box assemblylRemove screws and pins.
V6Instrument lower panel passenger sidelRemove screw.
Remove ashtray.
V7Cluster lid ClRemove screws, then disconnect harness connectors.
V8Audio and deck pocketlRemove screws, then disconnect harness connectors.
V9Heater and A/C controllRemove mask and screws.lDisconnect temperature control cable and harness connectors.
V10Instrument stay cover lower centerlRemove screws.
V11Instrument lower panel centerlRemove screws.
V12Ventilator grille driver sidelRemove screw.
V13Defroster grille
Front pillar garnish
Refer to ``Side and Floor Trim'' in ``INTERIOR
TRIM'' for details, BT-15.
V14Instrument panel assemblylRemove screws and bolts.
V15Center consolelRemove screws.
INSTRUMENT PANEL
BT-12
Page 115 of 1659

Side and Floor Trim
CAUTION:
Wrap the tip of flat-bladed screwdriver with a cloth when removing metal clips from garnishes.
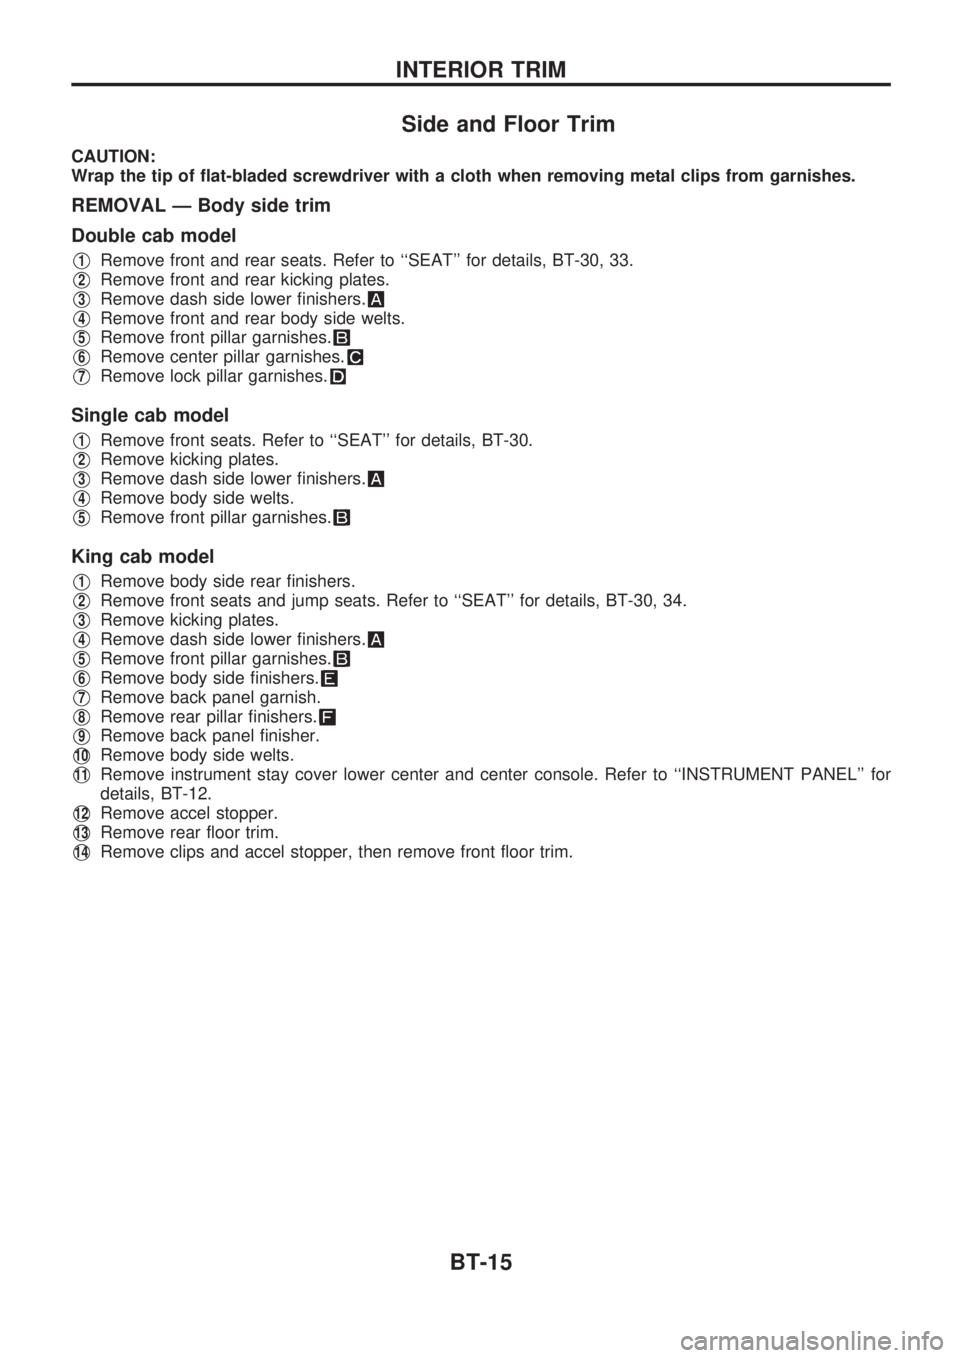
REMOVAL Ð Body side trim
Double cab model
V1Remove front and rear seats. Refer to ``SEAT'' for details, BT-30, 33.
V2Remove front and rear kicking plates.
V3Remove dash side lower finishers.
V4Remove front and rear body side welts.
V5Remove front pillar garnishes.
V6Remove center pillar garnishes.
V7Remove lock pillar garnishes.
Single cab model
V1Remove front seats. Refer to ``SEAT'' for details, BT-30.
V2Remove kicking plates.
V3Remove dash side lower finishers.
V4Remove body side welts.
V5Remove front pillar garnishes.
King cab model
V1Remove body side rear finishers.
V2Remove front seats and jump seats. Refer to ``SEAT'' for details, BT-30, 34.
V3Remove kicking plates.
V4Remove dash side lower finishers.
V5Remove front pillar garnishes.
V6Remove body side finishers.
V7Remove back panel garnish.
V8Remove rear pillar finishers.
V9Remove back panel finisher.
V10Remove body side welts.
V11Remove instrument stay cover lower center and center console. Refer to ``INSTRUMENT PANEL'' for
details, BT-12.
V12Remove accel stopper.
V13Remove rear floor trim.
V14Remove clips and accel stopper, then remove front floor trim.
INTERIOR TRIM
BT-15