ECU Oldsmobile Aurora 1998 s User Guide
[x] Cancel search | Manufacturer: OLDSMOBILE, Model Year: 1998, Model line: Aurora, Model: Oldsmobile Aurora 1998Pages: 380, PDF Size: 19.75 MB
Page 58 of 380

6. Push and pull the child restraint in different
directions to be sure it is secure.
To remove the child restraint, just unbuckle the vehicle’s
safety belt.
It will be ready to work for an adult or larger
child passenger.
Securing a Child Restraint in the Right
Front Seat Position
n
u
Your vehicle has a right front passenger air bag. Never
put a rear-facing child restraint in this seat. Here’s why:
A child in a rearfacing child restraint can be
seriously injured or killed
if the right front
passenger’s air bag inflates, even though your
vehicle has reduced-force frontal
air bags. This is
because the back of the rear-facing child
restraint would be very close to the inflating
air
bag. Always secure a rear-facing child restraint
in the rear seat.
You’ll be using the lap-shoulder belt. See the earlier part
about the top strap if the child restraint has one. Be sure
to follow the instructions that came with the child
restraint. Secure the child in the child restraint when and
as the instructions say.
I. Because your vehicle has a right front passenger air
bag, always move the seat
as far back as it will go
before securing a forward-facing child restraint. (See
“Seats”
in the Index.)
2. Put the restraint on the seat.
Page 60 of 380

6. To tighten the belt, feed the lap belt back into the
retractor while you push down on the child restraint.
You may find it helpful to use your knee to push
down on the child restraint as
you tighten the belt.
7. Push and pull the child restraint in different
directions to be sure
it is secure.
To remove the child restraint, just unbuckle the vehicle’s
safety belt and let
it go back all the way. The safety belt
will move freely again and be ready to work for an adult
or larger child passenger.
Larger Children
Children who have outgrown child restraints should
wear the vehicle’s safety belts.
Page 73 of 380

Personalization Programming
The delayed locking feature can be turned on or off for
each driver’s remote lock control transmitter.
To turn the feature on:
1. Press and hold the lock position on the driver’s
power door lock switch throughout this procedure.
All of the doors will lock.
2. Press the UNLOCK button on the transmitter to
enter the programming mode. The lock delay is still
off and all doors will remain locked.
3. Press the UNLOCK button on the transmitter again.
Lock delay is now active and all doors will unlock.
4. Release the power door lock switch.
To turn the feature off, repeat this procedure.
This procedure changes the mode for only the
transmitter used to change this setting. The procedure
will need to
be repeated for the second transmitter.
Rear Door Security Locks
To Use One of These Locks
1. Open one of the rear doors.
2. Move the lever on the
door all the way up to
the ENGAGED position.
3. Close the door.
4. Do the same thing to the other rear door lock.
The rear doors of your vehicle cannot be opened from
inside when this feature is in use.
Your vehicle is equipped with rear door security locks
that help prevent passengers from opening the rear doors
of your vehicle from the inside.
2-7
Page 74 of 380
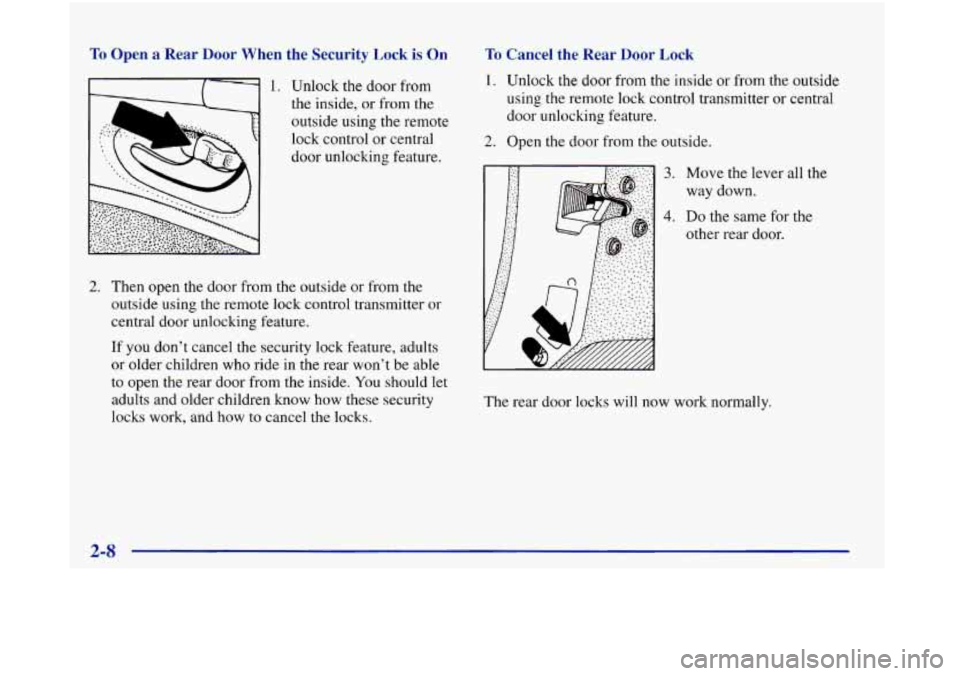
To Open a Rear Door When the Security Lock is On
I. Unlock the door from
the inside, or from the
outside using the remote
lock control or central
door unlocking feature.
2. Then open the door from the outside or from the
outside using
the remote lock control transmitter or
central door unlocking feature.
If you don’t cancel the security lock feature, adults
or older children who ride in the rear won’t be able
to open the rear door from the inside.
You should let
adults and older children know how these security
locks work, and how to cancel
the locks.
To Cancel the Rear Door Lock
1. Unlock the door from the inside or from the outside
using the remote lock control transmitter or central
door unlocking feature.
2. Open the door from the outside.
3.
4.
Move the lever all the
way down.
Do the same for the
other rear door.
The rear door locks will now work normally.
I
Page 77 of 380
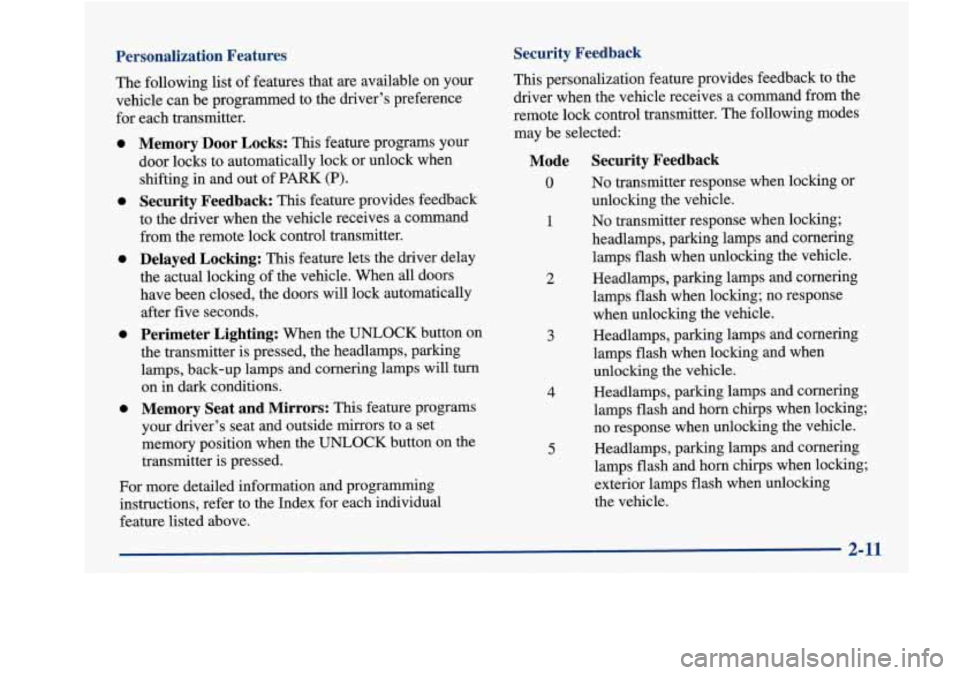
Personalization Features
The following list of features that are available on your
vehicle can be programmed
to the driver’s preference
for each transmitter.
Security Feedback
0
0
0
0
0
Memory Door Locks: This feature programs your
door locks to automatically lock or unlock when
shifting in and out of PARK (P).
Security Feedback: This feature provides feedback
to the driver when the vehicle receives a command
from the remote lock control transmitter.
Delayed Locking: This feature lets the driver delay
the actual locking of the vehicle. When
all doors
have been closed, the doors will lock automatically after five seconds.
Perimeter Lighting: When the UNLOCK button on
the transmitter is pressed, the headlamps, parking
lamps, back-up lamps and cornering lamps will turn
on in dark conditions.
Memory Seat and Mirrors: This feature programs
your driver’s seat and outside mirrors to a set
memory position when the UNLOCK button on the
transmitter is pressed.
For more detailed information and programming
instructions, refer to the Index for each individual
feature listed above. This personalization feature
provides feedback to the
driver when the vehicle receives a command from the
remote lock control transmitter. The following modes
may be selected:
4
5
1
2
3
Mode Security Feedback
0 No transmitter response when locking or
unlocking the vehicle.
No transmitter response when locking;
headlamps, parking lamps and cornering
lamps flash when unlocking the vehicle.
Headlamps, parking lamps and cornering
lamps flash when locking; no response
when unlocking the vehicle.
Headlamps, parking lamps and cornering
lamps flash when locking and when
unlocking the vehicle.
Headlamps, parking lamps and cornering lamps flash and horn chirps when locking;
no response when unlocking the vehicle.
Headlamps, parking lamps and cornering
lamps flash and horn chirps when locking;
exterior lamps flash when unlocking
the vehicle.
2-11
Page 80 of 380
Trunk
Trunk Lock Release
To unlock the trunk from the outside, insert the door key
and turn it.
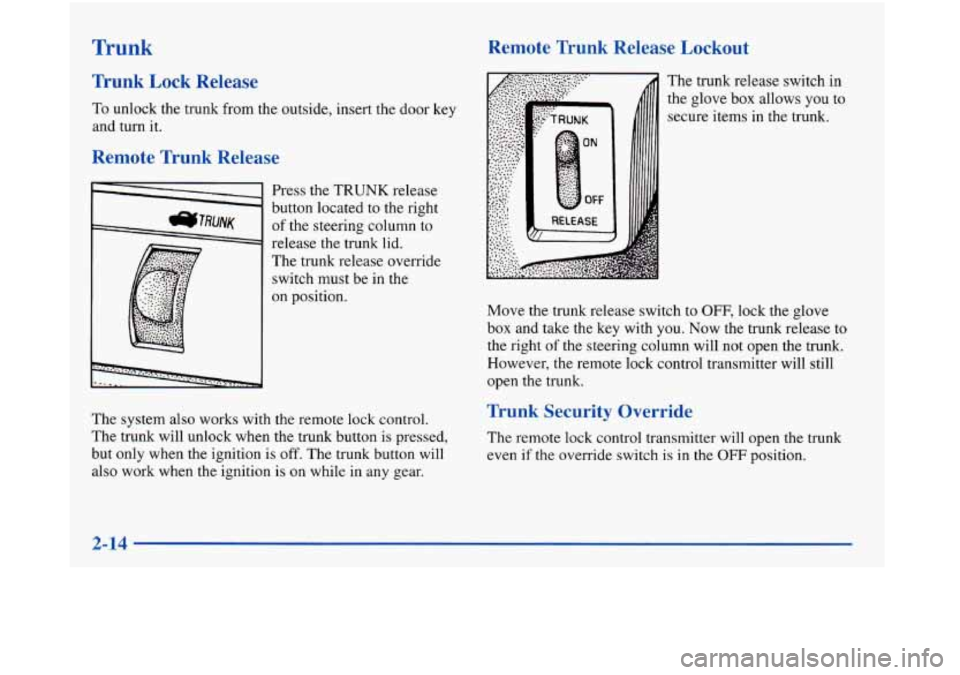
Remote Trunk Release
Press the TRUNK release
button located
to the right
of the steering column to
release the trunk lid.
The trunk release override
switch must be in the
on position.
The system also works with the remote lock control.
The trunk will unlock when the trunk button is pressed,
but only when the ignition is off. The trunk button will
also work when the ignition
is on while in any gear.
Remote Trunk Release Lockout
The trunk release switch in
the glove
box allows you to
secure items in the trunk.
Move the trunk release switch to
OFF, lock the glove
box and take the key with you. Now the trunk release to
the right of the steering column will not open the trunk.
However, the remote lock control transmitter will still
open the trunk.
Trunk Security Override
The remote lock control transmitter will open the trunk
even
if the override switch is in the OFF position.
2-14
Page 82 of 380
Parking Lots
If you park in a lot where someone will be watching
your vehicle,
it’s best to lock it up and take your keys.
But what
if you have to leave your ignition key?
If possible, park in a busy, well lit area.
Put your valuables in a storage area, like your
trunk or glove
box. Be sure to close and lock the
storage area.
Close all windows.
Move the trunk security override switch to
OFF.
Lock the glove box.
Lock all the doors except the driver’s.
Then take the door key and remote lock control
transmitter with you.
Universal Theft-Deterrent
Your vehicle has a theft-deterrent alarm system. With
this system,
if your ignition is off, the SECURITY light
will flash as you open the door. This
light reminds you
to
activate the theft-deterrent
SECURITY
system. Here’s how to do it:
1. Open the door.
2. Lock the door with the power door lock switch or
remote lock control system. The SECURITY light
should come on and stay on.
3. Close all doors. The SECURITY light should go off
after about
30 seconds. The security system is not
armed until the SECURITY light
is off. If the
SECURITY light stays on or flashes when the
ignition is turned on, there
is a problem with the
system and
the vehicle should be serviced.
If the SECURITY light comes
on for one minute and
then shuts off while the ignition is on, the security
system has detected a problem with itself. See your
retailer for service.
2-16
Page 84 of 380
PASS-Key@ I1
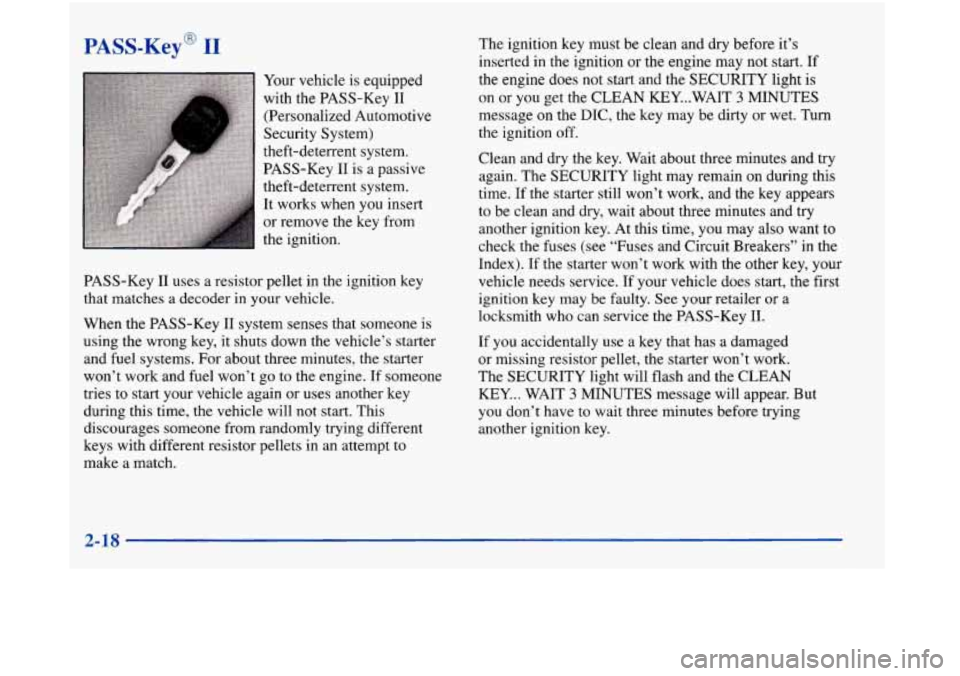
Your vehicle is equipped
with the PASS-Key I1
(Personalized Automotive
Security System)
theft-deterrent system.
PASS-Key I1 is a passive
theft-deterrent system.
It works when you insert
or remove the key from
the ignition.
PASS-Key
I1 uses a resistor pellet in the ignition key
that matches a decoder in your vehicle.
When the PASS-Key
I1 system senses that someone is
using the wrong key, it shuts down the vehicle’s starter
and fuel systems. For about three minutes, the starter
won’t work and fuel won’t go to the e,ngine. If someone
tries to start your vehicle again or uses another key
during this time, the vehicle will not start. This
discourages someone from randomly trying different
keys with different resistor pellets in an attempt to
make a match. The ignition key must be clean and dry before
it’s
inserted in the ignition or the engine may not start. If
the engine does not start and the SECURITY light
is
on or you get the CLEAN KEY...WAIT 3 MINUTES
message on the DIC, the key may be dirty or wet.
Turn
the ignition off.
Clean and dry the key. Wait about three minutes and try
again. The SECURITY light may remain on during this
time. If
the starter still won’t work, and the key appears
to be clean and dry, wait about three minutes and try
another ignition key. At this time, you may also want to
check the fuses (see “Fuses and Circuit Breakers” in the
Index). If the starter won’t work with the other key, your
vehicle needs service. If your vehicle does start, the first
ignition key may be faulty. See your retailer
or a
locksmith who can service the PASS-Key
11.
If you accidentally use a key that has a damaged
or missing resistor pellet, the starter won’t work.
The SECURITY light will flash and the CLEAN
KEY... WAIT 3 MINUTES message will appear. But
you don’t have
to wait three minutes before trying
another ignition key.
2-18
Page 85 of 380
See your retailer or a locksmith who can service the
PASS-Key I1 to have a new key made.
If you’re ever driving and the SECURITY light comes
on or PASS-KEY SYSTEM
FAULT appears, you will
be able
to restart your engine if you turn it off. Your
PASS-Key
I1 system, however, is not working properly
and must be serviced
by your retailer. Your vehicle is
not protected by the PASS-Key I1 system.
If you lose
or damage a PASS-Key I1 ignition key,
see your retailer
or a locksmith who can service
PASS-Key
I1 to have a new key made. In an
emergency, call the Aurora Roadside Assistance
Center at
1-800-442-OLDS (6537). In Canada,
call
1-800-268-6800.
New Vehicle 44Break-In”
NOTICE:
Your vehicle doesn’t need an elaborate
“break-in.” But it will perform better in the long
run if you follow these guidelines:
Don’t drive at any one speed -- fast or
slow
-- for the first 500 miles (805 km).
Don’t make full-throttle starts.
200 miles (322 km) or so. During this time
your new brake linings aren’t yet broken
in. Hard stops with new linings can mean
premature wear and earlier replacement.
Follow this breaking-in guideline every
time you get new brake linings.
Don’t tow
a trailer during break-in.
See “Towing
a Trailer” in the Index for
more information.
Avoid making hard stops for the first
2-19
Page 124 of 380
If you have trouble programming the universal
transmitter, make sure that you have followed the
directions exactly as described and that the batteries
in the hand-held transmitter are not dead. If
you still
cannot program it, rotate your hand-held transmitter
end over end and try again. The universal transmitter
may not work with older garage door openers that do
not meet current Federal Consumer Safety Standards.
If you cannot program the transmitter after repeated
attempts, consult your Aurora retailer.
Be sure to keep your original hand-held transmitter
in case you need to erase and reprogram the
universal transmitter.
Note to Canadian Owners: During programming, your
hand-held transmitter may stop transmitting after one or
two seconds. If you are programming from one of these
transmitters,
you should press and re-press the button on
the hand-held transmitter every two seconds without
ever releasing the button on the universal transmitter.
Release both buttons three seconds after the red light on
the universal transmitter begins to flash rapidly.
Operating the Transmitter
Press and hold the appropriate button on the universal
transmitter. The red light comes on while the signal is
being transmitted.
Note that the effective transmission range of the
universal transmitter may differ from your hand-held
transmitter and
also from one channel to another.
Training a Garage Door Opener Equipped
with “Rolling Codes”
If you programmed the universal transmitter, but the
garage door will not open, and
if your garage door
opener was manufactured after
1995, your garage
door may have a security feature that changes the
“code” of your garage door opener every time it is
opened or closed.
To determine if your garage door opener has this rolling
code feature, press and hold the appropriate button on
the universal transmitter that was programmed. If the
red light flashes rapidly for one
to two seconds, then
turns solid, your garage door opener has this feature.