instrument panel Oldsmobile Aurora 1998 s Owner's Guide
[x] Cancel search | Manufacturer: OLDSMOBILE, Model Year: 1998, Model line: Aurora, Model: Oldsmobile Aurora 1998Pages: 380, PDF Size: 19.75 MB
Page 131 of 380
When one of the warning lights comes on and stays on
when you are driving, or when one
of the gages shows
there may be a problem, check the section that tells you
what to do about it. Please follow this manual’s advice.
Waiting to do repairs can be costly
-- and even
dangerous.
So please get to know your warning lights
and gages. They’re a big help.
Your vehicle may also have a driver information system
that works along with the warning lights and gages. See
“Driver Information System” in the Index.
Safety Belt Reminder Light
When the key is turned to RUN or START, a chime will
come on for about eight seconds to remind people to
fasten their safety belts.
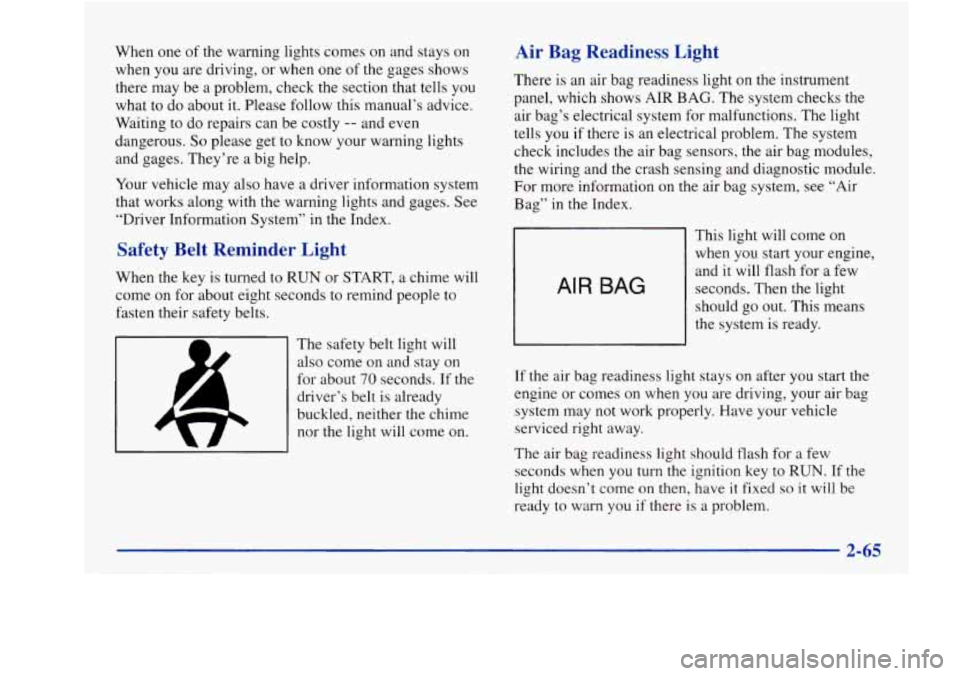
The safety belt light will
also come on and stay
on
for about 70 seconds. If the
driver’s belt is already
buckled, neither the chime
nor
the light will come on.
Air Bag Readiness Light
There is an air bag readiness light on the instrument
panel, which shows AIR
BAG. The system checks the
air bag’s electrical system for malfunctions. The light
tells
you if there is an electrical problem. The system
check includes the air bag sensors, the air bag modules,
the wiring and the crash sensing and diagnostic module.
For more information on the air bag system, see “Air
Bag”
in the Index.
AIR BAG
This light will come on
when you start your engine,
and it will flash for a few
seconds. Then the light
should
go out. This means
the system
is ready.
If the air bag readiness light stays on after you start the
engine or comes on when you are driving, your air bag
system may not work properly. Have your vehicle
serviced right away.
The air bag readiness light should flash for
a few
seconds when you turn the ignition key to RUN. If the
light doesn’t come on then, have it fixed
so it will be
ready to warn you if there is a problem.
2-65
- ..
Page 154 of 380
Automatic Operation
Press the AUTO-PUSH knob when you want the system
to automatically adjust the interior temperature to your
preference. When the system
is set for automatic
operation, air will come from the floor, upper or the
windshield outlets depending on the temperature inside
the vehicle, the outside temperature and the
sun load.
Fan speed will vary as the system reaches and maintains
the comfort setting you have selected.
To find your comfort setting, start with the system in
automatic mode by pressing the AUTO-PUSH knob.
Adjust the comfort setting by using the red and blue
buttons located below the digital display until
you reach
a setting of
75°F (24"C), on the display. Give the
vehicle about 20 minutes to stabilize and then readjust
the comfort setting
if necessary. The display will show
the comfort setting for five seconds and then it will
show the outside temperature.
In cold weather, the system will delay turning on the fan
to avoid blowing cold air. The length of the delay
depends
on the engine coolant temperature and the
outside temperature. Rotating the AUTO
FAN knob will
override this delay by turning off the automatic fan
mode and changing the fan speed.
...................................... ...................................................
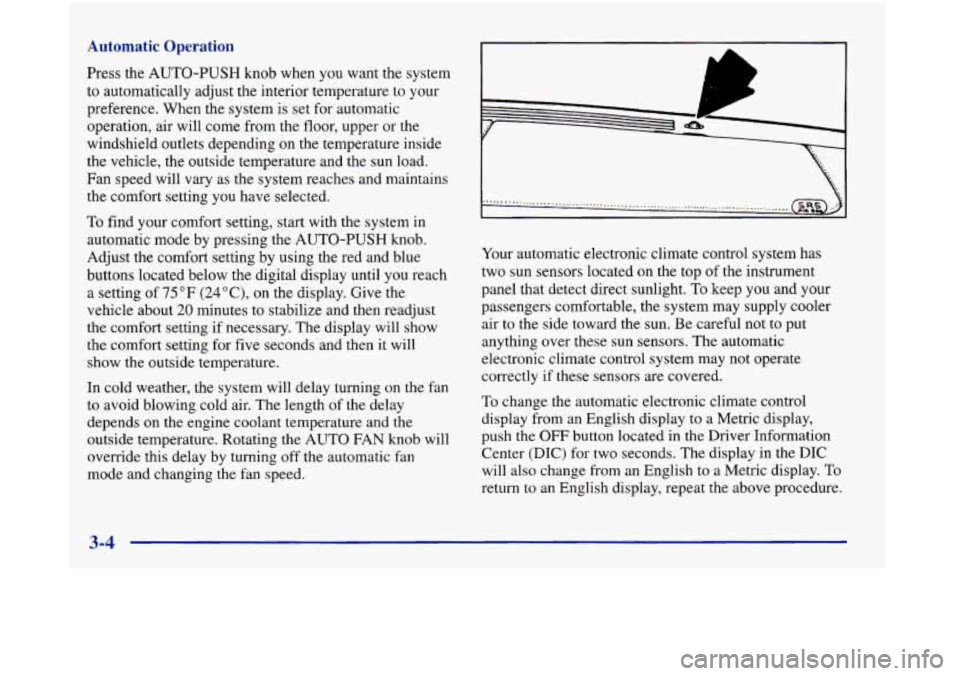
Your automatic electronic climate control system has
two sun sensors located on the top of the instrument
panel that detect direct sunlight.
To keep you and your
passengers comfortable, the system may supply cooler
air to the side toward the sun. Be careful not to put
anything over these sun sensors. The automatic
electronic climate control system may not operate
correctly
if these sensors are covered.
To change the automatic electronic climate control
display from an English display to a Metric display,
push the
OFF button located in the Driver Information
Center (DIC) for two seconds. The display in the DIC
will also change from an English to a Metric display. To
return to an English display, repeat the above procedure.
Page 155 of 380

Manual Operation
You may override the automatic airflow distribution by
rotating the AUTO-PUSH knob. After you rotate this
knob, the comfort setting will be displayed for five
seconds, then the outside temperature will be displayed.
The fan control will remain in the automatic control
mode unless you rotate the AUTO FAN knob to select a
manual fan speed.
fl UPPER: This setting directs airflow through the
@*
upper air outlets located in the instrument panel and
door panels.
Po fl BI-LEVEL: This setting directs the airflow
through both the upper air outlets and the lower floor
outlets. There is also a small amount of air directed to
the front defroster and the side window defrosters.
r/i HEAT This setting directs most of the airflow to
the lower floor outlets with
some airflow directed to the
side window defrosters. There is also a small amount of
airflow directed to the front defroster.
we
' fl DEFOG: This setting directs the majority of the
airflow to the lower floor outlets and the front defroster.
A small amount of airflow
is directed to the side
window defroster outlets. This mode can be useful to
remove the moisture from the inside of the windshield
when the outside temperature is cold or the humidity
is high.
DEF (Defrost): This setting directs the majority of
the airflow to the windshield with some airflow to the
side window defrosters and lower floor outlets.
To
increase the fan speed, rotate the AUTO FAN knob to
the right.
RECIRC: Press this button to limit the amount of
outside air entering your vehicle. This is helpful when
you are trying to cool the interior of the vehicle quickly
or limit the amount of outside air entering your vehicle
for some other reason. The RECIRC button and the
AUTO-PUSH knob may be selected at the same time.
The system will remain in RECIRC until the ignition is
turned off, then
the system will return back to the
previously selected mode. RECIRC may be selected
in
all manual airflow modes except front defrost.
3-5
Page 157 of 380
Heating
In cold weather, if the automatic mode is selected
(AUTO-PUSH knob indicator light is on), the system
will automatically direct the airflow out of the lower
floor outlets and the temperature door will be positioned
at the full hot position. You can choose the extreme
comfort setting of
90°F (32°C) but the system will not
warm
up any faster by selecting the extreme
comfort setting.
In cold weather, the system will delay turning on the fan
to avoid blowing cold air. The length of the delay
depends on the engine coolant temperature and the
outside temperature. The fan speed will increase as the
temperature
of the engine coolant increases. Rotating the
AUTO FAN
knob will override this delay by turning off
the automatic fan control mode and changing the
fan speed.
Ventilation System
Your vehicle’s flow-through ventilation system always
allows outside air
to flow through your vehicle when it
is moving, even when the system is off.
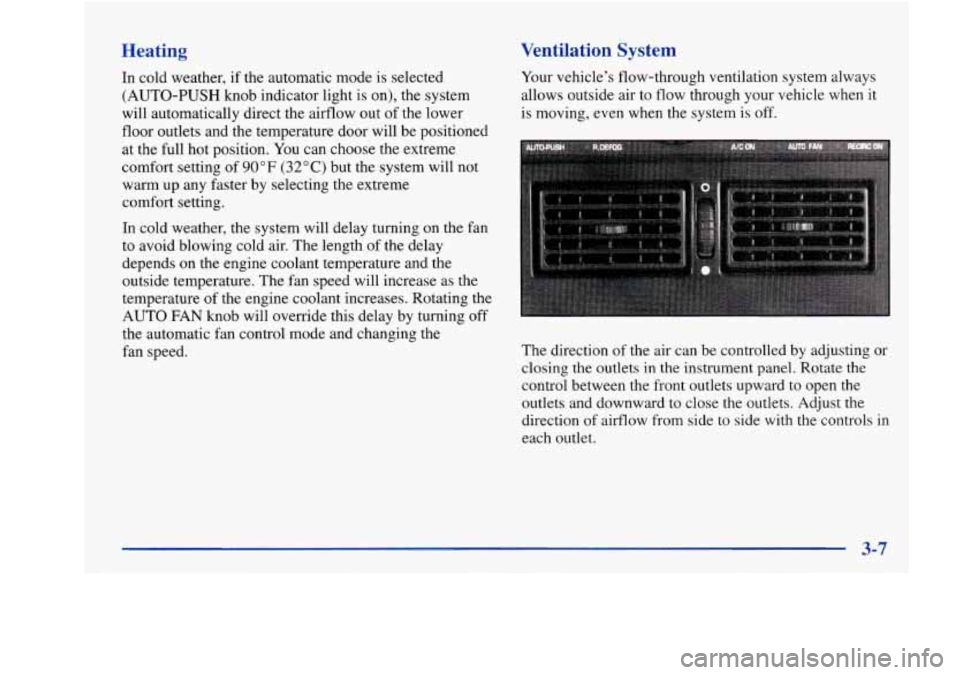
The direction of the air can be controlled by adjusting or
closing the outlets
in the instrument panel. Rotate the
control between the front outlets upward to open the
outlets and downward to close the outlets. Adjust the
direction of airflow
from side to side with the controls in
each outlet.
Page 214 of 380
Making Turns
I NOTICE: 1
Making very sharp turns while trailering could
cause the trailer to come in contact with the
vehicle. Your vehicle could be damaged. Avoid
making very sharp turns while trailering.
When you’re turning with a trailer, make wider
turns than normal.
Do this so your trailer won’t
strike soft shoulders, curbs, road signs, trees or other
objects. Avoid jerky or sudden maneuvers. Signal
well in advance.
Tbrn Signals When Towing a Trailer
The green arrows on your instrument panel will flash
whenever you signal a turn or lane change. Properly
hooked up, the trailer lamps will also flash, telling other
drivers you’re about to turn, change lanes or stop.
When towing a trailer, the green arrows on your
instrument panel will flash for turns even if the bulbs on
the trailer are burned out. Thus, you may think drivers behind
you are seeing your signal when they
are not. It’s
important to check occasionally to be sure the trailer
bulbs are still working.
Your vehicle may have bulb warning messages. When
you plug a trailer lighting system into your vehicle’s
lighting system, its bulb warning messages may not let
you know if one
of your lamps goes out. So, when you
have a trailer lighting system plugged in, be sure to
check your vehicle and trailer lamps from time to time
to be sure they’re all working. Once you disconnect the
trailer lamps, the bulb warning messages again can tell
you if one of your vehicle lamps is out.
Driving On Grades
Reduce speed and shift to a lower gear before you start
down a long or steep downgrade.
If you don’t shift
down, you might have to use your brakes
so much that
they would get hot and no longer work well.
Parking on Hills
You really should not park your vehicle, with a trailer
attached, on a hill. If something goes wrong, your rig
could start
to move. People can be injured, and both
your vehicle and the trailer can be damaged.
4-36
Page 218 of 380

Hazard Warning Flashers
Your hazard warning flashers let you warn others. They
also let police know you have a problem. Your front and
rear turn signal lamps will flash on and
off.
... .. ‘-... ...*....... * .... >::*.’.!:*.-....-:.:: ..*,. .... .. ..,.. .... Press down on the button - . - . - . . - . . . , - .
1
The HAZARD light on the
instrument panel will also
HAZARD A I
come on.
Your hazard flashers work
I
no matter what position
your key is in, and even if
the key isn’t in.
To turn off the flashers, press the button down again.
When the flashers are on, your turn signals won’t work.
5-2
Page 230 of 380
Engine Overheating
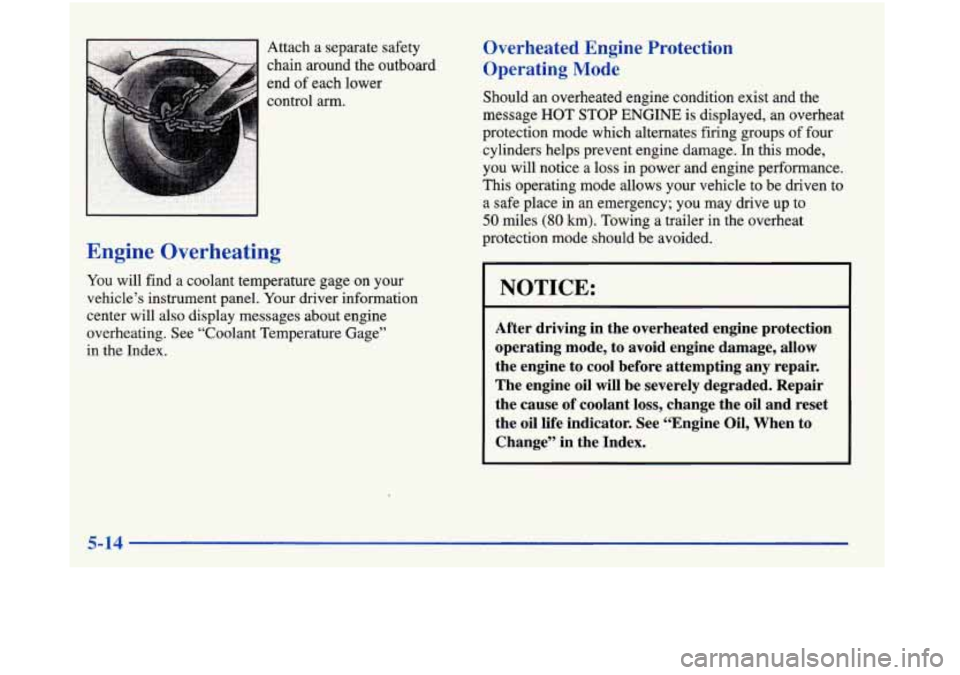
Attach a separate safety
chain around the outboard
end of each lower
control
arm.
You will find a coolant temperature gage on your
vehicle’s instrument panel. Your driver information
center will also display messages about engine
overheating. See “Coolant Temperature Gage”
in the Index.
Overheated Engine Protection
Operating Mode
Should an overheated engine condition exist and the
message HOT
STOP ENGINE is displayed, an overheat
protection mode which alternates firing groups of four
cylinders helps prevent engine damage. In this mode,
you will notice a loss in power and engine performance.
This operating mode allows your vehicle to be driven to
a safe place in an emergency; you may drive up to
50 miles (80 km). Towing a trailer in the overheat
protection mode should be avoided.
NOTICE:
After driving in the overheated engine protection
operating mode, to avoid engine damage, allow
the engine to cool before attempting any repair.
The engine oil will be severely degraded. Repair
the cause
of coolant loss, change the oil and reset
the oil life indicator. See “Engine Oil, When to
Change” in the Index.
5-14
Page 256 of 380
If your vehicle is certified to meet California Emission
Standards (indicated on the underhood emission control
label), it is designed to operate
on fuels that meet
California specifications.
If such fuels are not available
in states adopting California emissions standards, your
vehicle will operate satisfactorily on fuels meeting
federal specifications, but emission control system
performance may be affected. The malfunction indicator
lamp on your instrument panel may turn on and/or your
vehicle may fail a smog-check test. If this occurs, return
to your authorized Aurora retailer for diagnosis to
determine the cause of failure. In the event
it is
determined that the cause of the condition is the type of
fuels used, repairs may not be covered by your warranty.
Some gasolines that are not reformulated for low
emissions contain an octane-enhancing additive called
methylcyclopentadienyl manganese tricarbonyl (MMT); ask your service station operator whether or not his fuel
contains MMT. General Motors does not recommend the
use of such gasolines.
If fuels containing MMT are used,
spark plug life may be reduced and your emission
control system performance may
be affected. The
malfunction indicator lamp on your instrument panel
may turn on.
If this occurs, return to your authorized
Aurora retailer for service. To
provide cleaner air, all gasolines in the United States
are now required
to contain additives that will help
prevent deposits from forming in your engine and
fuel system, allowing your emission control system
to
function properly. Therefore, you should not have to
add anything to the fuel. In addition, gasolines
.
containing oxygenates, such as ethers and ethanol, and
reformulated gasolines may be available in your area to
help clean the air. General Motors recommends that you
use these gasolines if they comply with the
specifications described earlier.
I NOTICE:
Your vehicle was not designed for fuel that
contains methanol. Don’t use it. It can corrode
metal parts in your fuel system and also damage
plastic and rubber parts. That damage wouldn’t
be covered under your warranty.
6-4
Page 261 of 380
I A CAUTION:
Things that burn can get on hot engine parts and
start a fire. These include liquids like gasoline,
oil, coolant, brake fluid, windshield washer and
other fluids, and plastic or rubber. You or others
could be burned. Be careful not to drop or spill
things that will burn onto a hot engine.
The following sections tell you how to check fluids,
lubricants and important parts underhood.
Hood Release
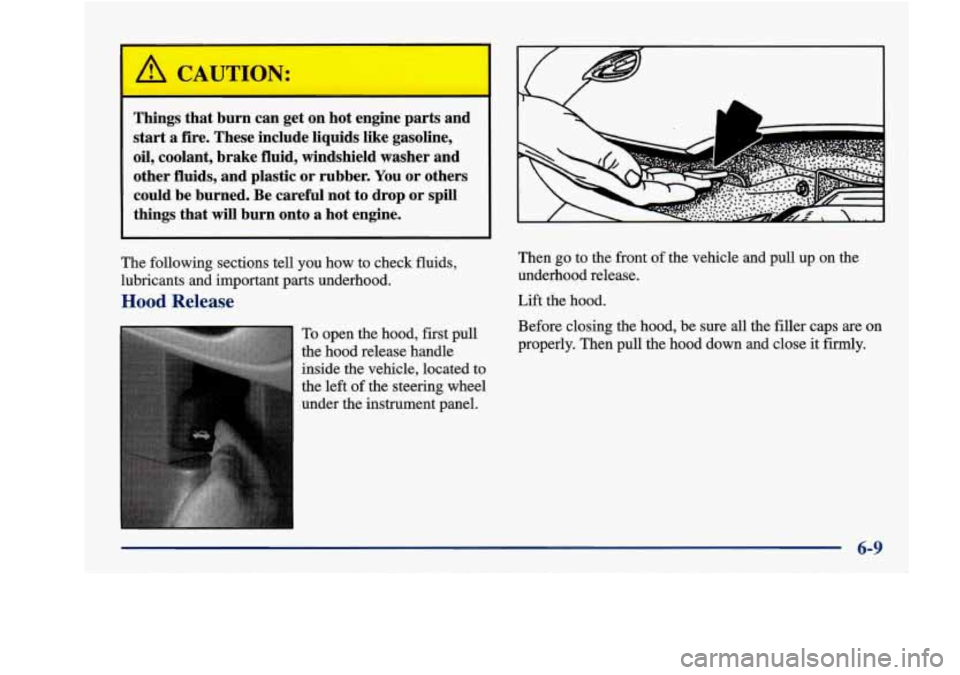
To open the hood, first pull
the hood release handle
inside the vehicle, located to
the left of the steering wheel
under the instrument panel. Then
go to the front
of the vehicle and pull up on the
underhood release.
Lift the hood.
Before closing the hood, be sure
all the filler caps are on
properly. Then pull the hood down and close it fiiy.
6-9
Page 263 of 380
Engine Oil
73
OIL
If the CHECK OIL LEVEL
message
or the oil warning
light
on the instrument
panel comes on, it means
you need to check your
engine oil level right away.
For more information, see “Check Oil Level Message”
or “Oil Pressure Warning Light” in the Index. You
should check your engine oil level regularly; this
is
an added reminder.
It’s a good idea to check your engine oil every time you
get fuel. In order to get an accurate reading, the 02 must
be warm and the vehicle must be on level ground.
Turn off the engine and give the oil a few minutes to
drain back into the oil pan. If you don’t, the oil dipstick
might not show the actual level.
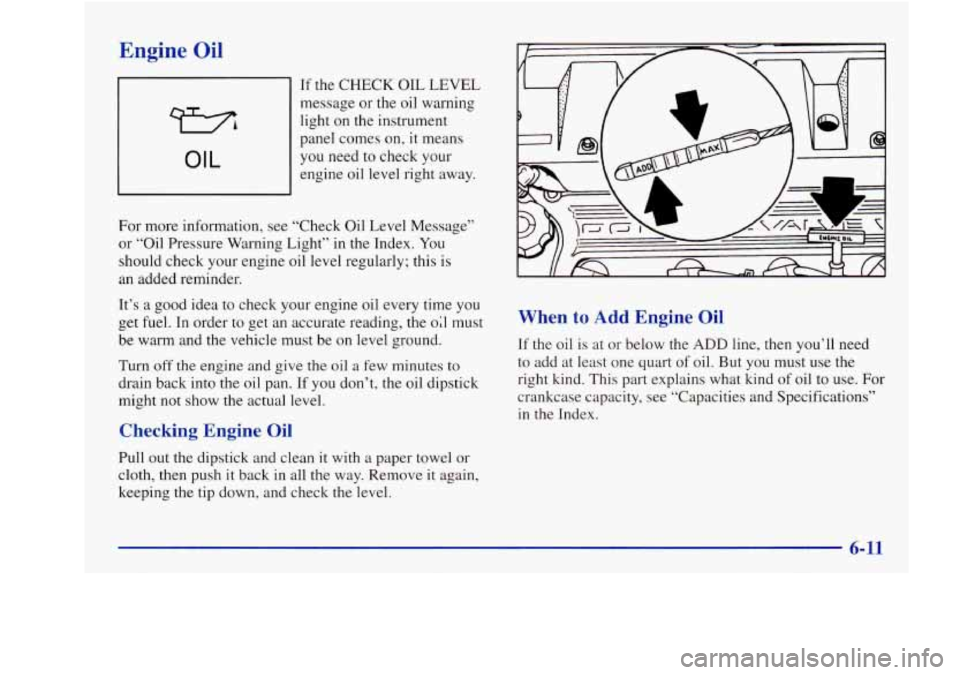
Checking Engine Oil
Pull out the dipstick and clean it with a paper towel or
cloth, then push
it back in all the way. Remove it again,
keeping the tip down, and check the level.
When to Add Engine Oil
If the oil is at or below the ADD line, then you’ll need
to add at least one quart of oil. But you must use the
right kind. This part explains what kind of oil to use. For
crankcase capacity, see “Capacities and Specifications”
in the Index.