warning OLDSMOBILE AURORA 2003 Owner's Guide
[x] Cancel search | Manufacturer: OLDSMOBILE, Model Year: 2003, Model line: AURORA, Model: OLDSMOBILE AURORA 2003Pages: 387, PDF Size: 18.05 MB
Page 248 of 387

A. Engine Compartment Fuse Block
B. Windshield Washer Fluid Reservoir
C. Engine Coolant Surge Tank
D. Remote Positive (+) Battery Terminal
E. Power Steering Fluid Reservoir
F. Passenger Compartment Air Filter
G. Remote Negative (-) Terminal
H. Engine Oil Fill Cap
I. Engine Oil Dipstick
J. Brake Fluid Reservoir
K. Automatic Transaxle Fluid Dipstick
L. Engine Air CleanedFilter
.
If the CHECK OIL LEVEL message appears on the
instnJment chster, it me;lns yn~~ need to check
your engine oil level right away. For more information,
see
DIC Warnings and Messages on page 3-50.
You should check your engine oil level regularly; this is
an added reminder.
5-1 5
ProCarManuals.com
Page 253 of 387

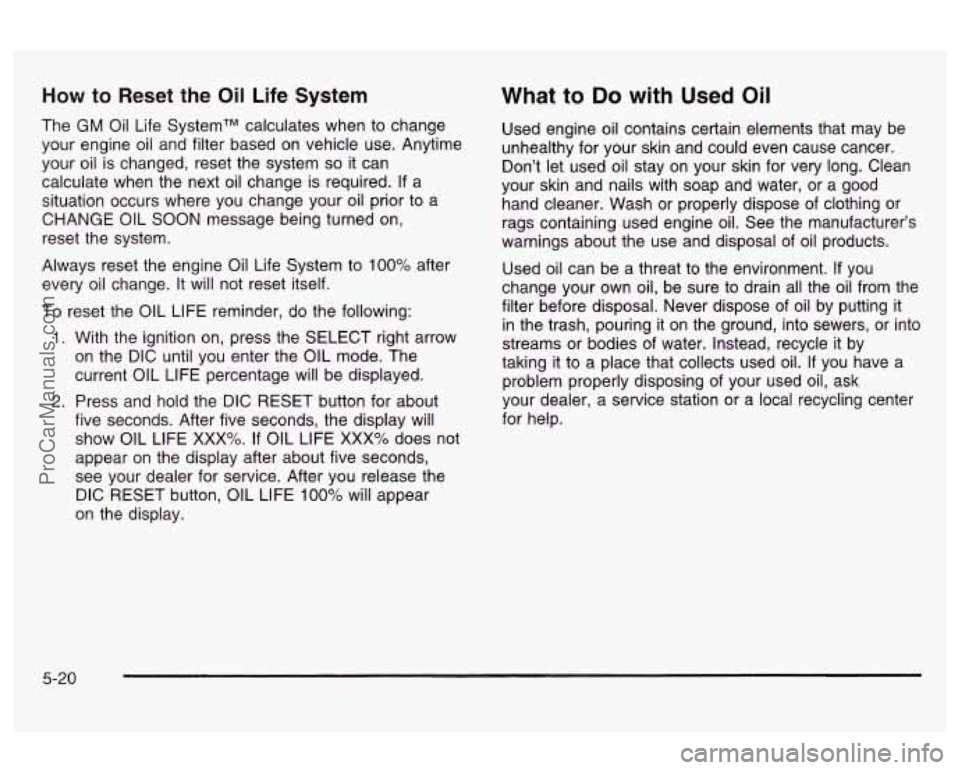
How to Reset the Oil Life System
The GM Oil Life SystemTM calculates when to change
your engine oil and filter based on vehicle use. Anytime
your oil is changed, reset the system
so it can
calculate when the next oil change is required.
If a
situation occurs where you change your oil prior to a
CHANGE OIL SOON message being turned on,
reset the system.
Always reset the engine Oil Life System to
100% after
every oil change. It will not reset itself.
To reset the OIL LIFE reminder, do the following:
1. With the ignition on, press the SELECT right arrow
on the DIC until you enter the OIL mode. The
current OIL LIFE percentage will be displayed.
2. Press and hold the DIC RESET button for about
five seconds. After five seconds, the display will
show OIL LIFE
XXX%. If OIL LIFE XXX% does not
appear on the display after about five seconds,
see your dealer for service. After you release the
DIC RESET button,
OIL LIFE 100% will appear
on the display.
What to Do with Used Oil
Used engine oil contains certain elements that may be
unhealthy for your skin and could even cause cancer.
Don’t let used oil stay on your skin for very long. Clean
your skin and nails with soap and water, or a good
hand cleaner. Wash or properly dispose of clothing or
rags containing used engine oil. See the manufacturer’s
warnings about the use and disposal of oil products.
Used oil can be a threat to the environment.
If you
change your own oil, be sure to drain all the oil from the
filter before disposal. Never dispose of oil by putting
it
in the trash, pouring it on the ground, into sewers, or into
streams or bodies of water. Instead, recycle it by
taking it to a place that collects used oil.
If you have a
problem properly disposing of your used oil, ask
your dealer, a service station or a local recycling center
for help.
5-20
ProCarManuals.com
Page 257 of 387

How to Add Fluid Engine Coolant
Refer to the Maintenance Schedule to determine what
kind of transaxle fluid to use. See
Part D:
Recommended Fluids and Lubricants on page 6-15.
If the fluid level is low, add only enough of the proper
fluid to bring the level into the cross-hatched area on the
dipstick.
1, Pull out the dipstick.
2. Using a long-neck funnel, add enough fluid at the
dipstick hole to bring it to the proper level.
It doesn’t take much fluid, generally less than one
pint
(0.5 L). Don’t overfill.
Notice: We recommend you use only fluid labeled
DEXRON@-Ill, because fluid with that label is
made especially for your automatic transaxle.
Damage caused by fluid other than DEXRON@-Ill is
not covered by your new vehicle warranty.
3. After adding fluid, recheck the fluid level as
described under “How to Check,” earlier in this
section. The
cooling system in your vehicle is filled with
DEX-COOL@ engine coolant. This coolant is designed
to remain in your vehicle for
5 years or 150,000 miles
(240
000 km), whichever occurs first, if you add
only extended life coolant.
The following explains your cooling system and how to
add coolant when it is
low. If you have a problem
with engine overheating, see
Engine Overheating on
page
5-28.
A 50/50 mixture of clean, drinkable water and
DEX-COOL@ coolant will:
Give freezing protection down to -34°F (-37°C).
Give boiling protection up to 265°F (129°C).
Protect against rust and corrosion.
Help keep the proper engine temperature.
Let the warning lights and gages work as they
should.
4. When the correct fluid level is obtained, push the
dipstick back in all the way.
5-24
ProCarManuals.com
Page 258 of 387

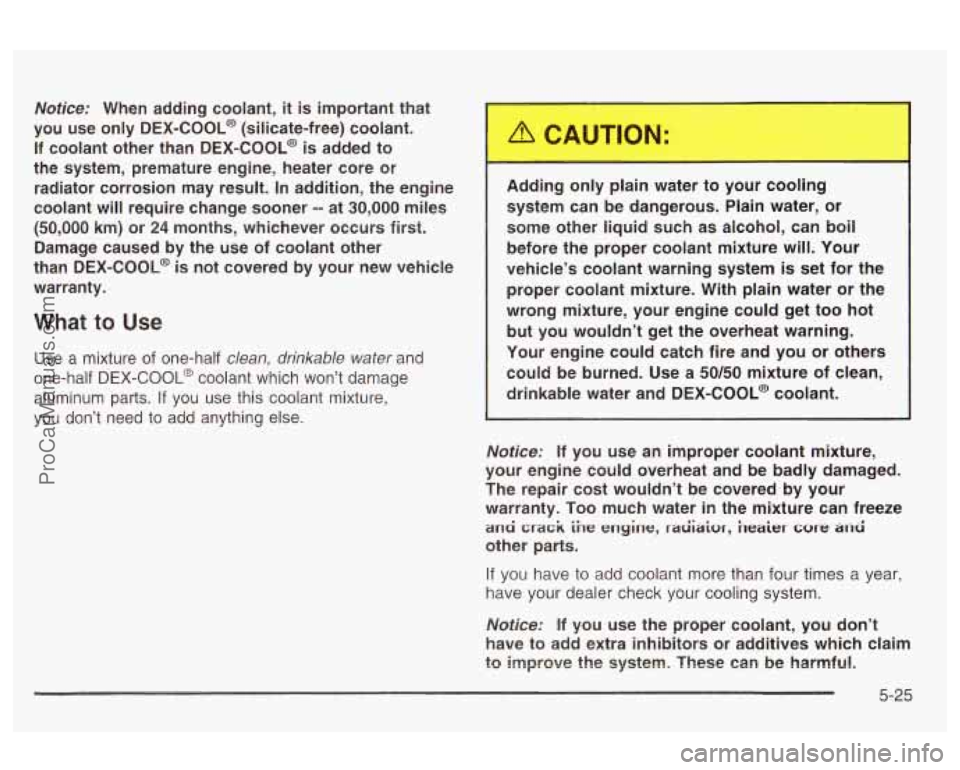
Notice: When adding coolant, it is important that
you use only DEX-COOL@ (silicate-free) coolant.
If coolant other than DEX-COOL@ is added to
the system, premature engine, heater core or
radiator corrosion may result.
In addition, the engine
coolant will require change sooner
-- at 30,000 miles
(50,000 km) or 24 months, whichever occurs first.
Damage caused by the use of coolant other
than DEX-COOL@
is not covered by your new vehicle
warranty.
What to Use
Use a mixture of one-half clean, drinkable water and
one-half
DEX-COOL@ coolant which won’t damage
aluminum parts.
If you use this coolant mixture,
you don’t need
to add anything else. Adding
a plain water
to your cooling
system can be dangerous. Plain water, or
some other
liquid such as aicohol, can boil
before the proper coolant mixture will. Your
vehicle’s coolant warning system
is set for the
proper coolant mixture. With plain water or the
wrong mixture, your engine could get too hot
but you wouldn’t get the overheat warning.
Your engine could catch fire and you or others
could be burned. Use a
50/50 mixture of clean,
drinkable water and DEX-COOL@ coolant.
Notice: If you use an improper coolant mixture,
your engine could overheat and be badly damaged.
The repair cost wouldn’t be covered by your
warranty. Too much water
in the mixture can freeze
ana crack ihe engine, raiiiaiur, bakr
other parts.
If you have to add coolant more than four times a year,
have your dealer check your cooling system.
Notice: If you use the proper coolant, you don’t
have to add extra inhibitors or additives which claim
to improve the system. These can be harmful.
5-25
ProCarManuals.com
Page 263 of 387

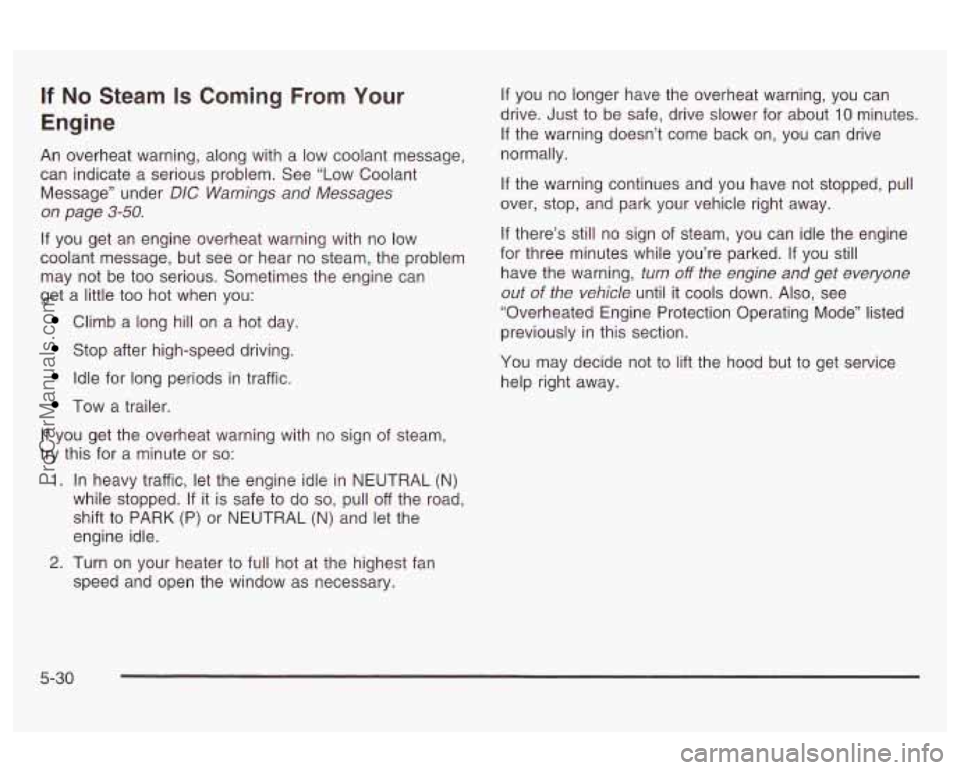
If No Steam Is Coming From Your
Engine
An overheat warning, along with a low coolant message,
can indicate a serious problem. See “Low Coolant
Message” under
DIC Warnings and Messages
on page 3-50.
If you get an engine overheat warning with no low
coolant message, but see or hear no steam, the problem
may not be too serious. Sometimes the engine can
get a little too hot when you:
Climb a long hill on a hot day.
Stop after high-speed driving.
Idle for long periods in traffic.
Tow a trailer.
If you get the overheat warning with no sign of steam,
try this for a minute or
so:
1. In heavy traffic, let the engine idle in NEUTRAL (N)
while stopped. If it is safe to do
so, pull off the road,
shift to PARK (P) or NEUTRAL (N) and let the
engine idle.
If you no longer have the overheat warning, you can
drive. Just to be safe, drive slower for about
10 minutes.
If the warning doesn’t come back on, you can drive
normally.
If the warning continues and you have not stopped, pull
over, stop, and park your vehicle right away.
If there’s still no sign of steam, you can idle the engine
for three minutes while you’re parked. If you still
have the warning,
turn off the engine and get everyone
out
of the vehicle until it cools down. Also, see
“Overheated Engine Protection Operating Mode” listed
previously in this section.
You may decide not to lift the hood but to get service
help right away.
2. Turn on your heater to full hot at the highest fan
speed and open the window as necessary.
5-30
ProCarManuals.com
Page 267 of 387

1 Adding only plain water to your cooling
system can be dangerous. Plain water, or
some other liquid such as alcohol, can boil before the proper coolant mixture will. Your
vehicle’s coolant warning system is set for the proper coolant mixture.
CAUTION: (Continued)
I I
With plain water or the wrong mixture, your
engine could get too hot
but you wouldn’t get
the overheat warning. Your engine could catch
fire and you or others could be burned. Use a
50/50 mixture of clean, drinkable water and
DEX COOL@ coolant.
Notice: In cold weather, water can freeze and crack
the engine, radiator, heater core and other parts.
Use the recommended coolant and the proper
coolant
IT-:-’=- e.
You can be burned if you spill coolant on hot
engine parts. Coolant contains ethylene glycol and
it will burn if the engine parts are hot
enough. Don’t spill coolant on a hot engine.
5-34
ProCarManuals.com
Page 272 of 387

Brakes
Brake Fluid
1
A DOT3
b
your brake system fixed, since a leak means that
sooner or later your brakes won’t work well, or won’t
work at all.
So, it isn’t a good idea to “top
off’ your brake fluid.
Adding brake fluid won’t correct a leak.
If you add fluid
when your linings are worn, then you’ll have too
much fluid when you get new brake linings.
You should
add (or remove) brake fluid, as necessary, only when
work is don
- In the brake hydraulic sys’- -n
Your master cylinder reservoir is on the driver’s side of
the engine compartment. It is filled with DOT-3 brake
fluid. See
Engine Compartment Overview on page 5-14
There are only two reasons why the brake fluid level
in the reservoir might go down. The first is that the brake
fluid goes down to an acceptable level during normal
brake lining wear. When new linings are put
in, the fluid
level goes back up. The other reason is that fluid is
leaking out of the brake system.
If it is, you should have
If you have too much brake fluid, it can spill on
the engine. The fluid will burn if the engine
is
hot enough. You or others could be burned,
and your vehicle could be damaged. Add brake
fluid only when work is done on the brake
hydraulic system.
When your brake fluid falls to a low level, your brake
warning light will come on.
A chime will sound if you try
to drive with this warning light on. See
Brake System
Warning Light on
page 3-35.
5-39
ProCarManuals.com
Page 274 of 387

Brake Wear
Your vehicle has four-wheel disc brakes.
Disc brake pads have built-in wear indicators that make
a high-pitched warning sound when the brake pads
are worn and new pads are needed. The sound
may come and go or be heard all the time your vehicle
is moving (except when you are pushing on the
brake pedal firmly).
The brake wear warning sound means that
soon your brakes won’t work well. That could
lead to an accident. When you hear the brake
wear warning sound, have your vehicle
serviced.
Notices Continuing to drive with worn-out brake
pads could result in costly brake repair.
Some driving conditions or climates may cause a brake
squeal when the brakes are first applied or lightly
applied. This does not mean something is wrong with
your brakes.
Properly torqued wheel nuts are necessary to help
prevent brake pulsation. When tires are rotated, inspect
brake pads for wear and evenly tighten wheel nuts in
the proper sequence to
GM torque specifications.
Brake linings should always be replaced as complete
axle sets.
See
Brake System Inspection on page 6- 14.
Brake Pedal Travel
See your dealer if the brake pedal does not return to
normal height, or
if there is a rapid increase in
pedal travel. This could be a sign of brake trouble.
Brake Adjustment
Every time you apply the brakes, with or without the
vehicle moving, your brakes adjust for wear.
5-4 1
ProCarManuals.com
Page 275 of 387

Replacing Brake System Parts
The braking system on a vehicle is complex. Its many
parts have to be of top quality and work well together
if
the vehicle is to have really good braking. Your
vehicle was designed and tested with top-quality GM
brake parts. When you replace parts of your braking
system
- for example, when your brake linings
wear down and you need new ones put in
- be sure
you get new approved GM replacement parts. If
you don’t, your brakes may no longer work properly. For
example,
if someone puts in brake linings that are
wrong for your vehicle, the balance between your front
and rear brakes can change
- for the worse. The
braking performance you’ve come to expect can change
in many other ways
if someone puts in the wrong
replacement brake parts.
Battery
Your new vehicle comes with a maintenance free
ACDelco@ battery. When it’s time for a new battery, get
one that has the replacement number shown on the
original battery’s label. We recommend an ACDelco
battery.
Warning: Battery posts, terminals and related
accessories contain lead and lead compounds,
chemicals known to the State of California to cause
cancer and reproductive harm. Wash hands after
handling. The
battery is located under the rear seat cushion. To
access the battery, see
Removing the Rear Seat
Cushion on page 5-95. You don’t need to access the
battery to jump start your vehicle. See
Jump Starting on
page 5-44.
- - ~ttery -.~t isn’t properly vented can let
sulfuric acid fumes into the area under the rear
seat cushion. These fumes can damage your
rear seat safety belt systems. You may not be
able to see this damage, and the safety belts
might not provide the protection needed in a
crash. If a replacement battery is ever needed,
it must be vented in the same manner as the
original battery. Always make sure that the
vent hose
is properly reattached before
reinstalling the seat cushion.
5-42
ProCarManuals.com
Page 295 of 387

Check Tire Pressure System
The check tire pressure system can alert you to a large
change in the pressure of one tire. The system won’t
alert you before you drive that a tire is low or flat.
You must begin driving before the system will work
properly.
The
LOW TIRE PRESSURE message will appear on
the Driver Information Center (DIC)
if pressure difference
(low pressure) is detected in one tire. The check tire
pressure system may not alert you
if:
more than one tire is low,
the vehicle is moving faster than 65 mph (105 km/h),
the system is not yet calibrated,
the tire treadwear is uneven,
the compact spare tire is installed,
tire chains are being used, or
the vehicle is being driven on a rough or
frozen road.
If the anti-lock brake system warning light comes on,
the check tire pressure system may not be working
properly. See your dealer for service.
Also, see
Anti-Lock Brake System Warning Light on page 3-36.
The check tire pressure system detects differences
in tire rotation speeds that are caused by changes in tire
pressure. The system can alert you about a low
tire
- but it doesn’t replace normal tire maintenance.
See
Tires on page 5-60.
When the LOW TIRE PRESSURE message appears on
the Driver Information Center, you should stop as
soon as you can and check all your tires for damage. If
a tire is flat, see
If a Tire Goes Flat on page 5-70.
Also check the tire pressure in all four tires as soon as
you can. See
Inflation -- Tire Pressure on page 5-60.
Any time you adjust a tire’s pressure or have one
or more tires repaired or replaced, you’ll need to reset
(calibrate) the check tire pressure system. You’ll
also need to reset the system whenever you rotate the
tires, buy new tires and install or remove the compact
spare.
Don’t reset the check tire pressure system without first
correcting the cause of the problem and checking
and adjusting the pressure in all four tires.
If you reset
the system when the tire pressures are incorrect,
the check tire pressure system will not work properly
and may not alert you when a tire is low or high.
5-62
ProCarManuals.com