coolant level OLDSMOBILE AURORA 2003 Owners Manual
[x] Cancel search | Manufacturer: OLDSMOBILE, Model Year: 2003, Model line: AURORA, Model: OLDSMOBILE AURORA 2003Pages: 387, PDF Size: 18.05 MB
Page 89 of 387

How long should you keep the coolant heater plugged
in? The answer depends on the outside temperature, the
kind of oil you have, and some other things. Instead
of trying to list everything here, we ask that you contact
your dealer in the area where you’ll be parking your
vehicle. The dealer can give you the best advice for that
particular area.
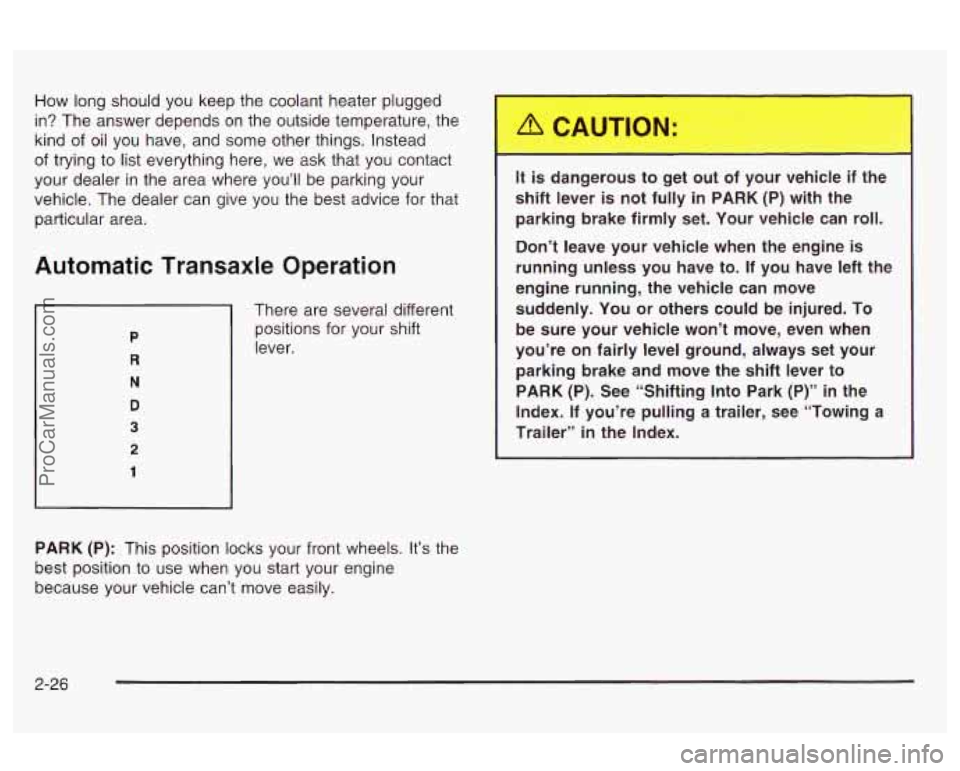
Automatic Transaxle Operation
There are several different
positions for your shift
lever.
__ js dangerous to get 01 of your veh f the
shift lever is not fully in PARK (P) with the
parking brake firmly set. Your vehicle can roll.
Don’t leave your vehicle when the engine
is
running unless you have to. If you have left the
engine running, the vehicle can move suddenly.
You or others could be injured. To
be sure your vehicle won’t move, even when
you’re on fairly level ground, always set your
parking brake and move the shift lever to
PARK (P). See “Shifting Into Park
(P)” in the
Index. If you’re pulling a trailer, see “Towing a
Trailer”
in the Index.
PARK (P): This position locks your front wheels. It’s the
best position to use when
you start your engine
because your vehicle can’t move easily.
2-26
ProCarManuals.com
Page 114 of 387

3 Instrument Panel
Instrument Panel Overview .............................. -3-2
Hazard Warning Flashers
................................ 3-4
Other Warning Devices
................................... 3-5
Horn
............................................................. 3-5
Tilt Wheel
..................................................... 3-5
Turn SignaVMultifunction Lever
......................... 3-6
Exterior Lamps
............................................. 3-14
Interior Lamps
.............................................. 3-17
Accessory Power Outlets
............................... 3-21
Ashtrays and Cigarette Lighter
........................ 3-22
Climate Controls
............................................ 3.23
Automatic Climate Control System
.................. 3-23
Outlet Adjustment
......................................... 3-27
Steering Wheel Climate Controls
..................... 3-28
Climate Controls Personalization
..................... 3.29
Warning Lights, Gages and Indicators
............. 3-30
Instrument Panel Cluster
............................... -3-31
Speedometer and Odometer
........................... 3-32
I acnorneier .-..
Safety Belt Reminder Light ............................. 3-33
Air Bag Readiness Light
................................ 3-34
Battery Warning Light
.................................... 3.35
Brake System Warning Light
.......................... 3.35
Anti-Lock Brake System Warning Light
............. 3-36
- n no .................................................
Traction Control System (TCS) Warning Light ... 3.37
Traction Control System Active Light
............... 3.38
Engine Coolant Temperature Gage
.................. 3.38
Oil Pressure Light
......................................... 3.42
Cruise Control Light
...................................... 3.43
Fuel Gage
................................................... 3.44
Driver Information Center
(DIC) ....................... 3.45
DIC Warnings and Messages
......................... 3.50
DIC Vehicle Personalization
............................ 3.52
Audio System(s)
............................................. 3.59
Setting the Time
........................................... 3.59
Radio with Cassette and CD
.......................... 3.60
Navigation/Radio System
............................... 3.69
Trunk-Mounted CD Changer
........................... 3-70
Personal Choice Radio Controls
...................... 3.73
Theft-Deterrent Feature
.................................. 3.73
Audio Steering Wheel Controls
....................... 3.74
Care of Your Cassette Tape Player
................. 3-74
Care of Your CDs
......................................... 3-75
Care
of Your CD Player ................................ 3-76
Malfunction Indicator
Lamp
............................. 3.39
I I...I-.-L--A.- ... n,.-J:, n-, --+in- VI luel awl lull ty I laulu I IGL, G~LIUI I u 1 T '2 7A ......................
Diversity Antenna System .............................. 3.76
Chime Level Adjustment
............................... -3-76
3-
1
ProCarManuals.com
Page 152 of 387

If the coolant temperature is over 262°F (1 28"C), the
message HOT
... IDLE ENGINE will appear. It means you
should reduce the engine load and speed to prevent
the engine from overheating.
If the coolant temperature is over 268°F (1 31 "C), the
message HOT
... STOP ENGINE will appear. It means
that your engine coolant has overheated. You should
pull
off the road, stop your vehicle and turn off the
engine as soon as possible.
Your vehicle is equipped with an Overheated Engine
Protection Operating Mode. See
Engine Overheating on
page
5-28 for more information.
If your coolant level is low, the message LOW ENGINE
COOLANT will appear on the Driver Information
Center. Check your coolant level as soon as possible.
See
Engine Coolant on page 5-24.
Malfunction Indicator Lamp
Check Engine Light
CHECK
United States
Canada
Your vehicle is equipped with a computer which
monitors operation
of the fuel, ignition and emission
control systems.
3-39
ProCarManuals.com
Page 248 of 387

A. Engine Compartment Fuse Block
B. Windshield Washer Fluid Reservoir
C. Engine Coolant Surge Tank
D. Remote Positive (+) Battery Terminal
E. Power Steering Fluid Reservoir
F. Passenger Compartment Air Filter
G. Remote Negative (-) Terminal
H. Engine Oil Fill Cap
I. Engine Oil Dipstick
J. Brake Fluid Reservoir
K. Automatic Transaxle Fluid Dipstick
L. Engine Air CleanedFilter
.
If the CHECK OIL LEVEL message appears on the
instnJment chster, it me;lns yn~~ need to check
your engine oil level right away. For more information,
see
DIC Warnings and Messages on page 3-50.
You should check your engine oil level regularly; this is
an added reminder.
5-1 5
ProCarManuals.com
Page 257 of 387

How to Add Fluid Engine Coolant
Refer to the Maintenance Schedule to determine what
kind of transaxle fluid to use. See
Part D:
Recommended Fluids and Lubricants on page 6-15.
If the fluid level is low, add only enough of the proper
fluid to bring the level into the cross-hatched area on the
dipstick.
1, Pull out the dipstick.
2. Using a long-neck funnel, add enough fluid at the
dipstick hole to bring it to the proper level.
It doesn’t take much fluid, generally less than one
pint
(0.5 L). Don’t overfill.
Notice: We recommend you use only fluid labeled
DEXRON@-Ill, because fluid with that label is
made especially for your automatic transaxle.
Damage caused by fluid other than DEXRON@-Ill is
not covered by your new vehicle warranty.
3. After adding fluid, recheck the fluid level as
described under “How to Check,” earlier in this
section. The
cooling system in your vehicle is filled with
DEX-COOL@ engine coolant. This coolant is designed
to remain in your vehicle for
5 years or 150,000 miles
(240
000 km), whichever occurs first, if you add
only extended life coolant.
The following explains your cooling system and how to
add coolant when it is
low. If you have a problem
with engine overheating, see
Engine Overheating on
page
5-28.
A 50/50 mixture of clean, drinkable water and
DEX-COOL@ coolant will:
Give freezing protection down to -34°F (-37°C).
Give boiling protection up to 265°F (129°C).
Protect against rust and corrosion.
Help keep the proper engine temperature.
Let the warning lights and gages work as they
should.
4. When the correct fluid level is obtained, push the
dipstick back in all the way.
5-24
ProCarManuals.com
Page 259 of 387

Checking Coolant
Turning the surge tank pressure cap when the
engine and radiator are hot can allow steam
and scalding liquids
to blow out and burn you
badly. Never turn the surge tank pressure
cap
- even a little - when the engine and
radiator are hot.
I I
~ The vehicle must be on a level surface. When your
engine is cold, the coolant level should be at the cold
level mark.
The engine coolant surge tank is located in the engine
compartment on the passenger’s side of the vehicle,
near the windshield. See
Engine Compartment Overview
on page
5-74 for more information on location.
5-26
ProCarManuals.com
Page 265 of 387

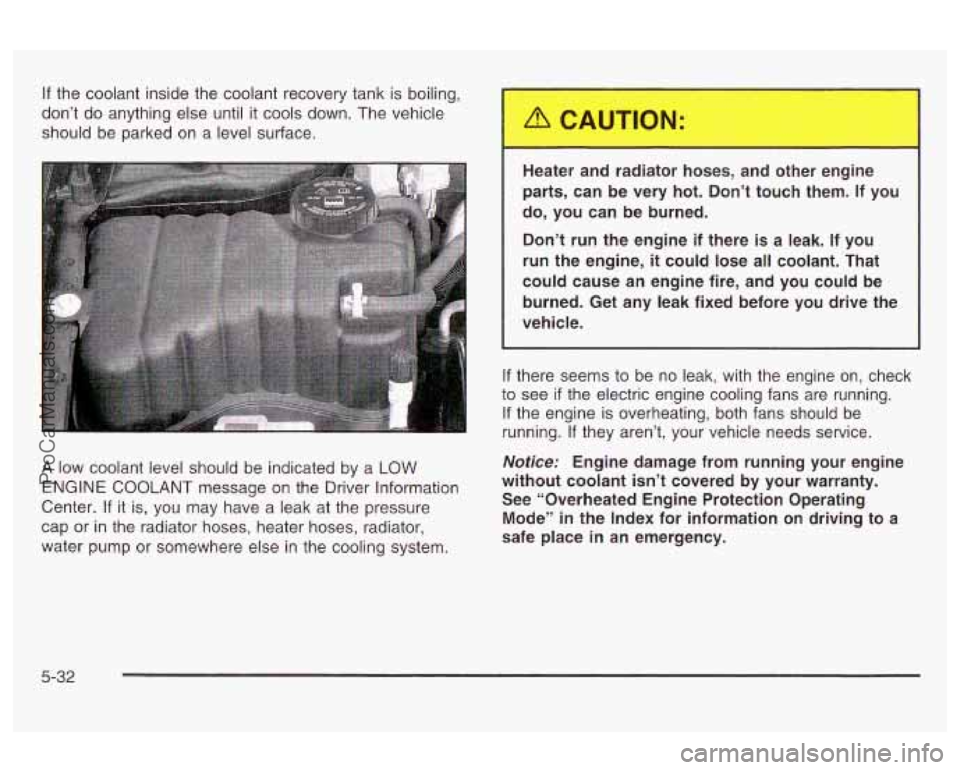
If the coolant inside the coolant recovery tank is boiling,
don’t do anything else until it cools down. The vehicle
should be parked on a level surface.
A low coolant level should be indicated by a LOW
ENGINE COOLANT message on the Driver Information
Center.
If it is, you may have a leak at the pressure
cap or
in the radiator hoses, heater hoses, radiator,
water pump or somewhere else in the cooling system. Heater
and radiator hoses, and other engine
parts, can be very hot. Don’t touch them.
If you
do, you can be burned.
Don’t run the engine if there is a leak. If you
run the engine,
it could lose all coolant. That
could cause an engine fire, and you could be
burned. Get any leak fixed before you drive the
vehicle.
If there seems to be no leak, with the engine on, check
to see
if the electric engine cooling fans are running.
If the engine is overheating, both fans should be
running.
If they aren’t, your vehicle needs service.
Notice: Engine damage from running your engine
without coolant isn’t covered by your warranty.
See “Overheated Engine Protection Operating
Mode’’ in the Index for information on driving to a
safe place
in an emergency.
5-32
ProCarManuals.com
Page 266 of 387

Notice: When adding coolant, it is important that
you use only
DEX-COOL@ (silicate-free) coolant.
If coolant other than DEX-COOL is added to
the system, premature engine, heater core or radiator corrosion may result. In addition, the engine
coolant will require change sooner
- at 30,000 miles
(50 000 km) or 24 months, whichever occurs first.
Damage caused by the use of coolant other
than DEX-COOL@
is not covered by your new vehicle
warranty.
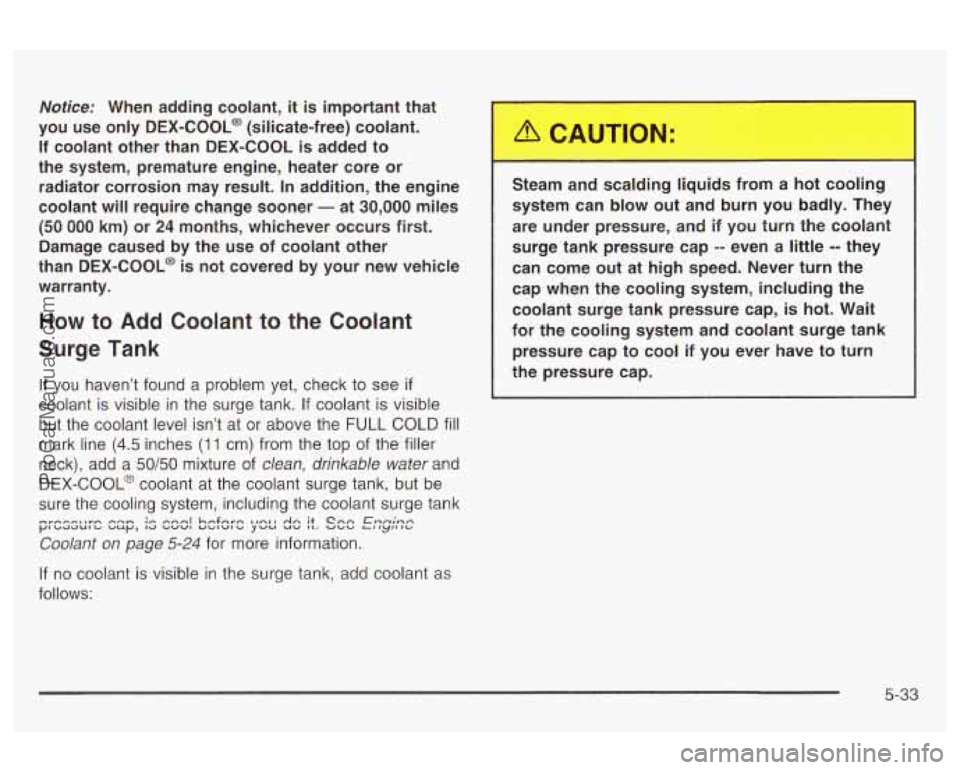
How to Add Coolant to the Coolant
Surge Tank
If you haven’t found a problem yet, check to see if
coolant is visible in the surge tank. If coolant is visible
but the coolant level isn’t at or above the
FULL COLD fill
mark line (4.5 inches (1 1 cm) from the top of the filler
neck), add a
50/50 mixture of clean, drinkable water and
DEX-COOL@ coolant at the coolant surge tank, but be
sure the cooling system, including the coolant surge tank
Coolant on page 5-24 for more information.
If no coolant is visible in the surge tank, add coolant as
follows:
nrmnnl~vn rr-n ;r. rrnnl hnfnm Irntl An it Cnn Enn;nn pIcIaauIcI uuy, Id vvvl UcIIUIb yvu uv IL. UcIU LIlylf ICI
Steam and scalding Ii ids from a hot cooling
system can blow out and burn you badly. They
are under pressure, and
if you turn the coolant
surge tank pressure cap -- even a little -- they
can come out at high speed. Never
turn the
cap when the cooling system, including the
coolant surge tank pressure cap, is hot. Wait
for the cooling system and coolant surge tank
pressure cap to cool if you ever have to turn
the pressure cap.
5-33
ProCarManuals.com
Page 268 of 387

1. Park the vehicle on a level surface. You can
remove the coolant surge tank pressure cap
when the cooling system, including the coolant
surge tank pressure cap and upper radiator hose,
is
no longer hot. Turn the pressure cap slowly
counterclockwise (left) about one-quarter turn and
tnen stop.
If you hear a hiss, wait for that to stop.
A hiss
means there
is still some pressure left.
2. Then keep turning the
pressure cap slowly,
and remove
it.
3. Then fill the coolant
surge tank with the
proper mixture, to the
FULL COLD fill
mark line (4.5 inches
(1 1 cm) from the top of
the filler neck).
5-35
ProCarManuals.com
Page 269 of 387

4. With the coolant surge tank pressure cap off, start
the engine and let
it run until you can feel the upper
radiator hose getting hot. Watch out for the
engine cooling fans.
By this time, the coolant level inside the coolant
surge tank may be lower.
If the level is lower, add
more of the proper mixture to the coolant surge
tank until the level reaches about
4.5 inches
(1 1 cm) from the top of the filler neck.
5. Then replace the pressure cap. Be sure the arrow
on the pressure cap lines up like this.
5-36
ProCarManuals.com