lights OLDSMOBILE AURORA 2003 Owners Manual
[x] Cancel search | Manufacturer: OLDSMOBILE, Model Year: 2003, Model line: AURORA, Model: OLDSMOBILE AURORA 2003Pages: 387, PDF Size: 18.05 MB
Page 2 of 387
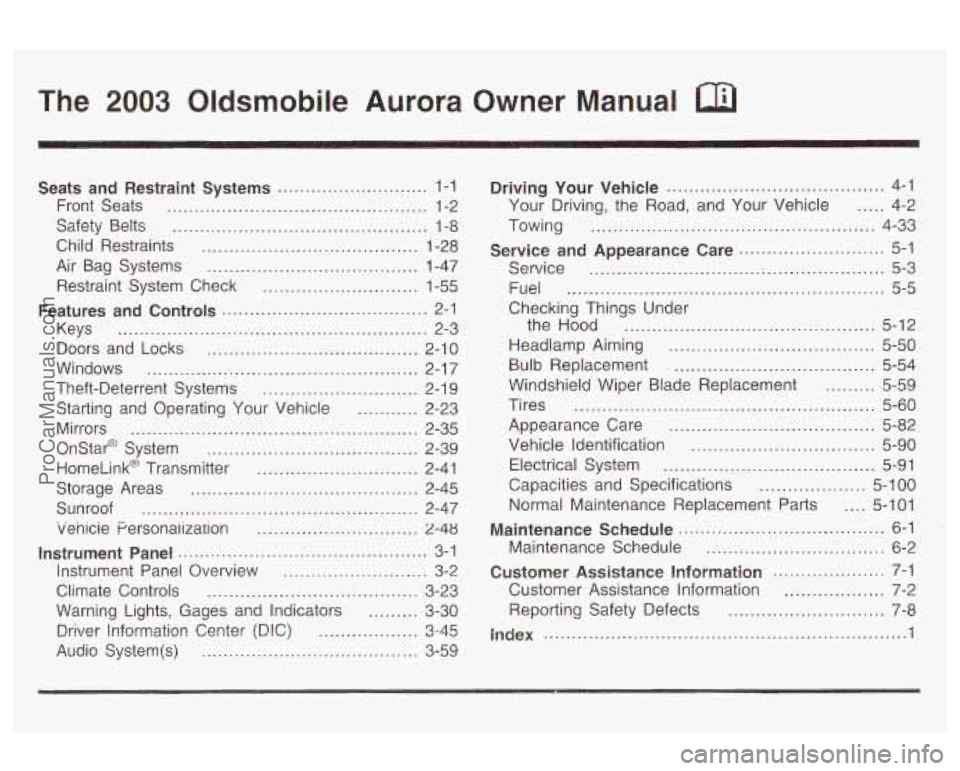
The 2003 Oldsmobile Aurora Owner Manual
Seats and Restraint Systems ........................... 1-1
Front Seats
............................................... 1-2
Safety Belts
.............................................. 4 -8
Child Restraints
....................................... 1-28
Air Bag Systems
...................................... 1-47
Restraint System Check
............................ 1-55
Features and Controls ..................................... 2-1
Keys
........................................................ 2-3
Doors and Locks
...................................... 2-10
Windows
................................................. 2-1 7
Theft-Deterrent Systems ............................ 2-1 9
Starting and Operating Your Vehicle
........... 2-23
Mirrors
.................................................... 2-35
Onstar@ System
...................................... 2-39
HomeLink@ Transmitter
............................. 2-41
Storage Areas
......................................... 2-45
Sunroof
.................................................. 2-47
venicie Personaiization
............................. 2-48
Instrument Panel ............................................. 3-1
Instrument Panel Overview
.......................... 3-2
Climate Controls
...................................... 3-23
Warning Lights, Gages and Indicators
......... 3-30
D!%%?r !!?formatior! Center (D!C) .................. u 12-AK -rJ
Audio System(s) ....................................... 3-59 Driving
Your Vehicle
....................................... 4-1
Your Driving. the Road. and Your Vehicle
..... 4-2
Service and Appearance Care
.......................... 5-1
Towing
................................................... 4-33
Service
............................... ;. .................... 5-3
Fuel
......................................................... 5-5
Checking Things Under
the Hood
............................................. 5-12
Headlamp Aiming
..................................... 5-50
Windshield Wiper Blade Replacement
= ~ iI I I 5-59
Tires ...................................................... 5-60
Appearance Care
..................................... 5-82
Vehicle Identification
................................. 5-90
Electrical System
...................................... 5-91
Capacities and Specifications
................... 5-1 00
Maintenance Schedule ..................................... 6-1
Maintenance Schedule ................................ 6-2
Customer Assistance Information
.................... 7-1
Customer Assistance Information
.................. 7-2
Bulb
Replacement
.................................... 5-54
Normal Maintenance Replacement Parts
.... 5-101
Reporting Safety Defects
............................ 7-8
I-- -I ~ a lnQex ................................................................. 1
ProCarManuals.com
Page 5 of 387
Vehicle Damage Warnings
Also, in this book you will find these notices:
Notice: These mean there is something that could
damage your vehicle.
A notice will tell you about something that can damage
your vehicle. Many times, this damage would not be
covered by your warranty, and it could be costly. But the
notice will tell you what to do to help avoid the
damage.
When you read other manuals, you might see CAUTION
and NOTICE warnings
in different colors or in different
words.
You’ll also see warning labels on your vehicle. They use
the same words, CAUTION or NOTICE.
Vehicle Symbols
Your vehicle may be equipped with components and
labels that use symbols instead of text. Symbols, used
on your vehicle, are shown along with the text
describing the operation or information relating to a
specific component, control, message, gage or indicator.
If you need help figuring out a specific name of a
component, gage or indicator reference the following
topics in the Index:
“Engine Compartment Overview”
“Instrument Panel Overview”
“Climate Controls”
“Audio Systems”
Also see
Warning Lights, Gages and Indicators on
page
3-30.
iv
ProCarManuals.com
Page 69 of 387

Remote Keyless Entry System
Operation
With this feature, you can lock and unlock your doors or
unlock your trunk from about
3 feet (1 m) up to 30 feet
(9 m) away using the remote keyless entry transmitter
supplied with your vehicle.
The numbers on the back
of your transmitter correspond
to DRIVER
#I and DRIVER #2 on the DIC. For more
information see
Driver Information Center (DIC) on
page
3-45.
& (Unlock): The driver’s
door will unlock and the
exterior lights will flash
twice when this button
is
pressed.
If the unlock button is pressed again within five seconds,
all doors will unlock, the exterior lamps will flash twice
and the horn may sound. See “Security Feedback later
in this section.
2-6
ProCarManuals.com
Page 87 of 387
ACC (Accessory): This position lets you use your
electrical accessories such as power windows, power
sunroof (option), radio and the windshield wipers.
ON: This is the position the switch returns to after you
start your engine and release the switch. This is the
position for normal driving. Even when the engine is not
running, you can use
ON to operate your electrical
accessories and
to display some instrument panel
warning lights.
START: This position starts your engine. When the
engine starts, release the key. The ignition switch will
return
to ON for normal driving.
Key Reminder Warning
If you leave your key in the OFF ignition position, you
will hear a warning chime when you open the
driver’s door.
Always leave your key in
OFF. If you leave it in any
other position, you will drain the battery power.
Retained Accessory Power (RAP)
After you turn the ignition off and remove the key, you
will still have power
to accessories such as the
power windows, audio steering wheel controls, clock,
sunroof (option), accessory power outlet and the
radio for up
to 10 minutes. The instrument panel cluster
lights will stay on for
a few seconds, then go out.
Once you open a door, the power will shut off.
Starting Your Engine
Move your shift lever to PARK (P) or NEUTRAL (N).
Your engine won’t start in any other position
- that’s a
safety feature. To restart when you’re already moving,
use NEUTRAL
(N) only.
Notice: Don’t try to shift to PARK (P) if your
vehicle is moving.
If you do, you could damage the
transaxle. Shift to PARK (P) only when your
vehicle is stopped.
1. With your foot off the accelerator pedal, turn your
ignition key
to START. When the engine starts, let
go of the key. The idle speed will go down as
your engine gets warm.
Notice: Holding your key in START for longer than
15 seconds at a time will cause your battery to
be drained much sooner. And the excessive heat
can damage your starter motor. Wait about
15
seconds between each try to help avoid draining
your battery
or damaging your starter.
2. If it doesn’t start within 10 seconds, hold your key in
START for about
10 seconds at a time until your
engine starts. Wait about
15 seconds between
each
try.
2-24
ProCarManuals.com
Page 114 of 387
3 Instrument Panel
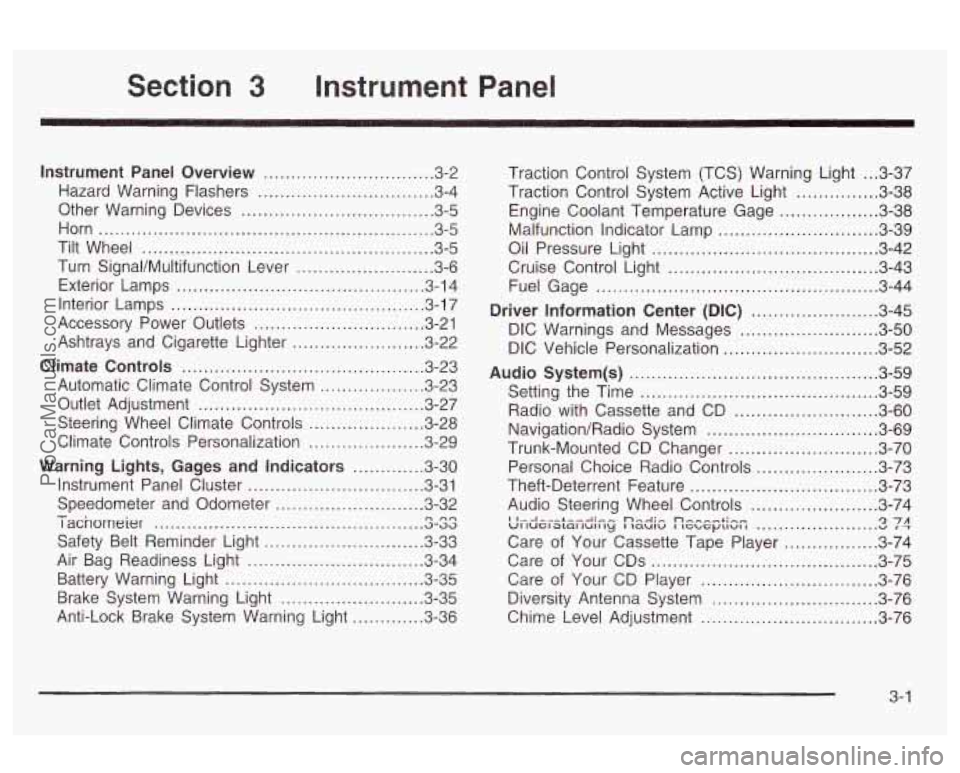
Instrument Panel Overview .............................. -3-2
Hazard Warning Flashers
................................ 3-4
Other Warning Devices
................................... 3-5
Horn
............................................................. 3-5
Tilt Wheel
..................................................... 3-5
Turn SignaVMultifunction Lever
......................... 3-6
Exterior Lamps
............................................. 3-14
Interior Lamps
.............................................. 3-17
Accessory Power Outlets
............................... 3-21
Ashtrays and Cigarette Lighter
........................ 3-22
Climate Controls
............................................ 3.23
Automatic Climate Control System
.................. 3-23
Outlet Adjustment
......................................... 3-27
Steering Wheel Climate Controls
..................... 3-28
Climate Controls Personalization
..................... 3.29
Warning Lights, Gages and Indicators
............. 3-30
Instrument Panel Cluster
............................... -3-31
Speedometer and Odometer
........................... 3-32
I acnorneier .-..
Safety Belt Reminder Light ............................. 3-33
Air Bag Readiness Light
................................ 3-34
Battery Warning Light
.................................... 3.35
Brake System Warning Light
.......................... 3.35
Anti-Lock Brake System Warning Light
............. 3-36
- n no .................................................
Traction Control System (TCS) Warning Light ... 3.37
Traction Control System Active Light
............... 3.38
Engine Coolant Temperature Gage
.................. 3.38
Oil Pressure Light
......................................... 3.42
Cruise Control Light
...................................... 3.43
Fuel Gage
................................................... 3.44
Driver Information Center
(DIC) ....................... 3.45
DIC Warnings and Messages
......................... 3.50
DIC Vehicle Personalization
............................ 3.52
Audio System(s)
............................................. 3.59
Setting the Time
........................................... 3.59
Radio with Cassette and CD
.......................... 3.60
Navigation/Radio System
............................... 3.69
Trunk-Mounted CD Changer
........................... 3-70
Personal Choice Radio Controls
...................... 3.73
Theft-Deterrent Feature
.................................. 3.73
Audio Steering Wheel Controls
....................... 3.74
Care of Your Cassette Tape Player
................. 3-74
Care of Your CDs
......................................... 3-75
Care
of Your CD Player ................................ 3-76
Malfunction Indicator
Lamp
............................. 3.39
I I...I-.-L--A.- ... n,.-J:, n-, --+in- VI luel awl lull ty I laulu I IGL, G~LIUI I u 1 T '2 7A ......................
Diversity Antenna System .............................. 3.76
Chime Level Adjustment
............................... -3-76
3-
1
ProCarManuals.com
Page 127 of 387

Exterior Lamps
The lever on the left side
of the steering column
operates the exterior
lamps.
{OO: (Parking Lamps): Turning the switch to this
position turns on the parking lamps, together with the
following:
Sidemarker Lamps
Taillamps
-:g- : Turn the outside part of the lever with this symbol
on
it, to operate the lamps. The exterior lamp switch
has three positions.
OFF: Turning the switch to this position turns off all
lamps and lights, except the Daytime Running
Lamps
(DRL).
License Plate Lamps
Instrument Panel Lights
- - zo (Headlamps): Turning the switch to this position
turns on the headlamps, together with the previously
listed lamps and lights.
AUTO (Automatic Headlamps): Turning the exterior
lamps control to AUTO will turn the headlamps, taillamps
and parking lamps on and
off, while the ignition is on,
by sensing how dark it is outside. See “Automatic
Headlamp System” later in this section for more
information.
3-1 4
ProCarManuals.com
Page 130 of 387

Exterior Lighting Battery Saver
If the exterior lamps control has been left on, the
exterior lamps will turn
off approximately 10 minutes
after the ignition is turned to
OFF and any door
has been opened. This protects against draining the
battery in case you have accidentally left the headlamps
or parking lamps on. If you need to leave the lamps
on for more than
10 minutes, use the exterior lamps
control to turn the lamps back on after the ignition has
been turned to
OFF and any door has been opened.
Interior Lamps
Instrument Panel Brightness
This feature controls the brightness of the instrument
panel lights.
.. .. .. ' The knob for this feature is
located on the driver's side I .. ..
Turn the knob clockwise to brighten the instrument
panel cluster lights and displays. Turn the knob
counterclockwise to dim the instrument panel cluster
iignts and dispiays.
If it is day and your parking lamps are on, the instrument
panel cluster lights and displays will come on at
full
intensity and will not be adjustable. If it is dark enough
outside and your parking lamps are on, the instrument
the door switches will come on, and can also be
adjusted. pane!
cluster lights and displays
a.nd the backlighting for
3-1 7
ProCarManuals.com
Page 131 of 387
Courtesy Lamps Entry
Lighting
If it is dark enough outside and the front reading lamp
slider lever, located on the overhead console, is in
the DOOR position, when any door is opened all of the
vehicles courtesy lamps will come on. See “Front
Reading Lamps” and “Rear Reading Lamps” later in this
section for more information. They make it easier for
you to enter and leave the vehicle. The courtesy lamps
will remain on for about
25 seconds after all doors
have been closed. They will then theater dim to
off.
Move the front reading lamp slider lever to ON to turn
on the interior courtesy lamps. When the control is
moved back to either
OFF or DOOR, the courtesy lamps
will immediately turn
off.
If the control is OFF when the doors are opened, only
the lower instrument panel courtesy lamps will come on.
Also, if the control is OFF when illuminated entry or
delayed exit lighting are active, only the lower instrument
panel courtesy lamps will be on.
If a door is left ajar, your interior lamps will turn
off after
10 minutes to save your battery. If
it is dark enough outside and you press the unlock
symbol on the remote keyless entry transmitter while all
doors are closed, the interior courtesy lamps will
come on and stay on for approximately
40 seconds.
When the
40 seconds are up, the lights will automatically
fade until they turn
off. The lamps will turn off
immediately by pressing the lock symbol on the remote
keyless entry transmitter, by turning the ignition key
to
ON or by activating the power door locks.
Delayed Entry Lighting
When you open the door to enter your vehicle, the
interior lamps will come on
if it is dark enough outside.
When you close the door with the ignition
off, the
interior lamps will stay on for
25 seconds. When the
25 seconds are up the lights will automatically fade until
they turn
off. Locking the doors with the power door
lock switch or with the lock symbol on the remote
keyless entry transmitter, will override the delayed entry
lighting and the lamps will turn
off immediately.
3-1 8
ProCarManuals.com
Page 132 of 387
Theater Dimming Parade Dimming
This feature allows for a three to five-second fade out of
the overhead courtesy lamps instead of immediate
turn
off after you remove the key from the ignition. They
will not fade
if the interior lamps are manually turned
on. The lower instrument panel courtesy lamps will not
fade out.
Delayed Exit Lighting
This feature will turn on the interior lamps for 25 seconds
after you remove the key from the ignition while the
doors are closed and it is night. This will give you time
to find the door handle or lock switches as you exit
the vehicle. When the
25 seconds are up, or if the key
is reinserted into the ignition, the lights will be turned
off by the theater dimming system. The lamps will turn
off immediately by pressing the lock symbol on the
remote keyless entry transmitter, by turning the ignition
key to ON or by activating the power door locks. To activate the instrument panel backlighting during the
day,
turn the exterior lamps control to the parking
lamp position. Dimming
of the instrument panel display
is not possible during daylight hours. The instrument
panel display can only be adjusted when the parking
lamps are on and it is dark outside.
Perimeter Lighting
When the unlock symbol on the remote keyless entry
transmitter is pressed, the DRL headlamps, parking
lamps and back-up lamps will turn on for approximately
25 seconds if it is dark enough outside.
This feature can be programmed to be on or
off for
each transmitter. You can also program how long the
exterior lamps will stay on after unlocking the vehicle.
You must program this feature through the
DIC. See DIC
Vehicle Personalization on page 3-52.
3-1 9
ProCarManuals.com
Page 143 of 387
Warning Lights, Gages and Indicators
This part describes the warning lights and gages that
may be on your vehicle. The pictures will help you
locate them.
Warning lights and gages can signal that something is
wrong before it becomes serious enough to cause
an expensive repair or replacement. Paying attention to
your warning lights and gages could also save you
or others from injury.
Warning lights come on when there may be or is a
problem with one of your vehicle’s functions.
As you will
see in the details on the next few pages, some
warning lights come on briefly when you start the
engine just to let you know they’re working. If you are
familiar with this section, you should not be alarmed
when this happens. Gages can
indicate when there may be or is
a problem
with one of your vehicle’s functions. Often gages
and warning lights work together to let you know when
there’s a problem with your vehicle.
When one of the warning lights comes on and stays on
when you are driving, or when one of the gages
shows there may be a problem, check the section that
tells you what to do about it. Please follow this
manual’s advice. Waiting to do repairs can be
costly
- and even dangerous. So please get to know
your warning lights and gages. They’re a big help.
Your vehicle has a Driver Information Center (DIC) that
works along with the warning lights and gages. See
Driver Information Center (DIC) on page 3-45.
3-30
ProCarManuals.com