service Oldsmobile Bravada 2003 Owner's Manuals
[x] Cancel search | Manufacturer: OLDSMOBILE, Model Year: 2003, Model line: Bravada, Model: Oldsmobile Bravada 2003Pages: 410, PDF Size: 20.1 MB
Page 6 of 410

These are some examples of vehicle symbols you may find on your vehicle:
POSSIBLE A
CAUTION INJURY
PROTECT EYES BY
SHIELDING
CAUSTIC
4ClD COULD BAlTERY
CAUSE
BURNS
AVOID
SPARKS
OR
FLAMES
SPARK OR COULD FLAME
'\I/'
EXPLODE
BAlTERY LATCH BOTH LAP AND
SHOULDER BELTS TO
PROTECT OCCUPANT
48: @
DO NOT TWIST SAFETY
BELT WHEN AlTACHlNG
MOVE SEAT FULLY
\$!!
REARWARD* /z
SECURE
CHILD SEAT
PULL BELT
COMPLETELY
THEN SECURE CHILD SEAT
n
DO NOT INSTALL
A REAR-FACING
CHILD RESTRAINT IN THIS SEATING
POSITION
DO NOT INSTALL A
FORWARD-FACING CHILD RESTRAINT IN THIS SEATING
POSITION
DOOR LOCK UNLOCK
-
I
1
L
LIGHTING - MASTER SWITCH 8- / ,
SIGNALS @a
TURN
LAMPS
PC
DAYTIME . -n
RUNNING ''Z;
LAMPS
LAMPS
#O
ENGINE
COOLANT TEMP
CHARGING
fl
BAlTERY SYSTEM
BRAKE
(@)
COOLANT d
ENGINE OIL
PRESSURE
Wb
ANTI-LOCK (@)
BRAKES
l.fJ
ACCESS
ENGINE
COOLANT FAN
OWNERS MANUAL
SERVICE
MANUAL
V
Page 61 of 410
In many crashes severe enough to inflate an air bag,
windshields are broken by vehicle deformation.
Additional windshield breakage may also occur from the right front passenger air bag.
Air bags are designed to inflate only once. After an
air bag inflates, you’ll need some new parts for
your air bag system. If you don’t get them, the air
bag system won’t be there to help protect you
in another crash. A new system will include air bag
modules and possibly other parts. The service
manual for your vehicle covers the need to replace
other parts.
Your vehicle is equipped with an electronic frontal
sensor, which helps the sensing system distinguish
between a moderate frontal impact and a more
severe frontal impact. Your vehicle is also equipped
with a crash sensing and diagnostic module,
which records information about the frontal air bag
system. The module records information about
the readiness of the system, when the system
commands air bag inflation and driver’s safety belt
usage at deployment. The module also records
speed, engine
RPM, brake and throttle data.
Let only qualified technicians work on your air bag
systems. Improper service can mean that an air
bag system won’t work properly. See your dealer for
service.
Notice: If you damage the covering for the driver’s
or the right front passenger’s air bag, or the air
bag covering on the driver’s and right front
passenger’s seatback, the bag may not work
properly. You may have to replace the air bag
module in the steering wheel, both the air bag
module and the instrument panel for the right front
passenger’s air bag, or both the air bag module
and seatback for the driver’s and right front passenger’s side impact air bag.
Do not open or
break the air bag coverings.
1-54
Page 62 of 410
Servicing Your Air Bag-Equipped
Vehicle
Air bags affect how your vehicle should be serviced.
There are parts of the air bag systems in several places
around your vehicle. Your dealer and the service
manual have information about servicing your vehicle
and the air bag systems.
To purchase a service manual,
see
Setvice Publications Ordering Information on
page 7- IO.
For up to 10 seconds after the ignition key is
turned
off and the battery is disconnected, an
air bag can
still inflate during improper
service. You can be injured
if you are close to
an air bag when
it inflates. Avoid yellow
connectors. They are probably part
of the air
bag system. Be sure to follow proper service
procedures, and make sure the person
performing work for you is qualified to
do so.
The air bag systems do not need regular maintenance.
1-55
Page 70 of 410
This device complies with RSS-210 of Industry Canada.
Operation is subject to the following two conditions:
1. This device may not cause interference, and
2. This device must accept any interference received,
including interference that may cause undesired
operation of the device.
Changes or modifications to this system by other than
an authorized service facility could void authorization to
use this equipment.
At times you may notice a decrease in range. This is
normal for any remote keyless entry system. If the
transmitter does not work or
if you have to stand closer
to your vehicle for the transmitter to work, try this:
Check the distance. You may be too far from your
vehicle. You may need to stand closer during
rainy or snowy weather.
Check the location. Other vehicles or objects may
be blocking the signal. Take a few steps to the
left or right, hold the transmitter higher, and
try again.
Check to determine
if battery replacement is
necessary. See "Battery Replacement" under
Remote Keyless Entry System Operation on
page
2-5.
If you are still having trouble, see your dealer or a
qualified technician for service.
Remote Keyless Entry System
Operation
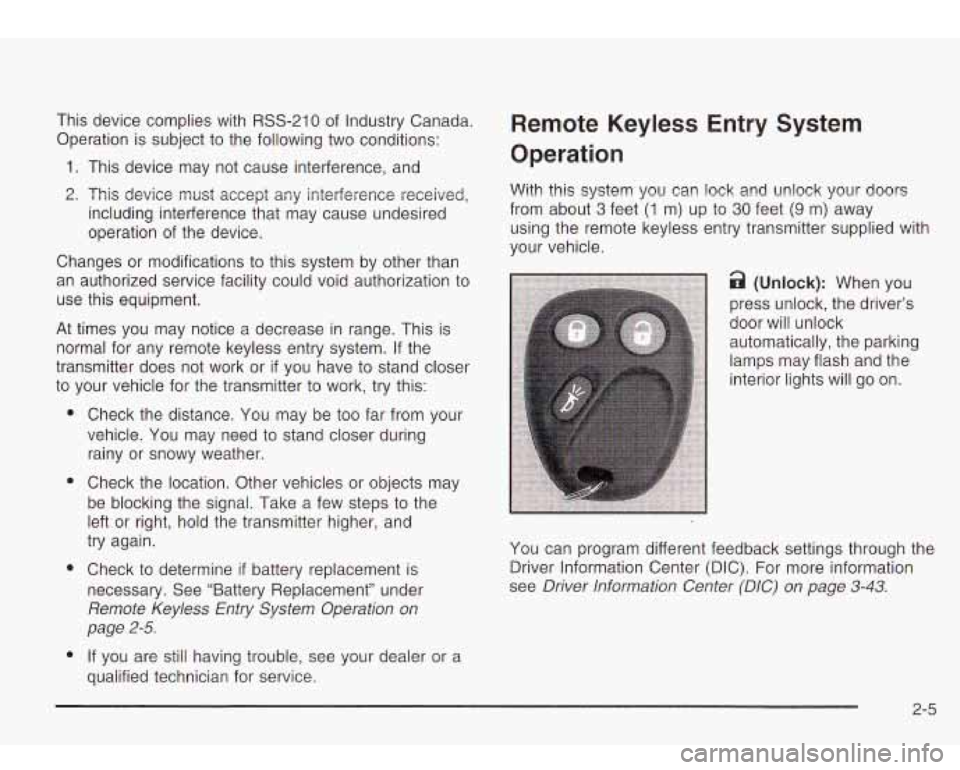
With this system you can lock and unlock your doors
from about
3 feet (1 m) up to 30 feet (9 m) away
using the remote keyless entry transmitter supplied with
your vehicle.
door will unlock
automatically, the parking lamps may flash and the
interior lights will go on.
You can program different feedback settings through the
Driver Information Center (DIC). For more information
see
Driver Information Center (DIC) on page 3-43.
2-5
Page 82 of 410
Testing the Alarm
The alarm can be tested by following these steps:
1. From inside the vehicle, lower the driver’s window
and open the driver’s door.
Passlock@
2. Activate the system by locking the doors with the
power door lock switch while the door is open, or
with the remote keyless entry transmitter.
3. Get out of the vehicle, close the door and wait for
the SECURITY light to go out.
4. Then reach in through the window, unlock the door
with the manual door lock and open the door. This
should set
off the alarm.
When the alarm is set the power door unlock switch
is
not operational.
If the alarm does not sound when it should but the
headlamps flash, check
to see if the horn works. The
horn fuse may be blown. To replace the fuse, see
Fuses
and Circuit Breakers on page
5-86.
If the alarm does not sound or the headlamps do not
flash, the vehicle should be serviced by your dealer. Your
vehicle is equipped with the
Passlock@ theft-deterrent system.
Passiock@
is a passive theit-deterrent system.
Passlock@ enables fuel
if the ignition lock cylinder is
turned with a valid key. If a correct key is not used or the
ignition lock cylinder is tampered with, the fuel system
is disabled and the vehicle will not start.
During normal operation, the SECURITY light will turn
off
approximately five seconds after the key is turned
to RUN.
If the engine stalls and the SECURITY light flashes,
wait about
10 minutes until the light stops flashing before
trying
to restart the engine. Remember to release the
key from START as soon as the engine starts.
If the engine does not start after three tries, the vehicle
needs service.
If the engine is running and the SECURITY light comes
on, you will be able
to restart the engine if you turn
the engine
off. However, your Passlock@ system is not
working properly and must be serviced by your
dealer. Your vehicle is not protected by Passlock@ at
this time. You may also want to check the fuse.
See
Fuses and Circuit Breakers on page 5-86. See your
dealer for service.
In an emergency, call the GM Roadside Assistance
Center. See
Roadside Assistance Program on page 7-5.
2-1 7
Page 84 of 410
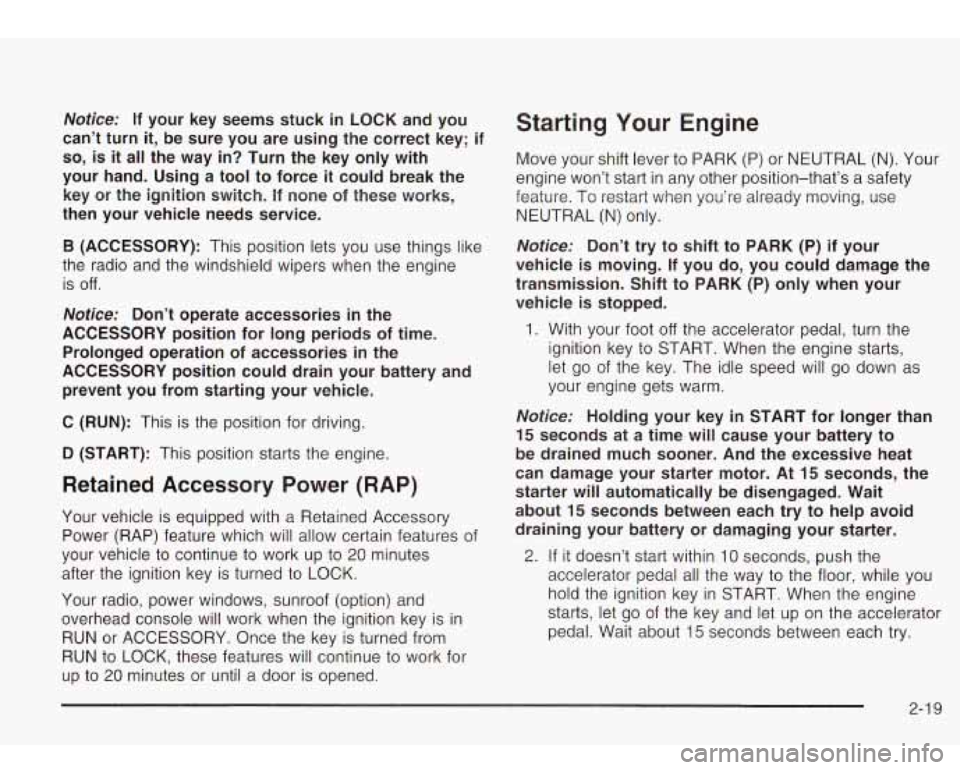
Notice: If your key seems stuck in LOCK and you
can’t turn
it, be sure you are using the correct key; if
so, is it all the way in? Turn the key only with
your hand. Using a tool to force
it could break the
key or the ignition switch. If none of these works,
then your vehicle needs service.
B (ACCESSORY): This position lets you use things like
the radio and the windshield wipers when the engine
is
off.
Notice: Don’t operate accessories in the
ACCESSORY position for long periods of time.
Prolonged operation of accessories
in the
ACCESSORY position could drain your battery and
prevent you from starting your vehicle.
C (RUN): This is the position for driving.
D (START): This position starts the engine,
Retained Accessory Power (RAP)
Your vehicle is equipped with a Retained Accessory
Power (RAP) feature which will allow certain features
01
your vehicle to continue to work up to 20 minutes
after the ignition key is turned to LOCK.
Your radio, power windows, sunroof (option) and
overhead console will work when the ignition key is in
RUN or ACCESSORY. Once the key is turned from
RUN to LOCK, these features will continue to work for
up to
20 minutes or until a door is opened.
Starting Your Engine
Move your shift lever to PARK (P) or NEUTRAL (N). Your
engine won’t start in any other position-that’s a safety
feature. To restart when you’re already moving, use
NEUTRAL (N) only.
Notice: Don’t try to shift to PARK (P) if your
vehicle is moving.
If you do, you could damage the
transmission. Shift to PARK (P) only when your
vehicle is stopped.
1. With your foot off the accelerator pedal, turn the
ignition key to START. When the engine starts,
let go of the key. The idle speed will go down as
your engine gets warm.
Notice: Holding your key in START for longer than
15 seconds at a time will cause your battery to
be drained much sooner. And the excessive heat
can damage your starter motor.
At 15 seconds, the
starter will automatically be disengaged. Wait
about 15 seconds between each try to help avoid
draining your battery or damaging your starter.
2. If it doesn’t start within 10 seconds, push the
accelerator pedal all the way to the floor, while you
hold the ignition key in START. When the engine
starts, let go of the key and let up on the accelerator
pedal. Wait about 15 seconds between each try.
2-1 9
Page 95 of 410
Mirrors Mirror Operation
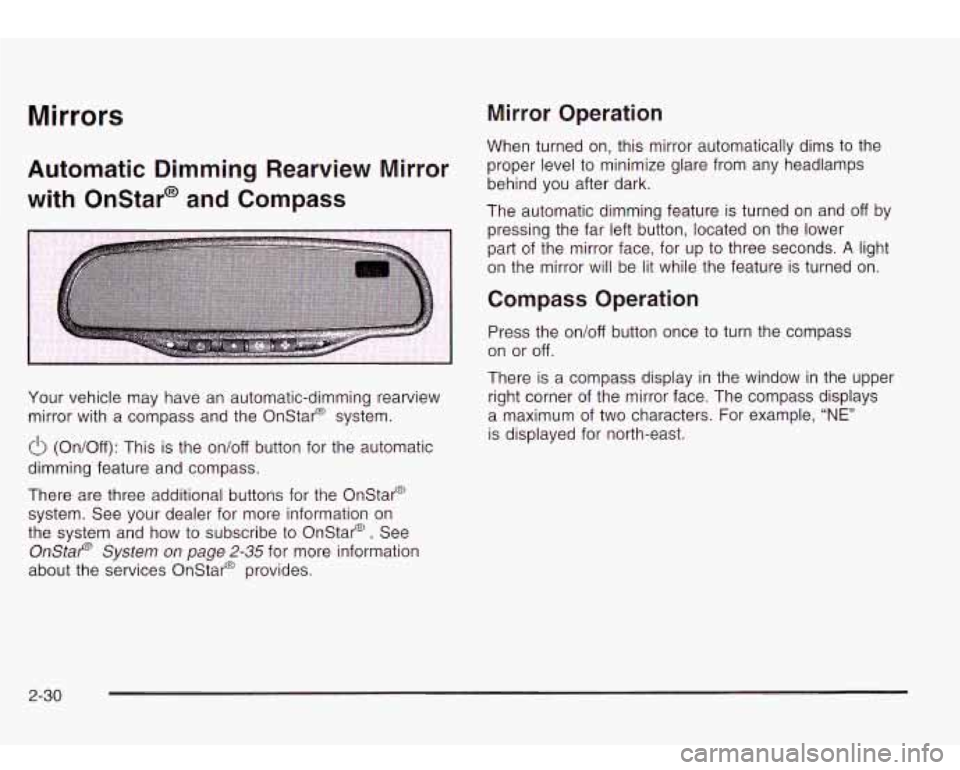
Automatic Dimming Rearview Mirror
with Onstar@ and Compass
Your vehicle may have an automatic-dimming rearview
mirror with a compass and the Onstar@ system.
(!J (On/Off): This is the on/off button for the automatic
dimming feature and compass.
There are three additional buttons for the Onstar@
system. See your dealer for more information on
the system and how to subscribe to Onstar@. See
Onstar@ System on page 2-35 for more information
about the services Onstar@ provides. When
turned on, this mirror automatically dims to the
proper level to minimize glare from any headlamps
behind you after dark.
The automatic dimming feature is turned on and off by
pressing the far left button, located on the lower
part of the mirror face, for up to three seconds.
A light
on the mirror will be lit while the feature
is turned on.
Compass Operation
Press the on/off button once to turn the compass
on or off.
There is a compass display in the window in the upper
right corner of the mirror face. The compass displays
a maximum of two characters. For example,
“NE”
is displayed for north-east.
2-30
Page 100 of 410

Onstar@ System Onstar@ Services
OnStaP uses global positioning system (GPS) satellite
technology, wireless communications, and state of
the art call centers
to provide you with a wide range of
safety, security, information and convenience services.
An OnStaP subscription plan is included in the price
of
your vehicle. You can easily upgrade or extend your
Onstar@ services to meet your personal needs.
A complete Onstar@ user’s guide and the terms and
conditions of the Onstar@ Subscription Service
Agreement are included in your Onstar@ equipped
vehicle’s glove box literature. For more information, visit
www.onstar.com, contact Onstar@ at
1 -888-4-ONSTAR
(1-888-466-7827), or press the blue Onstar@ button
to speak to an Onstar@ advisor 24 hours a day,
7 days
a week.
0 Remote Door Unlock
Remote Diagnostics
Onstar@
MED-NET (Requires separate activation
and annual fee on some plans)
0 Online and Personal Concierge Services
Route Support
RideAssist
0 Information and Convenience Services
2-35
Page 101 of 410
Onstar@ Personal Calling
With Onstar@ Personal Calling, you have a safer way
to stay connected while driving. It’s a hands-free
wireless phone that’s integrated into your vehicle. You can place calls nationwide using voice-activated
dialing with no contracts, no roaming charges and no
access fees. To find out more about Onstar@ Personal
Calling, refer
to the Onstar@ owner’s guide in your
vehicle’s glove box, or call Onstar@ at
1 -888-4-ONSTAR (1 -888-466-7827).
Onstar@ Virtual Advisor
With Onstar@ Virtual Advisor you can listen to your
favorite news, entertainment and information topics,
such as traffic and weather reports, stock quotes and
sports scores. You listen
to your e-mail through
your vehicle’s speakers, and reply with your hands on
the wheel and your eyes on the road.
A completed Subscription Service Agreement is required
prior
to delivery of Onstar@ services and prepaid
calling minutes are also required for Onstar@ Personal
Calling and Onstar@ Virtual Advisor use. Terms and
conditions of the Subscription Service Agreement can be
found at www.onstar.com.
2-36
Page 102 of 410
HomeLink@ Transmitter
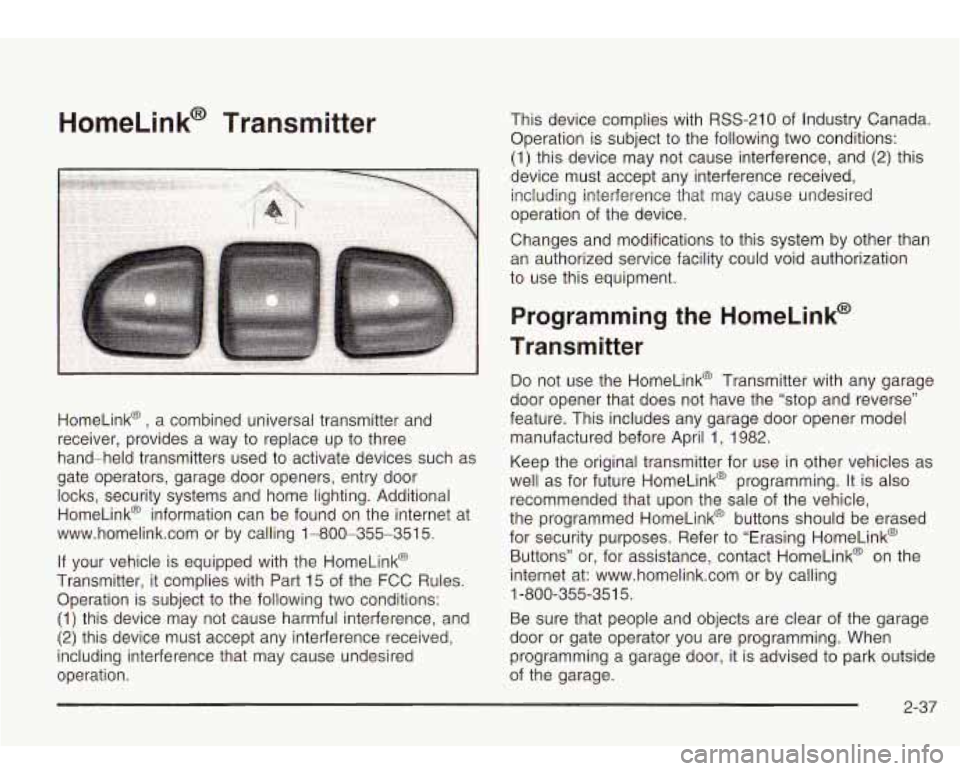
HomeLink@ , a combined universal transmitter and
receiver, provides a way to replace up to three
hand-held transmitters used to activate devices such as
gate operators, garage door openers, entry door
locks, security systems and home lighting. Additional
HomeLink@ information can be found on the internet at
www.homelink.com or by calling 1-800-355-351
5.
If your vehicle is equipped with the HomeLink@
Transmitter, it complies with Part 15 of the FCC Rules.
Operation is subject to the following two conditions:
(1) this device may not cause harmful interference, and
(2) this device must accept any interference received,
including interference that may cause undesired
operation. This device complies with
RSS-210 of
Industry Canada.
Operation is subject
to the following two conditions:
(1) this device may not cause interference, and
(2) this
device must accept any interference received, including interference that may cause undesired
operation of the device.
Changes and modifications to this system by other than
an authorized service facility could void authorization
to use this equipment.
Programming the HomeLink@
Transmitter
Do not use the HomeLink@ Transmitter with any garage
door opener that does not have the “stop and reverse”
feature. This includes any garage door opener model
manufactured before April 1, 1982.
Keep the original transmitter for use in other vehicles as
well as for future HomeLink@ programming. It is also
recommended that upon the sale of the vehicle,
the programmed HomeLink@ buttons should be erased
for security purposes. Refer to “Erasing HomeLink@
Buttons” or, for assistance, contact HomeLink@ on the
internet at: www.homelink.com or by calling
Be sure that people and objects are clear of the garage
door or gate operator you are programming. When
programming a garage door, it is advised to park outside
of the garage.
1
-800-355-35
1 5.
2-37