OLDSMOBILE SILHOUETTE 1995 Owners Manual
Manufacturer: OLDSMOBILE, Model Year: 1995, Model line: SILHOUETTE, Model: OLDSMOBILE SILHOUETTE 1995Pages: 390, PDF Size: 20.27 MB
Page 121 of 390

Overhead Console
The front overhead console has reading lamps, two
switches
for the optional power sliding door, storage
compartments (including one for your garage door
opener and one for sunglasses), a compass and an
outside temperature display. The features of the
overhead console are explained on the following pages.
READING LAMPS: To turn on or off either reading
lamp, press the switch next
to it. To adjust the aim of the
lamps, pivot the lamps in their sockets.
GARAGE DOOR OPENER COMPARTMENT You
can store your garage door opener in the front
compartment of your overhead console, and operate it
from this position.
To install your garage door opener,
follow these instructions:
1. Open the compartment by pressing the latch forward.
Remove the piece
of self-sticking Velcro@.
2. Peel the protective backing from the Velcro@ and
press it firmly
to the back of your garage door
opener.
2-51
ProCarManuals.com
Page 122 of 390
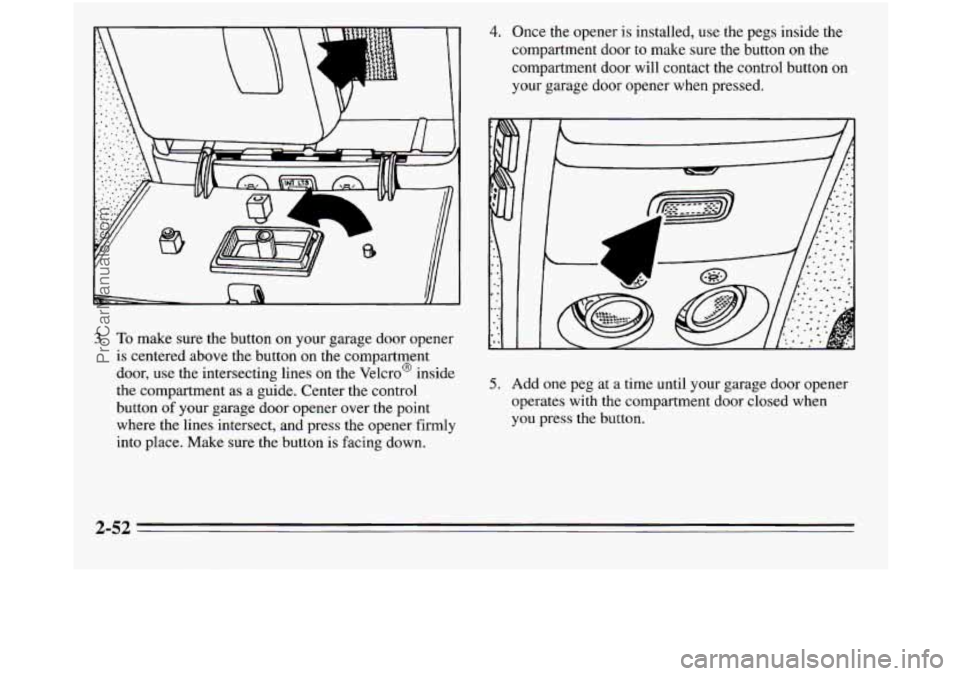
4. Once the opener is installed, use the pegs inside the
compartment door to make sure the button on the
compartment door will contact the control button
on
your garage door opener when pressed.
3. To make sure the button on your garage door opener
is centered above the button
on the compartment
door, use the intersecting lines
on the Velcro@ inside
the compartment as a guide. Center the control
button of your garage door opener over the point
where the lines intersect, and press the opener firmly
into place. Make sure the button
is facing down.
5. Add one peg at a time until your garage door opener
operates with the compartment door closed when
you press the button.
2-52
ProCarManuals.com
Page 123 of 390
L
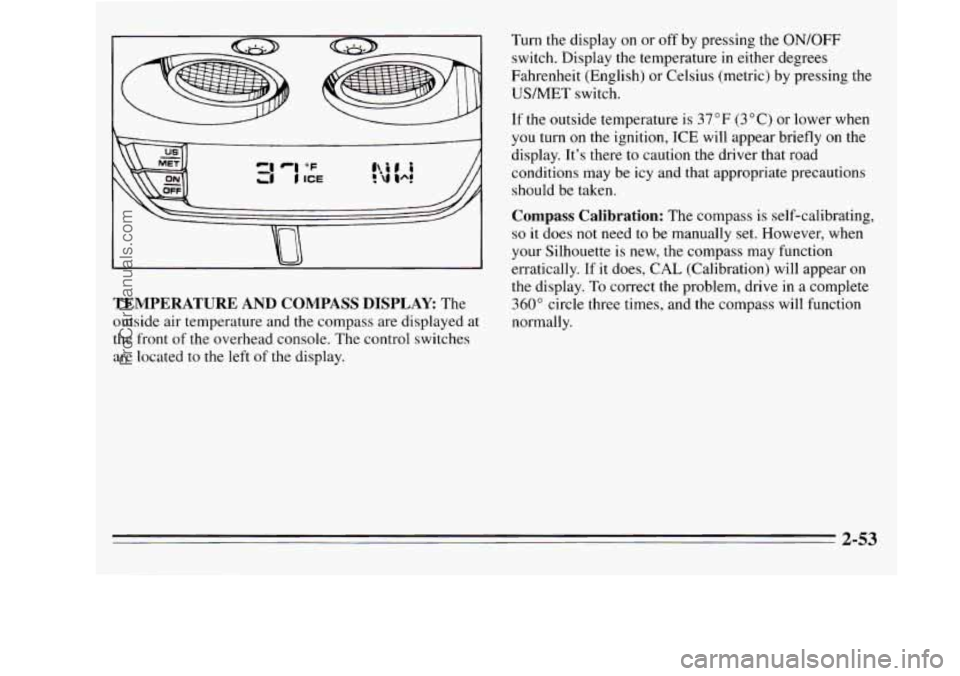
TEMPERATURE AND COMPASS DISPLAY The
outside air temperature and the compass are displayed at
the front of the overhead console. The control switches
are located to the left of the display. Turn the display
on or
off by pressing the ON/OFF
switch. Display the temperature in either degrees
Fahrenheit (English) or Celsius (metric) by pressing the
USMET switch.
If the outside temperature is 37°F (3°C) or lower when
you turn
on the ignition, ICE will appear briefly on the
display. It's there to caution the driver that road
conditions may be icy and that appropriate precautions
should be taken.
Compass Calibration: The compass is self-calibrating,
so it does not need to be manually set. However, when
your Silhouette is new, the compass may function
erratically.
If it does, CAL (Calibration) will appear on
the display.
To correct the problem, drive in a complete
360" circle three times, and the compass will function
normally.
ProCarManuals.com
Page 124 of 390
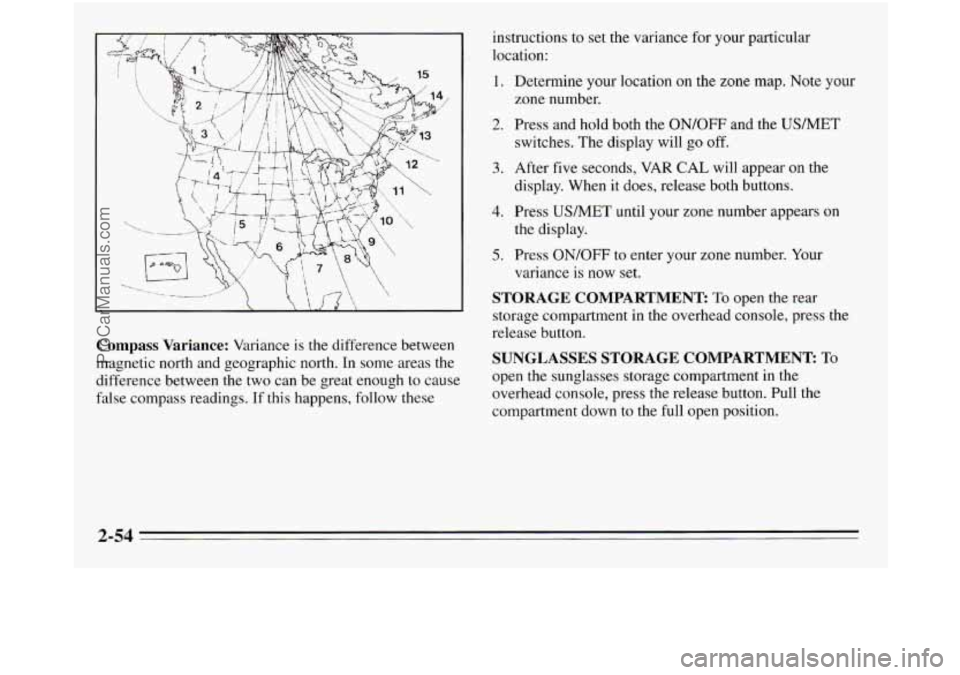
Compass Variance: Variance is the difference between
magnetic north and geographic north. In some areas
the
difference between the two can be great enough to cause
false compass readings. If this happens, follow these instructions
to set the variance
for your particular
location:
1. Determine your location on the zone map. Note your
2. Press and hold both the ON/OFF and the USMET
zone number.
switches. The display will go off.
3. After five seconds, VAR CAL will appear on the
4. Press USMET until your zone number appears on
5. Press ON/OFF to enter your zone number. Your
STORAGE COMPARTMENT: To open the rear
storage compartment in the overhead console, press the
release button.
SUNGLASSES STORAGE COMPARTMENT: To
open the sunglasses storage compartment in the
overhead console, press the release button. Pull the
compartment down to the full open position.
display.
When it does, release both buttons.
the display. variance is now set.
ProCarManuals.com
Page 125 of 390
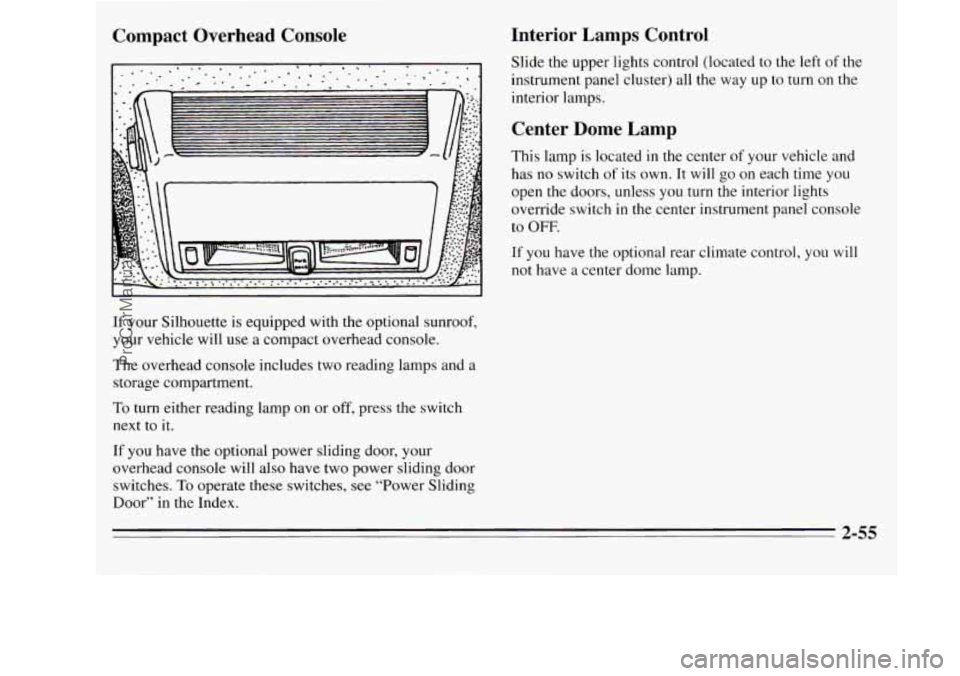
Compact Overhead Console
If your Silhouette is equipped with the optional sunroof,
your vehicle will
use a compact overhead console.
The overhead console includes two reading lamps and a
storage compartment.
To turn either reading lamp on or off, press the switch
next to
it.
If you have the optional power sliding door, your
overhead console will also have two power sliding door
switches.
To operate these switches, see “Power Sliding
Door” in the Index.
Interior Lamps Control
Slide the upper lights control (located to the left of the
instrument panel cluster) all the way up to turn on the
interior lamps.
Center Dome Lamp
This lamp is located in the center of your vehicle and
has no switch
of its own. It will go on each time you
open the doors, unless you turn the interior lights
override switch
in the center instrument panel console
to OFF.
If you have the optional rear climate control, you will
not have a center dome lamp.
2-55
ProCarManuals.com
Page 126 of 390
Rear Interior Lamps
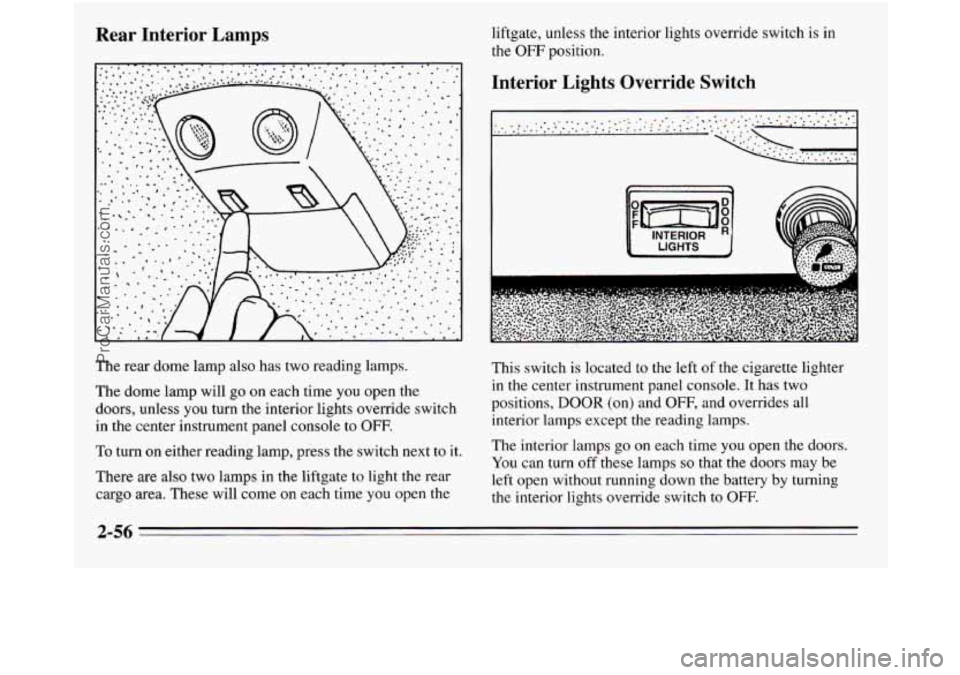
The rear dome lamp also has two reading lamps.
The dome lamp will go on each time you open the
doors, unless you
turn the interior lights override switch
in the center instrument panel console to OFF.
To turn on either reading lamp, press the switch next to it.
There are also two lamps in the liftgate to light the rear
cargo area. These will come on each time you open the liftgate, unless the interior
lights override switch is in
the
OFF position.
Interior Lights Override Switch
This switch is located to the left of the cigarette lighter
in the center instrument panel console. It has two
positions,
DOOR (on) and OFF, and overrides all
interior lamps except the reading lamps.
The interior lamps go
on each time you open the doors.
You can
turn off these lamps so that the doors may be
left open without running down the battery by turning
the interior lights override switch to
OFF.
2-56
ProCarManuals.com
Page 127 of 390
Accessory Power Outlet
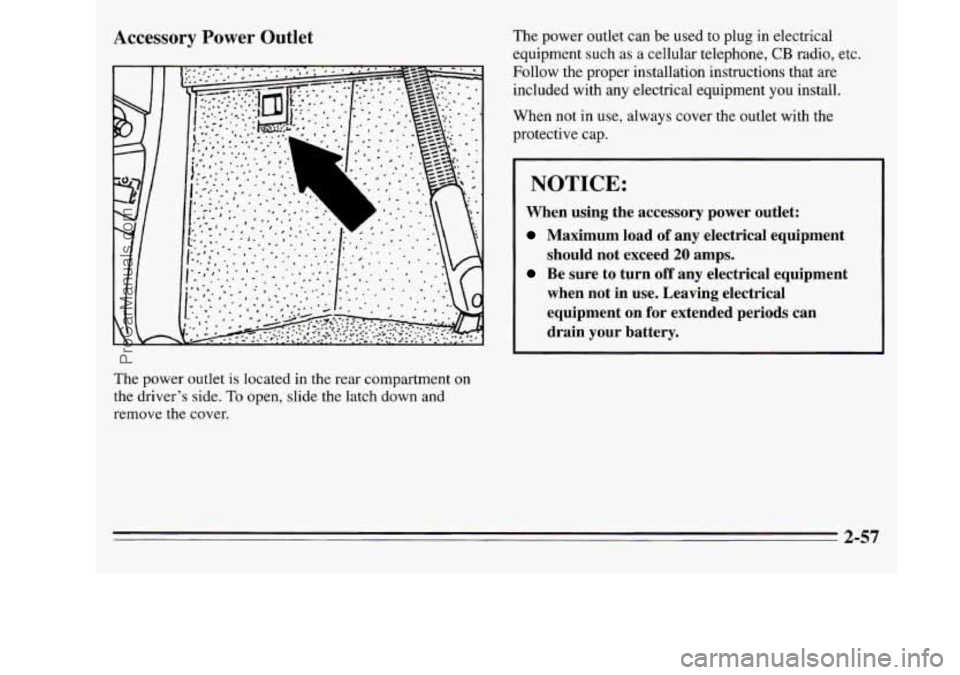
The power outlet is located in the rear compartment on
the driver’s side.
To open, slide the latch down and
remove the cover. The
power outlet can be used to plug in electrical
equipment such as a cellular telephone,
CB radio, etc.
Follow the proper installation instructions that are
included with any electrical equipment
you install.
When not in use, always cover the outlet with the
protective cap.
NOTICE:
When using the accessory power outlet:
Maximum load of any electrical equipment
should not exceed
20 amps.
Be sure to turn off any electrical equipment
when not in use. Leaving electrical
equipment
on for extended periods can
drain your battery.
2-57
ProCarManuals.com
Page 128 of 390
Inside Daymight Rearview Mirror Convex Outside Mirror
Your passenger’s side mirror is convex.
A convex mirror’s surface is curved so you can see more
from the driver’s seat.
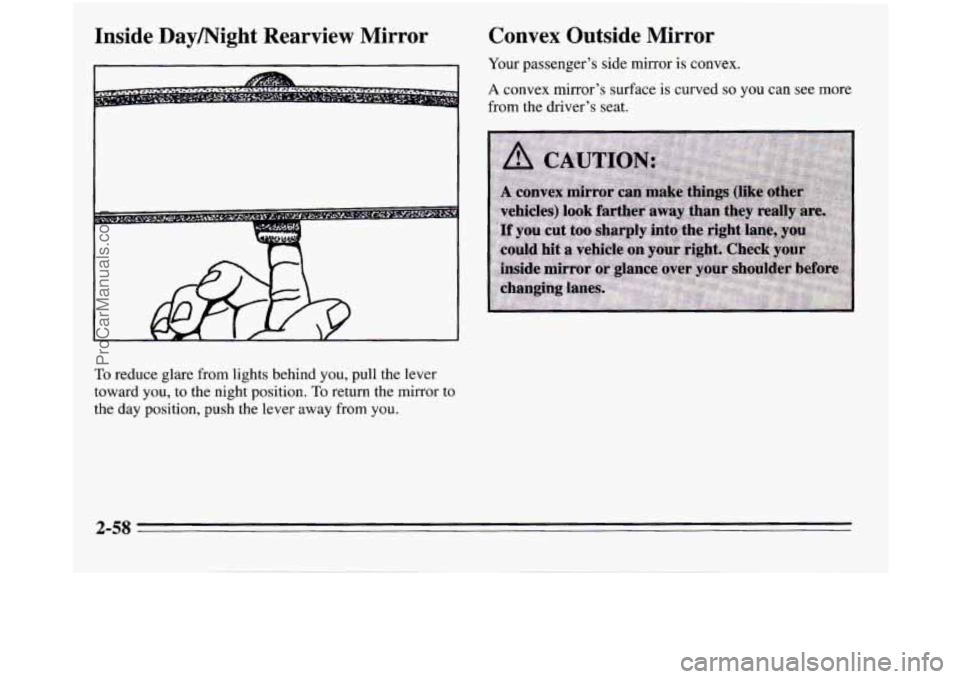
To reduce glare from lights behind you, pull the lever
toward you, to the night position.
To return the mirror to
the day position, push the lever away from
you.
2-58
ProCarManuals.com
Page 129 of 390

Power Remote Control Mirrors Convenience Net (Option)
L
The control
on the driver’s door controls both outside
rearview mirrors. Turn the control to the left to select
the driver’s side rearview mirror, or
to the right to select
the passenger’s side rearview mirror.
Then use the
control to adjust each mirror
so that you can just see the
side of your vehicle when you are sitting in a
comfortable driving position.
Both outside mirrors can be folded forward or rearward. In
the rearward position, they will fold flush with the vehicle.
This feature is particularly useful in automatic car washes
and when maneuvering your vehicle in narrow spaces. The optional
convenience net
is designed to help keep
small loads, like grocery bags, from falling over during
sharp turns or quick stops and starts.
Install the convenience net at the rear of your vehicle,
just inside the liftgate. Attach the upper loops to the
posts on either side of the liftgate opening (the label on
the net should be in the upper righthand corner). Attach
the lower loops
to the hooks on the floor.
2-59
ProCarManuals.com
Page 130 of 390
The side of the convenience net closest to the front of
the vehicle is higher than the side closest to the liftgate.
Once you’ve loaded items into the net, stretch the higher
side
of the net up and over the top of the load to hold it
firmly in place.
The convenience net has a maximum capacity
of
100 pounds (45 kg). It is not designed to hold larger,
heavier loads. Store such loads on the floor
of your
vehicle,
as far forward as you can.
When not
in use, we recommend that you take down the
convenience net to extend its life and retain its elasticity,
and to keep the rear exit clear. Store the net in the pouch
behind either front seat.
Luggage Carrier (Option)
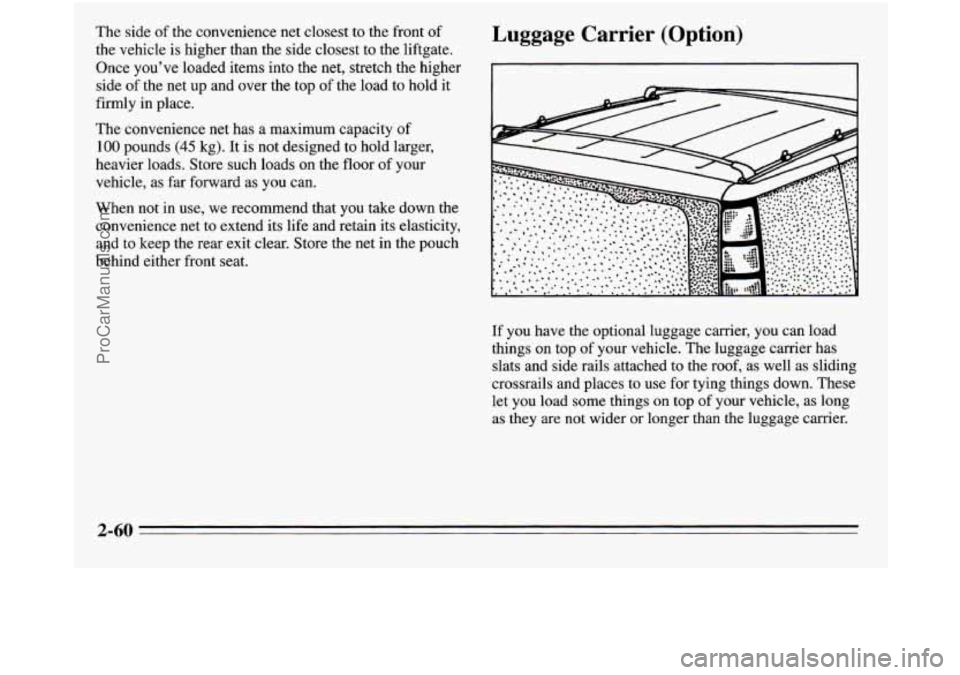
If you have the optional luggage carrier, you can load
things on top of your vehicle. The luggage carrier has
slats and side rails attached to the roof, as well as sliding
crossrails and places to use for tying things down. These
let you load some things on top
of your vehicle, as long
as they are not wider or longer than the luggage carrier.
2-60
ProCarManuals.com