reset OLDSMOBILE SILHOUETTE 1997 Owners Manual
[x] Cancel search | Manufacturer: OLDSMOBILE, Model Year: 1997, Model line: SILHOUETTE, Model: OLDSMOBILE SILHOUETTE 1997Pages: 436, PDF Size: 21.87 MB
Page 107 of 436

Resetting the Power Sliding Door
The power sliding door may operate incorrectly or not
all because of the following conditions:
0 A low voltage or dead battery,
Disconnecting the battery or
If the IGN 1, B/U LAMP, RADIO or PWR
SEAT/PSD fuse is removed or blown.
See “Fuse Panel”
in the Index for more information
about your fuse panel.
If any
of these conditions occur, the power sliding door
will need to be reset.
To do this, follow the directions
listed here.
It will be easier if you read through them
once before beginning this procedure.
1.
2.
3.
4.
5.
6.
Check to be sure the power sliding door is unlocked
and securely closed.
Turn the ignition switch to
the OFF position.
Enable the power sliding door override feature.
Remove the RADIO fuse from the underhood fuse
and relay center. Leave
it out for 30 seconds.
Reinstall the fuse and wait
10 seconds.
Disable
the power sliding door override feature.
7. Push either of the power door buttons to open the
power sliding door.
8. Wait five seconds and close the door by pushing
either power door button.
9. Wait five seconds and repeat Steps 7 and 8.
If the door does not rest in the fully open position
after repeating Step
7, repeat Steps 7 and 8 again. If
the door still does not operate correctly, see your
retailer for service.
Sliding Door Security Lock
Your Oldsmobile is equipped with a sliding door
security lock that helps prevent young children or other
passengers from opening the sliding door from the
inside. This lock is on both doors if your vehicle has the
dual sliding doors.
If you have the optional power sliding door, you can
override the security lock by pressing either power
door switch when the power sliding door override
feature is disabled. See “Power Sliding Door” earlier
in the section.
The security lock lever
is located on the inside of the
sliding door, on the front edge of the door.
To access the
lever, open the sliding door. Use the security lock label
on the edge of the door
as a guide.
ProCarManuals.com
Page 145 of 436

Resuming a Set Speed Use the SET button to reset cruise (see “Setting Cruise
Control” earlier in this section).
Suppose you set your cruise control at a desired speed
and then you apply the brake. This, of course, shuts
off the cruise control.
But you don’t need to reset it.
Once you’re going about 25 mph (40 kmk) or more,
you can move the cruise control switch from
ON to
RESUME/ACCEL (R/A) for about half a second.
You’ll
go right back up to your chosen speed and
stay there.
If you hold the switch at R/A longer than half a second,
the vehicle will keep going faster until you release the
switch or apply the brake. You could be startled and
even lose control.
So unless you want to go faster, don’t
hold the switch at R/A.
Increasing Speed While Using Cruise Control
There are two ways to go to a higher speed:
0 Use the accelerator pedal to get to the higher speed.
Push the SET button at the end of the lever, then
release the button and
the accelerator pedal. You’ll
now cruise at the higher speed.
0 Move the cruise switch from ON to R/A. Hold it
there until you get up to the speed you want, and
then release the switch. (To increase your speed in
very small amounts, move the switch
to R/A for
less than half a second and then release
it. Each
time you do this, your vehicle will go about
1 mph
( 1.6 km/h) faster.)
The accelerate feature will work whether or not you
have set an initial cruise control speed.
2-57
ProCarManuals.com
Page 161 of 436
Automatic Compass Calibration
The compass is self-calibrating which eliminates the
need to manually set the compass. When the vehicle is
new,
the calibration process may not be complete. In
these cases the calibration symbol, C, will be displayed
where
the compass reading is normally displayed.
To calibrate the compass: In an area free from large metal
objects, make three
360" turns. The calibration symbol
will turn
off and the compass reading will be displayed.
Manual Compass Calibration
If the compass appears erratic and the calibration
symbol does not appear, you must manually put
the
compass into the calibration mode.
Turn the ignition on and cycle the DIC to the
CompadTernperature mode. Press both the E/M and
MODE buttons for at least
10 seconds until the
calibration symbol appears. Release both buttons and
complete three
360" turns in an area free from large
metal objects.
The calibration symbol will turn off and
the compass reading will be displayed.
Error Displays
An error of the vehicle's speed sensor or fuel sender
0 In the absence of vehicle communications, a double
will
cause
-E- to be displayed.
dash,
--, is displayed.
Trip Computer
There are five trip computer displays which may be
stepped through by pushing the MODE button. The
information will appear
in the following order:
0
0
0
0
0
Average Fuel Economy (AVG ECON) - This shows
the average fuel economy since the last reset.
Instantaneous Fuel Economy (INST ECON)
- This
shows fuel economy for the most recent second
of driving.
Trip Range (RANGE)
- This shows the estimated
distance that can be traveled with the remaining fuel.
The fuel economy used to calculate range is based on
the last few hours
of driving.
Trip Fuel Used (FUEL USED)
- This shows the
accumulated fuel used since the last reset.
Average Speed (AVG
SPEED) - This shows the
average speed since the last reset.
Resetting the Trip Computer
Press and hold the MODE and E/M buttons for at least
two seconds. The reset
is acknowledged with the display
showing all segments on for a period of half
a second. A
reset can only be done
in AVG ECON, FUEL USED
and AVG
SPEED displays. Resetting affects all three
displays regardless of what display you are in.
ProCarManuals.com
Page 175 of 436
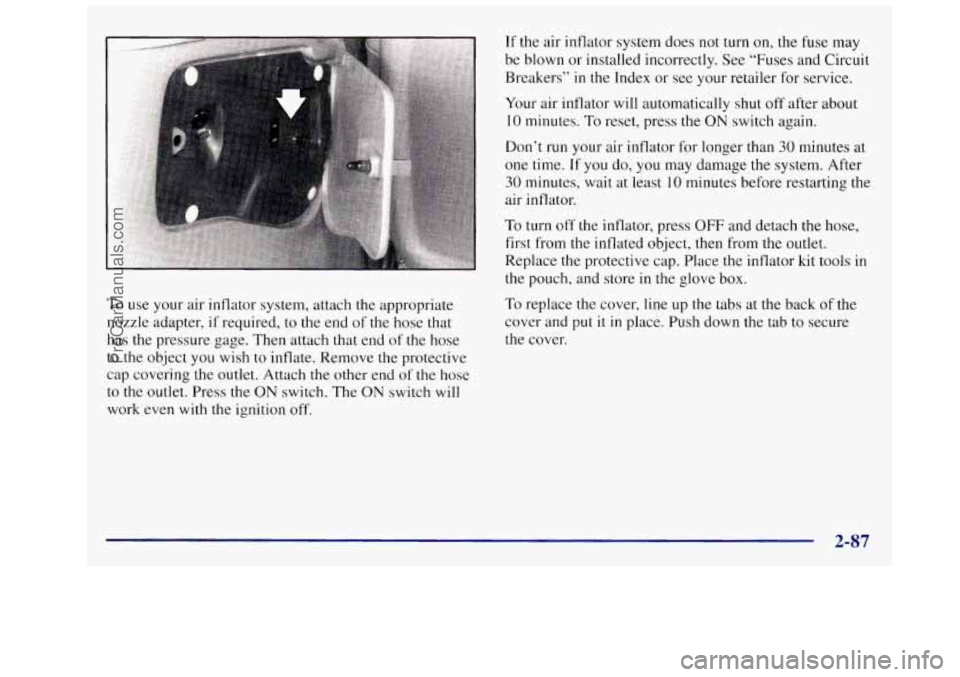
To use your air inflator system, attach the appropriate
nozzle adapter,
if required, to the end of the hose that
has the pressure gage. Then attach that end of the hose
to
the object you wish to inflate. Remove the protective
cap covering the outlet. Attach
the other end of the hose
to
the outlet. Press the ON switch. The ON switch will
work even with the ignition off.
If the air inflator system does not turn on, the fuse may
be blown or installed incorrectly. See “Fuses and Circuit
Breakers’’
in the Index or see your retailer for service.
Your air inflator will automatically shut off after about
10 minutes. To reset, press the ON switch again.
Don’t run your air inflator for longer than
30 minutes at
one time. If
you do, you may damage the system. After
30 minutes, wait at least 10 minutes before restarting the
air inflator.
To turn off the inflator, press OFF and detach the hose,
first from the inflated object, then from the outlet.
Replace the protective cap. Place the inflator kit tools
in
the pouch, and store in the glove box.
To replace the cover, line up the tabs at the back of the
cover and
put it in place. Push down the tab to secure
the cover.
2-87
ProCarManuals.com
Page 179 of 436

Speedometer and Tamper
Resistant Odometer
Your speedometer lets you see your speed in both miles
per hour (mph) and kilometers per hour (km/h). Your
odometer shows how far your vehicle has been driven,
in either miles (used in the United States) or kilometers
(used in Canada).
Your Oldsmobile has a tamper-resistant odometer.
If
you see silver lines between the numbers, you’ll know
that someone has probably tried to turn
it back, so the
numbers may not be true.
You may wonder what happens if your vehicle needs a
new odometer installed.
If the new one can be set to the
mileage total of the old odometer, then that will be done.
If
it can’t, then it’s set at zero and a label must be put on
the driver’s door to show the old mileage reading when
the new odometer was installed.
Trip Odometer
R
The trip odometer can tell you how far your vehicle has
been driven since you last set
it to zero. To set it to zero,
push the reset button which is located above and to the
right of the temperature gage.
2-91
ProCarManuals.com
Page 184 of 436
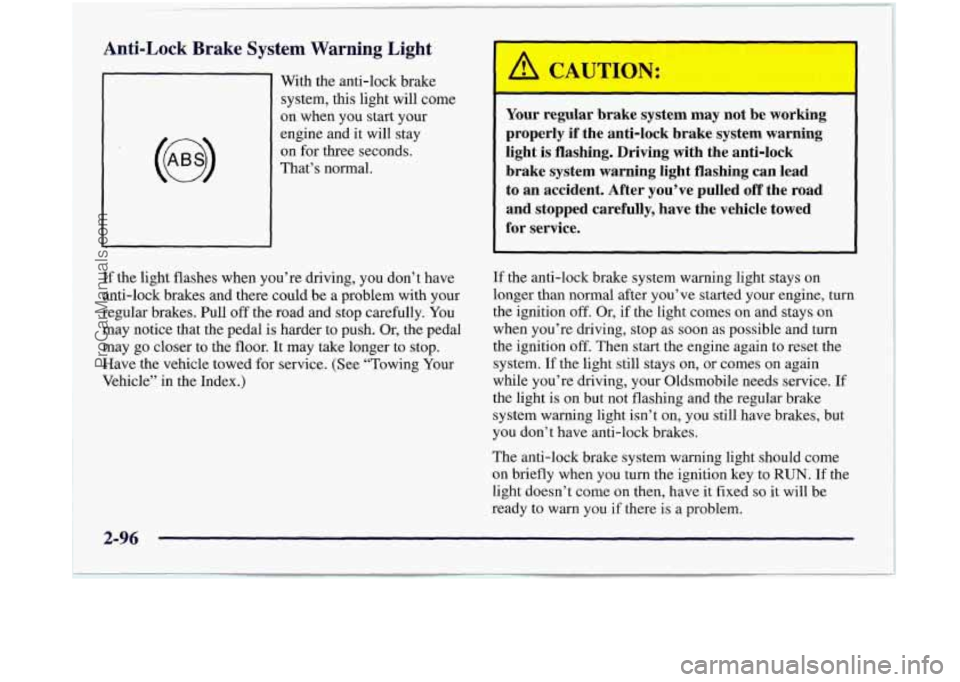
Anti-Lock Brake System Warning Light
With the anti-lock brake
system,
this light will come
on when you start your
engine and
it will stay
on for three seconds.
That’s normal.
Your regular brake system may not be working
properly if the anti-lock brake system warning
light is flashing. Driving with the anti-lock
brake system warning light flashing can lead
to an accident. After you’ve pulled off the road
and stopped carefully, have the vehicle towed
for service.
If the light flashes when you’re driving, you don’t have
anti-lock brakes and there could be a problem with your
regular brakes. Pull
off the road and stop carefully. You
may notice that the pedal is harder to push. Or, the pedal
may go closer to the floor. It may take longer to stop.
Have the vehicle towed for service. (See “Towing Your
Vehicle” in the Index.) If
the anti-lock brake system warning light stays on
longer than normal after you’ve started your engine, turn
the ignition
off. Or, if the light comes on and stays on
when you’re driving, stop as
soon as possible and turn
the ignition off. Then start the engine again to reset the
system. If the light still stays on, or comes on again
while you’re driving, your Oldsmobile needs service. If
the light is on but not flashing and the regular brake
system warning light isn’t
on, you still have brakes, but
you don’t have anti-lock brakes.
The anti-lock brake system warning light should come
on briefly when you turn the ignition key to RUN. If the
light doesn’t come
on then, have it fixed so it will be
ready to warn you
if there is a problem.
2-96
ProCarManuals.com
Page 204 of 436
RECALL: Display the time with the ignition off by
pressing the RECALL knob. When
the radio is playing,
press this button to recall
the station frequency.
Finding a Station
AM-FM: Press the lower knob to switch between AM
and FM. The display shows your selection.
TUNE: Turn the lower knob to choose radio stations.
SEEK: Press the right or left arrow to go to the next
higher or lower station and stay there.
SCAN: Press and hold one of the SEEK arrows, then
press the other SEEK arrow;
SCAN will appear on the
display. Use
SCAN to listen to stations for a few
seconds. The radio will
go to a station, stop for a few
seconds,
then go on to the next station. The radio will
scan up or down the radio band, depending on the arrow
you pressed first. Press both
SEEK arrows or the upper
knob to stop scanning.
PUSHBUTTONS: The four numbered pushbuttons let
you return to your favorite stations. You can set up to
14 stations (seven AM and seven FM). Just:
1. Press AM-FM to select the band.
2. Tune in the desired station.
3. Press SET. (SET will appear on the display.)
4. Press and hold one of the four numbered buttons,
within five seconds. The sound will mute. When
it
returns, release the button. Whenever you press that
numbered button, the station you set will return.
5. Repeat the steps for each pushbutton.
In addition to the four stations already set, up to three
more stations may be preset on each band by pressing
two adjoining buttons at the same time. Just:
1. Tune in the desired station.
2. Press SET. (SET will appear on the display.)
3. Press any two adjoining pushbuttons at the same time,
within five seconds.
The sound will mute. When it
returns, release the buttons. Whenever you press the
same buttons,
the station you set will return.
4. Repeat the steps for each pair of pushbuttons.
3-10
ProCarManuals.com
Page 207 of 436
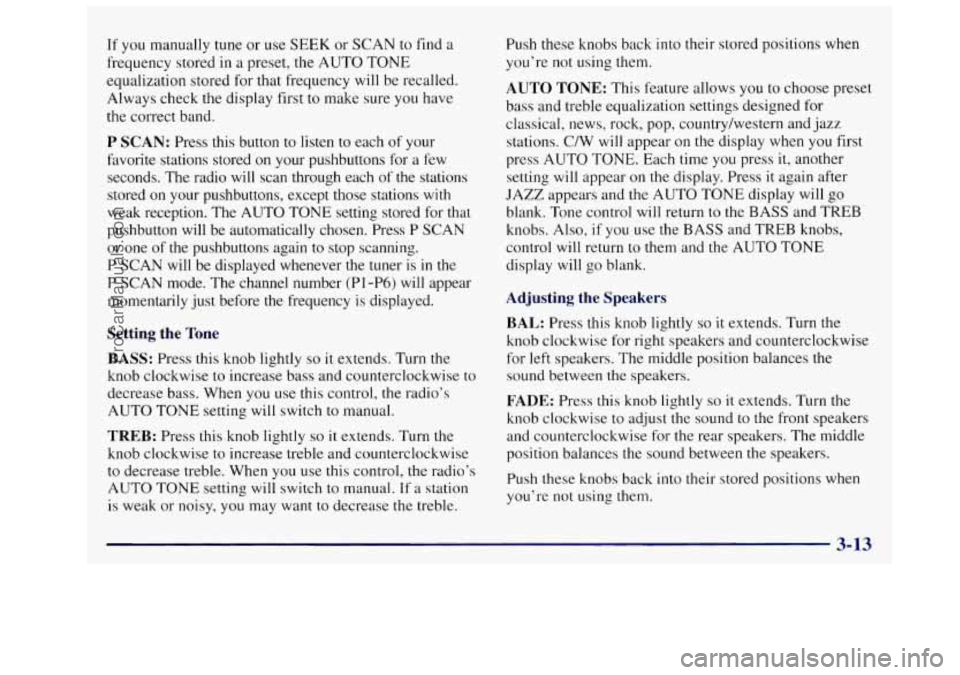
If you manually tune or use SEEK or SCAN to find a
frequency stored
in a preset, the AUTO TONE
equalization stored for that frequency will be recalled.
Always check the display first to make sure you have
the correct band.
P SCAN: Press this button to listen to each of your
favorite stations stored on your pushbuttons for
a few
seconds. The radio will scan through each of the stations
stored on your pushbuttons, except those stations with
weak reception. The AUTO TONE setting stored for that
pushbutton will be automatically chosen. Press P SCAN
or one
of the pushbuttons again to stop scanning.
P SCAN will be displayed whenever the tuner is in the
P SCAN mode. The channel number (P1 -P6) will appear
momentarily just before the frequency is displayed.
Setting the Tone
BASS:
Press this knob lightly so it extends. Turn the
knob clockwise to increase bass and counterclockwise to
decrease bass. When you use this control, the radio’s
AUTO TONE setting will switch
to manual.
TREB: Press this knob lightly so it extends. Turn the
knob clockwise to increase treble and counterclockwise
to decrease treble. When you use this control, the radio’s
AUTO
TONE setting will switch to manual. If a station
is weak or noisy, you may want
to decrease the treble. Push these knobs back into their stored
positions when
you’re not using them.
AUTO TONE: This feature allows you to choose preset
bass and treble equalization settings designed for
classical, news, rock, pop, countrylwestern and
jazz
stations. C/W will appear on the display when you first
press AUTO
TONE. Each time you press it, another
setting will appear on the display. Press
it again after
JAZZ appears and
the AUTO TONE display will go
blank. Tone control will return to the BASS and TREB
knobs. Also, if you use the BASS and TREB knobs,
control will return to them and the AUTO TONE
display will go blank.
Adjusting the Speakers
BAL:
Press this knob lightly so it extends. Turn the
knob clockwise for right speakers and counterclockwise
for left speakers. The middle position balances the
sound between the speakers.
FADE: Press this knob lightly so it extends. Turn the
knob clockwise to adjust the sound to the front speakers
and counterclockwise for the rear speakers. The middle
position balances the sound between the speakers.
Push these knobs back into their stored positions when
you’re not using them.
3-13
ProCarManuals.com
Page 209 of 436
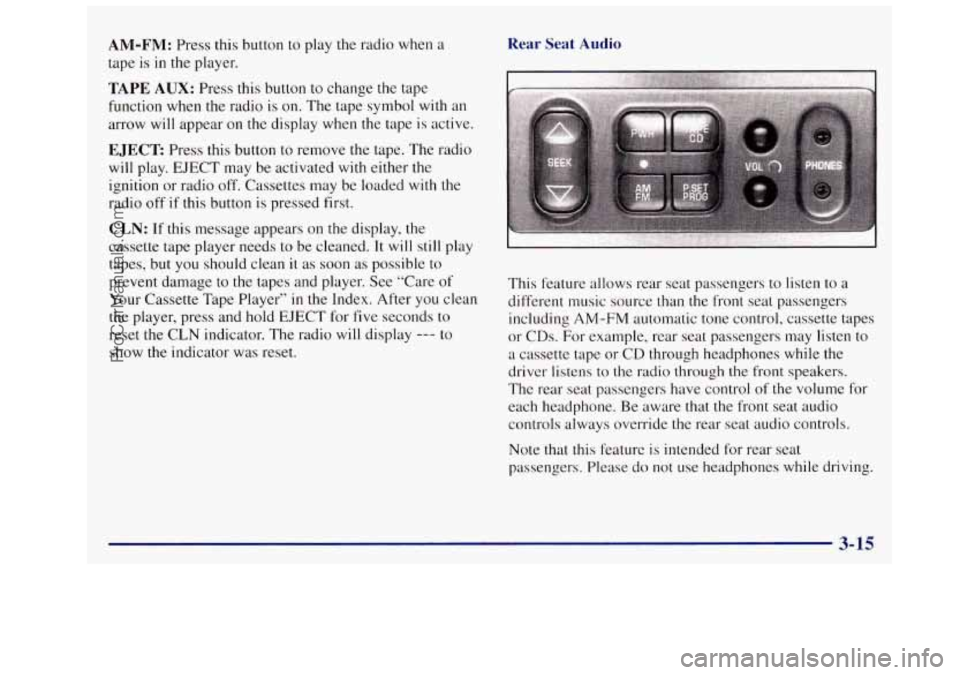
AM-FM: Press this button to play the radio when a
tape is in the player.
TAPE AUX: Press this button to change the tape
function when the radio
is on. The tape symbol with an
arrow will appear
on the display when the tape is active.
EJECT Press this button to remove the tape. The radio
will play. EJECT may be activated with either the
ignition or radio off. Cassettes may be loaded with
the
radio off if this button is pressed first.
CLN: If this message appears on the display, the
cassette tape player needs to be cleaned.
It will still play
tapes, but you should clean
it as soon as possible to
prevent damage
to the tapes and player. See “Care of
Your Cassette Tape Player” in the Index. After you clean
the player, press and hold EJECT for
five seconds to
reset the
CLN indicator. The radio will display --- to
show the indicator was reset.
Rear Seat Audio
This feature allows rear seat passengers to listen to a
different music source than the front seat passengers
including
AM-FM automatic tone control, cassette tapes
or CDs. For example, rear
seat passengers may listen to
a cassette tape or CD through headphones while the
driver listens to the radio through the front speakers.
The rear seat passengers have control
of the volume for
each headphone. Be aware that
the front seat audio
controls always override
the rear seat audio controls.
Note that this feature is intended for rear seat
passengers. Please do not use headphones while driving.
3-15
ProCarManuals.com
Page 210 of 436
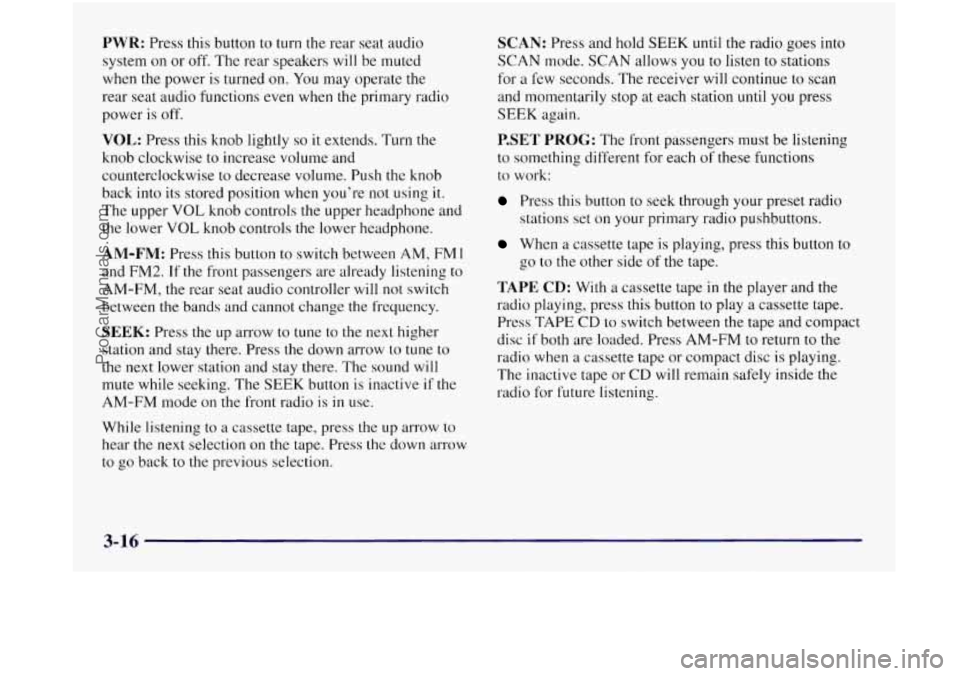
PWR: Press this button to turn the rear seat audio
system on or off. The rear speakers will be muted
when
the power is turned on. You may operate the
rear seat audio functions even when the primary radio
power
is off.
VOL: Press this knob lightly so it extends. Turn the
knob clockwise to increase volume and
counterclockwise to decrease volume. Push the knob
back into its stored position when you’re not using
it.
The upper VOL knob controls the upper headphone and
the lower
VOL knob controls the lower headphone.
AM-FM: Press this button to switch between AM, FM 1
and FM2. If the front passengers are already listening to
AM-FM, the rear seat audio controller will not switch
between
the bands and cannot change the frequency.
SEEK: Press the up arrow to tune to the next higher
station and stay there. Press the down arrow to tune
to
the next lower station and stay there. The sound will
mute while seeking. The SEEK button
is inactive if the
AM-FM mode on the front radio is
in use.
While listening
to a cassette tape, press the up arrow to
hear
the next selection on the tape. Press the down arrow
to go back to the previous selection.
SCAN: Press and hold SEEK until the radio goes into
SCAN mode. SCAN allows you
to listen to stations
for
a few seconds. The receiver will continue to scan
and momentarily stop at each station
until you press
SEEK again.
P.SET PROG: The front passengers must be listening
to something different for each
of these functions
to work:
Press this button to seek through your preset radio
stations set on your primary radio pushbuttons.
When a cassette tape is playing, press this button to
TAPE CD: With a cassette tape in the player and the
radio playing, press this button to play
a cassette tape.
Press TAPE
CD to switch between the tape and compact
disc
if both are loaded. Press AM-FM to return to the
radio when a cassette tape or compact disc is playing.
The inactive tape
or CD will remain safely inside the
radio for future listening.
go
to the other side
of the tape.
3-16
ProCarManuals.com