ECU OLDSMOBILE SILHOUETTE 2003 Owner's Manual
[x] Cancel search | Manufacturer: OLDSMOBILE, Model Year: 2003, Model line: SILHOUETTE, Model: OLDSMOBILE SILHOUETTE 2003Pages: 466, PDF Size: 21.55 MB
Page 101 of 466
If your vehicle has the power sliding door(s), you can
override the security lock by pressing either power door
lock switch when the power sliding door override
switch(es) is turned
off. When the power sliding door
override switch(es) is turned on, the power sliding
door(s) cannot be opened from the inside when the
sliding door security lock is in use.
If you want to open the sliding door when the security
lock is on, unlock and open the door from the outside.
You should let adults and older children know how
the security lock works, and how to cancel the lock.
If you don’t, adults or older children who ride in the rear
won’t be able to open the sliding door from the inside
when the security lock feature is in use.
Canceling the Sliding Door
Security Lock
1. Unlock the sliding door and open the door from
2. Push the security lock lever all the way down.
the
outside.
3. Close the door.
4. Repeat Steps 1 through 3 for the other door.
The sliding door lock will now work normally.
Power Sliding Door (PSD)
If your vehicle has this feature, you can open and close
the sliding door(s) using the switches inside of your
vehicle. You can also operate the power sliding door(s)
with your remote keyless entry transmitter. See
Remote
Keyless Entry System on page
2-5.
Leaving your children or pets unattended in
your vehicle can be dangerous. They could
operate the power sliding door.
A child or
others could be injured. Do not leave children
or pets unattended in your vehicle.
To help avoid accidental operation of the sliding door(s),
press the part of the power sliding door override
switch(es) with the don’t symbol.
2-1 6
Page 106 of 466
Resetting the Power Sliding Door
The power sliding door may operate incorrectly or not
at all because of the following conditions:
e A low voltage or dead battery,
disconnecting the battery, or
if the instrument panel PWR/HEATED SEAT PSD
fuse or the underhood fuse 8,
27 or 29 are
removed or blown.
See
Fuses and Circuit Breakers on page 5-96 for more
information about your fuse panel.
If any of these conditions occur, the power sliding door
will need to be reset.
If your vehicle has the dual
power sliding doors, both doors will have to be reset.
To do this:
1. Check to be sure the power sliding door is unlocked
2. Turn the ignition key to OFF.
3. !f en, t~rrn the pnwer slidin? door override switch off.
and securely closed.
4. Remove fuse 29 from the underhood fuse block.
Leave
it out for 30 seconds.
5. Reinstall the fuse and wait 10 seconds.
6. Turn the power sliding door override switch on.
7. Press either of the power door lock switches to open
the power sliding door.
8. Open the door all of the way.
9. Wait five seconds and close the door by pressing
either power door lock switch.
IO. Wait five seconds and repeat Steps 7 through 9.
If the door does not rest in the fully open position
after repeating Step
7, repeat Steps 7 through 9 again.
If the door still does not operate correctly, see your
dealer for service.
2-2 1
Page 112 of 466
Theft-Deterrent Systems While armed, the doors will not unlock with the power
door lock switch.
Vehicle theft is big business, especially in some cities.
Although your vehicle has a number of theft-deterrent Once
armed, the alarm will go
off if someone tries to
enter the vehicle (without using the remote keyless entry
features, we know that nothing we put on it can make it
transmitter or a key) or turns the ignition to ON. The
impossible to steal. horn will sound and the parking lamps will flash for up to
Content Theft-Deterrent
Your vehicle may have a theft-deterrent alarm system. two minutes.
When
the alarm is armed, the liftgate may be opened
with the remote keyless entry transmitter or with a key.
Arming with the Power Lock Switch
Your alarm system will arm when you use either power
door lock switch to lock the doors while any door or the
liftgate is open and the key is removed from the ignition.
If you would like to turn on power door lock switch arming,
see
Vehicle Personalization on page 2-62.
When the security light flashes quickly the system is
ready to arm with the power door lock switches.
Then the security light will stop flashing and stay on
when you press the rear of the power door lock switch,
and the liftgate are closed and locked, the security light
will begin flashing at a very slow rate to let you know
the system is armed.
tc ]et ;‘cs k~s;~i the syste~ is srm.jnn 3- ‘ Aftnr .‘--. E!! &mrs
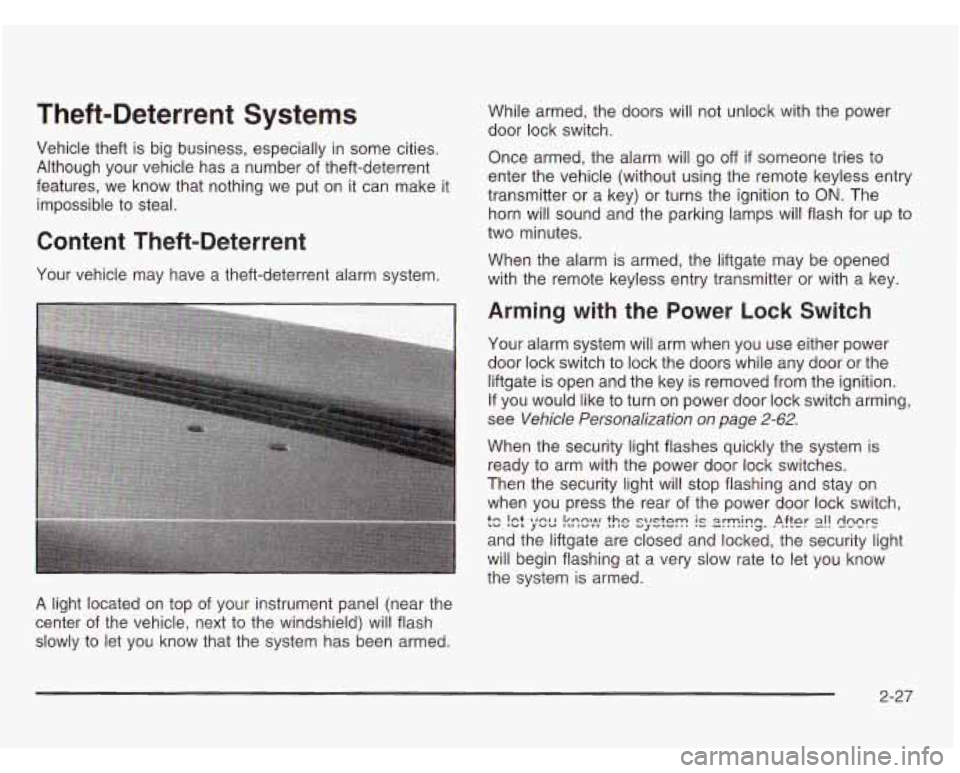
A light located on top of your instrument panel (near the
center of the vehicle, next to the windshield) will flash
slowly to let you know that the system has been armed.
2-27
Page 113 of 466
Arming with the Remote Keyless Entry
Transmitter
Your alarm system will arm when you use your remote
keyless entry transmitter
to lock the doors, if the key
is not in the ignition. The security light will turn on to let
you know the system is arming. After all doors and
the liftgate are closed and locked, the security light will
begin flashing at a very slow rate
to let you know
the system is armed.
Arming with Your Key
Your alarm system will arm when you use your key to
lock the doors. The security light will turn on to let
you know the system is arming. After all doors and the
liftgate are closed and locked, the security light will
begin flashing at a very slow rate
to let you know the
system is armed. If you would like your key not
to
arm the system, see Vehicle Personalization on
page 2-62.
Arming Confirmation
If remote unlock confirmation is on, your parking lamps
will flash briefly
to let you know when your alarm system
has disarmed. If you would not like the parking lamps
to
flash, see Vehicle Personalization on page 2-62.
Disarming with the Remote Keyless
Entry Transmitter
Your alarm system will disarm when you use your
remote keyless entry transmitter to unlock the doors.
The security light will stop flashing
to let you know the
system is no longer armed.
Disarming with Your Key
Your alarm system will disarm when you use your key to
unlock the doors. The security light will stop flashing to let
you know the system is no longer armed. If you would like
your key not
to disarm the alarm system, see Vehicle
Personalization on page 2-62.
2-28
Page 115 of 466

PASS-Key@ 111 Operation
Your vehicle is equipped
with the PASS-Key@
Ill
(Personalized Automotive
Security System)
theft-deterrent system.
PASS-Key@
Ill is a passive
theft deterrent system.
This means you don’t have
to do anything different
to arm or disarm the
system.
It works when you
insert
or remove the key
from the ignition.
When the PASS-Key@
Ill system senses that someone
is using the wrong key, it shuts down the vehicle’s
starter and fuel systems. The starter will not work and
fuel will stop being delivered to the engine. Anyone
using a trial-and-error method
to start the vehicle will be
discouraged because of the high number of electrical
key codes.
If the engine does not start and the security message
comes on, the key may have a damaged transponder.
Turn the ignition
off and try again.
If the engine still does not start, and the key appears to
be undamaged, try another ignition key. At this time,
you may also want
to check the instrument panel PASS
KEY fuse.
If the engine still does not start with the
other key, your vehicle needs service.
If your vehicle
does start, the first key may be faulty. See your dealer or
a locksmith who can service the PASS-Key@ Ill to
have a new key made. See Fuses and Circuit Breakers
on page 5-96.
It is possible for the PASS-Key@ Ill decoder to learn
the transponder value of a new or replacement key.
Up
to 10 additional keys may be programmed for
the vehicle. This procedure is for learning additional
keys only.
If all the currently programmed keys are lost
or do not operate, you must see your dealer or a
locksmith who can service PASS-Key@
Ill to have keys
made and programmed to the system.
See your dealer or a locksmith who can service
PASS-Key@
Ill to get a new key blank that is cut
exactly as the ignition key that operates the system.
2-30
Page 116 of 466

Canadian Owners: If you lose or damage your keys,
only a
GM dealer can service PASS-Key@ Ill to have
new keys made.
To program additional keys you
will need two current driver’s keys (black in color).
You must add a step to the following procedure.
After Step
3 repeat Steps 1 through 3 with the second
current driver’s key. Then continue with Step
4.
To program the new key:
1. Verify the new key has PK3 stamped on it.
2. Insert the ignition key in the ignition and start the
engine. If the engine will not start see your dealer
for service.
3. After the engine has started, turn the key to OFF
and remove the key.
4. Insert the key to be programmed and turn it to RUN
within
10 seconds of removing the previous key.
5. The security message will turn off once the key has
been programmed. It may not be apparent that the
security message went on due to how quickly
the key is programmed.
6. Repeat Steps 1 through 4 if additional keys are to
be programmed.
If you are ever driving and the security message comes
on and stays on, you will be able to restart your
engine
if you turn it off. Your PASS-Key@ Ill system,
however, is not working properly and must be serviced
by your dealer. Your vehicle is not protected by the
PASS-Key@
Ill system at this time.
If you lose or damage a PASS-Key@ Ill key, see your
dealer or a locksmith who can service PASS-Key@
Ill to
have a new key made.
2-3
1
Page 132 of 466
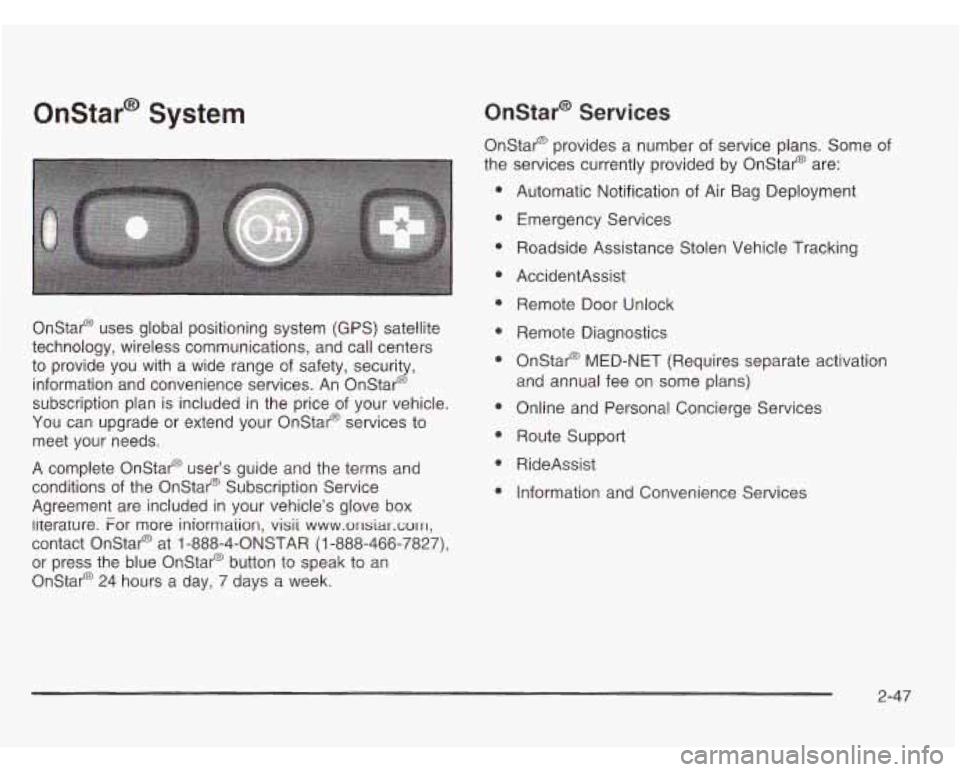
Onstar@ System Onstar@ Services
Onstar@ Drovides a number of service plans. Some of
the services currently provided by OnStap are:
e
Onstar@ uses global positioning system (GPS) satellite
technology, wireless communications, and call centers
to provide you with a wide range
of safety, security,
information and convenience services. An Onstar@
subscription plan is included in the price of your vehicle.
You can upgrade or extend your Onstar@ services to
meet your needs.
A complete OnStap user’s guide and the terms and
conditions
of the Onstar@ Subscription Service
Agreement are included
in your vehicle’s glove box
iiterature. For more iniormaiion, visii
www.msiar.cwrl,
contact Onstar@ at 1 -888-4-ONSTAR (1 -888-466-7827),
or press the blue Onstar@ button to speak to an
Onstar@ 24 hours a day, 7 days a week. Automatic Notification
of Air Bag Deployment
Emergency Services
Roadside Assistance Stolen Vehicle Tracking
AccidentAssist Remote Door Unlock
Remote Diagnostics
Onstar@ MED-NET (Requires separate activation
and annual fee on some plans)
Online and Personal Concierge Services
Route Support
RideAssist
Information and Convenience Services
2-47
Page 134 of 466
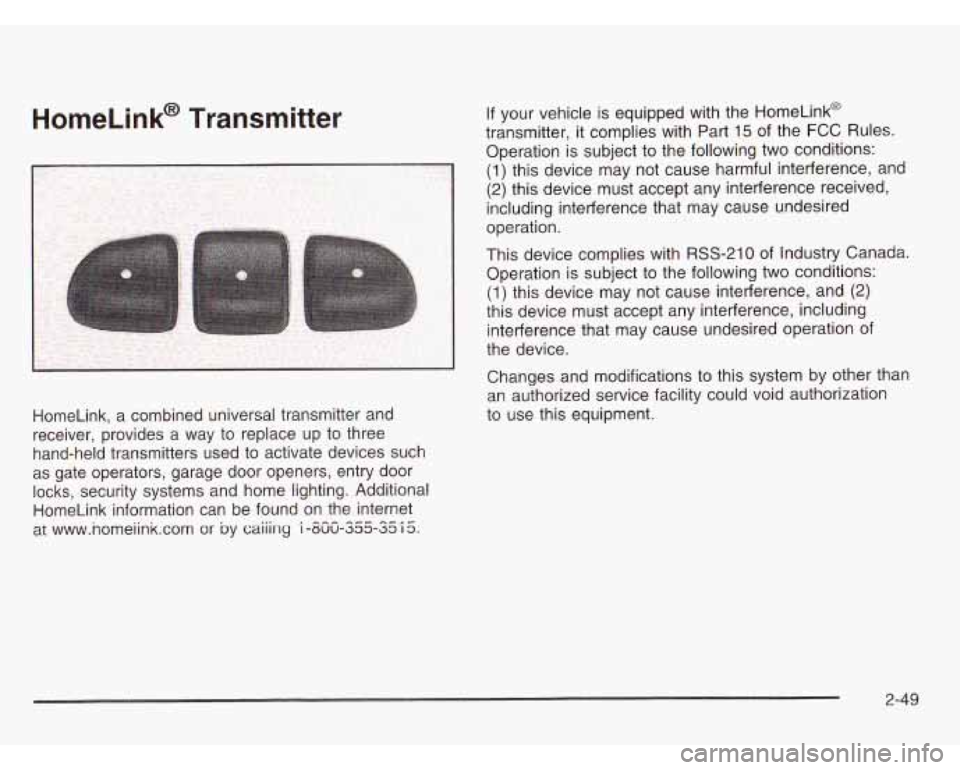
HomeLink, a combined universal transmitter and
receiver, provides a way to replace up to three
hand-held transmitters used to activate devices such
as gate operators, garage door openers, entry door
locks, security systems and home lighting. Additional
HomeLink information can be found on the internet
at www.nomeiink.com
or by caiiing i -uuu-333-~3 I 3. --- --A-
an authorized service facility could void authorization
to use this equipment.
2-49
Page 135 of 466
Programming the HomeLink
Transmitter
Do not use the HomeLink@ Transmitter with any garage
door opener that does not have the “stop and reverse”
feature. This includes any garage door opener model
manufactured before April
1, 1982.
Keep the original transmitter for use in other vehicles as
well as for future HomeLink@ programming. It is also
recommended that upon the sale of the vehicle,
the programmed HomeLink@ buttons should be erased
for security purposes. Refer to “Erasing HomeLink@
Buttons” or, for assistance, contact HomeLink@ on
the internet at: www.homelink.com or by calling
Be sure that people and objects are clear of the garage
door or gate operator you are programming. When
programming a garage door, it is advised to park outside
of the garage.
It is recommended that a new battery be installed in
your hand-held transmitter for quicker and more
accurate transmission of the radio frequency.
1-800-355-351
5. Your
vehicle’s engine should be turned
off while
programming the transmitter. Follow these steps to
program up to three channels:
1. Press and hold down the two outside buttons,
releasing only when the indicator light begins to
flash, after 20 seconds.
Do not hold down the
buttons for longer than 30 seconds and do not
repeat this step to program a second and/or third
transmitter to the remaining
two HomeLink@ buttons.
2. Position the end of your hand-held transmitter about
1 to 3 inches (3 to
8 cm) away from the HomeLink@
buttons while keeping the indicator light in view.
3. Simultaneously press and hold both the desired
button on HomeLink@ and the hand-held transmitter
button.
Do not release the buttons until Step 4
has been completed.
Some entry gates and garage door openers may
require you to substitute Step 3 with the procedure
noted in “Gate Operator and Canadian
Programming” later in this section.
4. The indicator light will flash slowly at first and then
rapidly after HomeLink@ successfully receives the
frequency signal from the hand-held transmitter.
Release both buttons.
2-50
Page 139 of 466
Storage Areas
Your vehicle's large carrying capacity can store many
items.
If you have the extended wheelbase version, you
can carry things as large as a
4' x 8' piece of plywood.
You can also use the floor pins that are used to
attach the seats, to secure larger loads.
Glove Box
Your vehicle has a glove box below the instrument
panel.
To open the glove box, lift the latch release.
The glove box door has a detent to prevent the door
from lowering too far. Open the glove box until the door
is partway open, then pull the door down if you need
it fully open. To close the glove box, the door must
be pushed up past the detent.
Cupholder(s)
There are cupholders located below the center
instrument panel switchbank. The cupholders have a
removable liner for larger size cups and for cleaning
the cupholders.
To use the cupholders, simply pull out the tray.
Keep the tray stowed in when not in use. Your
vehicle also has cupholders on the bottom inboard
side of the second row driver's side captain's chairs
and the seatbacks have cupholders that can be
used when the seatbacks are folded forward.
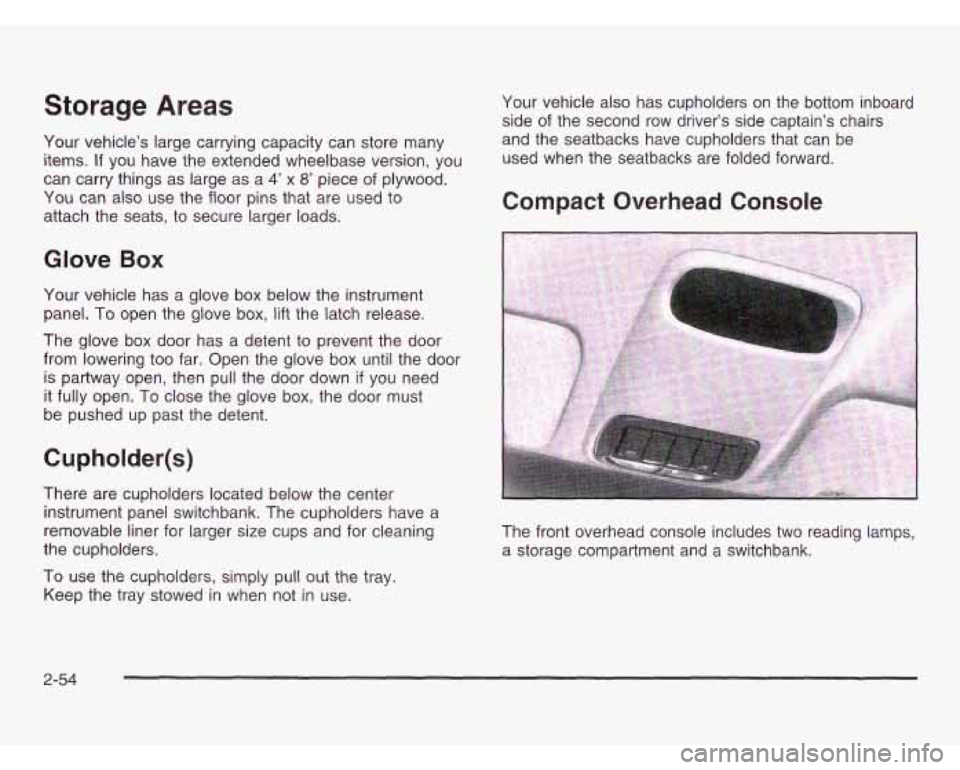
Compact Overhead Console
The front overhead console includes two reading lamps,
a storage compartment and a switchbank.
2-54