ECU OLDSMOBILE SILHOUETTE 2003 Owner's Guide
[x] Cancel search | Manufacturer: OLDSMOBILE, Model Year: 2003, Model line: SILHOUETTE, Model: OLDSMOBILE SILHOUETTE 2003Pages: 466, PDF Size: 21.55 MB
Page 142 of 466
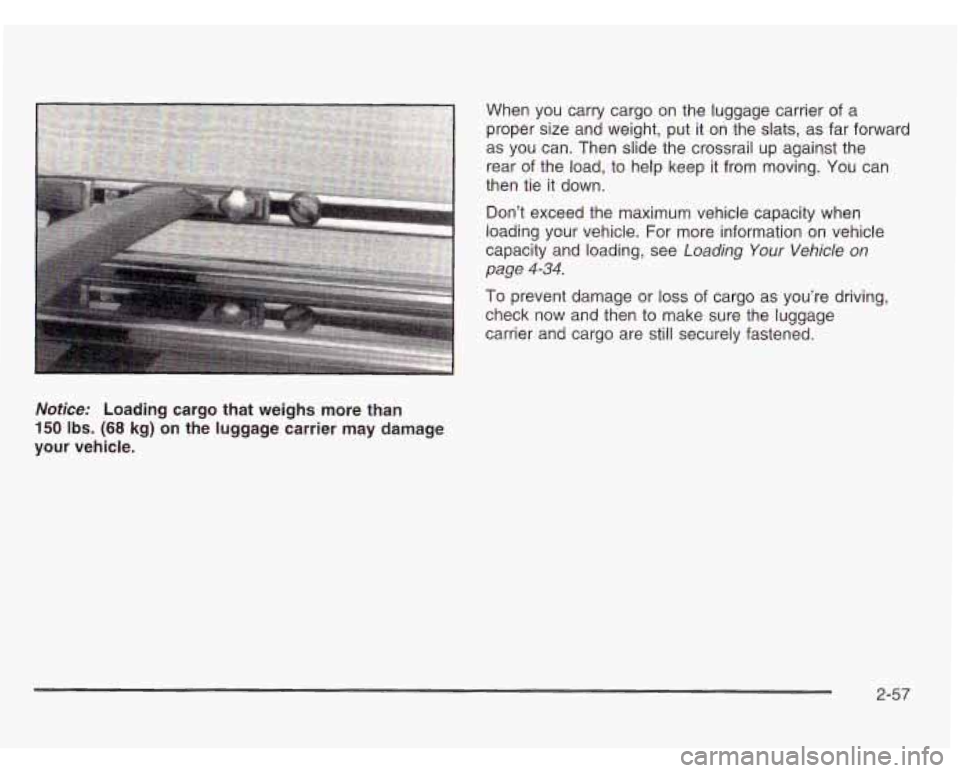
When you carry cargo on the luggage carrier of a
proper size and weight, put it on the slats, as far fowa
as you can. Then slide the crossrail up against the
rear of the load, to help keep it from moving. You can
then tie it down.
Don’t exceed the maximum vehicle capacity when
loading your vehicle. For more information on vehicle
capacity and loading, see
Loading Your Vehicle on
page
4-34.
To prevent damage or loss of cargo as you’re driving,
check now and then to make sure the luggage
carrier and cargo are still securely fastened. .rd
Notice: Loading
cargo that weighs more than
150 Ibs. (68 kg) on the luggage carrier may damage
your vehicle.
2-57
Page 145 of 466
Convenience Center
If a.., removable convenience item isn’t
secured properly, it can move around in a
collision or sudden stop. People in the vehicle
could be injured. Be sure to secure any such
item properly.
Your vehicle may have a convenience center. It comes
with the stowable seat. It provides extra storage
space for the rear of the vehicle.
To open the convenience center, pull up on the door latch
located
in the front. The convenience center cover has
two automatic prop rods to hold it up and in place.
To close the convenience center cover you must pull
one of the prop rod linkages toward you while holding
onto the door latch and lower the convenience
center cover to close it.
Removing the Convenience Center
1. Make sure that all items are off of the convenience
2. Turn the hand knob counterclockwise until the knob
3. Lift up on the hand knob to grab a hold of the
4. Lift up on the convenience center while pulling it
center and that it is
empty.
is loose.
convenience center.
toward you and pull it out.
Replacing the Convenience Center
1. Make sure the stowable seat is properly installed in
the vehicle. See
Stowable Seat on page 1-78 for
more information. If the stowable seat is not in
the vehicle with the convenience center, the
convenience center will not be locked into the
correct position in the vehicle.
2. Make sure that the convenience center is closed.
3. Lift the convenience center up and into the rear
of the vehicle.
2-60
Page 155 of 466
Arming and Disarming the Content
Theft-Deterrent System
To arm or disarm the content theft-deterrent system,
the system must be turned on by using Modes
1, 2 or 4
listed previously.
This feature allows you to customize the arming and
disarming of the content-theft deterrent system.
Programmable Modes
Mode 1: Power Door Lock Switch Arming Off
The system will arm when you lock the doors
with your key or remote keyless entry transmitter.
The key must be removed from the ignition
when you lock the doors or the content
theft-deterrent system will not arm.
The system will disarm when you unlock the doors
with your key or remote keyless entry transmitter.
Mode
2: Remote Keyless Entry Transmitter
Arm/Disarm Only
0 The system will arm when you lock the doors with
your remote keyless entry transmitter. The key
must be removed from the ignition when you lock
the doors or the content theft-deterrent system
will not arm.
0 The system will disarm when you unlock the doors
with your remote keyless entry transmitter. While
this mode provides increased security, it can be
a problem
if your remote keyless entry transmitter
is damaged, lost
or if it fails to operate for any reason
while the content theft-deterrent system is armed.
The content theft-deterrent system must be disarmed
for the engine to run while in Mode
2; your key can
no longer disarm the system.
If your vehicle is equipped with the Onstar@ system,
Onstar@ will not be able to remotely unlock your vehicle
if it has been programmed to Mode 2.
Mode 3: Standard Arming and Disarming
0
0
0
The system will arm when you lock the doors using
either power door lock switch while any door or the
liftgate is open and the key is removed from the
ignition.
The system will arm when you lock the doors with
your key or remote keyless entry transmitter and
the key is removed from the ignition.
The system will disarm when you unlock the doors
with your key or remote keyless entry transmitter.
2-70
Page 158 of 466
Section 3 Instrument Panel
Instrument Panel Overview ........................... 3.4
Hazard Warning Flashers
............................ 3.6
Other Warning Devices
............................... 3.6
Horn
............................................................. 3.7
Tilt Wheel
..................................................... 3-7
Turn SignaVMultifunction Lever
......................... 3.7
Exterior Lamps
............................................. 3.14
Interior Lamps
.............................................. 3.17
Switchbanks
................................................. 3.21
Instrument Panel Switchbank
.......................... 3-21
Overhead Console Switchbank
....................... 3.21
Ultrasonic Rear Parking Assist (URPA)
............ 3.22
Accessory Power Outlets
............................... 3.24
Climate Controls
............................................ 3.25
Climate Control System
................................. 3.25
Dual Climate Control System
.......................... 3.28
Rear Climate Control System
Rear Climate Control System (With Entertainment System)
...................... -3-34
Passenger Compartment Air Filter
................... 3.37
Warning Lights, Gages and Indicators
............. 3.39
Instrument Panel Cluster
................................ 3.40
Outlet Adjustment
......................................... 3.31
ilAlM-.nr I+ lZmtnwtq;n-mnt Ctrctnm \VUiLllWUL LIIL~ILUIIiIII~.. . Vy~L~..., .... ....... " "L 4-49
Speedometer and Odometer ........................... 3.41 Safety
Belt Reminder Light
............................. 3.42
Air Bag Readiness Light
................................ 3-43
Brake System Warning Light
.......................... 3-44
Anti-Lock Brake System Warning Light
............. 3-45
Traction Control System (TCS) Warning Light
...... 3-46
Engine Coolant Temperature Gage
.................. 3-47
Malfunction Indicator Lamp
............................. 3-47
Fuel Gage
................................................... 3-51
Message Center
............................................. 3-52
Service Traction System Warning Message
...... 3-52
Traction Active Message
................................ 3-53
Engine Coolant Temperature Warning
Message
.................................................. 3-53
Charging System Indicator Message
................ 3-54
Low Oil Pressure Message
............................ 3-54
Low Engine Oil Level Message
....................... 3-55
Change Engine Oil Message
.......................... 3-56
Power Sliding Door Warning Message
............. 3-56
Rear Hatch Ajar Warning Message
.................. 3-58
PASS-Key@
I II Security Message ................... -3-58
All-Wheel Drive Disable Warning Message
....... 3-59
Low Fuel Warning Message
........................... 3-59
Driver Information Center (DIC)
....................... 3-60
Eee: P, jar '!!s:n?!g !!esss;e .......................... ... Iz-c;7 v .
3- 1
Page 181 of 466
Accessory Power Outlets
With accessory power outlets you can plug in electrical equipment such as
a cellular telephone or CB radio.
The front accessory power outlet is located below
the cupholder drawer.
Pull the cover down to use the accessory power outlet.
When not in use, keep the cover on.
The rear accessory power outlet is located in the rear
compartment on the driver’s side next to the air
inflator system.
To remove the cover, pull the tab on the cover and
pull it
off. To put the cover back on, line up the tabs at
the back of the cover and put the cover
in place.
Push down the tab to secure the cover. When not in
use, always cover the rear accessory power outlet with
the protective cap.
Notice: When using an accessory power outlet,
maximum electrical load must not exceed
20 amps.
Always turn
off any electrical equipment when
not
in use. Leaving electrical equipment on for
extended periods will drain your battery. Certain electrical
accessories may not be compatible
with the accessory power outlet and could result
in blown vehicle or adapter fuses. If you experience
a
problem see your dealer for additional information
on accessory power outlets.
Notice: Adding some electrical equipment to your
vehicle can damage
it or keep other things from
working as they should. This wouldn’t be covered
by your warranty. Check with your dealer before
adding electrical equipment, and never use anything
that exceeds the amperage rating.
When adding electrical equipment, be sure to follow
the proper installation instructions included with
the equipment.
Notice: Power outlets are designed for accessory
plugs only.
Do not hang any type of accessory
or accessory bracket from the plug. Improper use
of the power outlet can cause damage not covered
by your warranty.
3-24
Page 215 of 466
Rear Hatch Ajar Warning Message
77
REAR
HATCH
AJAR
I I
United States
I
Canada
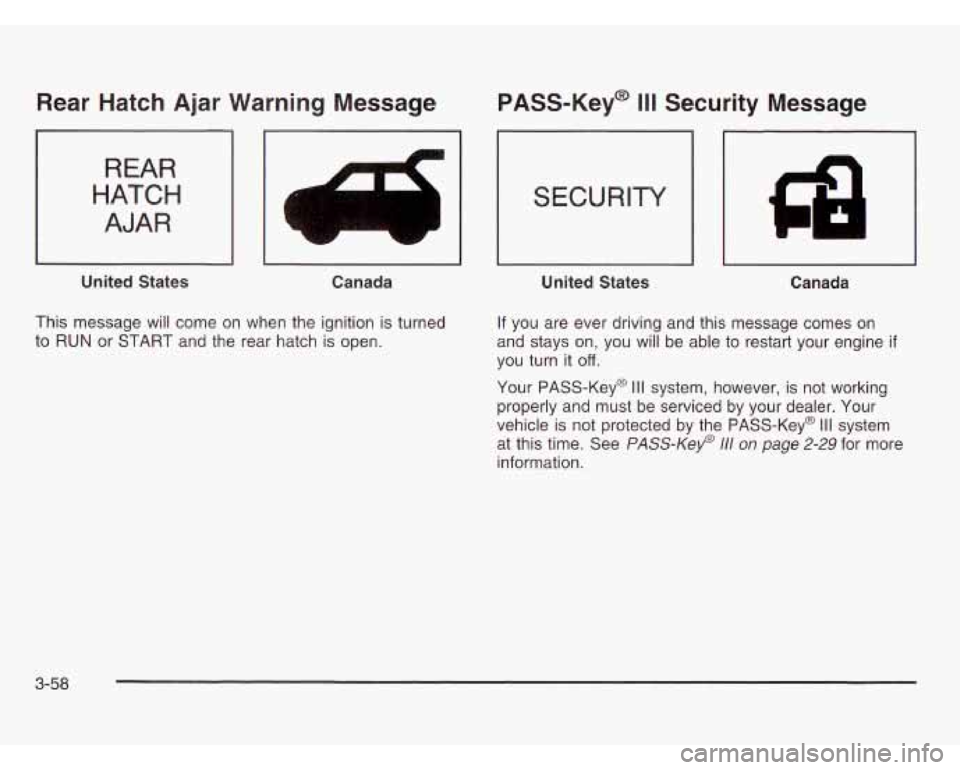
This message will come on when the ignition is turned
to
RUN or START and the rear hatch is open.
PASS-Key@ 111 Security Message
SECURITY
Ga
I I I I
United States Canada
If you are ever driving and this message comes on
and stays on, you will be able to restart your engine
if
you turn it off.
Your PASS-Key@ Ill system, however, is not working
properly and must be serviced
by your dealer. Your
vehicle
is not protected by the PASS-Key@ Ill system
at this time. See
PASS-Key@ 111 on page 2-29 for more
information.
3-58
Page 289 of 466
Winter Driving Include an ice scraper, a small brush or broom, a
supply of windshield washer fluid, a rag, some winter
outer clothing, a small shovel, a flashlight, a red cloth
and a couple
of reflective warning triangles. And, if you
will be driving under severe conditions, include a
small bag
of sand, a piece of old carpet or a couple of
burlap bags to help provide traction. Be sure you
properly secure these items in your vehicle.
Driving on Snow or Ice
Most of the time, those places where your tires meet
the road probably have good traction.
However,
if there is snow or ice between your tires
and the road, you can have a very slippery situation.
You’ll have a lot less traction or “grip” and will need to be
very careful.
Here are some tips for winter driving:
Have your vehicle in good shape for winter.
You may want to put winter emergency supplies in
your vehicle.
4-26
Page 298 of 466
If you put things inside your vehicle - like suitcases,
tools, packages, or anything else
- they will go as fast
as the vehicle goes.
If you have to stop or turn
quickly, or
if there is a crash, they'll keep going.
Things you put inside your vehicle can strike
and injure people in a sudden stop or turn,
or
in a crash.
Put things in the cargo area of your
vehicle.
Try to spread the weight evenly.
Never stack heavier things, like suitcases,
inside the vehicle
so that some of them
are above the tops
of the seats.
Don't leave an unsecured child restraint
in your vehicle.
0 When you carry something inside the
vehicle, secure
it whenever you can.
i3on.i ieave a seai ioiciea ciown uniess
you need to.
Automatic Level Control
On vehicles equipped with the automatic level control,
the rear of the vehicle is automatically kept level as you
load or unload your vehicle. However, you should still
not exceed the GVWR or the GAWR.
If the engine is running or the ignition key is in
ACCESSORY or when Retained Accessory Power (RAP)
is active, you may hear the compressor operating when
you load or unload your vehicle, and periodically as the
system self-adjusts. This is normal. See "Retained
Accessory Power" under
Ignition Positions on page 2-32.
The compressor should operate for brief periods of time.
If the sound continues for an extended period of
time, your vehicle needs service.
Using heavier suspension components to get added
durability might not change your weight ratings. Ask your
dealer to help you load your vehicle the right away.
4-35
Page 304 of 466
rowing a trailer requires a certain amount of experience.
Before setting out for the open road, you’ll want to get
to know your rig. Acquaint yourself with the feel of
handling and braking with the added weight of the trailer.
And always keep in mind that the vehicle you are
driving is now a good deal longer and not nearly as
responsive as your vehicle is by itself.
Before you start, check the trailer hitch and platform
(and attachments), safety chains, electrical connector,
lamps, tires and mirror adjustment. If the trailer has
electric brakes, start your vehicle and trailer moving and
then apply the trailer brake controller by hand to be
sure the brakes are working. This lets you check your
electrical connection at the same time.
During your trip, check occasionally to be sure that the
load is secure, and that the lamps and any trailer
brakes are still working.
Following Distance
Stay at least twice as far behind the vehicle ahead as
you would when driving your vehicle without a trailer.
This can help you avoid situations that require
heavy braking and sudden turns.
Passing
You’ll need more passing distance up ahead when
you’re towing a trailer. And, because you’re a good deal
longer, you’ll need to go much farther beyond the
passed vehicle before you can return to your lane.
Backing Up
Hold the bottom of the steering wheel with one hand.
Then, to move the trailer to the left, just move that hand
to the left. To move the trailer to the right, move your
hand to the right. Always back up slowly and,
if possible,
have someone guide you.
Making Turns
Notice: Making very sharp turns while trailering
could cause the trailer
to come in contact with
the vehicle. Your vehicle could be damaged.
Avoid making very sharp turns while trailering.
When you’re turning with a trailer, make wider turns than
normal.
Do this so your trailer won’t strike soft shoulders;
curbs, road signs, trees or other objects. Avoid jerky or
sudden maneuvers. Signal well
in advance.
4-41
Page 326 of 466
Engine Air CleanedFilter
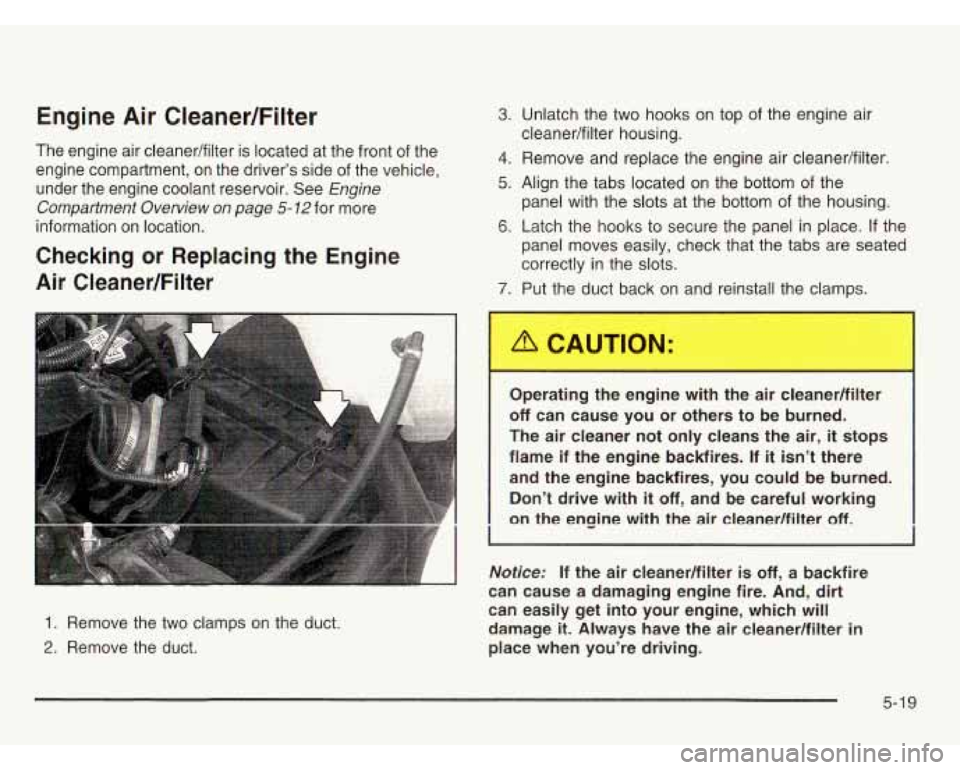
The engine air cleaner/filter is located at the front of the
engine compartment,
on the driver’s side of the vehicle,
under the engine coolant reservoir. See
Engine
Compartment Overview
on page 5- 72 for more
information on location.
Checking or Replacing the Engine
Air Cleaner/Filter
3. Unlatch the two hooks on top of the engine air
4. Remove and replace the engine air cleaner/filter.
5. Align the tabs located on the bottom of the
panel with the slots at the bottom of the housing.
6. Latch the hooks to secure the panel in place. If the
panel moves easily, check that the tabs are seated
correctly in the slots.
cleaner/filter housing.
7. Put the
duct back on and reinstall the clamps.
1. Remove the two clamps on the duct.
2. Remove the duct. Operating the engine with the air cleaner/filter
off can cause you or others to be burned.
The air cleaner not only cleans the air,
it stops
flame if the engine backfires.
If it isn’t there
and the engine backfires, you could be burned. Don’t drive with
it off, and be careful working
on the engine with the
air cleaner/filter off.
I
Notice: If the air cleanedfilter is off, a backfire
can cause a damaging engine fire. And, dirt
can easily get into your engine, which will
damage it. Always have the air cleanedfilter in
place when you’re driving.
5-1 9