Peugeot 308 2016 Owner's Manual
Manufacturer: PEUGEOT, Model Year: 2016, Model line: 308, Model: Peugeot 308 2016Pages: 398, PDF Size: 9.38 MB
Page 211 of 398
209
308_en_Chap06_conduite_ed02-2015
Under-inflation detection
the system monitors the pressures in the
f our t yres, once the vehicle is moving.
It compares the information given by the four
wheel speed sensors with reference values,
which must be reinitialised ever y time the
tyre pressures are adjusted or a wheel
changed .
the s
ystem triggers an alert as soon as it
detects a drop in the inflation pressure of one
or more tyres.the u nder-inflation detection system
does not replace the need for vigilance
on the part of the driver.
thi
s system does not avoid the need to
check the tyre pressures (including the
spare wheel) every month as well as
before a long journey.
Driving with under-inflated tyres impairs
road holding, extends braking distances
and causes premature tyre wear,
particularly under arduous condition
(high loading, high speed, long journey).
System which automatically checks the pressures of the tyres while driving.the i
nflation pressures defined for
your vehicle can be found on the tyre
pressure label.
For more information on the
identification markings, refer to the
corresponding section.
tyr
e pressures should be checked
when the tyres are "cold" (vehicle
stopped for 1 hour or after a journey of
less than 6 miles (10 km) at moderate
speeds).
Other wise (when hot), add 0.3 bar to
the pressures shown on the label.
Driving with under-inflated tyres
increases fuel consumption.
Snow chains
the system does not have to be
r einitialised after fitting or removing
snow chains.
6
Driving
Page 212 of 398
210
308_en_Chap06_conduite_ed02-2015
Under-inflation alertReinitialisation
Before reinitialising the system, ensure
that the pressures of the four tyres are
correct for the use of the vehicle and in
line with the recommendations on the
tyre pressure label.
the u
nder-inflation alert can only be
relied on if the reinitialisation of the
system has done with the pressures in
the four tyres correctly adjusted.
the u
nder-inflation detection system
does not give a warning if a pressure is
incorrect at the time of reinitialisation.
thi
s is given by fixed illumination of
this warning lamp, accompanied by
an audible signal and, depending on
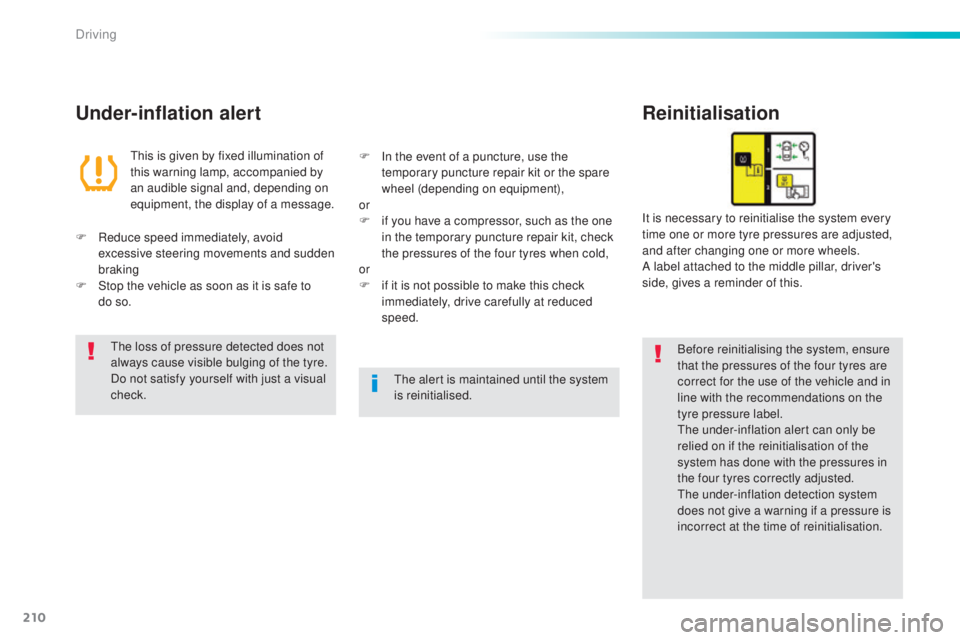
equipment, the display of a message. It is necessary to reinitialise the system every
time one or more tyre pressures are adjusted,
and after changing one or more wheels.
A label attached to the middle pillar, driver's
side, gives a reminder of this.
F
Red
uce speed immediately, avoid
excessive steering movements and sudden
braking
F
St
op the vehicle as soon as it is safe to
do
s
o. F
In t
he event of a puncture, use the
temporary puncture repair kit or the spare
wheel (depending on equipment),
or
F
if y
ou have a compressor, such as the one
in the temporary puncture repair kit, check
the pressures of the four tyres when cold,
or
F
if i
t is not possible to make this check
immediately, drive carefully at reduced
speed.the l
oss of pressure detected does not
always cause visible bulging of the tyre.
Do not satisfy yourself with just a visual
check.
the a
lert is maintained until the system
is reinitialised.
Driving
Page 213 of 398
211
308_en_Chap06_conduite_ed02-2015
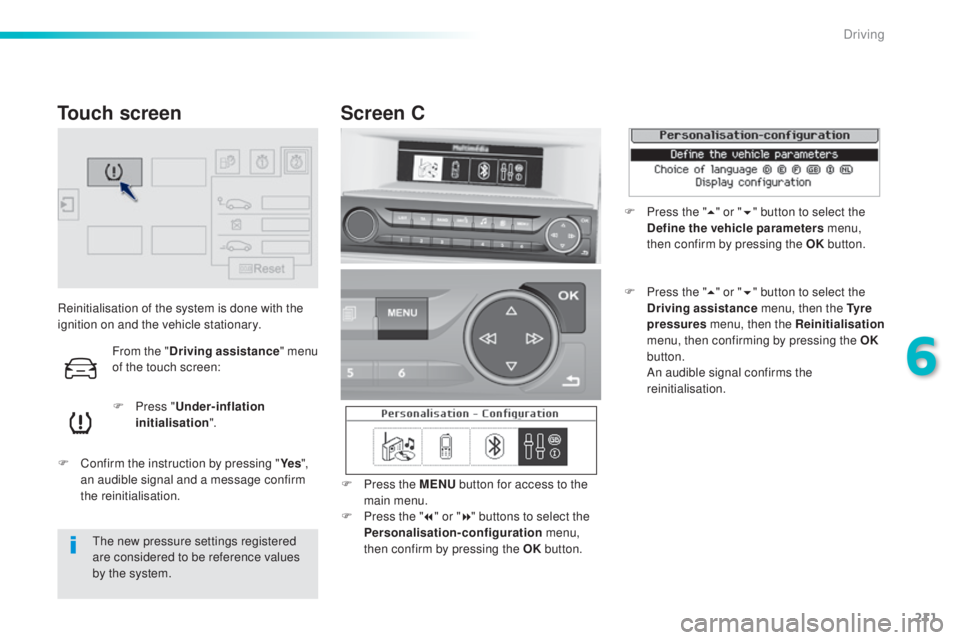
Reinitialisation of the system is done with the
ignition on and the vehicle stationary.F
Pr
ess "Under-inflation
initialisation ".
F
Co
nfirm the instruction by pressing " Ye s",
an audible signal and a message confirm
the reinitialisation.
Touch screen
the new pressure settings registered
a re considered to be reference values
by the system.
Screen C
F Press the MENU b utton for access to the
main menu.
F
Pr
ess the " 7" or " 8" buttons to select the
Personalisation-configuration menu,
then confirm by pressing the OK button.
From the "Driving assistance " menu
of the touch screen:
F Press the " 5" o r "6 " button to select the
Define the vehicle parameters menu,
then confirm by pressing the OK button.
F
Pr
ess the " 5" or " 6" button to select the
Driving assistance menu, then the Ty r e
pressures menu, then the Reinitialisation
menu, then confirming by pressing the OK
button.
An a
udible signal confirms the
reinitialisation.
6
Driving
Page 214 of 398
212
308_en_Chap06_conduite_ed02-2015
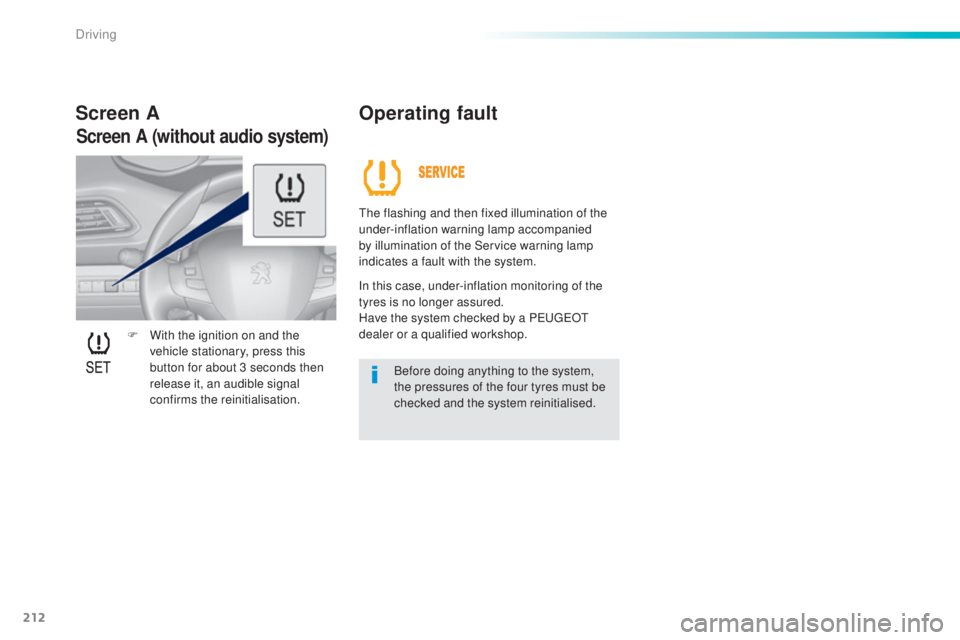
F With the ignition on and the
vehicle stationary, press this
button for about 3 seconds then
release it, an audible signal
confirms the reinitialisation.
Screen A Operating fault
the flashing and then fixed illumination of the
u nder-inflation warning lamp accompanied
by illumination of the Service warning lamp
indicates a fault with the system.
In this case, under-inflation monitoring of the
tyres is no longer assured.
Have the system checked by a P
eu
ge
Ot
d
ealer or a qualified workshop. Before doing anything to the system,
the pressures of the four tyres must be
checked and the system reinitialised.
Screen A (without audio system)
Driving
Page 215 of 398
213
308_en_Chap07_info-pratiques_ed02-2015
Fuel tank
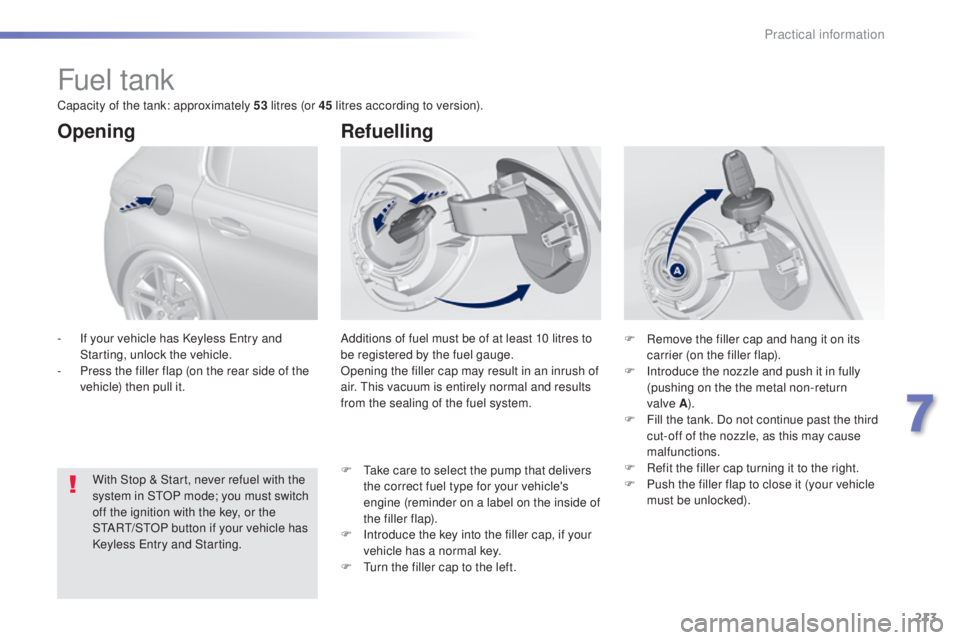
Additions of fuel must be of at least 10 litres to
be registered by the fuel gauge.
Opening the filler cap may result in an inrush of
air.
thi
s vacuum is entirely normal and results
from the sealing of the fuel system.
Opening
With Stop & Start, never refuel with the
system in StOP m ode; you must switch
off the ignition with the key, or the
S
tARt/StOP b
utton if your vehicle has
Keyless
ent
ry and Starting.
-
If y
our vehicle has Keyless
ent
ry and
Starting, unlock the vehicle.
-
Pr
ess the filler flap (on the rear side of the
vehicle) then pull it.
Refuelling
F Remove the filler cap and hang it on its
c arrier (on the filler flap).
F
In
troduce the nozzle and push it in fully
(pushing on the the metal non-return
valve
A ).
F Fi
ll the tank. Do not continue past the third
cut-off of the nozzle, as this may cause
malfunctions.
F
Re
fit the filler cap turning it to the right.
F
Pu
sh the filler flap to close it (your vehicle
must be unlocked).
F
t
ak
e care to select the pump that delivers
the correct fuel type for your vehicle's
engine (reminder on a label on the inside of
the filler flap).
F
In
troduce the key into the filler cap, if your
vehicle has a normal key.
F
t
ur
n the filler cap to the left.
Capacity of the tank: approximately 53
litres (or 45 litres according to version).
7
Practical information
Page 216 of 398
214
308_en_Chap07_info-pratiques_ed02-2015
Low fuel level
When the low fuel level in the tank is
reached, this warning lamp comes on
in the instrument panel, accompanied
by an audible warning and a message.
Fuel supply cut-off
Your vehicle is equipped with a safety device
which cuts off the fuel supply in the event of a
collision. When it first comes on, less than 10 litres of
fuel remain in the tank.
You must refuel as soon as possible to avoid
running out.If you have put in the wrong fuel for
your vehicle, you must have have
the tank drained and refilled with
the correct fuel before you star t the
engine.
Your vehicle is fitted with a catalytic converter,
a device which helps to reduce the level of
harmful emissions in the exhaust gases.
For petrol engines, you must use unleaded
fuel only.
the f
iller neck is narrower, admitting petrol
nozzles only. It is still possible to use a fuel can to fill
the tank but this must be done slowly.
In order to ensure a good flow of fuel,
do not place the nozzle of the fuel can
in direct contact with the flap of the
misfuel prevention device.
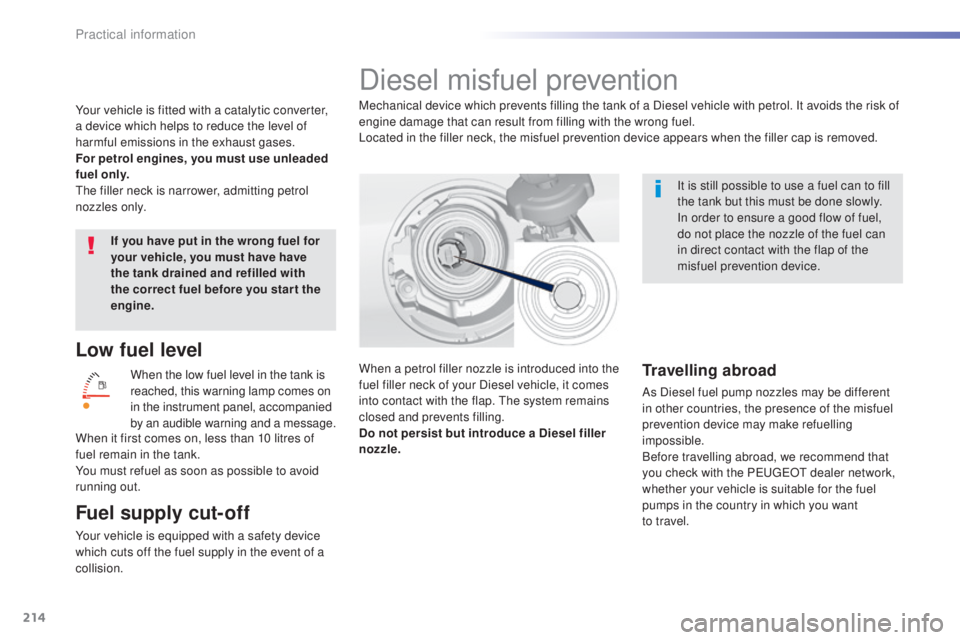
Diesel misfuel prevention
Mechanical device which prevents filling the tank of a Diesel vehicle with petrol. It avoids the risk of
engine damage that can result from filling with the wrong fuel.
Located in the filler neck, the misfuel prevention device appears when the filler cap is removed.
When a petrol filler nozzle is introduced into the
fuel filler neck of your Diesel vehicle, it comes
into contact with the flap.
the s
ystem remains
closed and prevents filling.
Do not persist but introduce a Diesel filler
nozzle.
Travelling abroad
As Diesel fuel pump nozzles may be different
in other countries, the presence of the misfuel
prevention device may make refuelling
impossible.
Before travelling abroad, we recommend that
you check with the P
eu
ge
Ot d
ealer network,
whether your vehicle is suitable for the fuel
pumps in the country in which you want
to
t
ravel.
Practical information
Page 217 of 398
215
308_en_Chap07_info-pratiques_ed02-2015
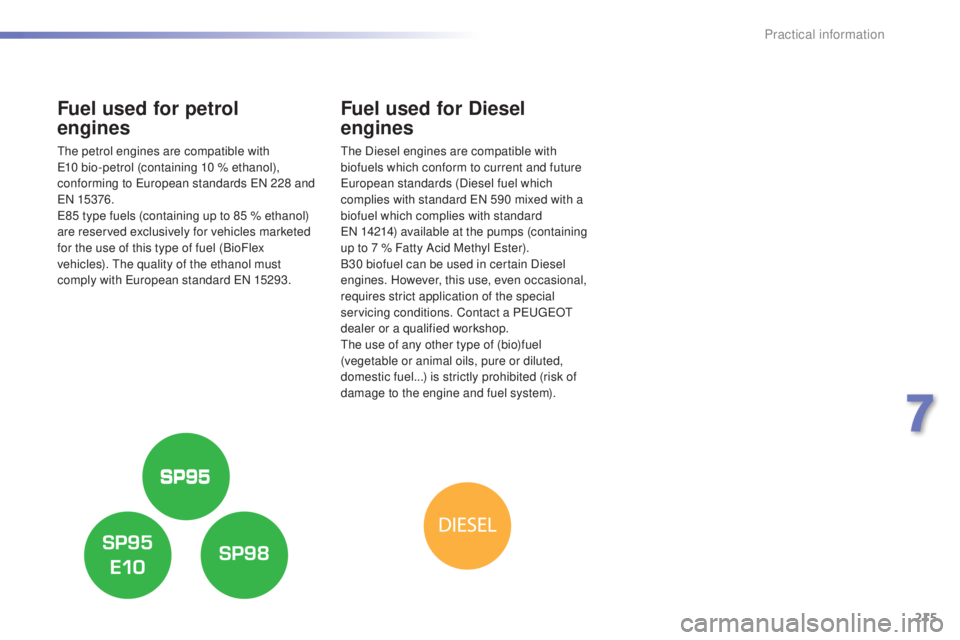
Fuel used for petrol
engines
the petrol engines are compatible with e10 bio-petrol (containing 10 % ethanol),
conforming to
eur
opean standards
eN 22
8 and
eN 1
5376.
e85 t
ype fuels (containing up to 85 % ethanol)
are reserved exclusively for vehicles marketed
for the use of this type of fuel (BioFlex
vehicles).
the q
uality of the ethanol must
comply with
eur
opean standard
eN 15
293.
Fuel used for Diesel
engines
the Diesel engines are compatible with
b iofuels which conform to current and future
eur
opean standards (Diesel fuel which
complies with standard
eN 59
0 mixed with a
biofuel which complies with standard
eN 14
214) available at the pumps (containing
up to 7 % Fatty Acid Methyl
est
er).
B30 biofuel can be used in certain Diesel
engines. However, this use, even occasional,
requires strict application of the special
servicing conditions. Contact a P
eu
ge
Ot
d
ealer or a qualified workshop.
the u
se of any other type of (bio)fuel
(vegetable or animal oils, pure or diluted,
domestic fuel...) is strictly prohibited (risk of
damage to the engine and fuel system).
7
Practical information
Page 218 of 398
216
308_en_Chap07_info-pratiques_ed02-2015
Snow chains
In wintry conditions, snow chains improve traction as well as the behaviour of the vehicle
when braking.
the s
now chains must be fitted only
to the front wheels.
the
y must never
be fitted to "space-saver" type spare
wheels.
tak
e account of the legislation in force
in your country on the use of snow
chains and the maximum running speed
authorised.
Avoid driving with snow chains on roads
that have been cleared of snow, to
avoid damaging your vehicle's tyres and
the road sur face. If your vehicle is fitted
with alloy wheels, check that no part of
the chain or its fixings is in contact with
the wheel rim.
use o
nly the chains designed to be fitted to the
type of wheel fitted to your vehicle:
You can also use snow socks.
For more information on snow chains, contact a
P
eu
ge
Ot d
ealer or a qualified workshop.
Advice on installation
F If you have to fit the chains during a
journey, stop the vehicle on a flat sur face
on the side of the road.
F
Ap
ply the parking brake and position any
wheel chocks to prevent movement of
your
v
ehicle.
F
Fit
the chains following the instructions
provided by the manufacturer.
F
Mov
e off gently and drive for a few
moments, without exceeding 30 mph
(50
k
m/h).
F
St
op your vehicle and check that the snow
chains are correctly tightened.
Original tyre size
typ
e of chain.
195/65 R15 9 mm links
205/55 R16
2 2 5 /4 5 R17
225/40 R18 K-Summit K23
235/35 R19 Michelin
eas
ygrip
L1 2 *
It is strongly recommended that before
you leave, you practise fitting the snow
chains on a level and dry sur face.
*
exc
ept Italy and Austria.
Practical information
Page 219 of 398
217
308_en_Chap07_info-pratiques_ed02-2015
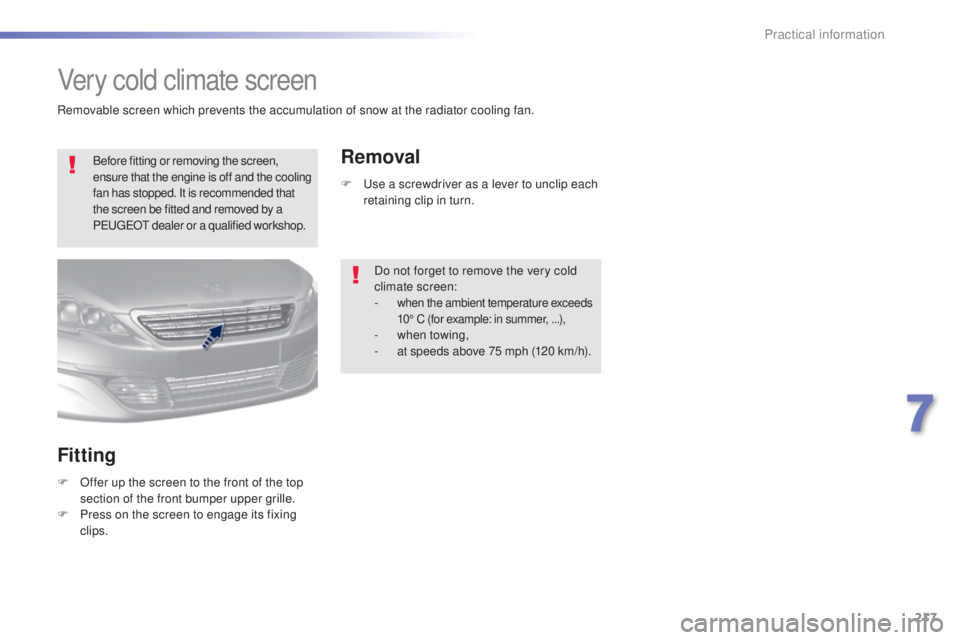
Very cold climate screen
Before fitting or removing the screen,
ensure that the engine is off and the cooling
fan has stopped. It is recommended that
the screen be fitted and removed by a
P
eu
ge
Ot d
ealer or a qualified workshop.
Fitting
F Offer up the screen to the front of the top
section of the front bumper upper grille.
F
Pr
ess on the screen to engage its fixing
clips.
Removal
F use a screwdriver as a lever to unclip each
r etaining clip in turn.
Do not forget to remove the very cold
climate screen:
-
when the ambient temperature exceeds
10° C (for example: in summer, . ..),
- when towing,
- at s peeds above 75 mph (120 km/h).
Removable screen which prevents the accumulation of snow at the radiator cooling fan.
7
Practical information
Page 220 of 398
218
308_en_Chap07_info-pratiques_ed02-2015
towing a trailer
We recommend the use of genuine
PeugeOt t owbars and their harnesses
that have been tested and approved
from the design stage of your vehicle,
and that the fitting of the towbar is
entrusted to a P
eu
ge
Ot d
ealer or a
qualified workshop.
If the towbar is not fitted by a
P
eu
ge
Ot d
ealer, it must still be
fitted in accordance with the vehicle
manufacturer's instructions.
Your vehicle is primarily designed for
transporting people and luggage, but it may
also be used for towing a trailer.
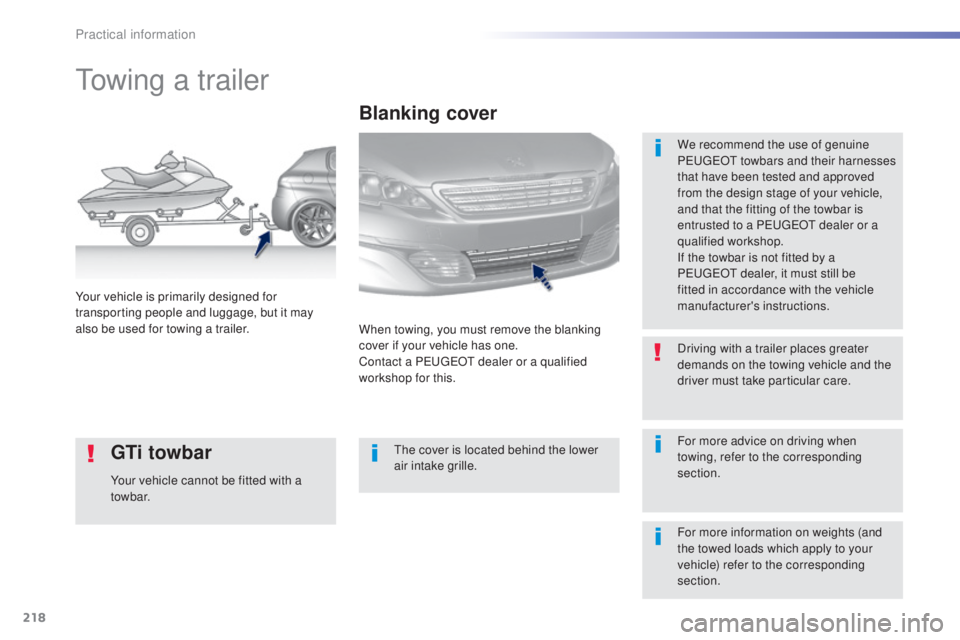
Blanking cover
When towing, you must remove the blanking
cover if your vehicle has one.
Contact a P
eu
ge
Ot d
ealer or a qualified
workshop for this. Driving with a trailer places greater
demands on the towing vehicle and the
driver must take particular care.
the c
over is located behind the lower
air intake grille.
For more information on weights (and
the towed loads which apply to your
vehicle) refer to the corresponding
section.
GTi towbar
Your vehicle cannot be fitted with a
towbar. For more advice on driving when
towing, refer to the corresponding
section.
Practical information