light Peugeot 308 CC 2013.5 - RHD (UK, Australia) User Guide
[x] Cancel search | Manufacturer: PEUGEOT, Model Year: 2013.5, Model line: 308 CC, Model: Peugeot 308 CC 2013.5Pages: 268, PDF Size: 16.54 MB
Page 29 of 268
1
27
MONITORING
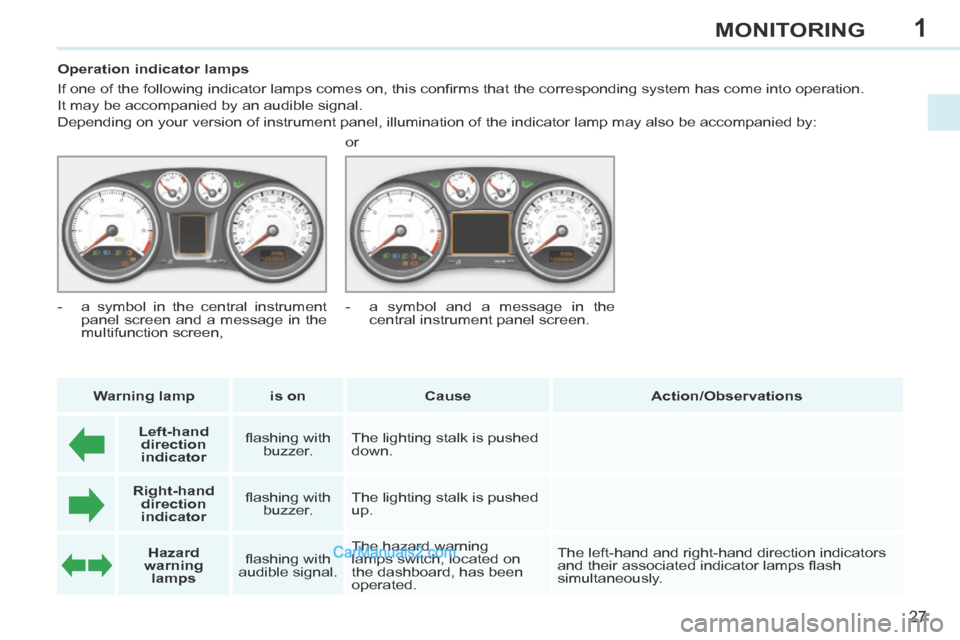
Operation indicator lamps
If one of the following indicator lamps comes on, this confi rms that the corresponding system has come into operation.
It may be accompanied by an audible signal.
Depending on your version of instrument panel, illumination of the indic\
ator lamp may also be accompanied by: Warning lamp is on Cause Action/Observations
Left-hand
direction
indicato r fl ashing with
buzzer. The lighting stalk is pushed
down.
Right-hand
direction
indicator fl ashing with
buzzer. The lighting stalk is pushed
up.
Hazard
warning lamps fl ashing with
audible signal. The hazard warning
lamps switch, located on
the dashboard, has been
operated. The left-hand and right-hand direction indicators
and their associated indicator lamps fl ash
simultaneously.
- a symbol in the central instrument
panel screen and a message in the
multifunction screen, or
- a symbol and a message in the
central instrument panel screen.
Page 30 of 268
1
28
MONITORING
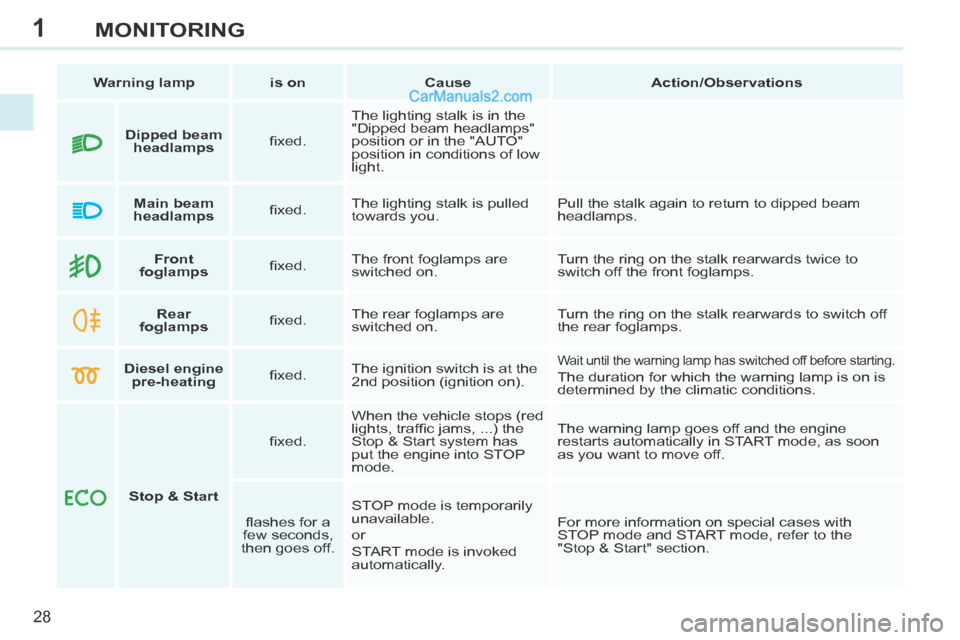
Warning lamp is on Cause Action/Observations
Front
foglamps fi xed. The front foglamps are
switched on. Turn the ring on the stalk rearwards twice to
switch off the front foglamps.
Rear
foglamps fi xed. The rear foglamps are
switched on. Turn the ring on the stalk rearwards to switch off
the rear foglamps.
Diesel engine
pre-heating fi xed. The ignition switch is at the
2nd position (ignition on).
Wait until the warning lamp has switched off before starting.
The duration for which the warning lamp is on is
determined by the climatic conditions.
Stop & Start fi xed.
When the vehicle stops (red
lights, traffi c jams, ...) the
Stop & Start system has
put the engine into STOP
mode. The warning lamp goes off and the engine
restarts automatically in START mode, as soon
as you want to move off.
fl ashes for a
few seconds,
then goes off. STOP mode is temporarily
unavailable.
or
START mode is invoked
automatically. For more information on special cases with
STOP mode and START mode, refer to the
"Stop & Start" section.
Dipped beam
headlamps fi xed. The lighting stalk is in the
"Dipped beam headlamps"
position or in the "AUTO"
position in conditions of low
light.
Main beam
headlamps fi xed. The lighting stalk is pulled
towards you. Pull the stalk again to return to dipped beam
headlamps.
Page 38 of 268
1
36
MONITORING
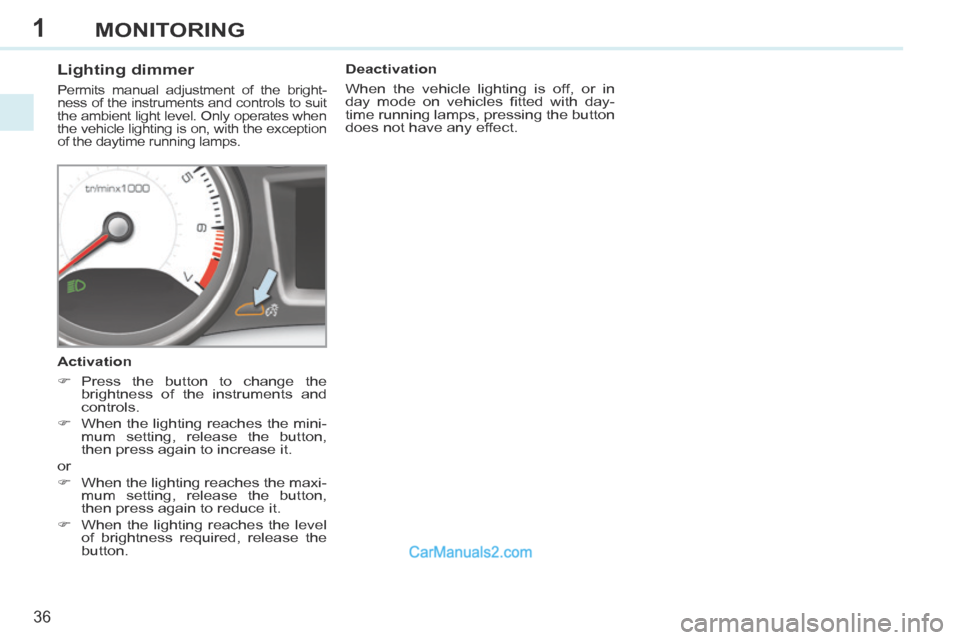
Lighting dimmer
Permits manual adjustment of the bright-
ness of the instruments and controls to suit
the ambient light level. Only operates when
the vehicle lighting is on, with the exception
of the daytime running lamps.
Activation
Press the button to change the brightness of the instruments and
controls.
When the lighting reaches the mini- mum setting, release the button,
then press again to increase it.
or
When the lighting reaches the maxi- mum setting, release the button,
then press again to reduce it.
When the lighting reaches the level of brightness required, release the
button. Deactivation
When the vehicle lighting is off, or in
day mode on vehicles fi tted with day-
time running lamps, pressing the button
does not have any effect.
Page 42 of 268
2
40
MULTIFUNCTION SCREENS
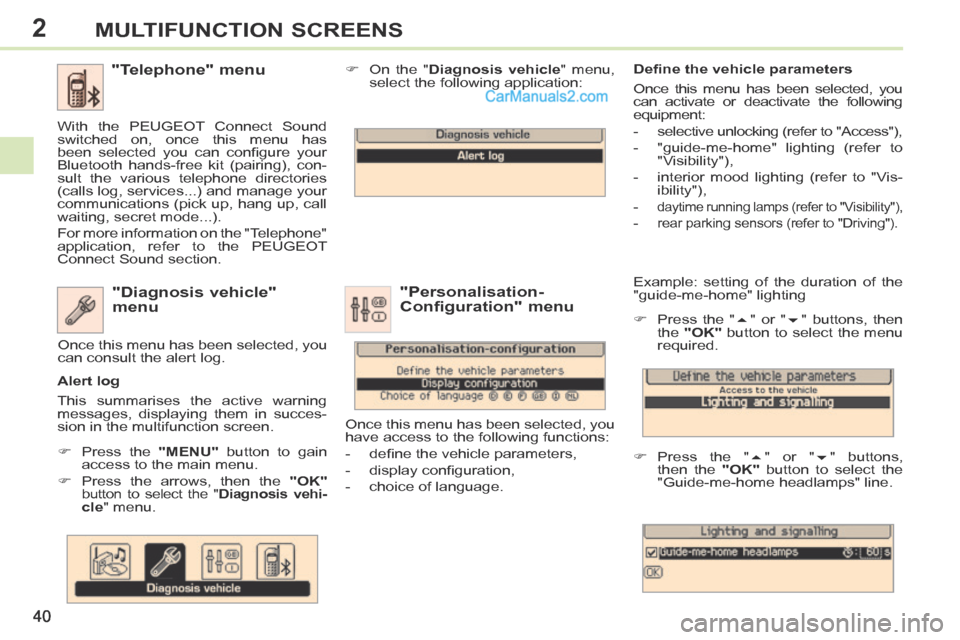
Example: setting of the duration of the
"guide-me-home" lighting
Press the " " or " " buttons, then
the "OK" button to select the menu
required.
Press the " " or " " buttons,
then the "OK" button to select the
"Guide-me-home headlamps" line. "Diagnosis vehicle"
menu
Press the "MENU" button to gain
access to the main menu.
Press the arrows, then the "OK"
button to select the " Diagnosis vehi-cle " menu. On the "
Diagnosis vehicle " menu,
select the following application:
Alert log
This summarises the active warning
messages, displaying them in succes-
sion in the multifunction screen. Once this menu has been selected, you
can consult the alert log.
Defi ne the vehicle parameters
Once this menu has been selected, you
can activate or deactivate the following
equipment:
- selective unlocking (refer to "Access"),
- "guide-me-home" lighting (refer to
"Visibility"),
- interior mood lighting (refer to "Vis- ibility"),
-
daytime running lamps (refer to "Visibility"),
- rear parking sensors (refer to "Driving").
"Personalisation-
Configuration" menu
Once this menu has been selected, you
have access to the following functions:
- defi ne the vehicle parameters,
- display confi guration,
- choice of language.
"Telephone" menu
With the PEUGEOT Connect Sound
switched on, once this menu has
been selected you can confi gure your
Bluetooth hands-free kit (pairing), con-
sult the various telephone directories
(calls log, services...) and manage your
communications (pick up, hang up, call
waiting, secret mode...).
For more information on the "Telephone"
application, refer to the PEUGEOT
Connect Sound section.
Page 45 of 268
2
i
!
43
MULTIFUNCTION SCREENS
Display confi guration
This menu is used to select the colour
scheme for the screen, adjust its bright-
ness, set the date and time and select
the units for distance (km or miles),
fuel consumption (l/100 km, mpg or
km/l) and temperature (°Celsius or
°Fahrenheit).
Voice synthesiser
This menu is used to set the volume for
navigation instructions and to select the
type of voice (male or female).
Choice of language
This menu allows you to select the
language used by the screen: French,
English, Italian, Portuguese, Spanish,
German, Dutch, Turkish, Polish,
Russian). Vehicle settings *
This menu is used to activate or deacti-
vate certain driving and comfort equip-
ment, sorted by category:
- Access to the vehicle
● Plip action: "Driver's door" or "All doors".
- Parking assistance
- Rear wiper operation ● Operation of rear wiper in reverse (Rear wiper coupled to reverse;
see "Visibility"),
- Lighting confi guration (see "Visibility"):
●
Duration of guide-me-home lighting,
● Directional headlamps (Main / ad- ditional directional lighting),
● Mood lighting (Interior mood light- ing),
● Daytime running lamps ** .
Alert log
This summarises the active alerts by
displaying their associated messages
in turn.
* Depending on version.
** Depending on country of sale. When setting the time you can
select "Synchronise minutes with
GPS", so that the minutes are set
automatically by satellite reception.
Setting the date / time
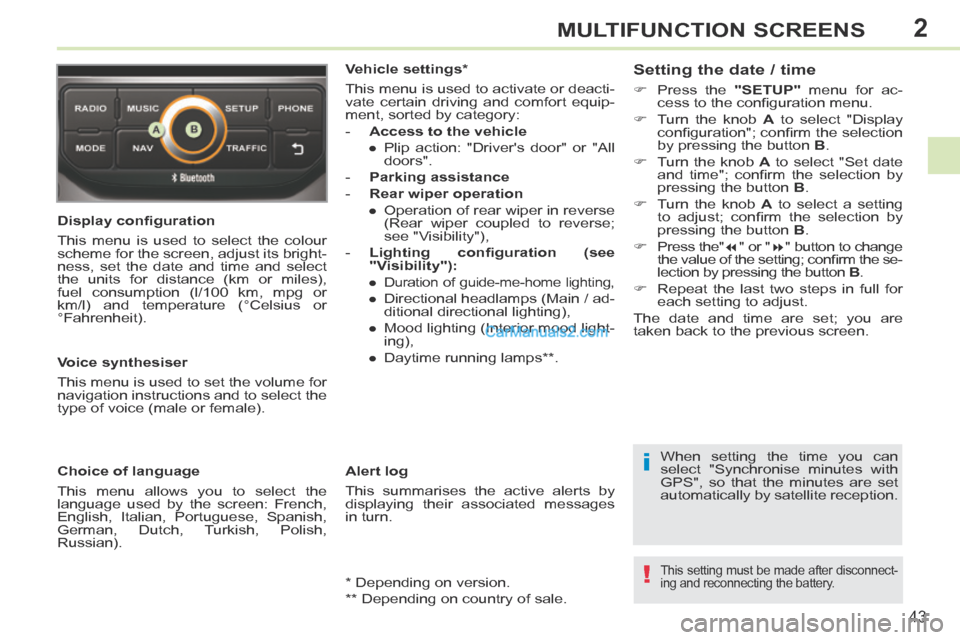
Press the
"SETUP" menu for ac-
cess to the confi guration menu.
Turn the knob A to select "Display
confi guration"; confi rm the selection
by pressing the button B .
Turn the knob A to select "Set date
and time"; confi rm the selection by
pressing the button B .
Turn the knob A to select a setting
to adjust; confi rm the selection by
pressing the button B .
Press the" " or " " button to change
the value of the setting; confi rm the se-
lection by pressing the button B .
Repeat the last two steps in full for each setting to adjust.
The date and time are set; you are
t aken back to the previous screen.
This setting must be made after disconnect-
ing and reconnecting the battery.
Page 51 of 268
3
!
i
49
COMFORT
Manual operation
If you wish, you can make a different
choice from that offered by the system
by changing a setting. The other func-
tions will still be controlled automati-
cally.
Pressing the "AUTO" button returns
the system to completely automatic
operation.
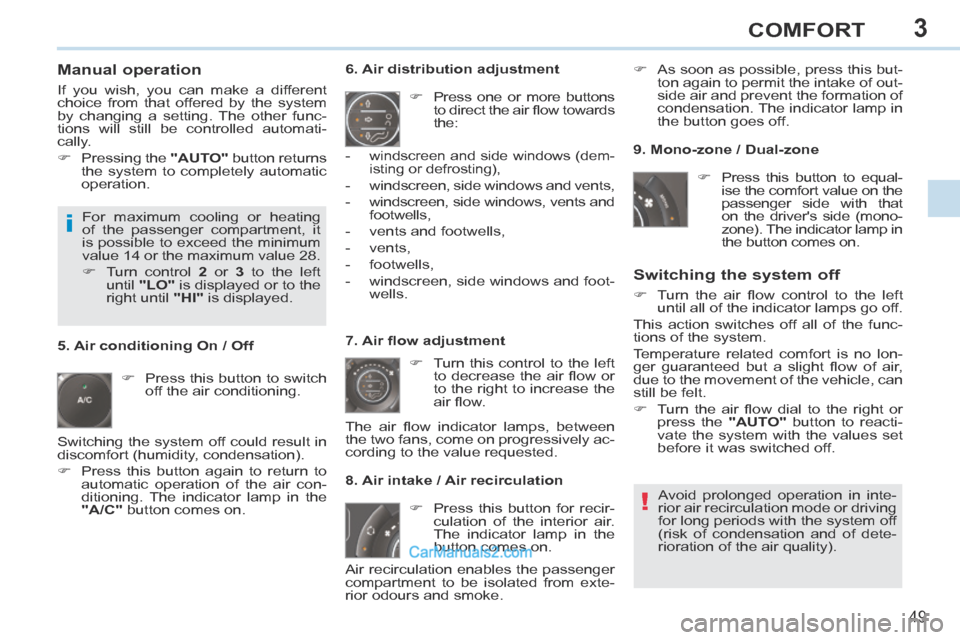
Press this button to switch off the air conditioning. 6. Air distribution adjustment
Press one or more buttons to direct the air fl ow towards
the:
7. Air fl ow adjustment Turn this control to the left to decrease the air fl ow or
to the right to increase the
air fl ow.
8. Air intake / Air recirculation
Switching the system off
Turn the air fl ow control to the left until all of the indicator lamps go off.
This action switches off all of the func-
tions of the system.
Temperature related comfort is no lon-
ger guaranteed but a slight fl ow of air,
due to the movement of the vehicle, can
still be felt.
Turn the air fl ow dial to the right or press the "AUTO" button to reacti-
vate the system with the values set
before it was switched off.
Press this button for recir- culation of the interior air.
The indicator lamp in the
button comes on.
5. Air conditioning On / Off
Avoid prolonged operation in inte-
rior air recirculation mode or driving
for long periods with the system off
(risk of condensation and of dete-
rioration of the air quality).
-
windscreen and side windows (dem-
isting or defrosting),
- windscreen, side windows and vents,
- windscreen, side windows, vents and
footwells,
- vents and footwells,
- vents,
- footwells,
- windscreen, side windows and foot- wells.
The air fl ow indicator lamps, between
the two fans, come on progressively ac-
cording to the value requested. As soon as possible, press this but-
ton again to permit the intake of out-
side air and prevent the formation of
condensation. The indicator lamp in
the button goes off.
For maximum cooling or heating
of the passenger compartment, it
is possible to exceed the minimum
value 14 or the maximum value 28.
Turn control 2 or 3 to the left
until "LO" is displayed or to the
right until "HI" is displayed. 9. Mono-zone / Dual-zone
Press this button to equal-ise the comfort value on the
passenger side with that
on the driver's side (mono-
zone). The indicator lamp in
the button comes on.
Air recirculation enables the passenger
compartment to be isolated from exte-
rior odours and smoke.
Switching the system off could result in
discomfort (humidity, condensation).
Press this button again to return to
automatic operation of the air con-
ditioning. The indicator lamp in the
"A/C" button comes on.
Page 62 of 268
3
!
i
!
60
COMFORT
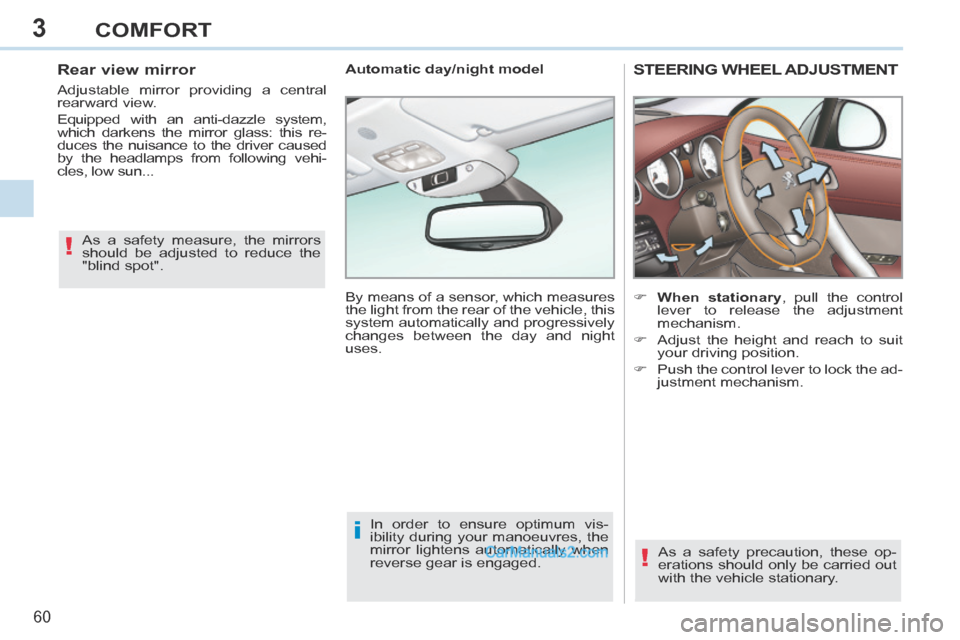
STEERING WHEEL ADJUSTMENT
When stationary , pull the control lever to release the adjustment
mechanism.
Adjust the height and reach to suit your driving position.
Push the control lever to lock the ad- justment mechanism.
As a safety precaution, these op-
erations should only be carried out
with the vehicle stationary.
Automatic day/night model
By means of a sensor, which measures
the light from the rear of the vehicle, this
system automatically and progressively
changes between the day and night
uses.
In order to ensure optimum vis-
ibility during your manoeuvres, the
mirror lightens automatically when
reverse gear is engaged.
As a safety measure, the mirrors
should be adjusted to reduce the
"blind spot".
Rear view mirror
Adjustable mirror providing a central
rearward view.
Equipped with an anti-dazzle system,
which darkens the mirror glass: this re-
duces the nuisance to the driver caused
by the headlamps from following vehi-
cles, low sun...
Page 63 of 268
4
61
ACCESS
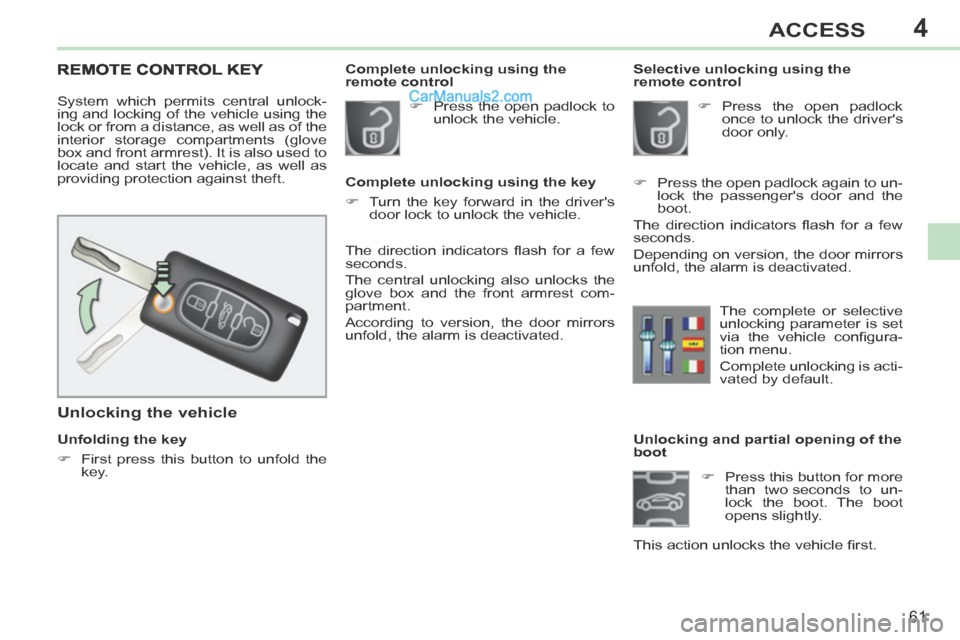
Unlocking and partial opening of the
boot Press this button for more than two seconds to un-
lock the boot. The boot
opens slightly.
This action unlocks the vehicle fi rst. Press the open padlock
once to unlock the driver's
door only.
Selective unlocking using the
remote control
REMOTE CONTROL KEY
System which permits central unlock-
ing and locking of the vehicle using the
lock or from a distance, as well as of the
interior storage compartments (glove
box and front armrest). It is also used to
locate and start the vehicle, as well as
providing protection against theft.
Unfolding the key
First press this button to unfold the
key.
Unlocking the vehicle
The direction indicators fl ash for a few
seconds.
The central unlocking also unlocks the
glove box and the front armrest com-
partment.
According to version, the door mirrors
unfold, the alarm is deactivated. Press the open padlock to
unlock the vehicle.
Complete unlocking using the key
Turn the key forward in the driver's door lock to unlock the vehicle.
Complete unlocking using the
remote control
Press the open padlock again to un-lock the passenger's door and the
boot.
The direction indicators fl ash for a few
seconds.
Depending on version, the door mirrors
unfold, the alarm is deactivated.
The complete or selective
unlocking parameter is set
via the vehicle confi gura-
tion menu.
Complete unlocking is acti-
vated by default.
Page 65 of 268
4
!
i
63
ACCESS
Locating your vehicle
Press the closed padlock to locate your locked ve-
hicle in a car park.
Electronic engine immobiliser
The key contains an electronic chip
which has a special code. When the
ignition is switched on, this code must
be recognised in order for starting to be
possible.
This electronic engine immobiliser locks
the engine management system a few
minutes after the ignition is switched off
and prevents starting of the engine by
anyone who does not have the key.
Anti-theft protection
In the event of a fault, you are
informed by illumination of this
warning lamp, an audible signal
and a message in the screen.
In this case, your vehicle will not start;
contact a PEUGEOT dealer as soon as
possible.
This is indicated by lighting of the cour-
tesy lamps and side spotlamps and
fl ashing of the direction indicators for a
few seconds.
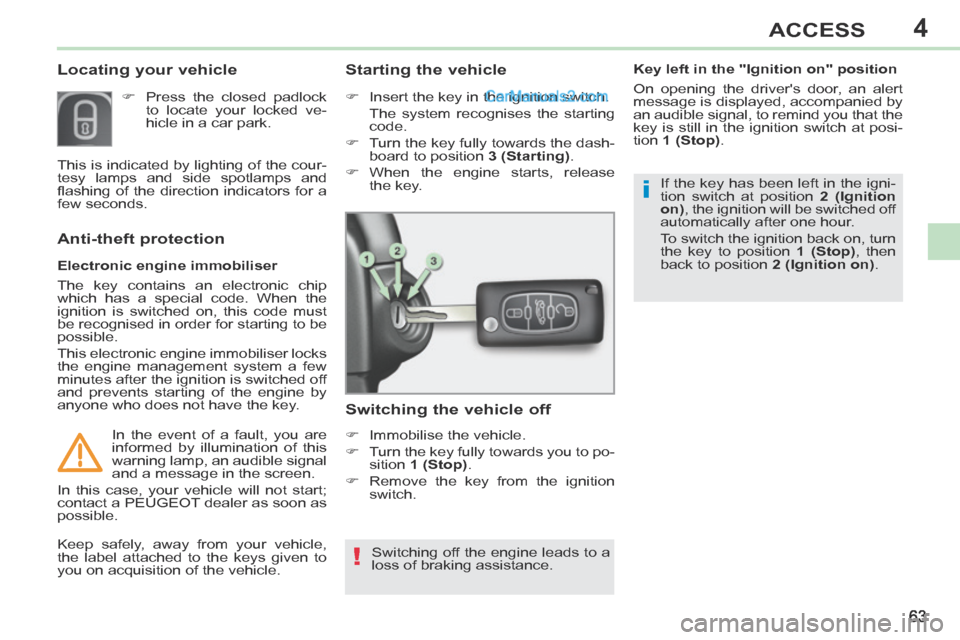
Starting the vehicle
Insert the key in the ignition switch.
The system recognises the starting
code.
Turn the key fully towards the dash- board to position 3 (Starting) .
When the engine starts, release the key.
Switching the vehicle off
Immobilise the vehicle.
Turn the key fully towards you to po-sition 1 (Stop) .
Remove the key from the ignition switch.
Switching off the engine leads to a
loss of braking assistance.
Keep safely, away from your vehicle,
the label attached to the keys given to
you on acquisition of the vehicle. If the key has been left in the igni-
tion switch at position
2 (Ignition
on) , the ignition will be switched off
automatically after one hour.
To switch the ignition back on, turn
the key to position 1 (Stop) , then
back to position 2 (Ignition on) .
Key left in the "Ignition on" position
On opening the driver's door, an alert
message is displayed, accompanied by
an audible signal, to remind you that the
key is still in the ignition switch at posi-
tion
1 (Stop) .
Page 75 of 268
4
i
i
73
ACCESS
Unlocking and partially opening
the boot
BOOT
Boot anti-theft protection
The boot is designed to remain secure,
even in the "cabriolet" confi guration, if
the vehicle is locked.
So, when the vehicle is locked and the
roof is open, the boot cannot be un-
locked:
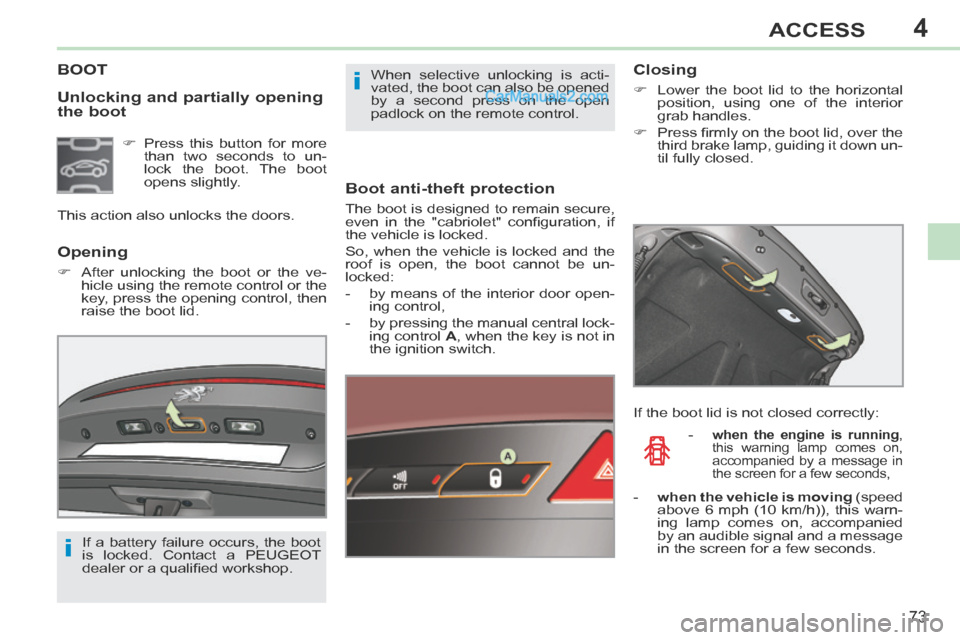
- by means of the interior door open-ing control,
- by pressing the manual central lock- ing control A , when the key is not in
the ignition switch.
Opening
After unlocking the boot or the ve- hicle using the remote control or the
key, press the opening control, then
raise the boot lid. When selective unlocking is acti-
vated, the boot can also be opened
by a second press on the open
padlock on the remote control.
Press this button for more than two seconds to un-
lock the boot. The boot
opens slightly.
This action also unlocks the doors.
If a battery failure occurs, the boot
is locked. Contact a PEUGEOT
dealer or a qualifi ed workshop.
Closing
Lower the boot lid to the horizontal position, using one of the interior
grab handles.
Press fi rmly on the boot lid, over the third brake lamp, guiding it down un-
til fully closed.
If the boot lid is not closed correctly: -
when the engine is running ,
this warning lamp comes on,
accompanied by a message in
the screen for a few seconds,
- when the vehicle is moving (speed above 6 mph (10 km/h)), this warn-
ing lamp comes on, accompanied
by an audible signal and a message
in the screen for a few seconds.