brake light Peugeot Boxer 2020 User Guide
[x] Cancel search | Manufacturer: PEUGEOT, Model Year: 2020, Model line: Boxer, Model: Peugeot Boxer 2020Pages: 196, PDF Size: 5.1 MB
Page 80 of 196
78
Driving
The maximum speed is set according to the regulations in force in the country of
sale.
This maximum speed cannot be changed by
the driver.
If you wish to modify this maximum speed,
contact a PEUGEOT dealer.
Cruise control - particular
recommendations
For the safety of everyone, only use the
cruise control where the driving
conditions allow running at a constant speed
and keeping an adequate safety distance.
Remain vigilant when the cruise control
is activated. If you hold one of the speed
setting modification buttons down, a very
rapid change in the speed of your vehicle may
occur.
When descending a steep hill , the cruise
control system cannot prevent the vehicle
from exceeding the set speed. Brake if
necessary to control the speed of your
vehicle.
On steep climbs or when towing, the set
speed may not be reached or maintained.
Exceeding the programmed speed
setting
The speed setting can be exceeded
temporarily by pressing the accelerator
pedal (the programmed speed flashes).
To return to the speed setting, release
the accelerator pedal (when this speed is
reached again, the display of the speed stops
flashing).
Operating limits
Never use the system in the following
situations:
– In an urban area with the risk of pedestrians crossing the road.– In heavy traffic.– On winding or steep roads.– On slippery or flooded roads.– In poor weather conditions.– Driving on a speed circuit.– Driving on a rolling road.– When using snow chains, non-slip covers or studded tyres.
Cruise control
Refer to the General recommendations on the
use of driving and manoeuvring aids and to
Cruise control - particular recommendations.
System which automatically maintains the
speed of the vehicle at the cruise setting programmed by the driver, without using the
accelerator pedal.
To be programmed or activated, the speed of the
vehicle must be above 19 mph (30 km/h), with at
least 2
nd gear engaged.
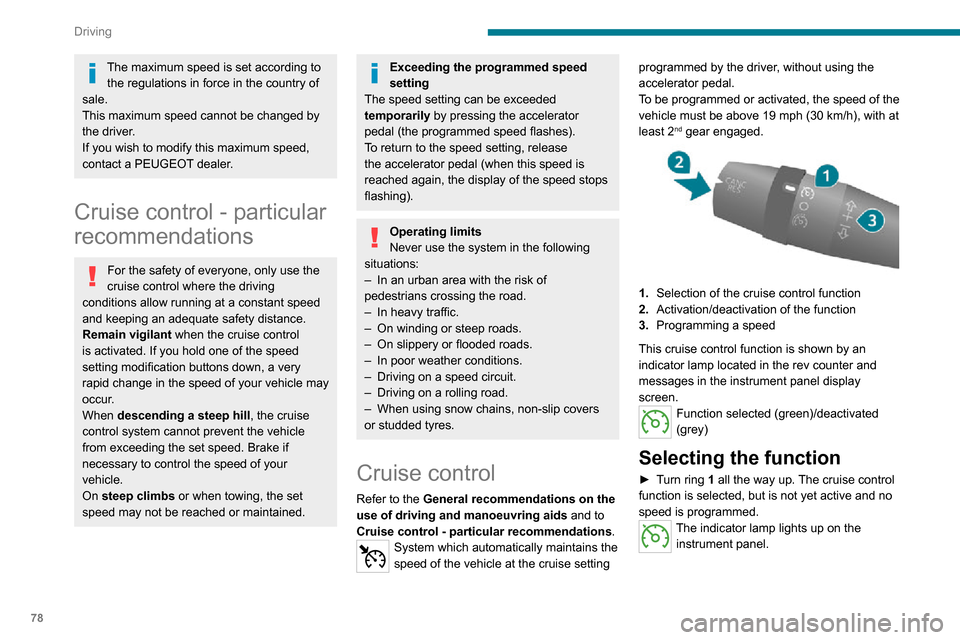
1.
Selection of the cruise control function
2. Activation/deactivation of the function
3. Programming a speed
This cruise control function is shown by an
indicator lamp located in the rev counter and
messages in the instrument panel display
screen.
Function selected (green)/deactivated
(grey)
Selecting the function
► Turn ring 1 all the way up. The cruise control
function is selected, but is not yet active and no
speed is programmed.
The indicator lamp lights up on the instrument panel.
First activation/
Programming a speed
► Bring the vehicle up to the desired speed by pressing the accelerator.► Move the control upwards (+) or downwards (-) to memorise it. A message appears in the
instrument panel display to confirm activation.
The memorised speed is visible in the instrument
panel display.
The vehicle will maintain this speed setting.
Deactivation (off)
► Press button 2.
or
► Depress the brake or clutch pedal. A message appears in the instrument panel
display to confirm deactivation.
Reactivation
► Following deactivation of the cruise control, press button 2. A message appears in the
instrument panel display to confirm reactivation.
Your vehicle will return to the last programmed
speed.
You can also repeat the "first activation"
procedure.
Changing the programmed
speed
There are two methods for memorising a speed
higher than the previous one:
Page 86 of 196
84
Driving
– Auto: for an automatic detection of the trailer
length (3 m, 6 m or 9 m).
In Auto mode, an icon appears in the instrument
panel indicating the length detected by the
system.
It may be necessary to make a 90° turn
to allow the system to detect the length
of the trailer.
When a trailer is detected, vehicle detection
when reversing is deactivated.
Operating conditions
– All vehicles are moving in the same direction and in adjacent lanes.– The speed of your vehicle is 6 mph (10 km/h) minimum. – When you overtake a vehicle, the speed difference is less than 16 mph (25 km/h).– When another vehicle overtakes you, the speed difference is less than 31 mph (50 km/h).
Active Safety Brake with Distance Alert and
Intelligent emergency
braking assistance
Refer to the General recommendations on the
use of driving and manoeuvring aids .
This system:– warns the driver that their vehicle is at risk of collision with the vehicle in front.– reduces the vehicle's speed to avoid a collision or limit its severity.
This system is comprised of three functions:
– Distance Alert.
– Intelligent emergency braking assistance.– Active Safety Brake (automatic emergency braking).
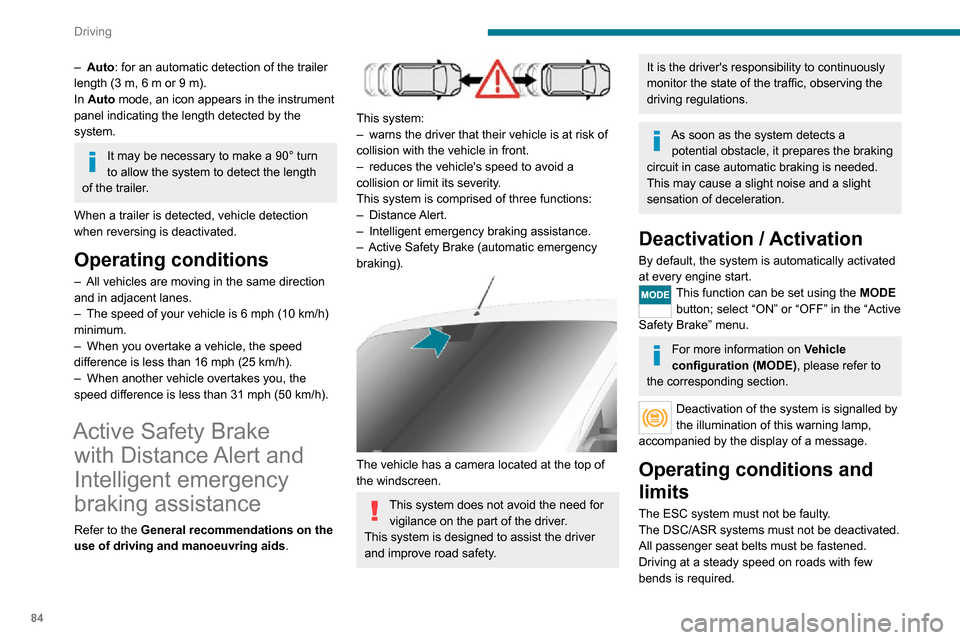
The vehicle has a camera located at the top of
the windscreen.
This system does not avoid the need for
vigilance on the part of the driver.
This system is designed to assist the driver
and improve road safety.
It is the driver's responsibility to continuously
monitor the state of the traffic, observing the
driving regulations.
As soon as the system detects a potential obstacle, it prepares the braking
circuit in case automatic braking is needed.
This may cause a slight noise and a slight
sensation of deceleration.
Deactivation / Activation
By default, the system is automatically activated
at every engine start.
This function can be set using the MODE
button; select “ON” or “OFF” in the “Active
Safety Brake” menu.
For more information on Vehicle
configuration (MODE) , please refer to
the corresponding section.
Deactivation of the system is signalled by
the illumination of this warning lamp,
accompanied by the display of a message.
Operating conditions and
limits
The ESC system must not be faulty.
The DSC/ASR systems must not be deactivated.
All passenger seat belts must be fastened.
Driving at a steady speed on roads with few
bends is required.
In the following cases, deactivating the system via the vehicle's configuration menu is advised:– towing a trailer,– carrying long objects on roof bars or roof rack,– with snow chains fitted,– before using an automatic car wash, with the engine running,– before placing the vehicle on a rolling road in a workshop,– towed vehicle, engine running,– following an impact to the windscreen close to the detection camera.
It is automatically deactivated after
detection of a fault with the brake pedal
switch or with at least two brake lamps.
After an impact, the function automatically stops operating. Contact a
PEUGEOT dealer or a qualified workshop to
have the system checked.
It is possible that warnings are not given,
are given too late or seem unjustified.
The driver must always stay in control of their
vehicle and be prepared to react at any time
to avoid an accident.
Cases of non-detection by the system:
– Pedestrians, cyclists, animals, objects on the road.– Vehicles crossing your lane.– Vehicles driving in the opposite direction.
Page 88 of 196
86
Driving
The message "Vehicle close" is displayed.Level 2 (red): visual and audible alert,
signalling that a collision is imminent.
The message "Brake! " is displayed.
Level 3: finally, in some cases, a haptic alert
in the form of micro-braking can be given,
confirming the risk of collision.
Where the speed of your vehicle is too
high approaching another vehicle, the
first level of alert may not be displayed: the
level 2 alert may be displayed directly.
Important:
the level 1 alert is never displayed for a stationary obstacle or when the " Close"
trigger threshold has been selected.
Intelligent emergency
braking assistance
If the driver brakes, but not sufficiently to avoid a
collision, this system will supplement the braking,
within the limits of the laws of physics.
This assistance will only be provided if the driver
presses the brake pedal.
Active Safety Brake
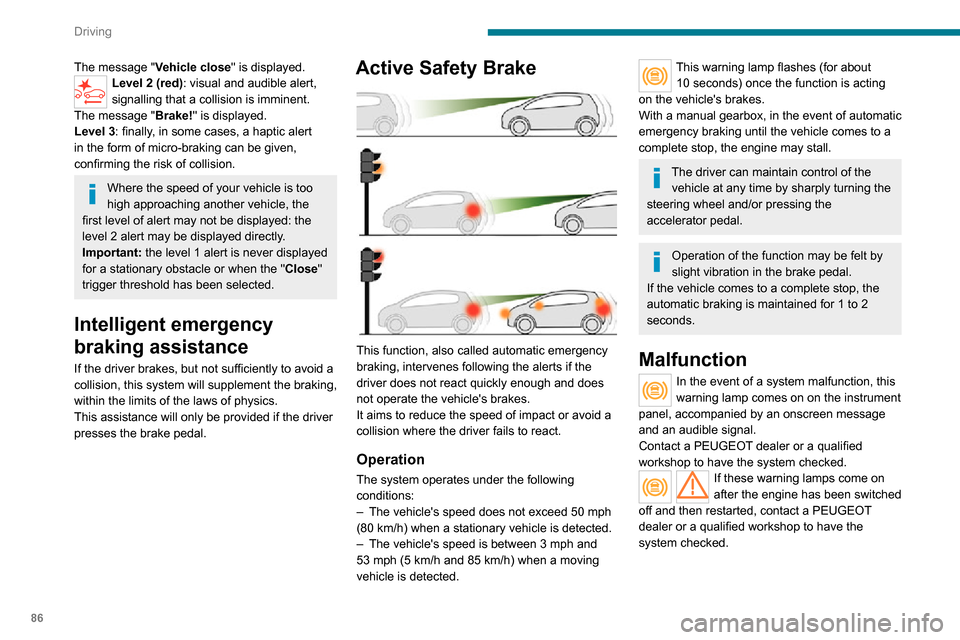
This function, also called automatic emergency
braking, intervenes following the alerts if the
driver does not react quickly enough and does
not operate the vehicle's brakes.
It aims to reduce the speed of impact or avoid a
collision where the driver fails to react.
Operation
The system operates under the following
conditions:
– The vehicle's speed does not exceed 50 mph (80 km/h) when a stationary vehicle is detected.
– The vehicle's speed is between 3 mph and 53 mph (5 km/h and 85 km/h) when a moving vehicle is detected.
This warning lamp flashes (for about 10 seconds) once the function is acting on the vehicle's brakes.
With a manual gearbox, in the event of automatic
emergency braking until the vehicle comes to a
complete stop, the engine may stall.
The driver can maintain control of the vehicle at any time by sharply turning the
steering wheel and/or pressing the
accelerator pedal.
Operation of the function may be felt by
slight vibration in the brake pedal.
If the vehicle comes to a complete stop, the
automatic braking is maintained for 1 to 2
seconds.
Malfunction
In the event of a system malfunction, this
warning lamp comes on on the instrument
panel, accompanied by an onscreen message
and an audible signal.
Contact a PEUGEOT dealer or a qualified
workshop to have the system checked.
If these warning lamps come on
after the engine has been switched
off and then restarted, contact a PEUGEOT
dealer or a qualified workshop to have the
system checked.
Audible rear parking
sensors
Refer to the General recommendations on the
use of driving and manoeuvring aids .
If fitted to your vehicle, the system consists of 4
proximity sensors installed in the rear bumper.
They detect any obstacle, e.g. person, vehicle,
tree, barrier, which is behind the vehicle while
manoeuvring.
Certain types of obstacle detected at the
beginning of the manoeuvre will no longer be
detected at the end of manoeuvre if they are
located in the blind spots between and under the
sensors. Examples: stake, roadworks cone or
pavement post.
The rear parking sensors may be associated
with the reversing camera.
Switching on
► Engage reverse gear with the gear lever.
Page 89 of 196
87
Driving
6Audible rear parking sensors
Refer to the General recommendations on the
use of driving and manoeuvring aids .
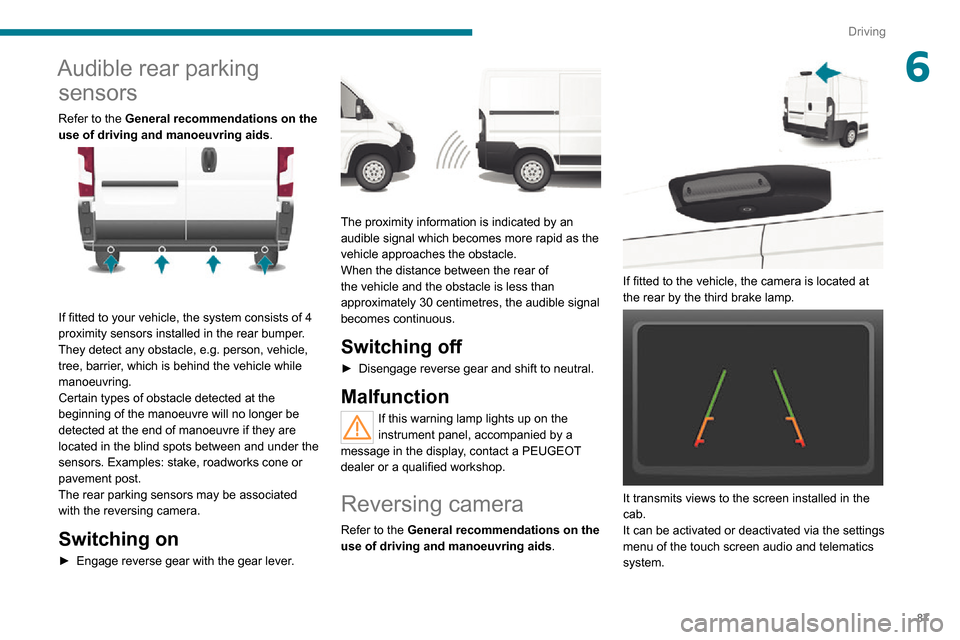
If fitted to your vehicle, the system consists of 4
proximity sensors installed in the rear bumper.
They detect any obstacle, e.g. person, vehicle,
tree, barrier, which is behind the vehicle while
manoeuvring.
Certain types of obstacle detected at the
beginning of the manoeuvre will no longer be
detected at the end of manoeuvre if they are
located in the blind spots between and under the
sensors. Examples: stake, roadworks cone or
pavement post.
The rear parking sensors may be associated
with the reversing camera.
Switching on
► Engage reverse gear with the gear lever .
The proximity information is indicated by an
audible signal which becomes more rapid as the
vehicle approaches the obstacle.
When the distance between the rear of
the vehicle and the obstacle is less than
approximately 30 centimetres, the audible signal
becomes continuous.
Switching off
► Disengage reverse gear and shift to neutral.
Malfunction
If this warning lamp lights up on the
instrument panel, accompanied by a
message in the display, contact a PEUGEOT
dealer or a qualified workshop.
Reversing camera
Refer to the General recommendations on the
use of driving and manoeuvring aids .
If fitted to the vehicle, the camera is located at
the rear by the third brake lamp.
It transmits views to the screen installed in the
cab.
It can be activated or deactivated via the settings
menu of the touch screen audio and telematics
system.
Page 107 of 196
105
In the event of a breakdown
8► Disconnect hose I and directly connect it
to the tyre valve; the cartridge will thereby be
connected to the compressor and the sealant will
not be injected.
If the tyre needs to be deflated, connect hose
I to the tyre valve and press the yellow button
located in the centre of the compressor switch.
Replacing the cartridge
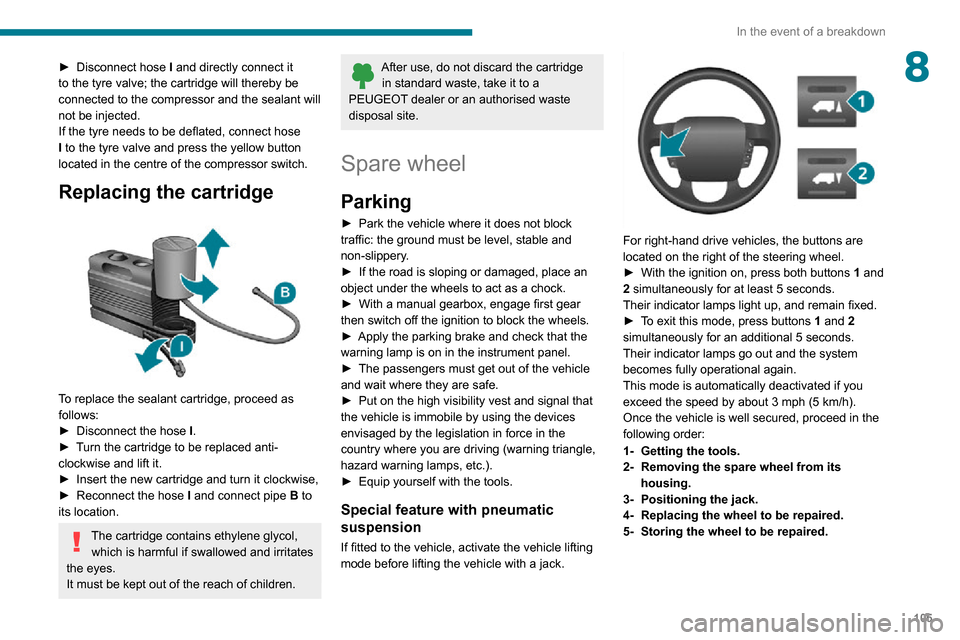
To replace the sealant cartridge, proceed as
follows:
► Disconnect the hose I.► Turn the cartridge to be replaced anti-clockwise and lift it.► Insert the new cartridge and turn it clockwise,► Reconnect the hose I and connect pipe B to
its location.
The cartridge contains ethylene glycol, which is harmful if swallowed and irritates
the eyes.
It must be kept out of the reach of children.
After use, do not discard the cartridge in standard waste, take it to a
PEUGEOT dealer or an authorised waste
disposal site.
Spare wheel
Parking
► Park the vehicle where it does not block traffic: the ground must be level, stable and
non-slippery.
► If the road is sloping or damaged, place an object under the wheels to act as a chock.► With a manual gearbox, engage first gear then switch off the ignition to block the wheels.► Apply the parking brake and check that the warning lamp is on in the instrument panel.► The passengers must get out of the vehicle and wait where they are safe.► Put on the high visibility vest and signal that the vehicle is immobile by using the devices
envisaged by the legislation in force in the
country where you are driving (warning triangle,
hazard warning lamps, etc.).
► Equip yourself with the tools.
Special feature with pneumatic
suspension
If fitted to the vehicle, activate the vehicle lifting
mode before lifting the vehicle with a jack.
For right-hand drive vehicles, the buttons are
located on the right of the steering wheel.
► With the ignition on, press both buttons 1 and
2 simultaneously for at least 5 seconds.
Their indicator lamps light up, and remain fixed.
► To exit this mode, press buttons 1 and 2
simultaneously for an additional 5 seconds.
Their indicator lamps go out and the system
becomes fully operational again.
This mode is automatically deactivated if you
exceed the speed by about 3 mph (5 km/h).
Once the vehicle is well secured, proceed in the
following order:
1- Getting the tools.
2- Removing the spare wheel from its
housing.
3- Positioning the jack.
4- Replacing the wheel to be repaired.
5- Storing the wheel to be repaired.
Page 119 of 196
11 7
In the event of a breakdown
8FusesA (amperes)Allocation
12 7.5Right-hand dipped beam headlamp
13 7.5Left-hand dipped beam headlamp
32 7.5Passenger compartment lighting (+ battery)
34 7.5Minibus passenger compartment lighting - Hazard warning lamps
36 10Audio system - Air conditioning controls - Alarm - Tachograph - Battery cut-off computer - Additional
heating programmer (+ battery)
37 7.5Brake lamps switch - Third brake lamp - Instrument panel (+ key)
38 20Door central locking (+ battery)
42 5ABS sensor and computer - ASR sensor - DSC sensor - Brake lamps switch
43 20Windscreen wiper motor (+ key)
47 20Driver-side electric window motor
48 20Passenger-side electric window motor
49 5Park assist computer - Audio system - Steering-mounted controls - Central and side control pane\
ls -
Auxiliary control panel - Battery cut-off computer (+ key)
50 7.5Airbags and pretensioners computer
51 5Tachograph - Power steering computer - Air conditioning - Reversing lamps - Diesel fuel filter water
sensor - Flowmeter (+ key)
53 7.5Instrument panel (+ battery)
90 7.5Left-hand main beam headlamp
91 7.5Right-hand main beam headlamp
92 7.5Left-hand foglamp
93 7.5Right-hand foglamp
Page 148 of 196
146
Special features
Specifications
EquipmentDetails
Tipper truck Tipper truck bed consisting of 2 high strength steel blanks, 2.5 mm thickness, zinc-coated, joined by
central and longitudinal laser welding.
Body-coloured tipper truck.
Structure of the tipper truck 2 main sidemembers in galvanised high strength steel.
1 ram-head crossmember made of steel tube.
Galvanised high strength steel crossmembers. Assembly protected against corrosion by the application
of a powder paint coating.
Sub-frame 2 “C”-shaped sidemembers in high strength steel, 2.5 mm thickness, secured internally by widened lower
wing.
Mounted on base vehicle with high strength steel stamped brackets.
1 ram-foot crossmember made of steel and mechanically-welded tube, hot-dip galvanised.
1 rear hinge crossmember in galvanised steel.
Support stops on sidemember ends.
Rear lamp protection grille.
Truck side guards and wing supports in galvanised steel.
Boards High strength steel boards, 15/10 thickness, cold-formed and assembled by continuous laser welding.
Anti-corrosion protection guaranteed by a powder coating treatment.
Locking handles with reinforced zinc coating, integrated in the recess of the board.
Ladder-carrier Galvanised steel rails. Panels and crossmembers in lacquered steel with crimped bolts.
Electropump unit 12 Volts/2 kW.
Operating temperature: -20 to +70°C.
Hydraulic ram Expansion, nitride rod, 3 bodies, Diam: 107 mm.
Maximum pressure: 20 bar.
Hydraulic oil ISO HV 46 type mineral or equivalent.
Dimensions
This adaptation is available only on L2 single
cab; refer to the table below for the specifications
of the tipper truck.
Tipper truck (in mm)
Useable length 3,200
Overall length 3,248
Useable width 2,000
Overall width 2,100
Height of boards 350
Weight of the conversion (in
kg) 550
For the L2 chassis cab specifications,
refer to the Dimensions section of the
platform version.
Weights and towed loads
(kg)
The braked trailer weight with load transfer can be increased, provided that the equivalent of this
load is removed from the vehicle so as not to
exceed the GTW. Warning! Towing using a lightly
loaded vehicle can adversely affect roadholding.
The kerb weight is equal to the unladen weight +
driver (75 kg) + tank full to 90%.
Page 149 of 196
147
Special features
10Dimensions
This adaptation is available only on L2 single
cab; refer to the table below for the specifications
of the tipper truck.
Tipper truck (in mm)
Useable length3,200
Overall length 3,248
Useable width 2,000
Overall width 2,100
Height of boards 350
Weight of the conversion (in
kg) 550
For the L2 chassis cab specifications,
refer to the Dimensions section of the
platform version.
Weights and towed loads
(kg)
The braked trailer weight with load transfer can be increased, provided that the equivalent of this
load is removed from the vehicle so as not to
exceed the GTW. Warning! Towing using a lightly
loaded vehicle can adversely affect roadholding.
The kerb weight is equal to the unladen weight +
driver (75 kg) + tank full to 90%.
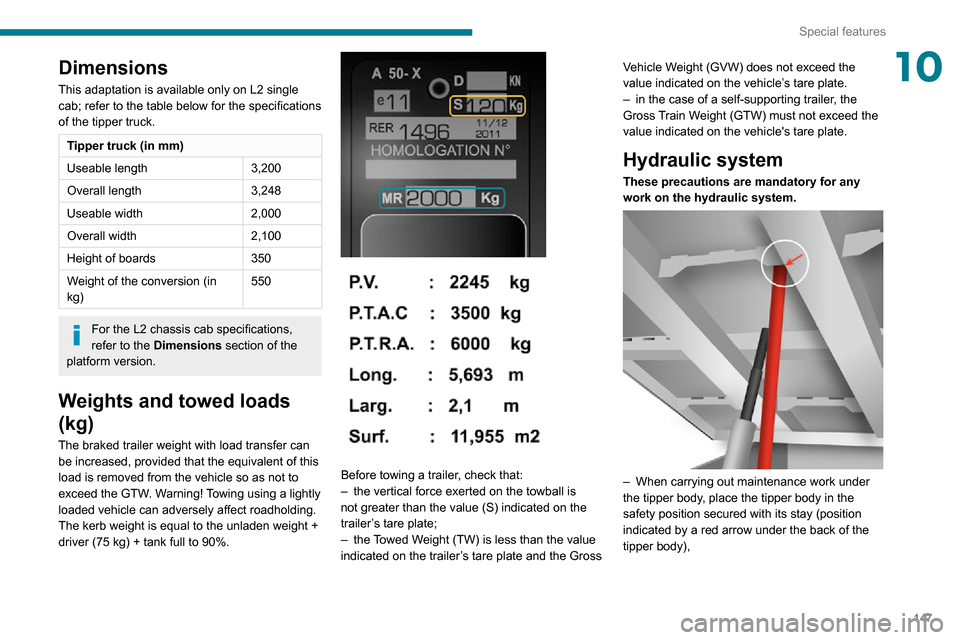
Before towing a trailer, check that:– the vertical force exerted on the towball is not greater than the value (S) indicated on the
trailer’s tare plate;
– the Towed Weight (TW) is less than the value indicated on the trailer’s tare plate and the Gross Vehicle Weight (GVW) does not exceed the
value indicated on the vehicle’s tare plate.
– in the case of a self-supporting trailer
, the Gross Train Weight (GTW) must not exceed the
value indicated on the vehicle's tare plate.
Hydraulic system
These precautions are mandatory for any
work on the hydraulic system.
– When carrying out maintenance work under the tipper body, place the tipper body in the
safety position secured with its stay (position
indicated by a red arrow under the back of the
tipper body),
Page 178 of 196
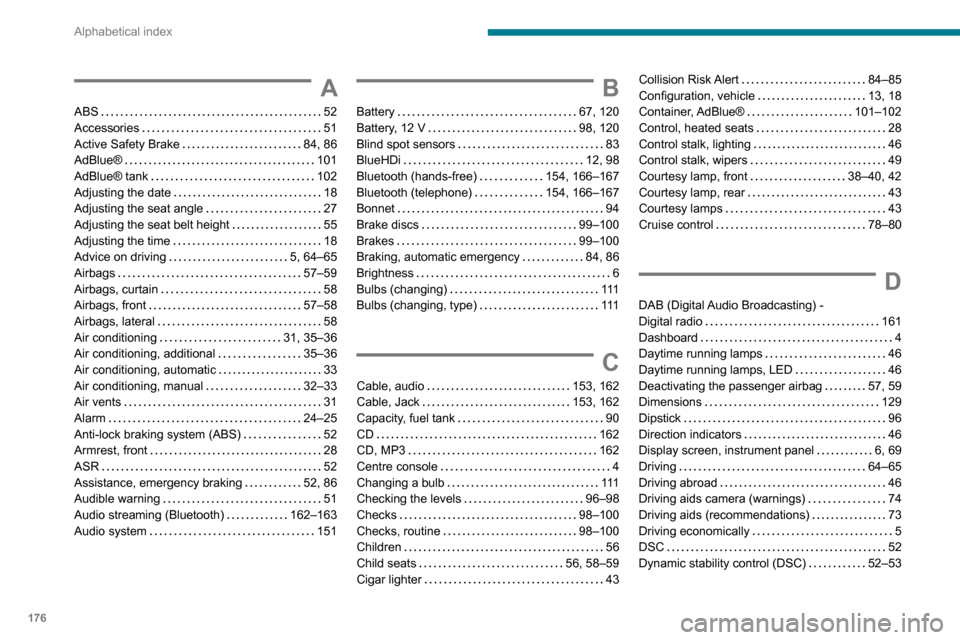
176
Alphabetical index
A
ABS 52Accessories 51Active Safety Brake 84, 86AdBlue® 101AdBlue® tank 102Adjusting the date 18Adjusting the seat angle 27
Adjusting the seat belt height 55Adjusting the time 18Advice on driving 5, 64–65Airbags 57–59Airbags, curtain 58Airbags, front 57–58Airbags, lateral 58Air conditioning 31, 35–36Air conditioning, additional 35–36Air conditioning, automatic 33Air conditioning, manual 32–33Air vents 31Alarm 24–25Anti-lock braking system (ABS) 52Armrest, front 28ASR 52Assistance, emergency braking 52, 86Audible warning 51Audio streaming (Bluetooth) 162–163Audio system 151
B
Battery 67, 120Battery, 12 V 98, 120Blind spot sensors 83BlueHDi 12, 98Bluetooth (hands-free) 154, 166–167Bluetooth (telephone) 154, 166–167Bonnet 94
Brake discs 99–100Brakes 99–100Braking, automatic emergency 84, 86Brightness 6Bulbs (changing) 111Bulbs (changing, type) 111
C
Cable, audio 153, 162Cable, Jack 153, 162Capacity, fuel tank 90CD 162CD, MP3 162Centre console 4Changing a bulb 111Checking the levels 96–98Checks 98–100Checks, routine 98–100Children 56Child seats 56, 58–59Cigar lighter 43
Collision Risk Alert 84–85Configuration, vehicle 13, 18Container, AdBlue® 101–102Control, heated seats 28Control stalk, lighting 46Control stalk, wipers 49Courtesy lamp, front 38–40, 42Courtesy lamp, rear 43Courtesy lamps 43
Cruise control 78–80
D
DAB (Digital Audio Broadcasting) - Digital radio 161Dashboard 4Daytime running lamps 46Daytime running lamps, LED 46Deactivating the passenger airbag 57, 59Dimensions 129Dipstick 96Direction indicators 46Display screen, instrument panel 6, 69Driving 64–65Driving abroad 46Driving aids camera (warnings) 74Driving aids (recommendations) 73Driving economically 5DSC 52Dynamic stability control (DSC) 52–53
Page 179 of 196
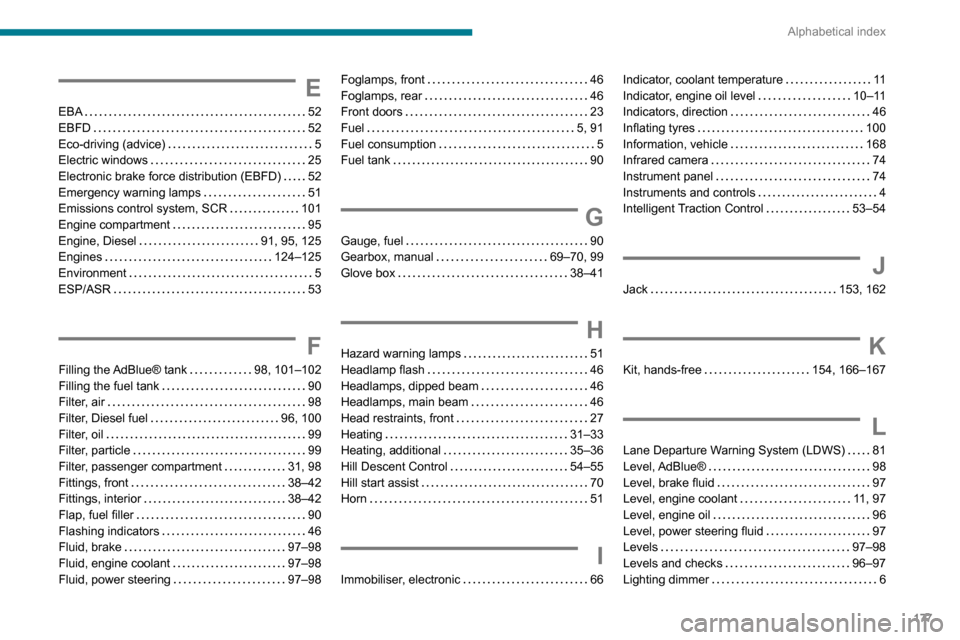
177
Alphabetical index
E
EBA 52EBFD 52Eco-driving (advice) 5Electric windows 25Electronic brake force distribution (EBFD) 52Emergency warning lamps 51Emissions control system, SCR 101
Engine compartment 95Engine, Diesel 91, 95, 125Engines 124–125Environment 5ESP/ASR 53
F
Filling the AdBlue® tank 98, 101–102Filling the fuel tank 90Filter, air 98Filter, Diesel fuel 96, 100Filter, oil 99Filter, particle 99Filter, passenger compartment 31, 98Fittings, front 38–42Fittings, interior 38–42Flap, fuel filler 90Flashing indicators 46Fluid, brake 97–98Fluid, engine coolant 97–98Fluid, power steering 97–98
Foglamps, front 46Foglamps, rear 46Front doors 23Fuel 5, 91Fuel consumption 5Fuel tank 90
G
Gauge, fuel 90Gearbox, manual 69–70, 99Glove box 38–41
H
Hazard warning lamps 51Headlamp flash 46Headlamps, dipped beam 46Headlamps, main beam 46Head restraints, front 27Heating 31–33Heating, additional 35–36Hill Descent Control 54–55Hill start assist 70Horn 51
I
Immobiliser, electronic 66
Indicator, coolant temperature 11Indicator, engine oil level 10–11Indicators, direction 46Inflating tyres 100Information, vehicle 168Infrared camera 74Instrument panel 74Instruments and controls 4Intelligent Traction Control 53–54
J
Jack 153, 162
K
Kit, hands-free 154, 166–167
L
Lane Departure Warning System (LDWS) 81Level, AdBlue® 98Level, brake fluid 97Level, engine coolant 11, 97Level, engine oil 96Level, power steering fluid 97Levels 97–98Levels and checks 96–97Lighting dimmer 6