oil dipstick PEUGEOT BOXER 2021 Owners Manual
[x] Cancel search | Manufacturer: PEUGEOT, Model Year: 2021, Model line: BOXER, Model: PEUGEOT BOXER 2021Pages: 212, PDF Size: 6.37 MB
Page 15 of 212
13
Instruments
1Indicators
Service information
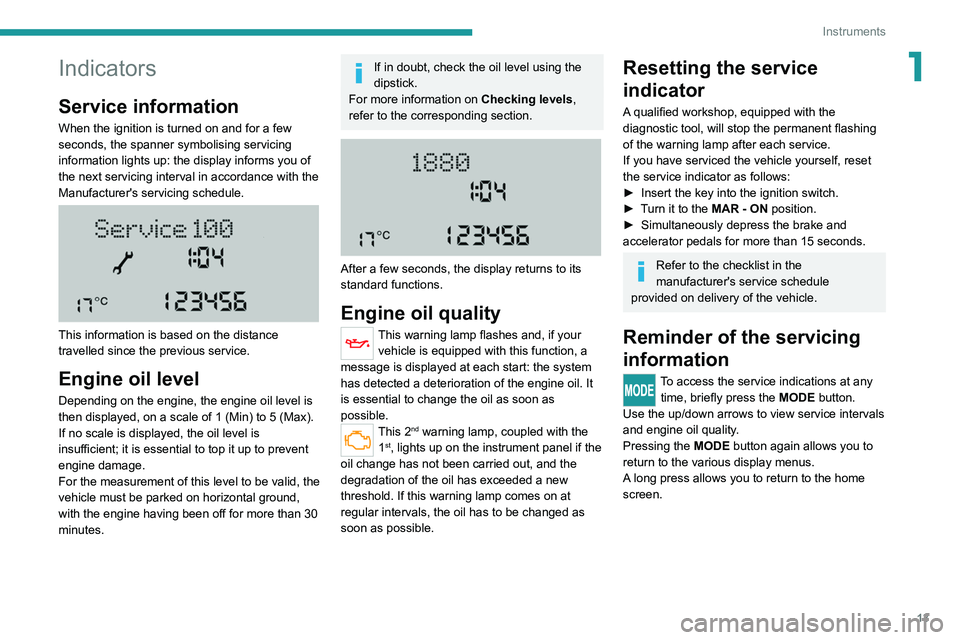
When the ignition is turned on and for a few
seconds, the spanner symbolising servicing
information lights up: the display informs you of
the next servicing interval in accordance with the
Manufacturer's servicing schedule.
This information is based on the distance
travelled since the previous service.
Engine oil level
Depending on the engine, the engine oil level is
then displayed, on a scale of 1 (Min) to 5 (Max).
If no scale is displayed, the oil level is
insufficient; it is essential to top it up to prevent
engine damage.
For the measurement of this level to be valid, the
vehicle must be parked on horizontal ground,
with the engine having been off for more than 30
minutes.
If in doubt, check the oil level using the
dipstick.
For more information on Checking levels,
refer to the corresponding section.
After a few seconds, the display returns to its
standard functions.
Engine oil quality
This warning lamp flashes and, if your vehicle is equipped with this function, a
message is displayed at each start: the system
has detected a deterioration of the engine oil. It
is essential to change the oil as soon as
possible.
This 2nd warning lamp, coupled with the
1st, lights up on the instrument panel if the
oil change has not been carried out, and the
degradation of the oil has exceeded a new
threshold. If this warning lamp comes on at
regular intervals, the oil has to be changed as
soon as possible.
Resetting the service
indicator
A qualified workshop, equipped with the
diagnostic tool, will stop the permanent flashing
of the warning lamp after each service.
If you have serviced the vehicle yourself, reset
the service indicator as follows:
►
Insert the key into the ignition switch.
►
T
urn it to the MAR - ON position.
►
Simultaneously depress the brake and
accelerator pedals for more than 15 seconds.
Refer to the checklist in the
manufacturer's service schedule
provided on delivery of the vehicle.
Reminder of the servicing
information
To access the service indications at any time, briefly press the MODE button.
Use the up/down arrows to view service intervals
and engine oil quality.
Pressing the MODE
button again allows you to
return to the various display menus.
A long press allows you to return to the home
screen.
Page 110 of 212
108
Practical information
On the outside
► Push the lever located above the grille
upwards and lift the bonnet.
Do not open the bonnet under very windy
conditions.
When the engine is hot, handle the lever and
the stay with care (risk of burns).
► Unclip the stay and rotate it to insert it into
the first slot and then into the second slot.
Because of the presence of electrical
equipment under the bonnet, it is
recommended that exposure to water (rain,
washing, etc.) be limited.
Closing the bonnet
► Before closing the bonnet, replace the stay in
its housing.
►
Lower the bonnet and release it near the end
of its travel. Check the bonnet is locked.
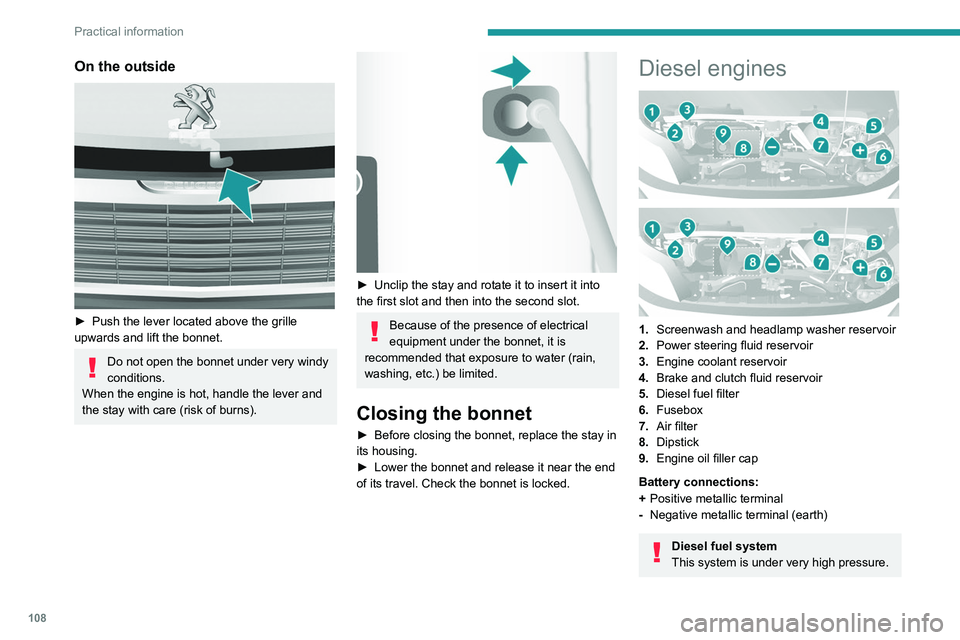
Diesel engines
1. Screenwash and headlamp washer reservoir
2. Power steering fluid reservoir
3. Engine coolant reservoir
4. Brake and clutch fluid reservoir
5. Diesel fuel filter
6. Fusebox
7. Air filter
8. Dipstick
9. Engine oil filler cap
Battery connections:
+ Positive metallic terminal
- Negative metallic terminal (earth)
Diesel fuel system
This system is under very high pressure.
Page 111 of 212
109
Practical information
7All work must be carried out only by a
PEUGEOT dealer or a qualified workshop
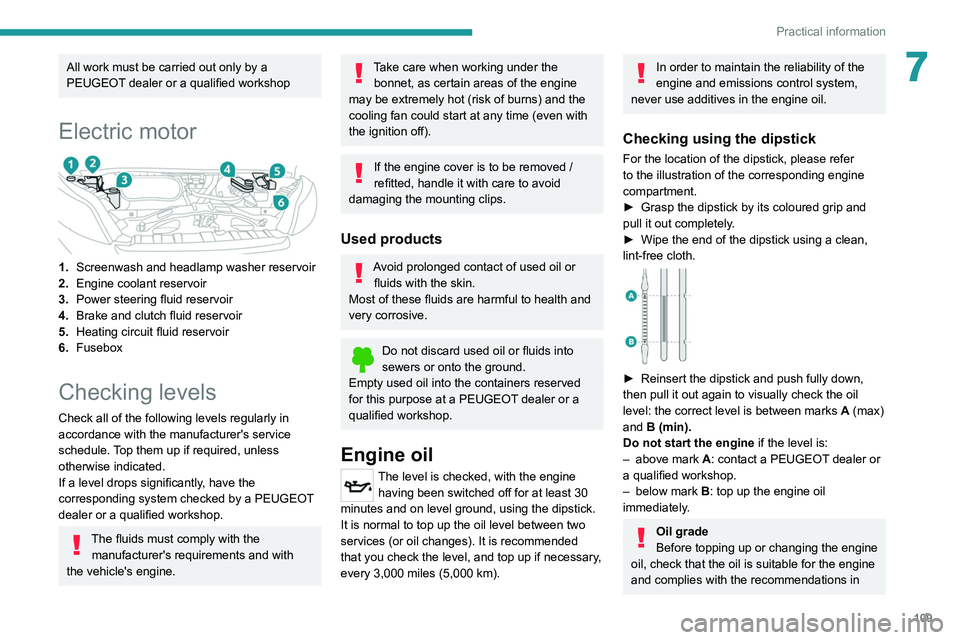
Electric motor
1.Screenwash and headlamp washer reservoir
2. Engine coolant reservoir
3. Power steering fluid reservoir
4. Brake and clutch fluid reservoir
5. Heating
circuit fluid reservoir
6. Fusebox
Checking levels
Check all of the following levels regularly in
accordance with the manufacturer's service
schedule. Top them up if required, unless
otherwise indicated.
If a level drops significantly, have the
corresponding system checked by a PEUGEOT
dealer or a qualified workshop.
The fluids must comply with the
manufacturer's requirements and with
the vehicle's engine.
Take care when working under the bonnet, as certain areas of the engine
may be extremely hot (risk of burns) and the
cooling fan could start at any time (even with
the ignition off).
If the engine cover is to be removed /
refitted, handle it with care to avoid
damaging the mounting clips.
Used products
Avoid prolonged contact of used oil or fluids with the skin.
Most of these fluids are harmful to health and
very corrosive.
Do not discard used oil or fluids into
sewers or onto the ground.
Empty used oil into the containers reserved
for this purpose at a PEUGEOT dealer or a
qualified workshop.
Engine oil
The level is checked, with the engine having been switched off for at least 30
minutes and on level ground, using the dipstick.
It is normal to top up the oil level between two
services (or oil changes). It is recommended
that you check the level, and top up if necessary,
every 3,000 miles (5,000 km).
In order to maintain the reliability of the
engine and emissions control system,
never use additives in the engine oil.
Checking using the dipstick
For the location of the dipstick, please refer
to the illustration of the corresponding engine
compartment.
►
Grasp the dipstick by its coloured grip and
pull it out completely
.
►
Wipe the end of the dipstick using a clean,
lint-free cloth.
► Reinsert the dipstick and push fully down,
then pull it out again to visually check the oil
level: the correct level is between marks A
(max)
and B (min).
Do not start the engine if the level is:
–
above mark
A: contact a PEUGEOT dealer or
a qualified workshop.
–
below mark B
: top up the engine oil
immediately.
Oil grade
Before topping up or changing the engine
oil, check that the oil is suitable for the engine
and complies with the recommendations in
Page 112 of 212
11 0
Practical information
the service schedule supplied with the vehicle
(or available from your PEUGEOT dealer and
qualified workshops).
Use of non-recommended oil may invalidate
the contractual warranty in the event of
engine failure.
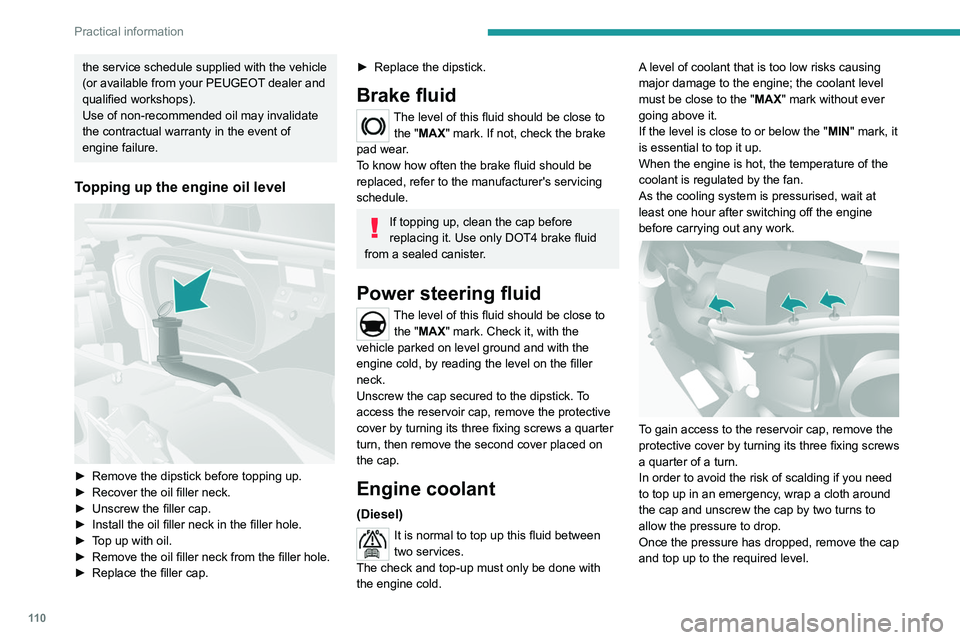
Topping up the engine oil level
► Remove the dipstick before topping up.
► Recover the oil filler neck.
►
Unscrew the filler cap.
►
Install the oil filler neck in the filler hole.
►
T
op up with oil.
►
Remove the oil filler neck from the filler hole.
►
Replace the filler cap.
► Replace the dipstick.
Brake fluid
The level of this fluid should be close to the "MAX" mark. If not, check the brake
pad wear.
To know how often the brake fluid should be
replaced, refer to the manufacturer's servicing
schedule.
If topping up, clean the cap before
replacing it. Use only DOT4 brake fluid
from a sealed canister.
Power steering fluid
The level of this fluid should be close to the "MAX" mark. Check it, with the
vehicle parked on level ground and with the
engine cold, by reading the level on the filler
neck.
Unscrew the cap secured to the dipstick. To
access the reservoir cap, remove the protective
cover by turning its three fixing screws a quarter
turn, then remove the second cover placed on
the cap.
Engine coolant
(Diesel)
It is normal to top up this fluid between
two services.
The check and top-up must only be done with
the engine cold. A level of coolant that is too low risks causing
major damage to the engine; the coolant level
must be close to the "MAX" mark without ever
going above it.
If the level is close to or below the "
MIN" mark, it
is essential to top it up.
When the engine is hot, the temperature of the
coolant is regulated by the fan.
As the cooling system is pressurised, wait at
least one hour after switching off the engine
before carrying out any work.
To gain access to the reservoir cap, remove the
protective cover by turning its three fixing screws
a quarter of a turn.
In order to avoid the risk of scalding if you need
to top up in an emergency, wrap a cloth around
the cap and unscrew the cap by two turns to
allow the pressure to drop.
Once the pressure has dropped, remove the cap
and top up to the required level.
Page 193 of 212
191
Alphabetical index
Deactivating the passenger airbag 34, 37
Dimensions
11 3
Dipstick
81
Direction indicators
23
Display screen, instrument panel
8, 47
Domestic charging (Electric)
102–103
Drive selector (Electric)
47
Driving
69–70
Driving aids camera (warnings)
53
Driving aids (recommendations)
52
Driving economically
6
DSC
29
Dynamic stability control (DSC)
57–58
E
EBA 29
EBFD
29
Eco-driving (advice)
6
Electric motor
5, 6, 8, 69, 76,
81, 102, 105, 109
Electric windows
18
Electronic brake force distribution (EBFD)
29
Emergency warning lamps
28
Emissions control system, SCR
86
Engine compartment
108–109
Engine, Diesel
69, 80, 108
Engines
135–136
Environment
6, 42
ESP/ASR
30
F
Filling the AdBlue® tank 83, 87
Filling the fuel tank
68
Filter, air
84
Filter, Diesel fuel
85
Filter, oil
84
Filter, particle
84
Filter, passenger compartment
23, 84
Fittings, front
43–46
Fittings, interior
43–46
Flap, fuel filler
68
Flashing indicators
23
Fluid, brake
110–111
Fluid, engine coolant
110–111
Fluid, power steering
110–111
Foglamps, front
23
Foglamps, rear
23
Front doors
16
Fuel
6, 69
Fuel consumption
6
Fuel tank
68
Fuses
101
G
Gauge, fuel 68
Gearbox, manual
47, 49, 85
Glove box
43–45
H
Hazard warning lamps 28
Headlamp flash
23
Headlamps, dipped beam
23
Headlamps, main beam
23
Head restraints, front
18
Heating
35–36
Heating, additional
39–40
High voltage
69
Hill Descent Control
31
Hill start assist
77–78
Horn
28
I
Immobiliser, electronic 43
Indicator, coolant temperature
14
Indicator, engine oil level
13
Indicators, direction
23
Inflating tyres
85
Information, vehicle
151, 159
Infrared camera
53
Instrument panel
53
Instruments and controls
4
Intelligent Traction Control
31
J
Jack 136, 145