buttons PEUGEOT LANDTREK 2023 Owners Manual
[x] Cancel search | Manufacturer: PEUGEOT, Model Year: 2023, Model line: LANDTREK, Model: PEUGEOT LANDTREK 2023Pages: 164, PDF Size: 6.1 MB
Page 20 of 164

18
Dashboard instruments
► "RDS"; selection of RDS mode (real-time
traffic information, automatic station tracking and
radio station titles),
►
"
RPT"; USB audio content repeat order,
► variation of a setting value, search for
a radio station or play next/previous for a
USB or Bluetooth
® source,
56► navigate between the menus
and the audio files for USB
playback,
► Audio; audio settings men u,
1► Answer; call in Bluetooth® mode,
4► End call; call in Bluetooth® mode.
For more information on the monochrome
screen, refer to the "Audio equipment and
telematics” section.
Touch screen
This system gives access to the following elements:
–
Permanent
display of the time.
–
Display and reminder of air conditioning
system settings.
–
V
ehicle functions and equipment setting
menus.
–
Audio system and telephone controls and
display of related information.
–
Display of visual manoeuvring aid functions
– Navigation system controls and
display of related information (depending on
version).
For safety reasons, always stop the
vehicle before performing operations
that require sustained attention.
Some functions are not accessible while
driving.
Recommendations
Do not use pointed objects on the touch screen.
Do not touch the touch screen with wet hands.
Use a soft, clean cloth to clean the touch screen.
Principles
Use the buttons indicated on the touch screen to
access the various menus.
After a few moments with no action on the second page, the first page is
displayed automatically.
To deactivate/activate a function, press the slider
that appears opposite the function. The slider
changes to orange to indicate that the function
is activated.
Return to the menu page.
Menus
It is possible to modify the appearance of
the touch screen by selecting a different
background and display mode ( Classic,
Sport or Technology ). Depending on the
selected mode, the menus can be displayed
in various locations and in different ways.
For more information on changing the
appearance of the touch screen, refer to the
Audio equipment and telematics section.
Example with the " Classic" display mode.
Media
Refer to the "Audio equipment and
telematics" section.
Radio
Refer to the "Audio equipment and
telematics" section.
Navigation
(Depending on version)
Refer to the "Audio equipment and telematics"
section.
Telephone
Refer to the "Audio equipment and
telematics" section.
Settings
Main system settings.
Vehicle settings CarM an uals 2 .c o m
Page 22 of 164
20
Access
Electronic key with
remote control function
and built-in key
Remote control function
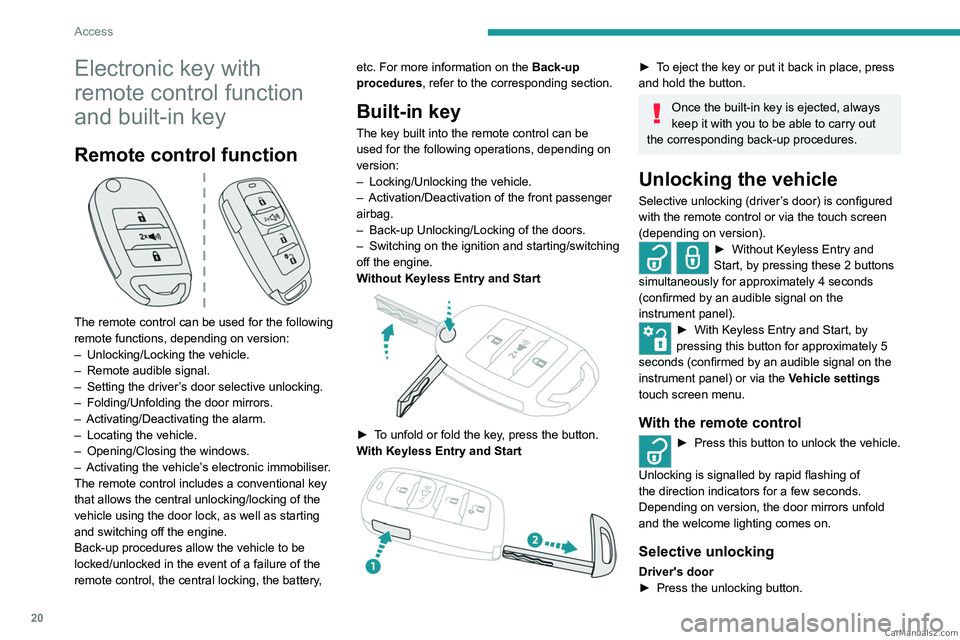
The remote control can be used for the following
remote functions, depending on version:
–
Unlocking/Locking the vehicle.
–
Remote audible signal.
–
Setting the driver
’s door selective unlocking.
–
Folding/Unfolding the door mirrors.
–
Activating/Deactivating the alarm.
–
Locating the vehicle.
–
Opening/Closing the windows.
–
Activating the vehicle’
s electronic immobiliser.
The remote control includes a conventional key
that allows the central unlocking/locking of the
vehicle using the door lock, as well as starting
and switching off the engine.
Back-up procedures allow the vehicle to be
locked/unlocked in the event of a failure of the
remote control, the central locking, the battery, etc. For more information on the Back-up
procedures, refer to the corresponding section.
Built-in key
The key built into the remote control can be
used for the following operations, depending on
version:
–
Locking/Unlocking the vehicle.
–
Activation/Deactivation of the front passenger
airbag.
–
Back-up Unlocking/Locking of the doors.
–
Switching on the ignition and starting/switching
off the engine.
W
ithout Keyless Entry and Start
► To unfold or fold the key, press the button.
With Keyless Entry and Start
► To eject the key or put it back in place, press
and hold the button.
Once the built-in key is ejected, always
keep it with you to be able to carry out
the corresponding back-up procedures.
Unlocking the vehicle
Selective unlocking (driver’s door) is configured
with the remote control or via the touch screen
(depending on version).
► Without Keyless Entry and
Start, by pressing these 2 buttons
simultaneously for approximately 4 seconds
(confirmed by an audible signal on the
instrument panel).
► With Keyless Entry and Start, by
pressing this button for approximately 5
seconds (confirmed by an audible signal on the
instrument panel) or via the Vehicle settings
touch screen menu.
With the remote control
► Press this button to unlock the vehicle.
Unlocking is signalled by rapid flashing of
the direction indicators for a few seconds.
Depending on version, the door mirrors unfold
and the welcome lighting comes on.
Selective unlocking
Driver's door
► Press the unlocking button. CarM an uals 2 .c o m
Page 23 of 164
21
Access
2► Press it again to unlock the other doors.
Complete or selective unlocking, and alarm
deactivation (depending on version), is confirmed
by the flashing of the direction indicators.
Depending on version, the door mirrors unfold.
Opening the windows
Depending on version, holding the
unlocking button pressed for more than 3
seconds opens the windows.
The windows stop when the button is released.
With the key
Driver's door
► T urn the key in the driver's door lock towards
the front of the vehicle to unlock it.
If the vehicle has an alarm, it will not be
deactivated. Opening a door will trigger the
alarm, which can be stopped by pressing the
remote control unlocking button.
Tailgate (depending on version)
►
T
urn the dedicated key in the tailgate lock to
the left to unlock.
Locking the vehicle
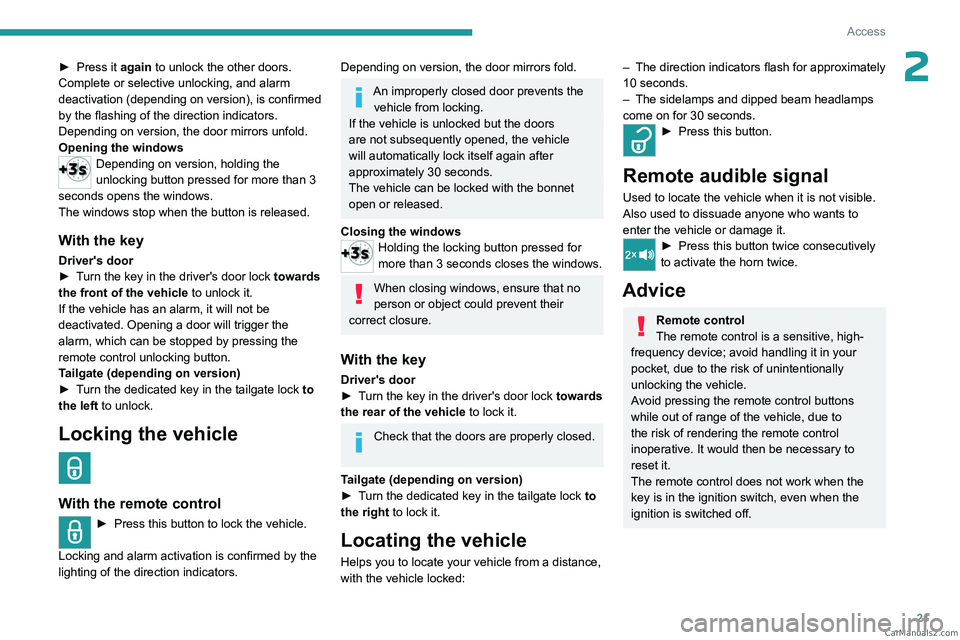
With the remote control
► Press this button to lock the vehicle.
Locking and alarm activation is confirmed by the
lighting of the direction indicators.
Depending on version, the door mirrors fold.
An improperly closed door prevents the vehicle from locking.
If the vehicle is unlocked but the doors
are not subsequently opened, the vehicle
will automatically lock itself again after
approximately 30
seconds.
The vehicle can be locked with the bonnet
open or released.
Closing the windows
Holding the locking button pressed for
more than 3 seconds closes the windows.
When closing windows, ensure that no
person or object could prevent their
correct closure.
With the key
Driver's door
► T urn the key in the driver's door lock towards
the rear of the vehicle to lock it.
Check that the doors are properly closed.
Tailgate (depending on version)
►
T
urn the dedicated key in the tailgate lock to
the right to lock it.
Locating the vehicle
Helps you to locate your vehicle from a distance,
with the vehicle locked:
– The direction indicators flash for approximately
10 seconds.
–
The sidelamps and dipped beam headlamps
come on for 30 seconds.
► Press this button.
Remote audible signal
Used to locate the vehicle when it is not visible.
Also used to dissuade anyone who wants to
enter the vehicle or damage it.
► Press this button twice consecutively
to activate the horn twice.
Advice
Remote control
The remote control is a sensitive, high-
frequency device; avoid handling it in your
pocket, due to the risk of unintentionally
unlocking the vehicle.
Avoid pressing the remote control buttons
while out of range of the vehicle, due to
the risk of rendering the remote control
inoperative. It would then be necessary to
reset it.
The remote control does not work
when the
key is in the ignition switch, even when the
ignition is switched off. CarM an uals 2 .c o m
Page 25 of 164
23
Access
2Pressing and holding the handle closes the
windows.
When closing windows, ensure that no
person or object could prevent their
correct closure.
The locking, and the activation of the alarm
depending on version, is confirmed by the
temporary lighting of the direction indicators.
Depending on version, the door mirrors fold.
Advice
If one of the doors or the boot is still open
or if the electronic key for the Keyless
Entry and Start
system has been left inside
the vehicle, central locking will not take place.
However
, if the vehicle is fitted with an alarm,
it will be activated after 45
seconds.
If the vehicle is unlocked but the doors
are not subsequently opened, the vehicle
will automatically lock itself again after about
30
seconds. If the vehicle is fitted with an
alarm, it will be reactivated automatically.
The automatic relocking function is configured
via the touch screen’s vehicle configuration
menu.
Depending on version, the automatic
door mirror folding/unfolding function is
configured by pressing the folding/unfolding
button on the mirrors control.
As a safety measure, never leave the vehicle, even for a short time, without
taking the Keyless Entry and Start system’s
electronic key with you.
Be aware of the risk of theft of the vehicle if
the key is present in one of the defined areas
while the vehicle is unlocked.
To preserve the battery charge in the electronic key and the vehicle's battery,
the "hands-free" functions are set to
hibernation mode after 21 days without use.
To restore these functions, press one of the
remote control buttons or start the engine with
the electronic key against the back-up reader.
For more information on starting with the
Keyless Entry and Start system, refer to the
corresponding section.
Electrical interference
The electronic key may not work if it is
close to an electronic device (e.g.
mobile
telephone (switched on or on standby), laptop
computer, strong magnetic fields). If this
occurs, move the electronic key away from
the electronic device.
Central locking
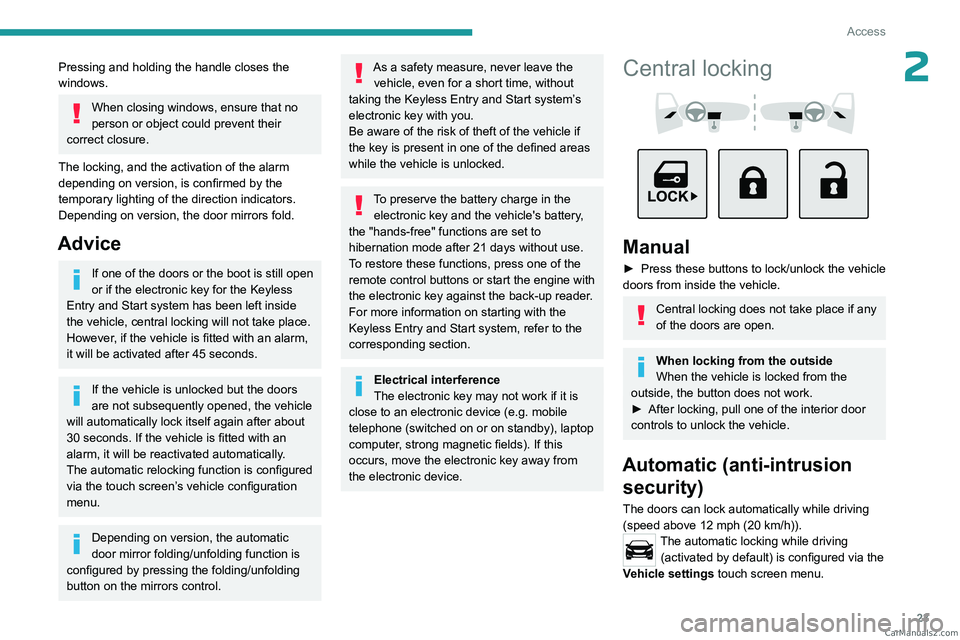
Manual
► Press these buttons to lock/unlock the vehicle
doors from inside the vehicle.
Central locking does not take place if any
of the doors are open.
When locking from the outside
When the vehicle is locked from the
outside, the button does not work.
►
After locking, pull one of the interior door
controls to unlock the vehicle.
Automatic (anti-intrusion security)
The doors can lock automatically while driving
(speed above 12 mph (20
km/h)).
The automatic locking while driving (activated by default) is configured via the
Vehicle settings touch screen menu. CarM an uals 2 .c o m
Page 39 of 164

37
Ease of use and comfort
3of interior air recirculation. Risk of misting and
deterioration of the air quality!
If the interior temperature is very high
after the vehicle has stood for a long
time in the sunshine, air the passenger
compartment for a few moments.
Put the air flow control at a setting high
enough to quickly change the air in the
passenger compartment.
Condensation created by the air
conditioning results in a discharge of
water underneath the vehicle. This is perfectly
normal.
Servicing the ventilation and air
conditioning system
►
Ensure that the passenger compartment
filter is in good condition and have the filter
elements replaced regularly
.
We recommend using a composite passenger
compartment filter. Its specific active additive
helps protect against polluting gases and bad
smells.
►
T
o ensure correct operation of the
air conditioning system, have it checked
according to the recommendations in the
Manufacturer’s service schedule.
Heating
Manual air conditioning
1. Temperature.
2. Air flow/System switch-off.
3. Air distribution.
4. Interior air recirculation.
5. Front demisting/de-icing on/off.
6. Demisting/de-icing of rear screen and door
mirrors on/off (depending on version).
7. Air conditioning on/off.
8. Maximum air conditioning.
The air conditioning system only operates with
the engine running.
Temperature
► Turn the thumbwheel 1 from "Blue" (cold)
to "Red" (hot) to adjust the temperature to your
requirements.
Air flow
► Turn the thumbwheel 2 to obtain a sufficient
air flow to ensure your comfort.
If the air flow control is in
the minimum position (system
deactivated), the temperature in the vehicle
will no longer be controlled. A slight flow of air
can still be felt, due to the forward movement
of the vehicle.
Air distribution
► Press one of the buttons 3 to direct the air
flow in turn towards:
–
windscreen, side windows and footwells,
–
central and side vents,
–
footwells,
–
central vents, side vents and footwells.
The air distribution can be adapted by combining
the corresponding buttons.
Air conditioning on/off
The air conditioning system is designed to
operate effectively in all seasons, with the
windows closed:
–
It lowers the temperature in summer
.
–
It increases the effectiveness of the demisting,
in winter
, above 3°C.
►
Press button
7 to activate/deactivate the air
conditioning system. CarM an uals 2 .c o m
Page 40 of 164

38
Ease of use and comfort
Air conditioning does not operate when the air flow is deactivated.
To obtain cool air more quickly, enable interior
air recirculation for a brief period. Then return
to the intake of exterior air.
Switching off the air conditioning may result in
some discomfort (humidity or misting).
Maximum air conditioning
The system automatically adjusts the
temperature setting to the lowest possible, the
air distribution towards the central and side air
vents, the air flow to maximum and activates
recirculation of interior air.
►
Press button
8 to activate/deactivate the
function (confirmed by the indicator lamp coming
on/going off).
Once the function is deactivated, the system
returns to the previous settings.
Dual-zone automatic air
conditioning
1. Temperature.
2. Air flow.
3. Air distribution.
4. Interior air recirculation.
5.Visibility programme.
6. Demisting/de-icing of rear screen and door
mirrors on/off (depending on version).
7. Air conditioning on/off.
8. Maximum air conditioning.
9. System switch-off.
10. Automatic comfort mode.
11 . "Dual" function.
The selected settings and the
temperature values are displayed in the
upper banner of the touch screen.
Temperature
The driver and front passenger can each set the
temperature to suit their preferences.
The value shown on the touch screen is a level
of comfort, not a temperature in Celsius or
Fahrenheit.
►
T
urn the thumbwheel 1 from "Blue" (cold)
to "Red" (hot) to adjust the temperature to your
requirements.
Air flow
► Press the buttons 2 to increase/decrease the
air flow.
The air flow symbol (a fan) appears. It is filled in
or emptied gradually, according to the value set.
Air distribution
► Press button 3 to direct the air flow in turn
towards:
– windscreen, side windows and footwells,
– footwells,
–
central vents, side vents and footwells,
–
windscreen, side windows, central vents, side
vents and footwells,
–
central and side vents,
–
windscreen and side windows (demisting or
defrosting).
Air conditioning on/ off
The air conditioning system is designed to
operate effectively in all seasons, with the
windows closed:
–
It lowers the temperature in summer
.
–
It increases the effectiveness of the demisting,
in winter
, above 3°C.
►
Press button
7 to activate/deactivate the air
conditioning system.
Air conditioning does not operate when the air flow is deactivated.
To obtain cool air more quickly, enable interior
air recirculation for a brief period. Then return
to the intake of exterior air.
Switching off the air conditioning may result in
some discomfort (humidity or misting).
Automatic Comfort programme
► Press button 10 to activate or deactivate the
air conditioning system’s automatic mode. CarM an uals 2 .c o m
Page 84 of 164
82
Driving
► Press and hold button 2 or 3 to change the
value in steps of + or - 5 mph (or 5 km/h).
Exceeding the speed setting
► Fully depress the accelerator pedal.
The speed limiter is deactivated and the
displayed speed setting flashes.
►
Release the accelerator pedal to return to
below the programmed speed.
On a steep descent or in the event of
sharp acceleration, the speed limiter will
not be able to prevent the vehicle from
exceeding the speed setting.
If necessary, use the brakes to control the
speed of your vehicle.
Switching off
► Press button 1 (OFF): speed limiter
information is no longer displayed.
Overspeed alert at 75
mph (120 km/h)
(Depending on country of sale)
The overspeed alert system triggers an alert as
soon as it detects that the speed is greater than
75 mph (120 km/h).
This warning lamp flashes on the
instrument panel accompanied by an
audible signal.
The alert is maintained as long as the speed of
the vehicle is above 75 mph (120 km/h).
The overspeed alert system cannot be deactivated.
Cruise control - Specific
recommendations
The cruise control function does not guarantee compliance with the maximum
authorised speed and the safety distance
between vehicles, the driver remains
responsible for their driving.
In the interest of public safety, only use cruise
control if the traffic conditions enable vehicles
to drive at a steady speed and maintain an
adequate safety distance.
Remain vigilant while cruise control is
activated. If you press and hold one of the
speed setting modification buttons, your
vehicle may change speed very abruptly.
When descending a steep hill , the cruise
control system cannot prevent the vehicle
from exceeding the set speed. Brake if
necessary to control the vehicle speed.
On steep climbs or when towing, the set
speed may not be reached or maintained.
Exceeding the programmed speed
setting
You can temporarily exceed the speed
setting by pressing the accelerator pedal (the
programmed speed flashes).
To return to the speed setting, release the
accelerator pedal (when the set speed is
reached again, the displayed speed stops
flashing).
Operating limits
Never use the system in the following
situations:
–
In an urban area with the risk of
pedestrians crossing the road.
–
In heavy traffic.
–
On winding or steep roads.
–
On slippery or flooded roads.
–
In poor weather conditions.
–
In the event of restricted visibility for the
driver
.
–
Driving on a speed circuit.
–
Driving on a rolling road.
–
When using a non-standard spare wheel.
–
When using snow chains, non-slip covers
or studded tyres.
Cruise control
For more information, refer to the
General recommendations on the use
of driving and manoeuvring aids and the CarM an uals 2 .c o m
Page 140 of 164
138
Bluetooth® audio system
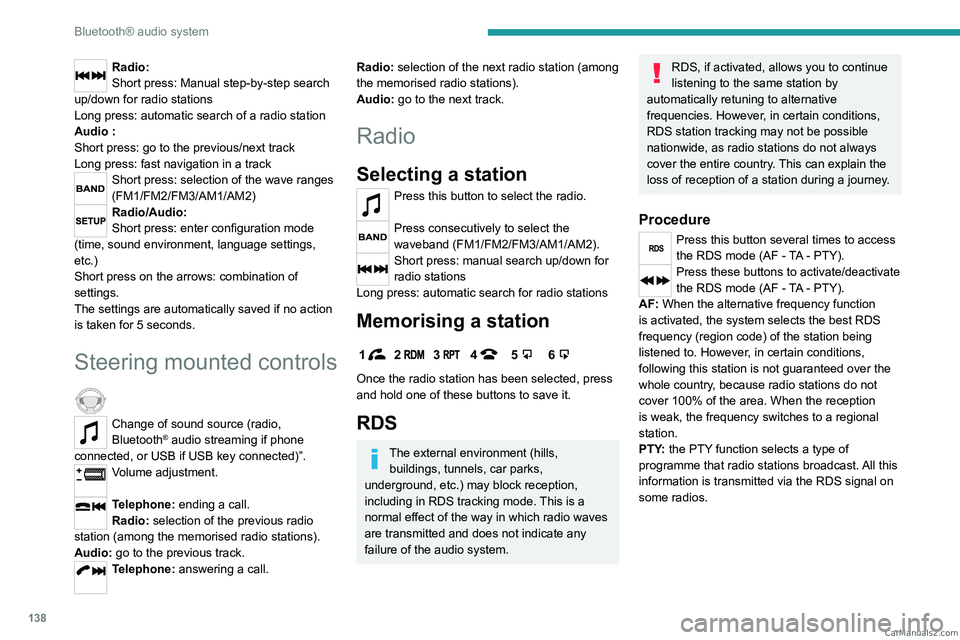
Radio:
Short press: Manual step-by-step search
up/down for radio stations
Long press: automatic search of a radio station
Audio
:
Short press: go to the previous/next track
Long press: fast navigation in a track
Short press: selection of the wave ranges
(FM1/FM2/FM3/AM1/AM2)
Radio/Audio:
Short press: enter configuration mode
(time, sound environment, language settings,
etc.)
Short press on the arrows: combination of
settings.
The settings are automatically saved if no action
is taken for 5 seconds.
Steering mounted controls
Change of sound source (radio,
Bluetooth® audio streaming if phone
connected, or USB if USB key connected)”.
Volume adjustment.
Telephone: ending a call.
Radio: selection of the previous radio
station (among the memorised radio stations).
Audio: go to the previous track.
Telephone: answering a call.
Radio: selection of the next radio station (among
the memorised radio stations).
Audio: go to the next track.
Radio
Selecting a station
Press this button to select the radio.
Press consecutively to select the
waveband (FM1/FM2/FM3/AM1/AM2).
Short press: manual search up/down for
radio stations
Long press: automatic search for radio stations
Memorising a station
123456
Once the radio station has been selected, press
and hold one of these buttons to save it.
RDS
The external environment (hills, buildings, tunnels, car parks,
underground, etc.) may block reception,
including in RDS
tracking mode. This is a
normal effect of the way in which radio waves
are transmitted and does not indicate any
failure of the audio system.
RDS, if activated, allows you to continue
listening to the same station by
automatically retuning to alternative
frequencies. However, in certain conditions,
RDS station tracking may not be possible
nationwide, as radio stations do not always
cover the entire country. This can explain the
loss of reception of a station during a journey.
Procedure
Press this button several times to access
the RDS mode (AF - TA - PTY).
Press these buttons to activate/deactivate
the RDS mode (AF - TA - PTY).
AF: When the alternative frequency function
is activated, the system selects the best RDS
frequency (region code) of the station being
listened to. However, in certain conditions,
following this station is not guaranteed over the
whole country, because radio stations do not
cover 100% of the area. When the reception
is weak, the frequency switches to a regional
station.
PTY: the PTY function selects a type of
programme that radio stations broadcast. All this
information is transmitted via the RDS signal on
some radios. CarM an uals 2 .c o m
Page 143 of 164
141
Peugeot Connect 10" Touchscreen
11Peugeot Connect 10"
Touchscreen
GPS navigation -
Applications - Multimedia
audio system - Bluetooth
®
telephone
The functions and settings described
vary according to the vehicle version and
configuration, as well as the country of sale.
For safety reasons and because they
require sustained attention by the driver,
the following operations must be carried out
with the vehicle stationary and the ignition
on:
–
Pairing the smartphone with the system via
Bluetooth.
–
Using the smartphone.
–
Connection to the CarPlay®, MirrorLinkTM
or Android Auto applications (certain
applications interrupt their display while the
vehicle is moving).
–
W
atching a video (the video stops when the
vehicle starts to move again).
–
Changing the system settings and
configuration.
To perform system and map updates, visit a Peugeot dealer.
First steps
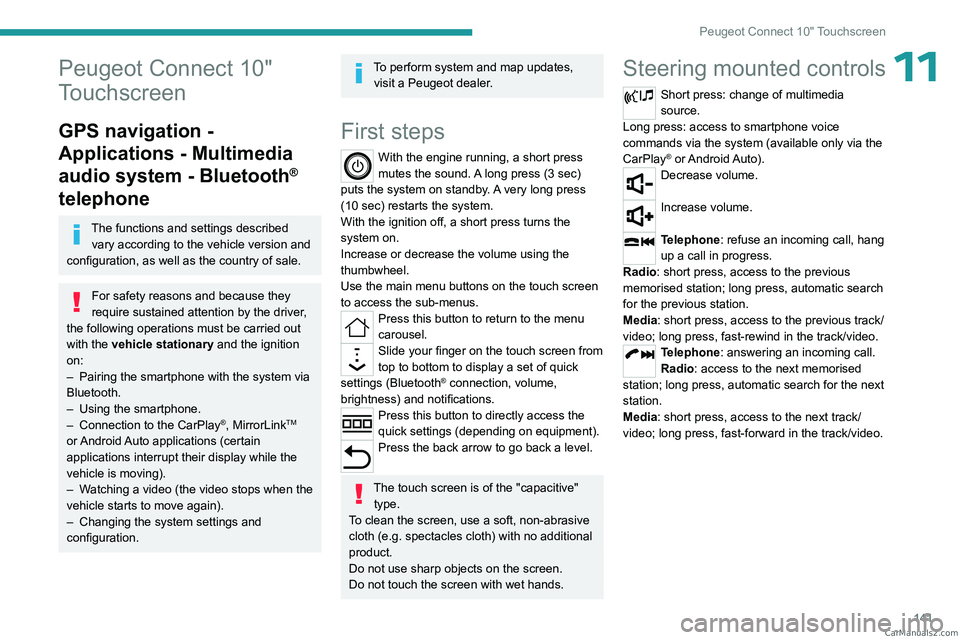
With the engine running, a short press
mutes the sound. A long press (3 sec)
puts the system on standby. A very long press
(10 sec) restarts the system.
With the ignition off, a short press turns the
system on.
Increase or decrease the volume using the
thumbwheel.
Use the main menu buttons on the touch screen
to access the sub-menus.
Press this button to return to the menu
carousel.
Slide your finger on the touch screen from
top to bottom to display a set of quick
settings (Bluetooth
® connection, volume,
brightness) and notifications.
Press this button to directly access the
quick settings (depending on equipment).
Press the back arrow to go back a level.
The touch screen is of the "capacitive" type.
To clean the screen, use a soft, non-abrasive
cloth (e.g. spectacles cloth) with no additional
product.
Do not use sharp objects on the screen.
Do not touch the screen with wet hands.
Steering mounted controls
Short press: change of multimedia
source.
Long press: access to smartphone voice
commands via the system (available only via the
CarPlay
® or Android Auto).Decrease volume.
Increase volume.
Telephone: refuse an incoming call, hang
up a call in progress.
Radio: short press, access to the previous
memorised station; long press, automatic search
for the previous station.
Media: short press, access to the previous track/
video; long press, fast-rewind in the track/video.
Telephone: answering an incoming call.
Radio: access to the next memorised
station; long press, automatic search for the next
station.
Media: short press, access to the next track/
video; long press, fast-forward in the track/video. CarM an uals 2 .c o m
Page 145 of 164
143
Peugeot Connect 10" Touchscreen
11Android Auto
Run certain smartphone applications via
the Android Auto function.
Navigation
Navigation home screen
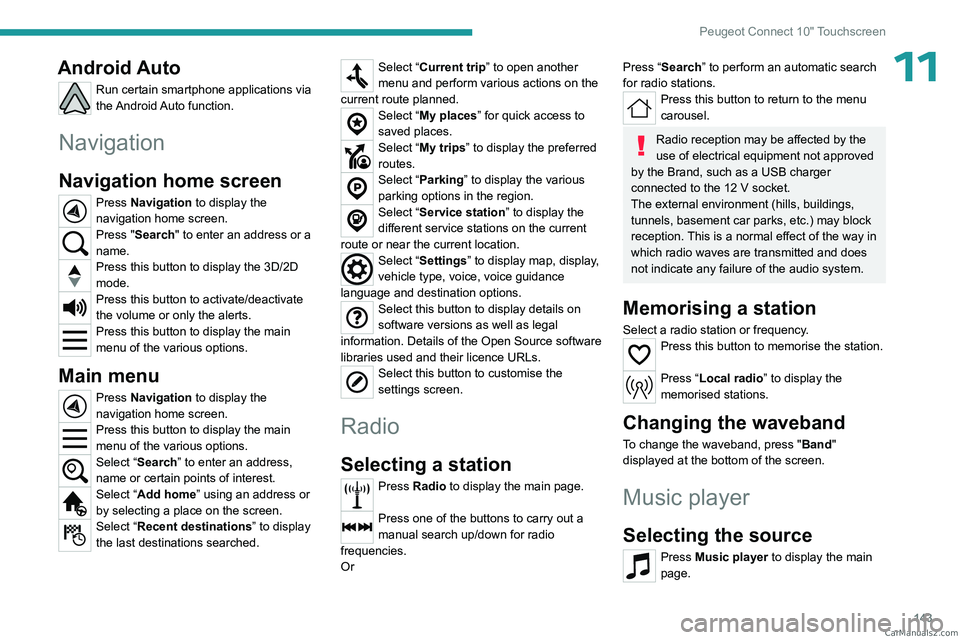
Press Navigation to display the
navigation home screen.
Press "Search" to enter an address or a
name.
Press this button to display the 3D/2D
mode.
Press this button to activate/deactivate
the volume or only the alerts.
Press this button to display the main
menu of the various options.
Main menu
Press Navigation to display the
navigation home screen.
Press this button to display the main
menu of the various options.
Select “Search” to enter an address,
name or certain points of interest.
Select “Add home” using an address or
by selecting a place on the screen.
Select “Recent destinations” to display
the last destinations searched.
Select “Current trip” to open another
menu and perform various actions on the
current route planned.
Select “My places” for quick access to
saved places.
Select “My trips” to display the preferred
routes.
Select “Parking” to display the various
parking options in the region.
Select “Service station” to display the
different service stations on the current
route or near the current location.
Select “Settings” to display map, display,
vehicle type, voice, voice guidance
language and destination options.
Select this button to display details on
software versions as well as legal
information. Details of the Open Source software
libraries used and their licence URLs.
Select this button to customise the
settings screen.
Radio
Selecting a station
Press Radio to display the main page.
Press one of the buttons to carry out a
manual search up/down for radio
frequencies.
Or
Press “Search” to perform an automatic search
for radio stations.
Press this button to return to the menu
carousel.
Radio reception may be affected by the
use of electrical equipment not approved
by the Brand, such as a USB charger
connected to the 12
V socket.
The external environment (hills, buildings,
tunnels, basement car parks, etc.) may block
reception. This is a normal effect of the way in
which radio waves are transmitted and does
not indicate any failure of the audio system.
Memorising a station
Select a radio station or frequency.Press this button to memorise the station.
Press “Local radio ” to display the
memorised stations.
Changing the waveband
To change the waveband, press " Band"
displayed at the bottom of the screen.
Music player
Selecting the source
Press Music player to display the main
page. CarM an uals 2 .c o m