PONTIAC BONNEVILLE 1995 Owners Manual
Manufacturer: PONTIAC, Model Year: 1995, Model line: BONNEVILLE, Model: PONTIAC BONNEVILLE 1995Pages: 338, PDF Size: 16.19 MB
Page 231 of 338
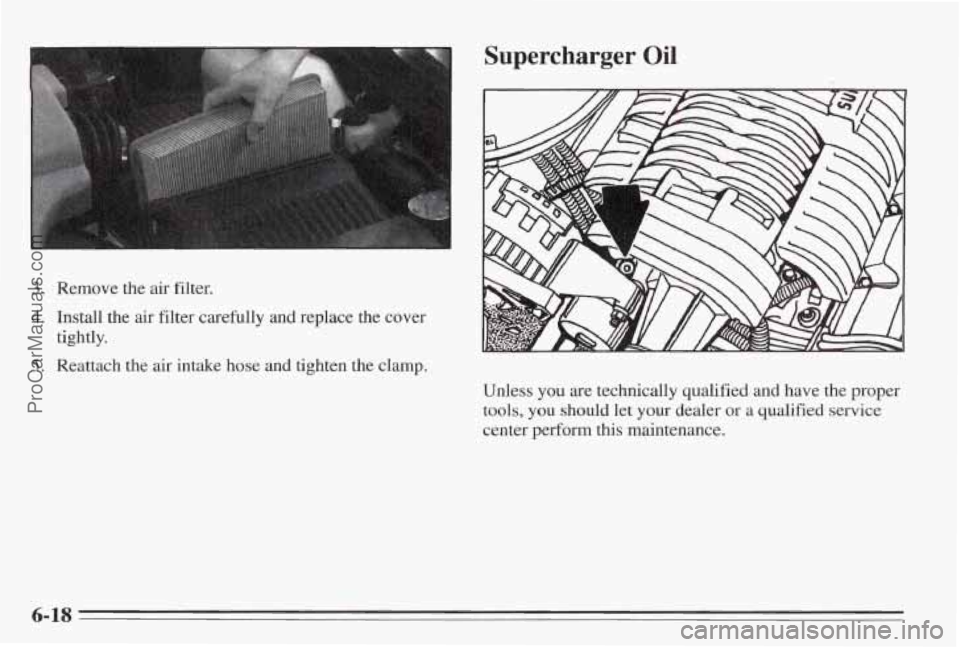
3. Remove the air filter.
4. Install the air filter carefully and replace the cover
5. Reattach the air intake hose and tighten the clamp.
tightly.
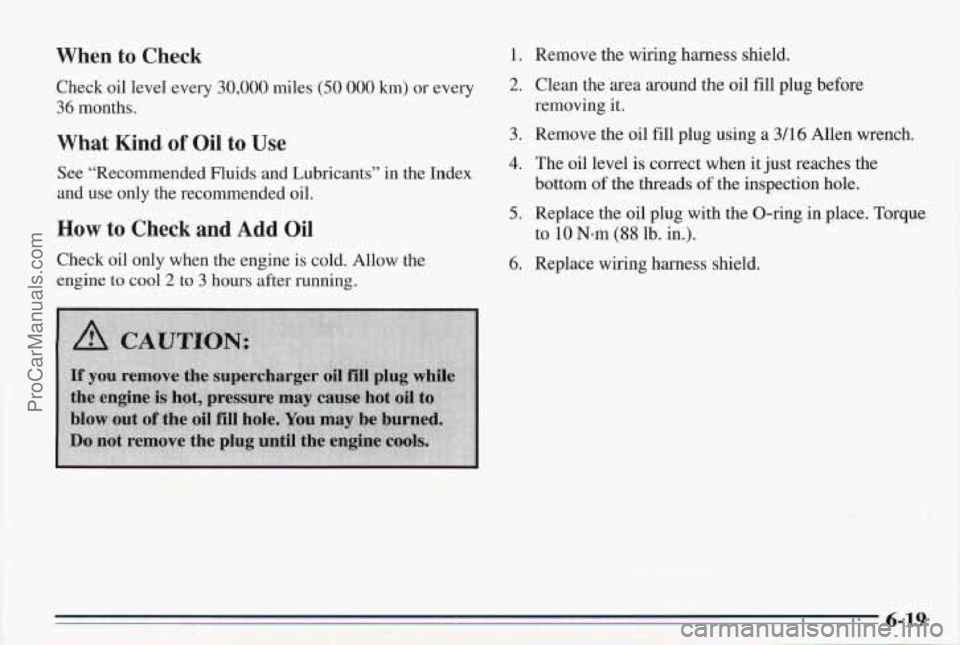
Unless
you are technically qualified and have the proper
tools, you should let
your dealer or a qualified service
center perform
this maintenance.
6-18
ProCarManuals.com
Page 232 of 338
When to Check
Check oil level every 30,000 miles (50 000 km) or every
36 months.
What Kind. of Oil to Use
See “Recommended Fluids and Lubricants” in the Index
and use only the recommended oil.
How to Check and Add Oil
Check oil only when the engine is cold. Allow the
engine to cool
2 to 3 hours after running.
1. Remove the wiring harness shield.
2. Clean the area around the oil fill plug before
removing it.
3. Remove the oil fill plug using a 31 16 Allen wrench.
4. The oil level is correct when it just reaches the
bottom
of the threads of the inspection hole.
5. Replace the oil plug with the O-ring in place. Torque
to
10 Nom (88 lb. in.).
6. Replace wiring harness shield.
ProCarManuals.com
Page 233 of 338
Automatic Transaxle Fluid
When to Check and Change
A good time to check your automatic transaxle fluid level
is when the engine oil is changed. Refer to the
Maintenance Schedule to detemrrine when to change your
fluid. See "Scheduled Maintenance Services" in the Index.
How to Check
Because this operation can be a little difficult, you may
choose
to have this done at your Pontiac dealer Service
Department.
If you do it yourself, be sure to follow all the
instructions here, or you could get a false reading on the
dipstick.
NOTICE:
Too much or too little fluid can damage your
transaxle.
Too much can mean that some of the
fluid could come out and fall
on hot engine parts
or exhaust system parts, starting a fire. Be sure to
get an accurate reading if you check your
transaxle fluid.
~~~
Wait at least 30 minutes before checking the transaxle
fluid level
if you have been driving:
0 When outside temperatures are above 90" F (32°C).
At high speed for quite a while.
In heavy traffic - especially in hot weather.
0 While pulling a trailer.
To get the right reading, the fluid should be at normal
operating temperature, which is
180 "F to 200°F (82" C
to 93 "C).
Get the vehicle warmed up by driving about €5 des (24 km)
when outside temperatures are above 50°F (10°C). If it's
colder
than 50°F (lO"C), you may have to drive longer.
To check the fluid level
1. Park your vehicle on a level place. Keep the engine
running.
2. With the parking brake applied, place the shift lever
in PARK (P).
3. With your foot on the brake pedal, move the shift
lever through each gear range, pausing for about
three seconds
in each range. Then, position the shift
lever in PARK (P).
4. Let the engine run at idle for three to five minutes.
6-20
ProCarManuals.com
Page 234 of 338
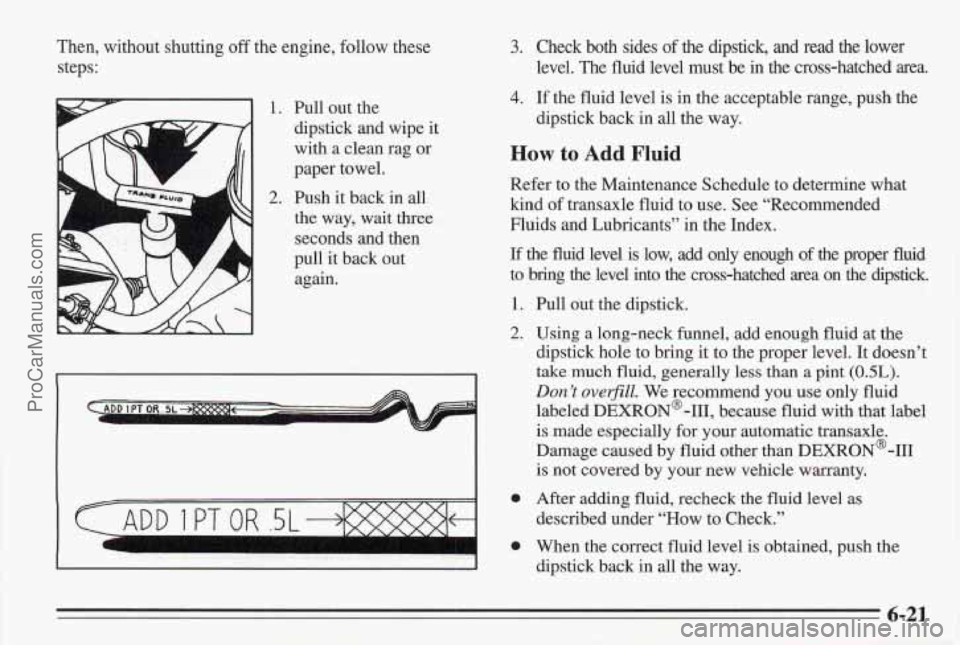
‘Then, without shutting off the engine, follow these
steps:
L A
1.
2.
Pull out the
dipstick and wipe it
with a clean rag
or
paper towel.
Push it back in
all
the way, wait three
seconds and then
pull it back out again.
3. Check both sides of the dipstick, and read the lower
level. The fluid level must be
in the cross-hatched area.
4. If the fluid level is in the acceptable range, push the
dipstick back in all the way.
How to Add Fluid
Refer to the Maintenance Schedule to determine what
kind of transaxle fluid to use. See “Recommended
Fluids and Lubricants” in the Index.
If the fluid level is low, add only enough of the proper fluid
to bring
the level into the cross-hatched area on the dipstick.
1. Pull out the dipstick.
2. Using a long-neck funnel, add enough fluid at the
dipstick hole to bring it to the proper level. It doesn’t
take much fluid, generally
less than a pint (13.52).
Don ’t overfill. We recommend you use only fluid
labeled
DEXRON@-111, because fluid with that label
is made especially for your automatic transaxle.
Damage caused by fluid other than DEXRON@-111
is not covered by your new vehicle warranty.
0 After adding fluid, recheck the fluid level as
0 When the correct fluid level is obtained, push the
described under
“How to Check.”
1 I dipstick back in all the way.
6-21
ProCarManuals.com
Page 235 of 338
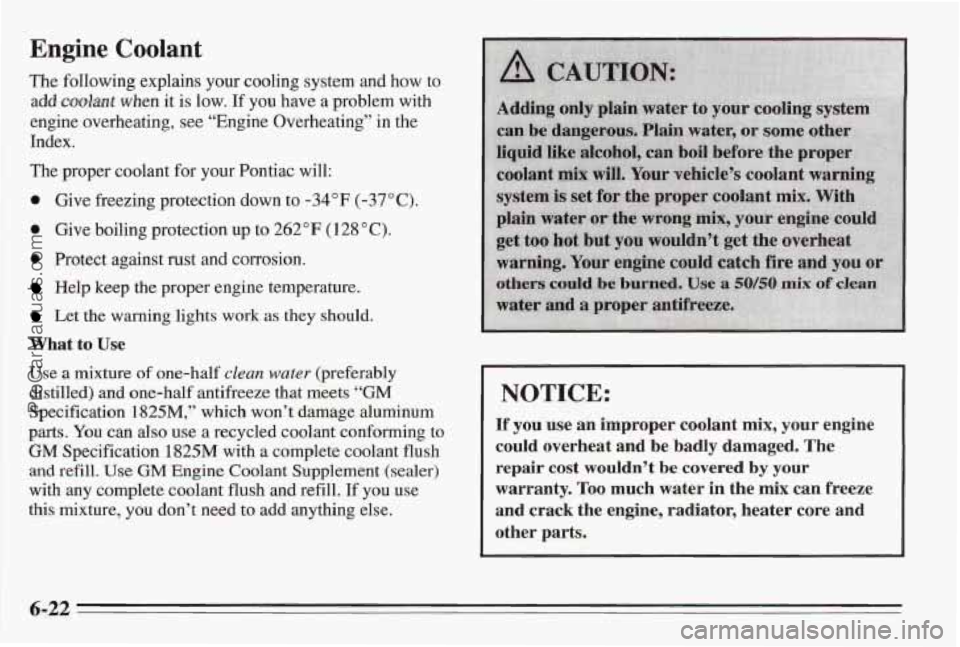
Engine Coolant
The following explains your cooling system and how to
add
coolant when it is low. If you have a problem with
engine overheating, see “Engine Overheating” in the
Index.
The proper co’olant for your Pontiac will:
0 Give freezing protection down to -34°F (-37°C).
0 Give boiling protection up to 262°F (128 “C).
0 Protect against rust and corrosion.
Help keep the proper engine temperature.
Let the warning Sights work as they should.
What to Use
Use a mixture of one-half clean water (preferably
distilled) and one-half antifreeze that meets
“GM
Specification 1825M,?’ which won’t damage aluminum
parts. You can also use a recycled coolant conforming to
GM specification 1825M with a complete coolant flush
and refill. Use GM Engine Coolant Supplement (sealer)
with
any complete coolant flush and refill. If you use
this mixture,
you don’t need to add anything else.
NOTICE:
If you use an improper coolant nrsix, yuur engine
could overheat and be badly damaged. The
repair cast wouldn’t be mvmd by your
warranty. T~o much water in the mix em freeze
and crack the engine, radiabl; heater core an’d
other
pa
6-22
ProCarManuals.com
Page 236 of 338
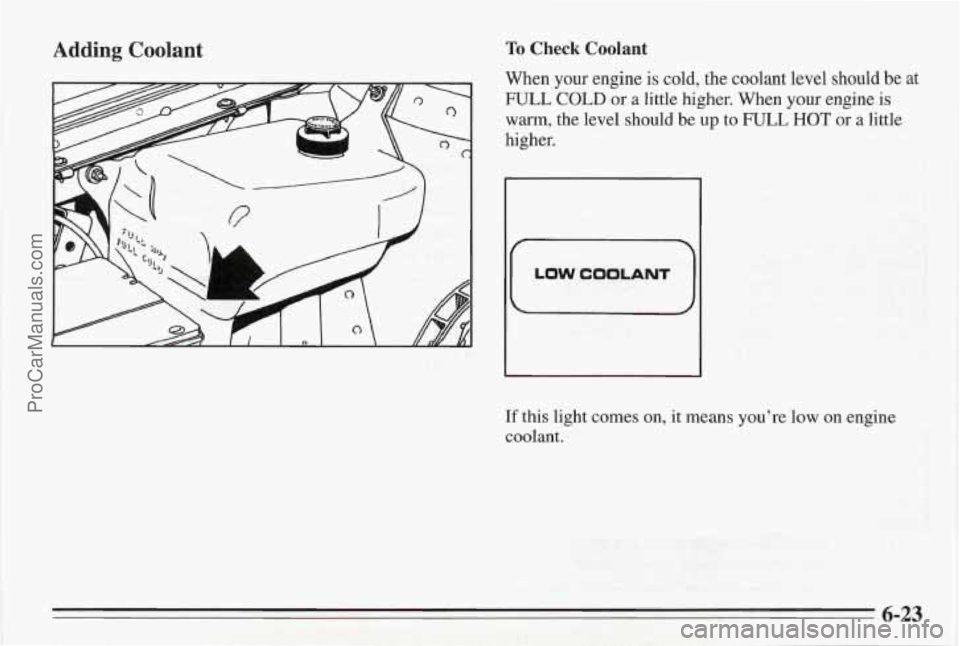
Adding Coolant To Check Coolant
When your engine is cold, the coolant level should be at
FULL COLD or a little higher. When your engine is
warm, the level should be up to FULL HOT or a little
higher.
If this light comes on, it means you’re low on engine
coolant.
6-23
ProCarManuals.com
Page 237 of 338
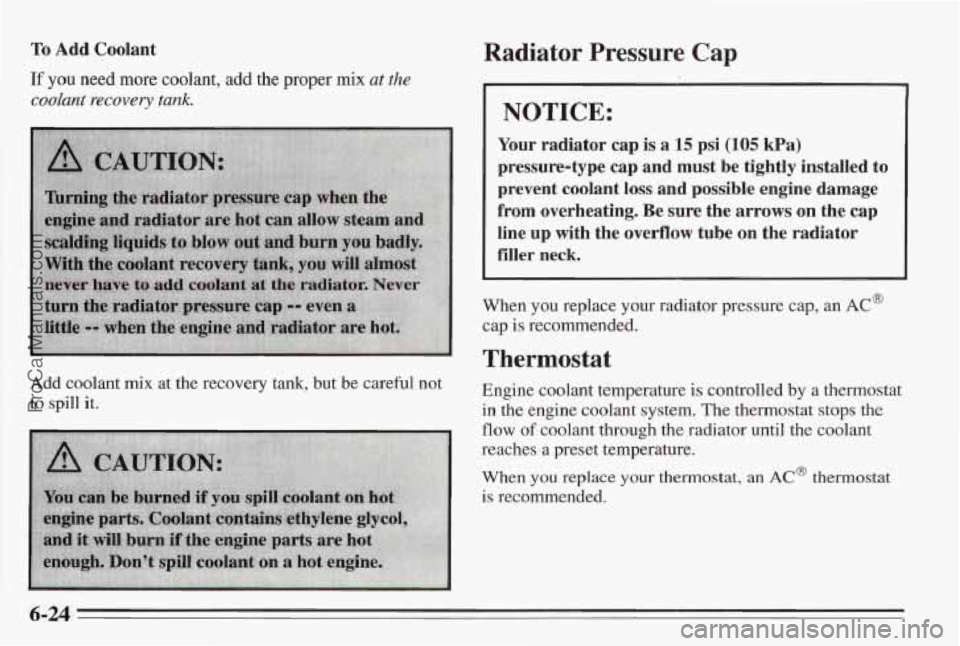
To Add Coolant
If you need more coolant, add the proper mix at the
coolant recovery tank.
Add coolant mix at the recovery tank, but be careful not
to spill it.
Radiator Pressure Cap
NOTICE:
Your radiator cap is a 15 psi (105 kPa)
pressure-type cap and must be tightly installed to
prevent coolant
loss and possible engine damage
from overheating. Be sure the arrows on the cap
line up with the overflow tube on the radiator
filler neck.
When you replace your radiator pressure cap, an AC@
cap is recommended.
Thermostat
Engine coolant temperature is controlled by a thermostat
in the engine coolant system. The thermostat stops
the
flow of coolant through the radiator until the coolant
reaches a preset temperature.
When you replace your thermostat, an AC@ thermostat
is recommended.
6-24
ProCarManuals.com
Page 238 of 338
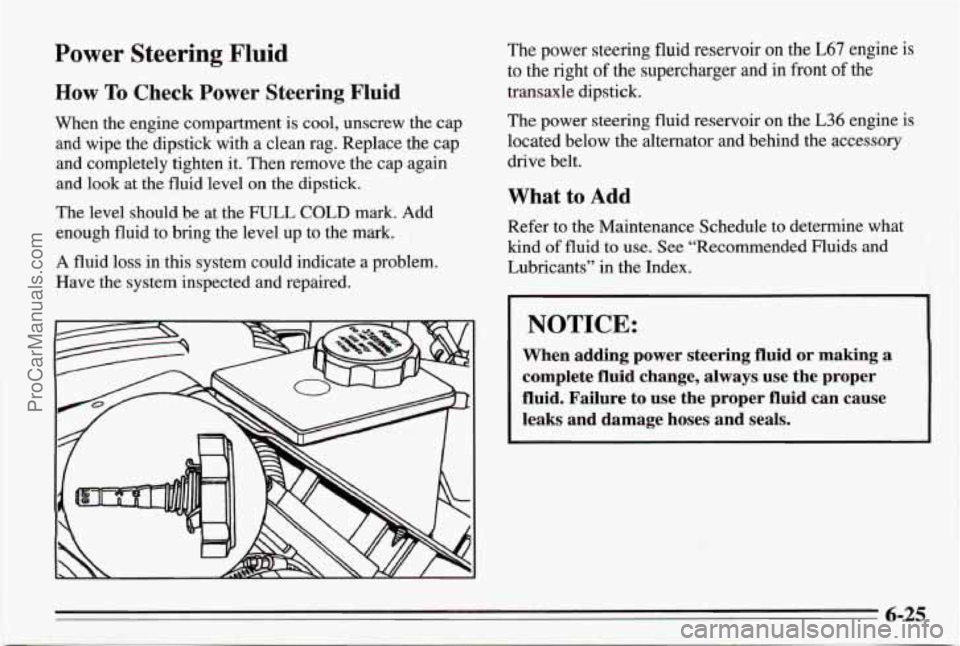
Power Steering Fluid
How To Check Power Steering Fluid
When the engine compartment is cool, unscrew the cap
and wipe the dipstick with a clean rag. Replace the cap
and completely tighten it. Then remove the cap again
and look
at the fluid level on the dipstick.
The level should be at the FULL
COLD mark. Add
enough fluid to bring the level up to the mark.
A fluid loss in this system could indicate a problem.
Have the system inspected and repaired. The
power steering fluid reservoir on the
L67 engine is
to the right
of the supercharger and in front of the
transaxle dipstick.
The power steering fluid reservoir on the
L36 engine is
located below the alternator and behind the accessory
drive belt.
What to Add
Refer to the Maintenance Schedule to determine what
kind
of fluid to use. See “Recommended Fluids and
Lubricants” in the Index.
I
NOTICE:
When adding power steering fluid or making a
complete fluid change, always use the proper
fluid. Failure
to use the proper fluid can cause
leaks and damage hoses and seals.
ProCarManuals.com
Page 239 of 338
Windshield Washer Fluid
What to Use
When you need windshield washer fluid, be sure to read
the manufacturer’s instructions before
use. If you will be
operating your vehicle in an area where the temperature
may fall below freezing, use a fluid that has sufficient
protection against freezing.
To Add
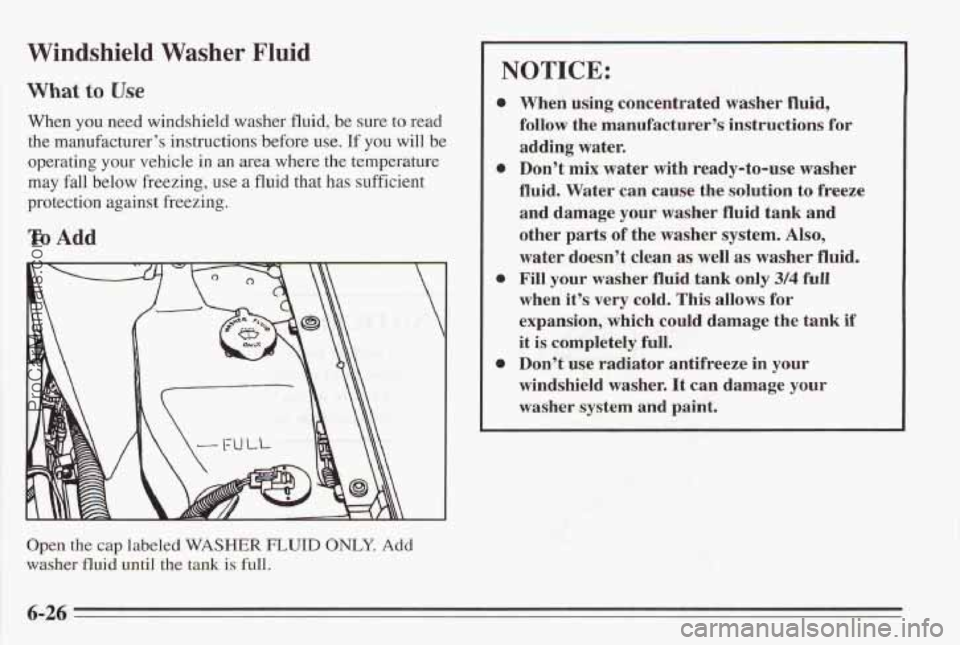
Open the cap labeled WASHER FLUID ONLY. Ad’d
washer
fluid until the tank is full.
NOTICE:
0
When using concentrated washer fluid,
follow the manufacturer’s instructions for
adding water.
Don’t
mix water with ready-to-use washer
fluid. Water can cause the solution to freeze
and damage your washer fluid tank and
other parts
of the washer system. Also,
water doesn’t ‘clean as well as washer fluid.
Fill your washer fluid tank only 3/4 full
when it’s very cold. This allows for
expansion, which could damage the tank
if
it is completely full.
Don’t us’e radiator antifreeze in your
windshield washer. It can damage
your
washer system and paint.
L
6-26
ProCarManuals.com
Page 240 of 338
Brakes
Brake Master Cylinder
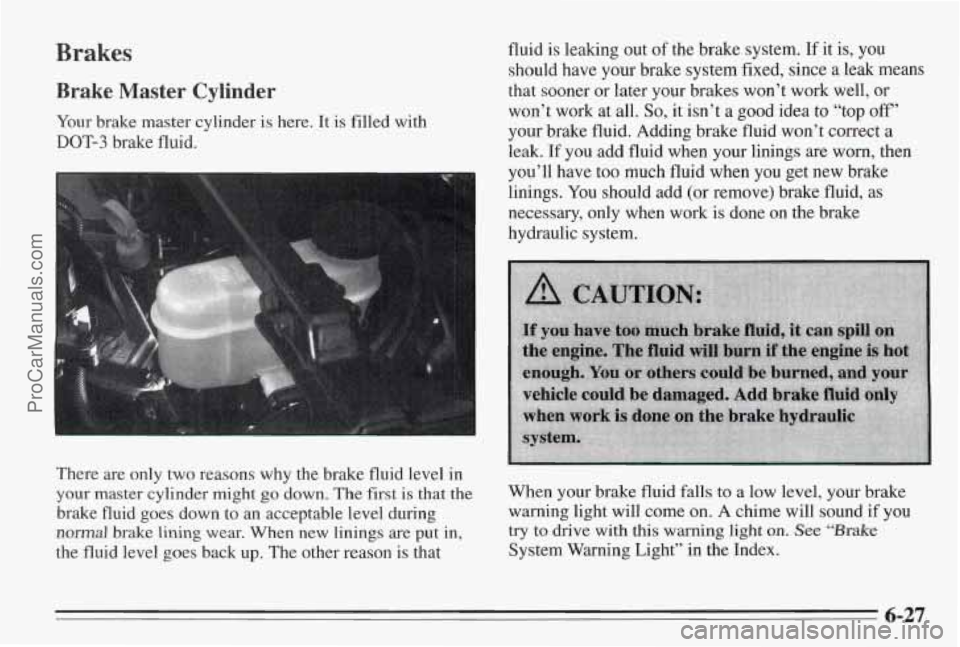
Your brake master cylinder is here. It is filled with
DOT-3 brake fluid. fluid is leaking
out
of the brake system. If it is, you
should have your brake system fixed, since
a leak means
that sooner or later your brakes won’t work well,
or
won’t work at all. So, it isn’t a good idea to “top off’
your brake fluid. Adding brake fluid won’t correct a
leak. If you add fluid when your linings are worn, then
you’ll have too much fluid when you get new brake
linings. You should add (or remove) brake fluid, as
necessary, only when work is done on the brake
hydraulic system.
There are only two reasons why the brake fluid level in
your master cylinder might go down. The first is that the
brake fluid goes down to an acceptable level during
noma1 brake lining wear. When new linings are put in,
the fluid level goes back up. The other reason is that When your brake fluid falls to a
low level, your brake
warning light will come on.
A chime will sound if you
try to drive with this warning light on. See ‘‘B*
System Warning Light” in the Index.
6-27
ProCarManuals.com