radio controls PONTIAC GRAND AM 2003 Owners Manual
[x] Cancel search | Manufacturer: PONTIAC, Model Year: 2003, Model line: GRAND AM, Model: PONTIAC GRAND AM 2003Pages: 354, PDF Size: 16.3 MB
Page 108 of 354
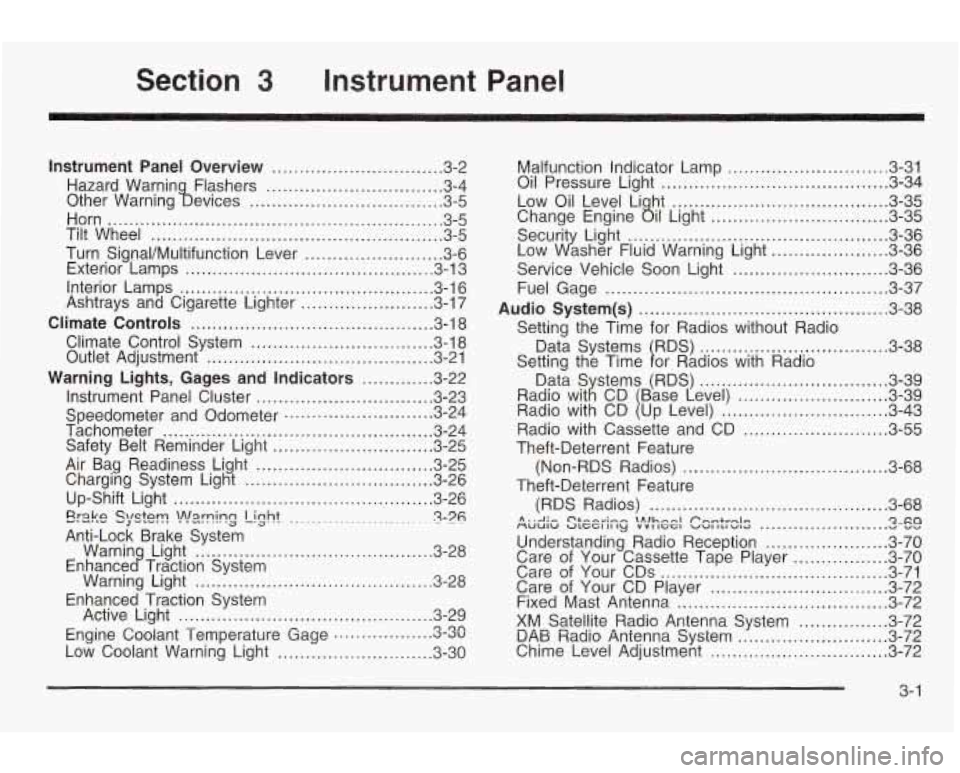
Section 3 Instrument Panel
Instrument Panel Overview ............................... 3.2
Hazard Warnin Flashers
................................ 3.4
Other Warning !bevices
................................... 3.5
Horn
............................................................. 3.5
Tilt Wheel
..................................................... 3.5
Turn Signal/Multifunction Lever
......................... 3.6
Exterior Lamps
............................................. 3.13
Interior Lamps
.............................................. 3.16
Ashtrays and Cigarette Lighter
........................ 3.17
Climate Controls
............................................ 3.18
Climate Control System
................................. 3.18
Outlet Adjustment
......................................... 3.21
Warning Lights, Gages and Indicators
............. 3-22
Instrument Panel Cluster
................................ 3.23
Speedometer and Odometer
........................... 3.24
Tachometer
................................................. 3.24
Safety Belt Reminder Light
............................. 3.25
Air Bag Readiness Light ................................ 3.25
Charging System Light
.................................. 3.26
Up-Shift Light
............................................... 3.26
Erake QlQtT! -J -.-. !n!=lrning Light ........................ ~ 3-76 .
Warnin Light ........................................... 3-28
Warning Light
........................................... 3.28
Active Light
.............................................. 3.29
Low Coolant Warning Light
............................ 3.30
Anti-Lock
Brake System
Enhance
c? Traction System
Enhanced Traction System
Engine Coolant Temperature Gage
3.3~ rl on ..................
Malfunction Indicator Lamp ............................. 3.31
Oil Pressure Light
......................................... 3.34
Low Oil Level Li ht
....................................... 3.35
Securit Light:
............................................... 3-36
Service Vehicle Soon Light
............................ 3-36
Fuel Gage
................................................... 3-37
Audio System(s)
............................................. 3-38
Data Systems RDS)
.................................. 3-38
Change Engine
ail Light ................................ 3-35
Low dsher Fluid Warning Light
..................... 3-36
Setting the Time for Radios without Radio
Setting the Time
1 or Radios with Radio 3-39
........................... 3-39
.............................. 3-43
Radio with Cassette and CD
.......................... 3-55
Theft-Deterrent Feature
Theft-Deterrent Feature (Non-RDS Radios)
..................................... 3-68
(RDS Radios)
........................................... 3-68
MUUIW ULCCI II ly VVI IGGI VU1 ILI WIG v vv A . .A .- C'&-A~;~~ \Alhnnl Pnmtrnlrr Qxa .......................
Understanding Radio Reception ...................... 3-70
Care of Your Cassette Tape Player
................. 3-70
Care of Your CDs ......................................... 3-71
Care of Your CD Player
................................ 3-72
Fixed Mast Antenna ...................................... 3-72
XM Satellite Radio Antenna System
................ 3-72
DAB Radio Antenna System 3-11 Chime Level Adjustment ................................ 3-72
n Tn ...........................
3- 1
Page 145 of 354
Audio System(s)
Notice: Before you add any sound equipment to
your vehicle
- like a tape player, CB radio, mobile
telephone or two-way radio
- be sure you can
add what you want. If you can, it’s very important to
do
it properly. Added sound equipment may
interfere with the operation of your vehicle’s engine,
Delphi Electronics radio or other systems, and
even damage them. Your vehicle’s systems may interfere with the operation of sound equipment that
has been added improperly.
So, before adding sound equipment, check with
your dealer and be sure to check federal rules
covering mobile radio and telephone units. Your
audio system has been designed to operate easily
and to give years of listening pleasure. You
will get
the most enjoyment out of it
if you acquaint yourself
with it first. Find out what your audio system can do and
how to operate
all of its controls to be sure you’re
getting the most out of the advanced engineering that
went into it.
Your vehicle has
a feature called Retained Accessory
Power (RAP). With RAP, you can play your audio
system even after the ignition is turned
off. See Retained
Accessory Power under
Ignition Positions on page 2-18.
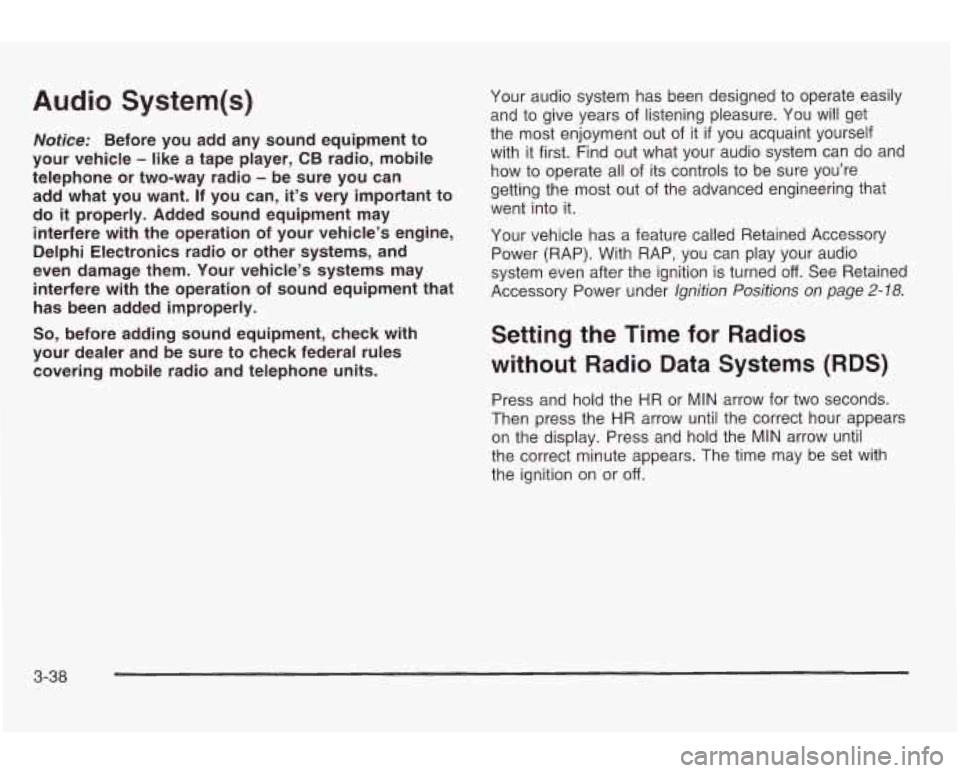
Setting the Time for Radios
without Radio Data Systems (RDS)
Press and hold the HR or MIN arrow for two seconds.
Then press the HR arrow until the correct hour appears
on the display. Press and hold the
MIN arrow until
the correct minute appears. The time may be set with
the ignition on or
off.
3-38
Page 148 of 354
To adjust both tone controls and both speaker controls
to the middle position, first end out of audio mode
by pressing another button, causing the radio to perform
that function, or by waiting five seconds for the display
to return to time of day. Then press and hold the AUDIO
button for more than two seconds until you hear a
beep.
CEN will appear on the display.
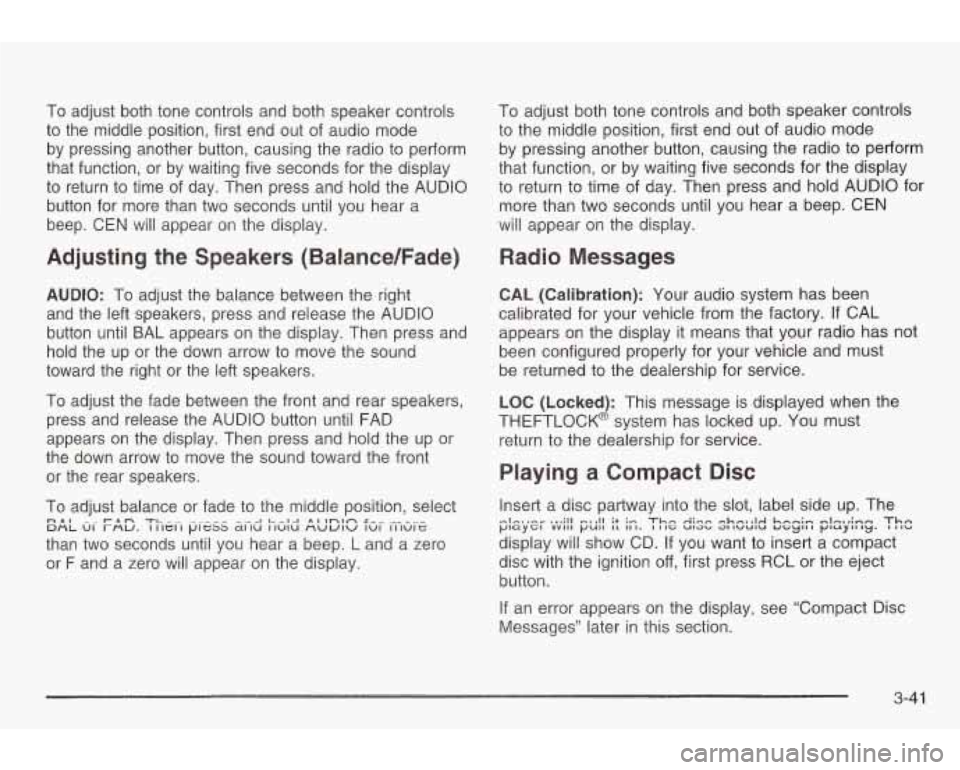
Adjusting the Speakers (Balance/Fade)
AUDIO: To adjust the balance between the right
and the left speakers, press and release the AUDIO
button until
BAL appears on the display. Then press and
hold the up or the down arrow to move the sound
toward the right or the left speakers.
To adjust the fade between the front and rear speakers,
press and release the AUDIO button until FAD
appears on the display. Then press and hold the up or
the down arrow
to move the sound toward the front
or the rear speakers.
To adjust balance or fade to the middle position, select
than two seconds until you hear a beep.
L and a zero
or
F and a zero will appear on the display.
n A I rn n TI- -- -._-I I- -1-1 n I ~n~n I-.. DHL UI rnu. I II~II peas CAI IU I iuiu HWUIU IUI 111u1e
To adjust both tone controls and both speaker controls
to the middle position, first end out of audio mode
by pressing another button, causing the radio
to perform
that function, or by waiting five seconds for the display
to return to time of day. Then press and hold AUDIO for
more than two seconds until you hear a beep.
CEN
will appear on the display.
Radio Messages
CAL (Calibration): Your audio system has been
calibrated for your vehicle from the factory.
If CAL
appears on the display it means that your radio has not
been configured properly for your vehicle and must
be returned
to the dealership for service.
LOC (Locked): This message is displayed when the
THEFTLOCK@ system has locked up. You must return
to the dealership for service.
Playing a Compact Disc
Insert a disc partway into the slot, label side up. The
display will show CD. If you want
to insert a compact
disc with the ignition
off, first press RCL or the eject
button.
mInw,-.v 1.,;11 311 ;+ Thn A;nn ehnallA knmim .-~lo~t;mm Thn tJlCdy&l VVlll pull I1 II 1. I IIG U13b JIlVUlU UGYII I pluyll 13. I (IC.
If an error appears on the display, see ‘Compact Disc
Messages” later in this section.
3-4 1
Page 154 of 354
4. Press EQ to select the equalization.
5. Press and hold one of the six numbered
pushbuttons until you hear a beep. Whenever you
press that numbered pushbutton, the station
you set will return and the equalization that you
selected will also be automatically selected for that
pushbutton.
6. Repeat the steps for each pushbutton.
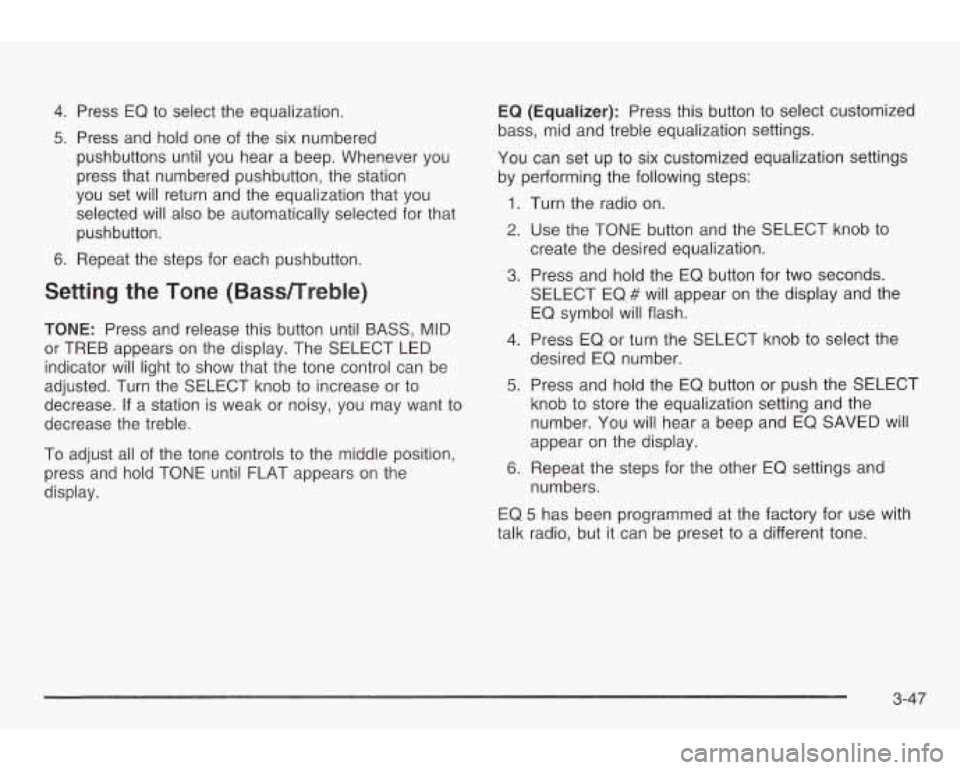
Setting the Tone (BasdTreble)
TONE: Press and release this button until BASS, MID
or TREB appears on the display. The SELECT LED
indicator will light
to show that the tone control can be
adjusted. Turn the SELECT knob to increase or to
decrease. If a station is weak or noisy, you may want
to
decrease the treble.
To adjust all of the tone controls
to the middle position,
press and hold TONE until FLAT appears on the
display.
EQ (Equalizer): Press this button to select customized
bass, mid and treble equalization settings.
You can set up
to six customized equalization settings
by performing the following steps:
1. Turn the radio on.
2. Use the PONE button and the SELECT knob to
3. Press and hold the EQ button for two seconds.
create
the desired equalization.
SELECT EQ
# will appear on the display and the
EQ symbol will flash.
4. Press EQ or turn the SELECT knob
to select the
desired
EQ number.
5. Press and hold the EQ button or push the SELECT
knob to store the equalization setting and the
number. You will hear a beep and EQ SAVED will
appear on the display.
numbers.
6. Repeat the steps for the other EQ settings and
EQ
5 has been programmed at the factory for use with
talk radio,
but it can be preset to a different tone.
3-47
Page 165 of 354
Setting Preset Stations
The six numbered pushbuttons let you return to your
favorite stations.
You can set up to 30 stations (six AM,
six
FM1 and six FM2, six XM1 and six XM2 (USA
only, if your radio is equipped with the XMTM Satellite
Radio Service) or DAB1 and DAB2 (Canada only,
if your
radio is equipped with DAB), by performing the
following
steps:
1. Turn the radio on.
2. Press BAND
to select AM, FM1 or FM2, or XM1,
XM2, or DABI, DAB2
3. Tune in the desired station.
4. Press EQ to select the equalization.
5. Press and hold one of the six numbered
pushbuttons until you hear a beep. Whenever you
press that numbered pushbutton, the station
you set will return and the equalization that you
selected will also be automatically selected for that
pushbutton.
6. Repeat the steps for each pushbutton.
Setting the Tone (BassRreble)
TONE: Press and release this button until BASS, MID
or TREB appears
on the display. The SELECT LED
indicator will light
to show that the tone control can be
adjusted. Turn the SELECT knob
to increase or to
decrease. If a station is weak or noisy, you may want to
decrease the treble.
To adjust all of the tone controls
to the middle position,
press and hold TONE until
FLAT appears on the
display.
EQ (Equalizer): Press this button to select customized
bass, mid and treble equalization settings.
You can set up
to six customized equalization settings
by performing the following steps:
1. Turn the radio on.
2. Use the TONE button and the SELECT knob to
3. Press and hold the EQ button for two seconds.
create the desired equalization.
SELECT
EQ # will appear on the display and the
EQ symbol will flash.
4. Press the EQ button or turn the SELECT knob to
select the desired EQ setting number.
3-58
Page 171 of 354
Playing a Cassette Tape
Your tape player is built to work best with tapes that are
up to
30 to 45 minutes long on each side. Tapes
longer than that are
so thin they may not work well in
this player. The longer side with the tape visible should
face to the right.
If the ignition is on, but the radio is
off, the tape can be inserted and will begin playing. If
you hear nothing but a garbled sound, the tape may not
be in squarely. Press the eject button to remove the
tape and start over.
While the tape is playing, use the VOL, BAL, FADE,
TONE, EQ and SEEK controls just as you do for
the radio. The display will show TAPE and an arrow
showing which side of the tape is playing. The
tape player automatically begins playing the other side
when it reaches the end of the tape.
Your tape bias is set automatically when a metal or
chrome tape is inserted. If you want to insert a
tape while the ignition is
off, first press the eject button
or push the RCL knob.
If an error appears on the display, see “Cassette Tape
Messages” later in this section.
DD 1 (Forward): Press this pushbutton to advance
quickly to another part
of the tape. Press this pushbutton
again to return to playing speed. The radio will play
while the tape advances. You may select stations during
forward operation by using TUNE, SEEK and SCAN.
While in forward mode, the display will show
FREQ and
FWD and two right arrows. If the radio is playing a
RDS station, the display will only show FREQ.
VA 2 (Side): Press this pushbutton to play the other
side of the tape.
4 44 (Reverse): Press this pushbutton to reverse the
tape rapidly. Press it again to return to playing speed.
The radio will play the tape reverses. You may
select stations during reverse operation by using TUNE,
SEEK and SCAN.
EQ (Equalizer): Press EQ to select the desired
customized equalization setting while playing a cassette.
The equalization will be automatically set whenever
you play a cassette tape. See “EQ” listed previously for
more information.
3-64
Page 176 of 354
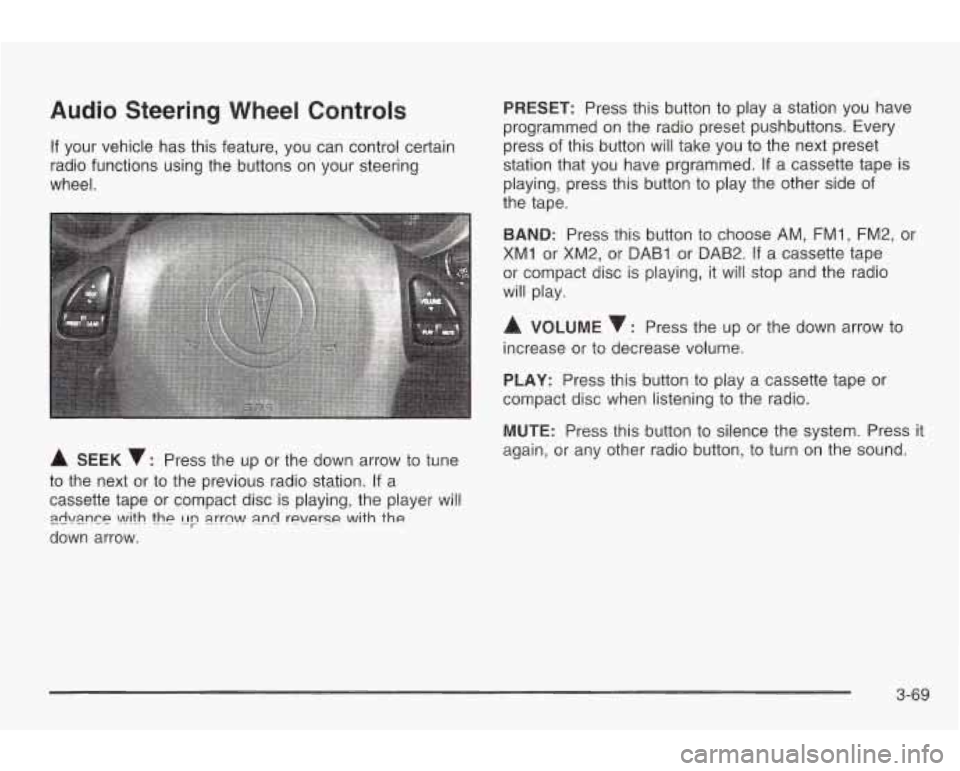
Audio Steering Wheel Controls
If your vehicle has this feature, you can control certain
radio functions using the buttons on your steering
wheel.
A SEEK v: Press the up or the down arrow to tune
to the next or to the previous radio station. If a
cassette tape or compact disc is playing, the player will
down arrow.
zwi\mn~~ \A!ith thp [Ip a.rrn\A/ a.nd reverse with the
PRESET: Press this button to play a station you have
programmed on the radio preset pushbuttons. Every
press of this button will take you to the next preset
station that you have prgrammed.
If a cassette tape is
playing, press this button to play the other side of
the tape.
BAND: Press this button to choose AM, FMI, FM2, or
XM1 or XM2, or DAB1 or DAB2. If a cassette tape
or compact disc is playing, it will stop and the radio
will play.
A VOLUME : Press the up or the down arrow to
increase or to decrease volume.
PLAY: Press this button to play a cassette tape or
compact disc when listening to the radio.
MUTE: Press this button
to silence the system. Press it
again, or any other radio button, to turn on the sound.
3-69
Page 340 of 354
A
Adding Washer Fluid ....................................... 5-37
Additional Program Information
........................... 7-8
Additives, Fuel
................................................. 5-6
Add-On Electrical Equipment
............................ 5-81
Adjusting the Speakers
(Balance/Fade)
............................ 3-41 ~ 3-48, 3-59
Air Bag
Readiness Light
.......................................... 3-25
Air Bag System, Supplemental Restraint
System (SRS)
............................................. 1-53
Air CleanedFilter, Engine ................................. 5-21
All Overseas Locations ...................................... 7-4
Aluminum Wheels
........................................... 5-77
Antenna, Fixed Mast
....................................... 3-72
Antenna, XMTM Satellite Radio System
............... 3-72
Anti-lock Brake System (ABS)
............................ 4-7
Anti-Lock Brake, System Warning Light
.............. 3-28
Appearance Care
............................................ 5-72
Care
of Safety Belts .................................... 5-75
Cleaning the Inside
of Your Vehicle ................ 5-72
Finish Damage
............................................ 5-77
AM
............................................................... 3-70
ChPMim! Psi nt SFQttinCJ ............................... 5-78
Cleaning the Outside
of Your Vehicle .............. 5-75
GM Vehicle Care/Appearance Materials
.......... 5-78
Sheet Metal Damage
................................... 5-77
Underbody MaiGtenanee
............................... 5-78
Weatherstrips .............................................. 5-75 Ashtrays
........................................................ 3-17
Audio System(s)
............................................. 3-38
Audio Systems
Audio Steering Wheel Controls
...................... 3-69
Care
of Your Cassette Tape Player ................ 3-70
Care of Your CD Player
............................... 3-72
Care of Your CDs
........................................ 3-71
Chime Level Adjustment
............................... 3-72
DAB Radio Antenna System
.......................... 3-72
Fixed Mast Antenna
..................................... 3-72
Radio with Cassette and CD
......................... 3-55
Radio with CD
.................................... 3-39, 3-43
Setting the Time for Radios with Radio
Data Systems (RDS)
................................ 3-39
Setting the Time for Radios without Radio
Data Systems (RDS)
................................ 3-38
Theft-Deterrent Feature
................................ 3-68
Understanding Radio Reception
..................... 3-70
XMTM Satellite Radio Antenna System
............ 3-72
Automatic Headlamp System
............................ 3-14
Automatic Transaxle
........................................ 2-19
Fluid
.......................................................... 5-22
Automatic Transaxle Check
.............................. 6-10
Automatic Transaxle Shift Lock Control
System Check
............................................. 6-11
Annrqtinn vy- IULIVII 1 L-r r) r)A ...................................................
1
Page 351 of 354
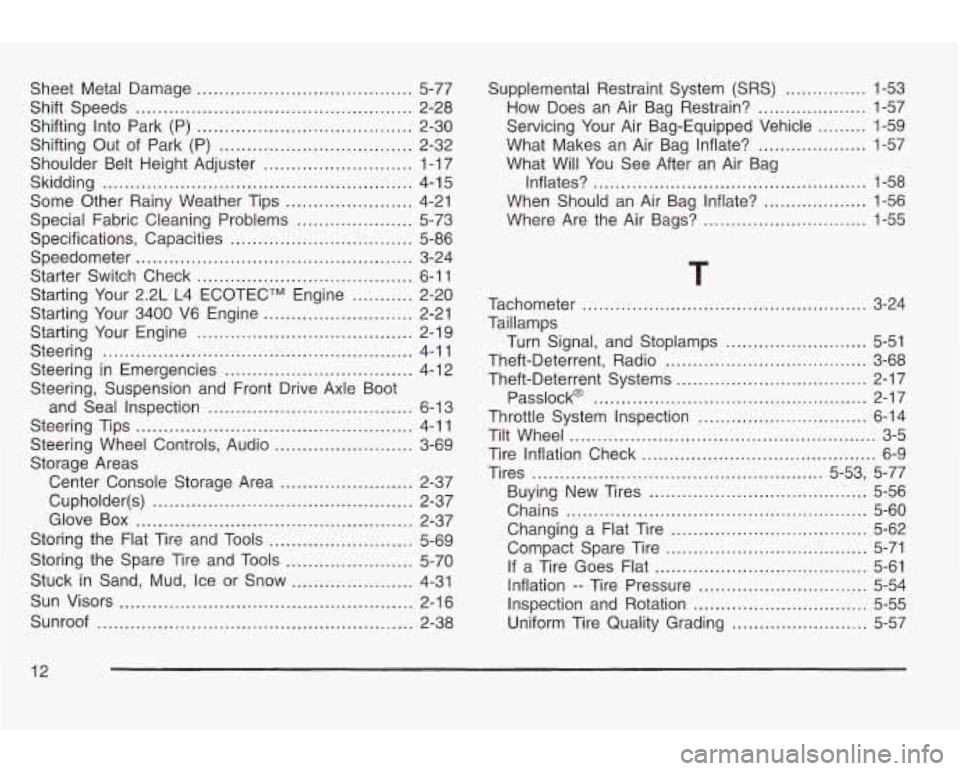
Sheet Metal Damage ....................................... 5-77
Shift Speeds
.................................................. 2-28
Shifting Into Park
(P) ....................................... 2-30
Shifting Out of Park (P)
................................... 2-32
Shoulder Belt Height Adjuster
........................... 1-1 7
Skidding ........................................................ 4-1 5
Some Other Rainy Weather Tips ....................... 4-21
Special Fabric Cleaning Problems
..................... 5-73
Specifications. Capacities
................................. 5-86
Speedometer
.................................................. 3-24
Starter Switch Check
....................................... 6-1 1
Starting Your 2.2L L4 ECOTECTM Engine ........... 2-20
Starting Your 3400 V6 Engine
........................... 2-21
Starting Your Engine
....................................... 2-19
Steering
........................................................ 4-1 1
Steering in Emergencies .................................. 4-12
Steering, Suspension and Front Drive Axle Boot
and Seal Inspection
..................................... 6-13
Steering Tips
.................................................. 4-1 1
Steering Wheel Controls, Audio
......................... 3-69
Storage Areas
Center Console Storage Area
........................ 2-37
Cupholder(s)
............................................... 2-37
Glove Box
.................................................. 2-37
Storing the Flat Tire and Tools
.......................... 5-69
Storing the Spare Tire and Tools
....................... 5-70
Stuck in Sand, Mud, Ice or Snow ...................... 4-31
Sun Visors
..................................................... 2-16
Sunroof
......................................................... 2-38 Supplemental
Restraint System
(SRS) .....
How Does an Air Bag Restrain? ..........
Servicing Your Air Bag-Equipped Vehicle
What Will You See After an Air Bag
What
Makes an Air Bag Inflate?
..........
When Should an Air Bag Inflate? .........
Inflates? ........................................
Where Are the Air Bags? ....................
...... 1-53
...... 1-57
...... 1-59
...... 1-57
...... 1-58
...... 1-56
...... 1-55
Tachometer .................................................... 3-24
Taillamps
Turn Signal. and Stoplamps
.......................... 5-51
Theft.Deterrent. Radio ..................................... 3-68
Passlock@
.................................................. 2-17
Throttle System Inspection
............................... 6-14
Tilt Wheel
........................................................ 3-5
Tire Inflation Check
........................................... 6-9
Tires
..................................................... 5.53. 5-77
Buying New Tires ........................................ 5-56
Chains
....................................................... 5-60
Changing a Flat Tire
.................................... 5-62
Compact Spare Tire
..................................... 5-71
If a Tire Goes Flat
....................................... 5-61
Inflation
-- Tire Pressure ............................... 5-54
Inspection and Rotation ................................ 5-55
Uniform Tire Quality Grading ......................... 5-57
Theft-Deterrent Systems
................................... 2-17
12