key PONTIAC GRAND PRIX 2004 Service Manual
[x] Cancel search | Manufacturer: PONTIAC, Model Year: 2004, Model line: GRAND PRIX, Model: PONTIAC GRAND PRIX 2004Pages: 432, PDF Size: 2.99 MB
Page 165 of 432
To program this mode use the following procedure:
1. Press and release the set/reset button to scroll to
either OFF or ON.
2. Press the options button again to advance to the
next screen.
AUTO DOOR UNLOCK:This screen can be used if
ON was selected for the AUTO DOOR LOCK feature.
This screen lets you select this feature to be turned
off, used for the driver's door only, or for all the doors.
If OFF is selected, none of the doors will unlock
when the vehicle's transaxle is shifted into PARK (P).
If DRIVER is selected, only the driver's door will unlock
when the vehicle's transaxle is shifted into PARK (P).
If ALL is selected, all the doors will unlock when
the vehicle's transaxle is shifted into PARK (P).
To program this mode use the following procedure:
1. Press and release the set/reset button to scroll to
either OFF, DRIVER or ALL.
2. Press the options button again to advance to the
next screen.AUTO DOOR LOCK ON:If DRIVER or ALL was selected
on the AUTO DOOR UNLOCK screen, this screen lets
you select when the vehicle's doors will unlock. The
choices are when the key is removed from the ignition or
when the vehicle is shifted into PARK (P).
If KEY-OUT is selected, the auto door unlock will
function when the key is taken out of the ignition.
If PARK is selected, the auto door unlock will function
when the transaxle is shifted into PARK (P).
To program this mode use the following procedure:
1. Press and release the set/reset button to scroll to
either KEY-OUT or PARK.
2. Press the options button again to advance to the
next screen.
DELAYED LOCKING:This screen lets you select
whether this feature will be turned OFF or ON. The key
must be out of the ignition for this feature to work.
If OFF is selected, there will be no delayed locking of
the vehicle's doors.
If ON is selected, the locking of the vehicle's doors will
be delayed by 25 seconds after a power door lock
switch is pressed while the door is open, or the LOCK
button on the remote keyless entry transmitter is
pressed while any door is open.
3-61
Page 166 of 432
To program this mode use the following procedure:
1. Press and release the set/reset button to scroll to
either OFF or ON.
2. Press the options button again to advance to the
next screen.
REMOTE LOCKS FEEDBACK:This screen lets you
select this option to be turned OFF, or lets you choose
from two methods of veri®cation, LIGHTS or LIGHTS
and HORN, that indicate the vehicle's doors are locked
when the LOCK button on the remote keyless entry
transmitter is pressed.
If OFF is selected, this feature will not be programmed.
If LIGHTS is selected, the exterior lamps will ¯ash
when the lock button on the remote keyless entry
transmitter is pressed.
If LIGHTS and HORN is selected, the exterior lamps will
¯ash when the lock button on the remote keyless
entry transmitter is pressed, and the horn will sound
when the LOCK button on the remote keyless entry
transmitter is pressed again within ®ve seconds of the
previous command.
To program this mode use the following procedure:
1. Press the set/reset button to scroll to OFF, LIGHTS
or LIGHTS and HORN.
2. Press the options button again to advance to the
next screen.If the vehicle does not have a content theft-deterrent
system, the next screens with PROGRAMMED
FINISHED and DISPLAY OFF will appear.
If the vehicle does have a content theft-deterrent
system, the next screen will appear.
THEFT DETERRENT:Your vehicle may be equipped
with a content theft-deterrent system. Once it is
turned on, the system will activate if someone tries to
enter the vehicle without using the remote keyless entry
transmitter or the correct key. It will also activate
when an incorrect key is used in the ignition. This screen
lets you select this feature to be turned OFF or ON.
If OFF is selected, the theft-deterrent system will
not function.
If ON is selected, the theft-deterrent system will be
activated.
To program this mode use the following procedure:
1. Press the set/reset button to scroll to OFF or ON.
2. Press the options button again to advance to
the next screen.
3-62
Page 167 of 432
KEY CYLINDER DISARM:This screen lets you select
this feature to be turned OFF or ON. This mode
arms the vehicle's ignition so that if a key other than
the one that came with the vehicle is used to try to start
it, the horn will sound.
If OFF is selected, the content theft-deterrent system
will not disarm when the vehicle is unlocked using
the door lock, or if someone tampers with the door lock.
If ON is selected, the content theft-deterrent system
will disarm when the vehicle unlocked using the door key
cylinder. This alerts the content theft-deterrent system
to start the arming process when a lock switch is
pressed while the door is open.
To program this mode do use the following procedure:
1. Press the set/reset button to scroll to OFF or ON.
2. Press the options button again to advance to the
next screen.LOCK SWITCH ARM:If the vehicle is equipped with
the content theft-deterrent system and ON was selected
on the THEFT DETERRENT screen, this screen lets
you select this feature to be turned OFF or ON.
If OFF is selected, the theft-deterrent system will not
activate this feature.
If ON is selected, the content theft-deterrent system
will arm when the doors are locked with the door lock
switch. The key must be removed from the ignition when
the doors are locked or the content theft-deterrent
system will not arm.
To program this mode use the following procedure:
1. Press the set/reset button to scroll to OFF or ON.
2. Press the options button again to advance to
the next screen.
PROGRAMMING FINISHED will appear on the next
screen. This con®rms that the personal options
programming is complete.
DISPLAY OFF will appear on the next screen.
This screen will ªcount downº and then go blank.
3-63
Page 177 of 432
KEY FOB BATTERY LOW
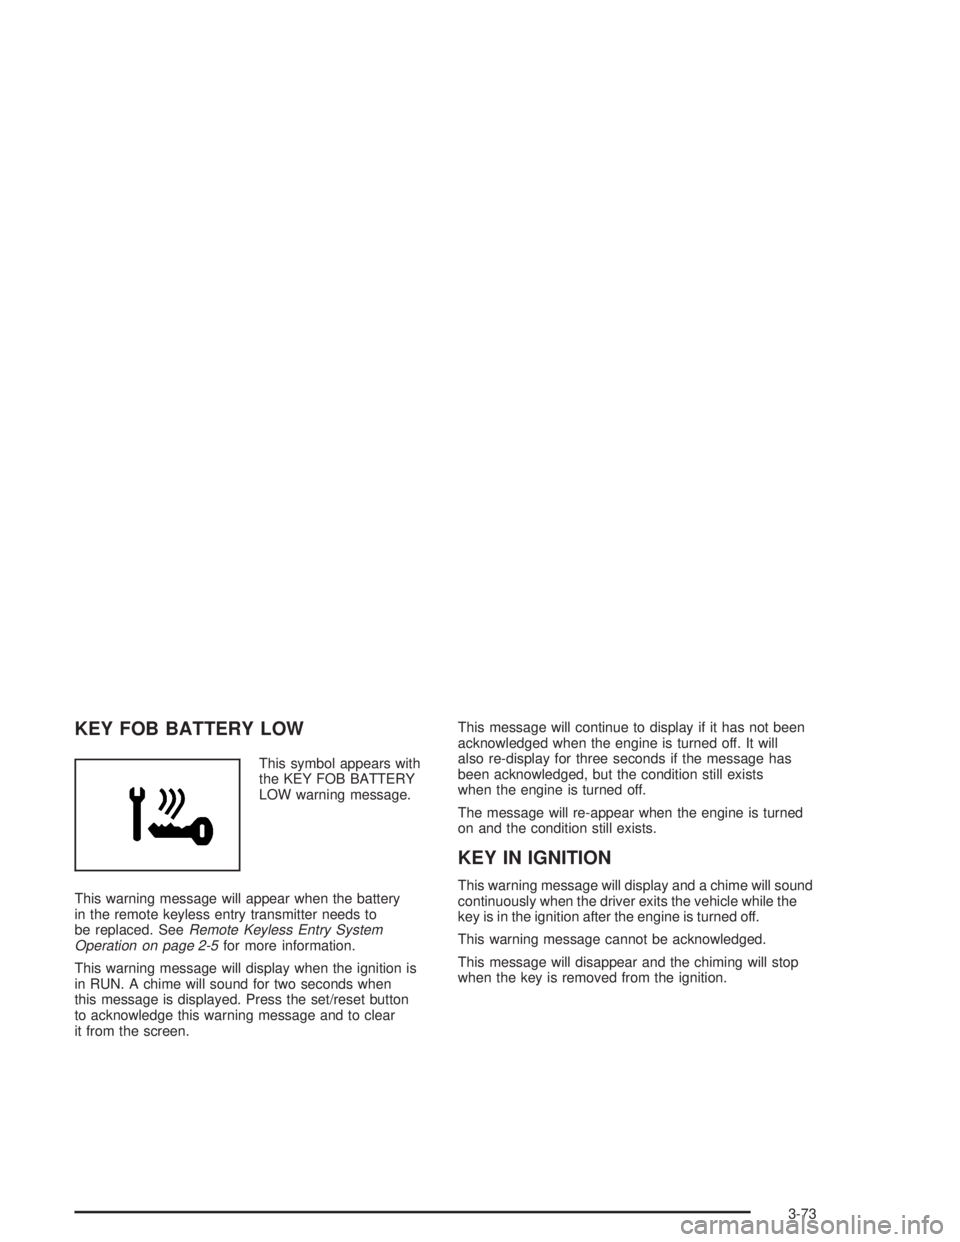
This symbol appears with
the KEY FOB BATTERY
LOW warning message.
This warning message will appear when the battery
in the remote keyless entry transmitter needs to
be replaced. See
Remote Keyless Entry System
Operation on page 2-5for more information.
This warning message will display when the ignition is
in RUN. A chime will sound for two seconds when
this message is displayed. Press the set/reset button
to acknowledge this warning message and to clear
it from the screen.This message will continue to display if it has not been
acknowledged when the engine is turned off. It will
also re-display for three seconds if the message has
been acknowledged, but the condition still exists
when the engine is turned off.
The message will re-appear when the engine is turned
on and the condition still exists.
KEY IN IGNITION
This warning message will display and a chime will sound
continuously when the driver exits the vehicle while the
key is in the ignition after the engine is turned off.
This warning message cannot be acknowledged.
This message will disappear and the chiming will stop
when the key is removed from the ignition.
3-73
Page 187 of 432
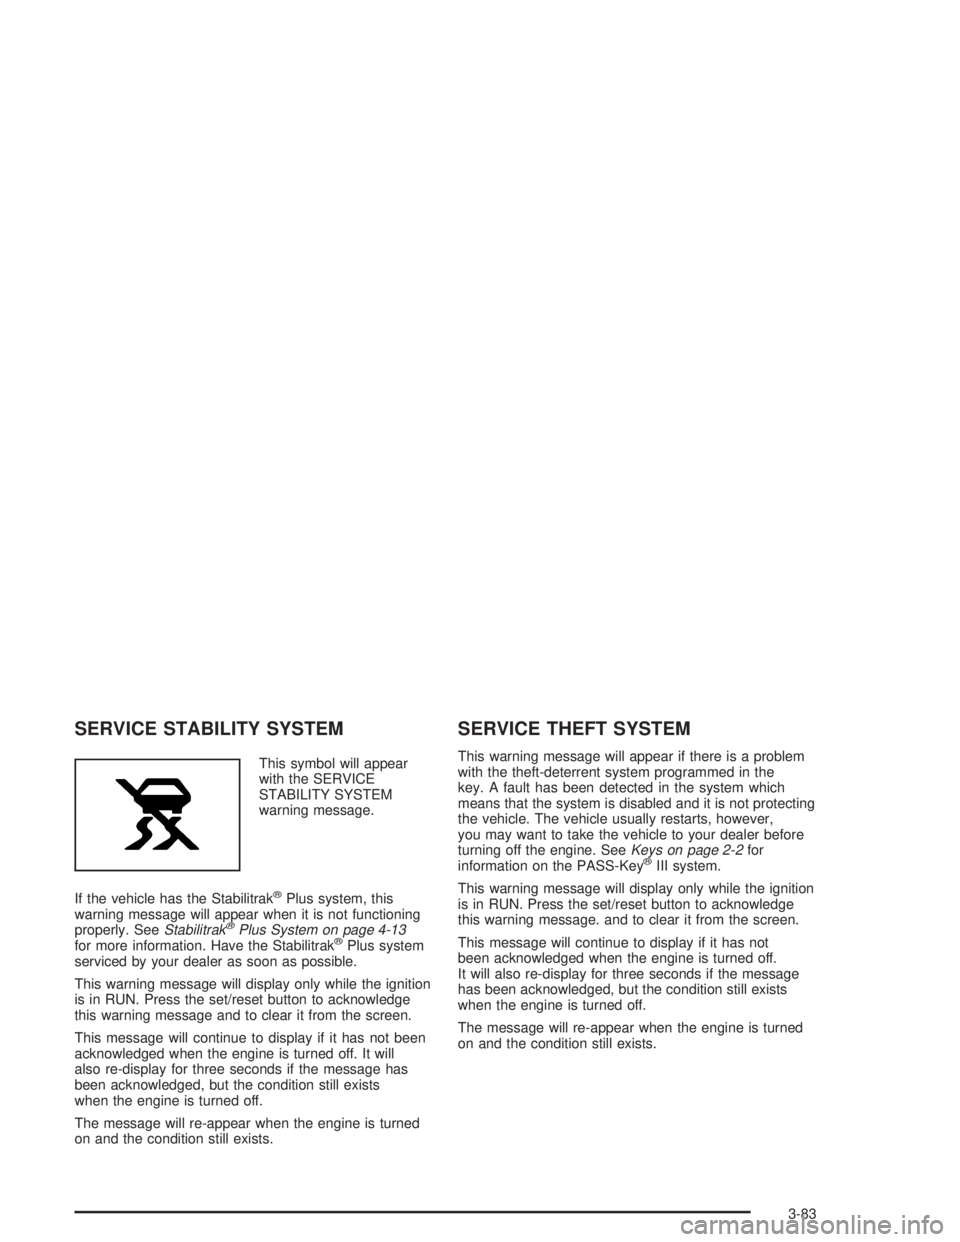
SERVICE STABILITY SYSTEM
This symbol will appear
with the SERVICE
STABILITY SYSTEM
warning message.
If the vehicle has the Stabilitrak
žPlus system, this
warning message will appear when it is not functioning
properly. See
StabilitrakžPlus System on page 4-13for more information. Have the StabilitrakžPlus system
serviced by your dealer as soon as possible.
This warning message will display only while the ignition
is in RUN. Press the set/reset button to acknowledge
this warning message and to clear it from the screen.
This message will continue to display if it has not been
acknowledged when the engine is turned off. It will
also re-display for three seconds if the message has
been acknowledged, but the condition still exists
when the engine is turned off.
The message will re-appear when the engine is turned
on and the condition still exists.
SERVICE THEFT SYSTEM
This warning message will appear if there is a problem
with the theft-deterrent system programmed in the
key. A fault has been detected in the system which
means that the system is disabled and it is not protecting
the vehicle. The vehicle usually restarts, however,
you may want to take the vehicle to your dealer before
turning off the engine. See
Keys on page 2-2for
information on the PASS-KeyžIII system.
This warning message will display only while the ignition
is in RUN. Press the set/reset button to acknowledge
this warning message. and to clear it from the screen.
This message will continue to display if it has not
been acknowledged when the engine is turned off.
It will also re-display for three seconds if the message
has been acknowledged, but the condition still exists
when the engine is turned off.
The message will re-appear when the engine is turned
on and the condition still exists.
3-83
Page 240 of 432
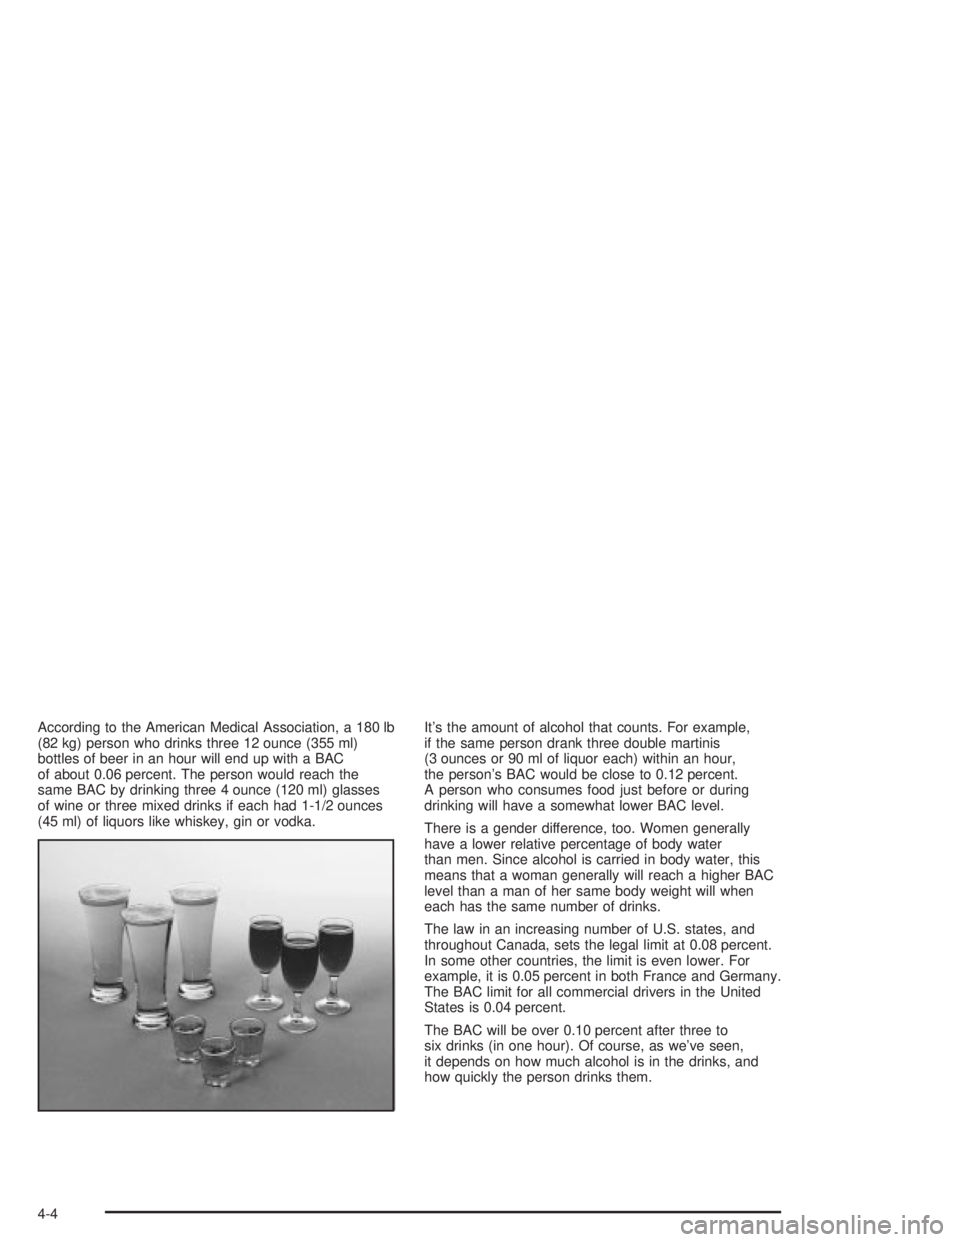
According to the American Medical Association, a 180 lb
(82 kg) person who drinks three 12 ounce (355 ml)
bottles of beer in an hour will end up with a BAC
of about 0.06 percent. The person would reach the
same BAC by drinking three 4 ounce (120 ml) glasses
of wine or three mixed drinks if each had 1-1/2 ounces
(45 ml) of liquors like whiskey, gin or vodka.It's the amount of alcohol that counts. For example,
if the same person drank three double martinis
(3 ounces or 90 ml of liquor each) within an hour,
the person's BAC would be close to 0.12 percent.
A person who consumes food just before or during
drinking will have a somewhat lower BAC level.
There is a gender difference, too. Women generally
have a lower relative percentage of body water
than men. Since alcohol is carried in body water, this
means that a woman generally will reach a higher BAC
level than a man of her same body weight will when
each has the same number of drinks.
The law in an increasing number of U.S. states, and
throughout Canada, sets the legal limit at 0.08 percent.
In some other countries, the limit is even lower. For
example, it is 0.05 percent in both France and Germany.
The BAC limit for all commercial drivers in the United
States is 0.04 percent.
The BAC will be over 0.10 percent after three to
six drinks (in one hour). Of course, as we've seen,
it depends on how much alcohol is in the drinks, and
how quickly the person drinks them.
4-4
Page 270 of 432
Here are some important things to consider before you
do recreational vehicle towing:
·What's the towing capacity of the towing vehicle?
Be sure you read the tow vehicle manufacturer's
recommendations.
·How far will you tow? Some vehicles have
restrictions on how far and how long they can tow.
·Do you have the proper towing equipment?
See your dealer or trailering professional for
additional advice and equipment recommendations.
·Is your vehicle ready to be towed? Just as you
would prepare your vehicle for a long trip, you'll
want to make sure your vehicle is prepared to be
towed. See
Before Leaving on a Long Trip on
page 4-25.
Dinghy Towing
Notice:Towing your vehicle with all four wheels on
the ground will damage drivetrain components.
Your vehicle was not designed to be towed with all four
wheels on the ground. If your vehicle must be towed,
you should use a dolly. See ªDolly Towingº following for
more information.
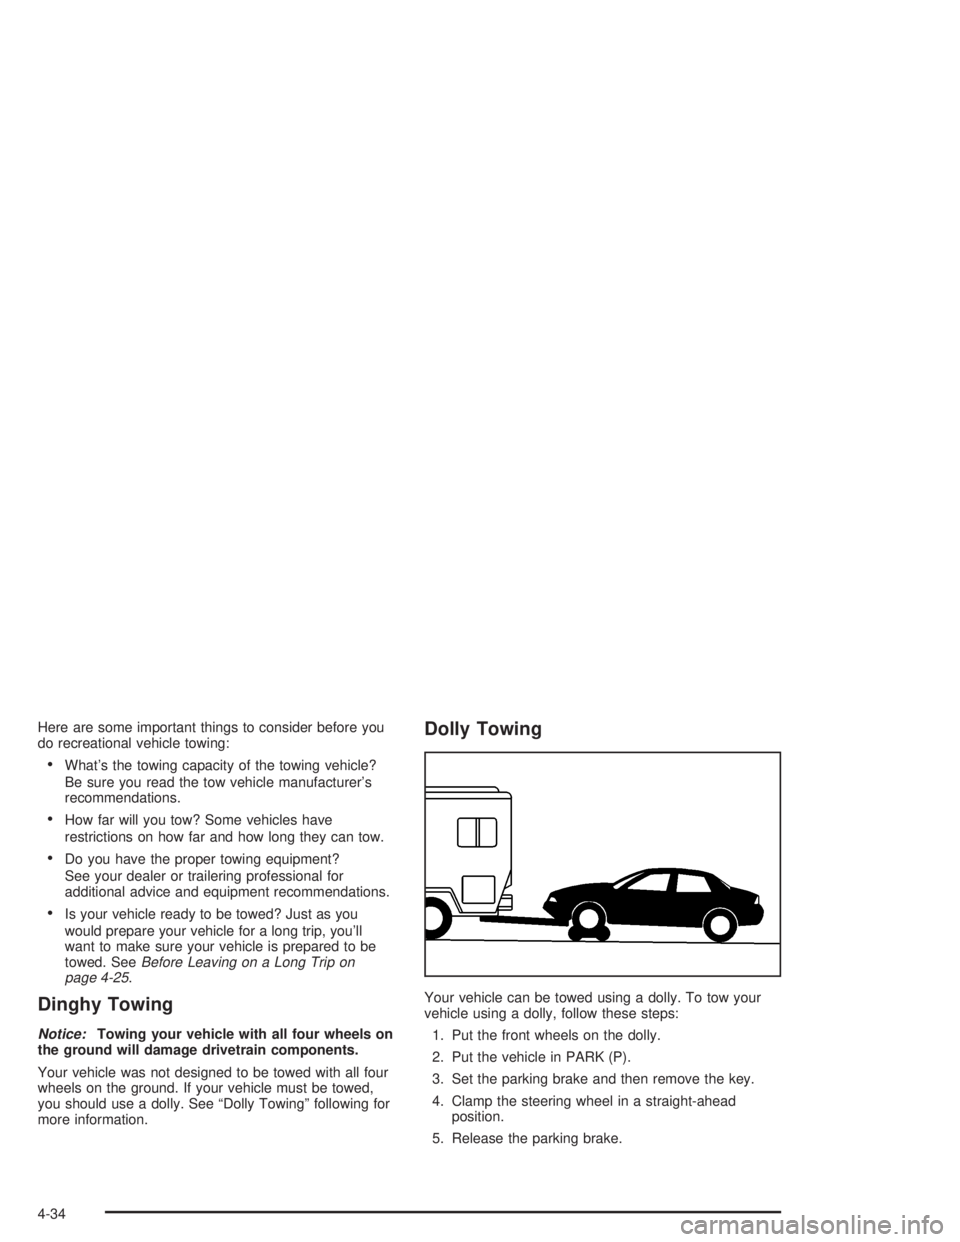
Dolly Towing
Your vehicle can be towed using a dolly. To tow your
vehicle using a dolly, follow these steps:
1. Put the front wheels on the dolly.
2. Put the vehicle in PARK (P).
3. Set the parking brake and then remove the key.
4. Clamp the steering wheel in a straight-ahead
position.
5. Release the parking brake.
4-34
Page 322 of 432
Power Steering Fluid
The power steering ¯uid reservoir is located in the
engine compartment next to the engine coolant recovery
tank. It sits low in the engine compartment. See
Engine Compartment Overview on page 5-12.
When to Check Power Steering Fluid
It is not necessary to regularly check power steering ¯uid
unless you suspect there is a leak in the system or
you hear an unusual noise. A ¯uid loss in this system
could indicate a problem. Have the system inspected
and repaired.
How to Check Power Steering Fluid
Turn the key off, let the engine compartment cool down,
wipe the cap and the top of the reservoir clean, then
unscrew the cap and wipe the dipstick with a clean rag.
Replace the cap and completely tighten it. Then remove
the cap again and look at the ¯uid level on the dipstick.
5-42
Page 328 of 432
Replacing Brake System Parts
The braking system on a vehicle is complex. Its many
parts have to be of top quality and work well together if
the vehicle is to have really good braking. Your vehicle
was designed and tested with top-quality GM brake parts.
When you replace parts of your braking system Ð for
example, when your brake linings wear down and you
need new ones put in Ð be sure you get new approved
GM replacement parts. If you don't, your brakes may no
longer work properly. For example, if someone puts in
brake linings that are wrong for your vehicle, the balance
between your front and rear brakes can change Ð for the
worse. The braking performance you've come to expect
can change in many other ways if someone puts in the
wrong replacement brake parts.
Battery
Your new vehicle comes with a maintenance free
ACDelcožbattery. When it's time for a new battery, get
one that has the replacement number shown on the
original battery's label. We recommend an ACDelco
ž
battery. SeeEngine Compartment Overview on
page 5-12for battery location.
Warning:Battery posts, terminals and related
accessories contain lead and lead compounds,
chemicals known to the State of California to cause
cancer and reproductive harm. Wash hands after
handling.If your battery has a very low charge or is dead, you
may not be able to remove the ignition key from
the ignition switch or shift out of PARK (P). Refer to
Shifting Out of Park (P) on page 2-30.
Vehicle Storage
If you're not going to drive your vehicle for 25 days or
more, remove the black, negative (-) cable from the
battery. This will help keep your battery from
running down.
{CAUTION:
Batteries have acid that can burn you and gas
that can explode. You can be badly hurt if you
aren't careful. See ªJump Startingº next for
tips on working around a battery without
getting hurt.
Contact your dealer to learn how to prepare your
vehicle for longer storage periods.
Also, for your audio system, see
Theft-Deterrent
Feature on page 3-128.
5-48
Page 347 of 432
Windshield Wiper Blade
Replacement
Remove and replace a windshield wiper by following
these steps:
1. Put the ignition in ACCESSORY and turn the
windshield wipers on.
2. Stop the windshield wipers when they are in the
upright position by turning the key to the off position.
3. Pull the windshield arm away from the windshield.
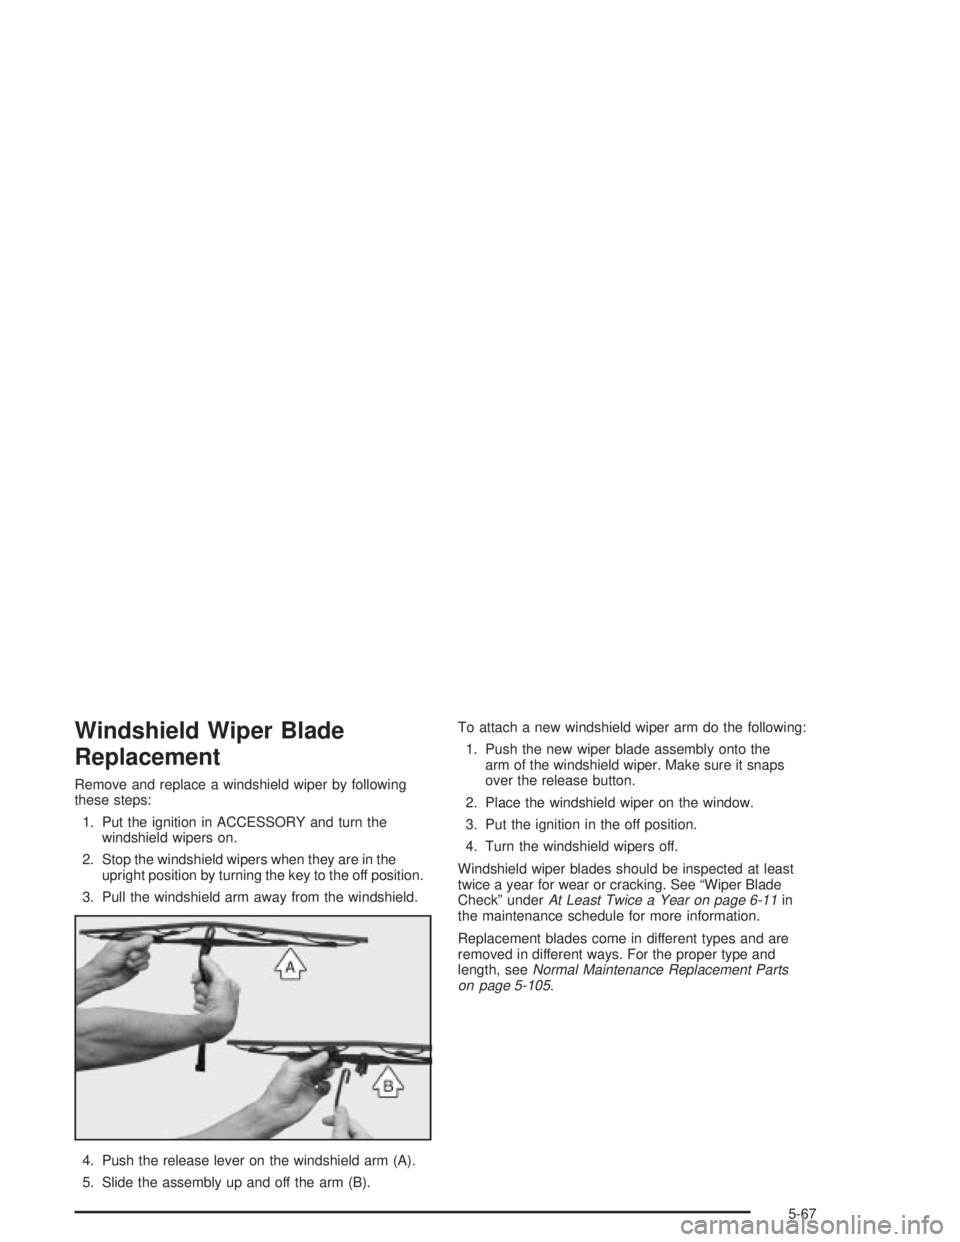
4. Push the release lever on the windshield arm (A).
5. Slide the assembly up and off the arm (B).To attach a new windshield wiper arm do the following:
1. Push the new wiper blade assembly onto the
arm of the windshield wiper. Make sure it snaps
over the release button.
2. Place the windshield wiper on the window.
3. Put the ignition in the off position.
4. Turn the windshield wipers off.
Windshield wiper blades should be inspected at least
twice a year for wear or cracking. See ªWiper Blade
Checkº under
At Least Twice a Year on page 6-11in
the maintenance schedule for more information.
Replacement blades come in different types and are
removed in different ways. For the proper type and
length, see
Normal Maintenance Replacement Parts
on page 5-105.
5-67