CAN Ram 1500 2015 Owner's Manual
[x] Cancel search | Manufacturer: RAM, Model Year: 2015, Model line: 1500, Model: Ram 1500 2015Pages: 871, PDF Size: 24.83 MB
Page 258 of 871
CAUTION!
Leaving the lid open for extended periods of time
could cause the vehicle battery to discharge. If the lid
is required to stay open for extended periods of time,
(Continued)
CAUTION!(Continued)
it is recommended that the bin lights be turned off
manually using the on/off switch.
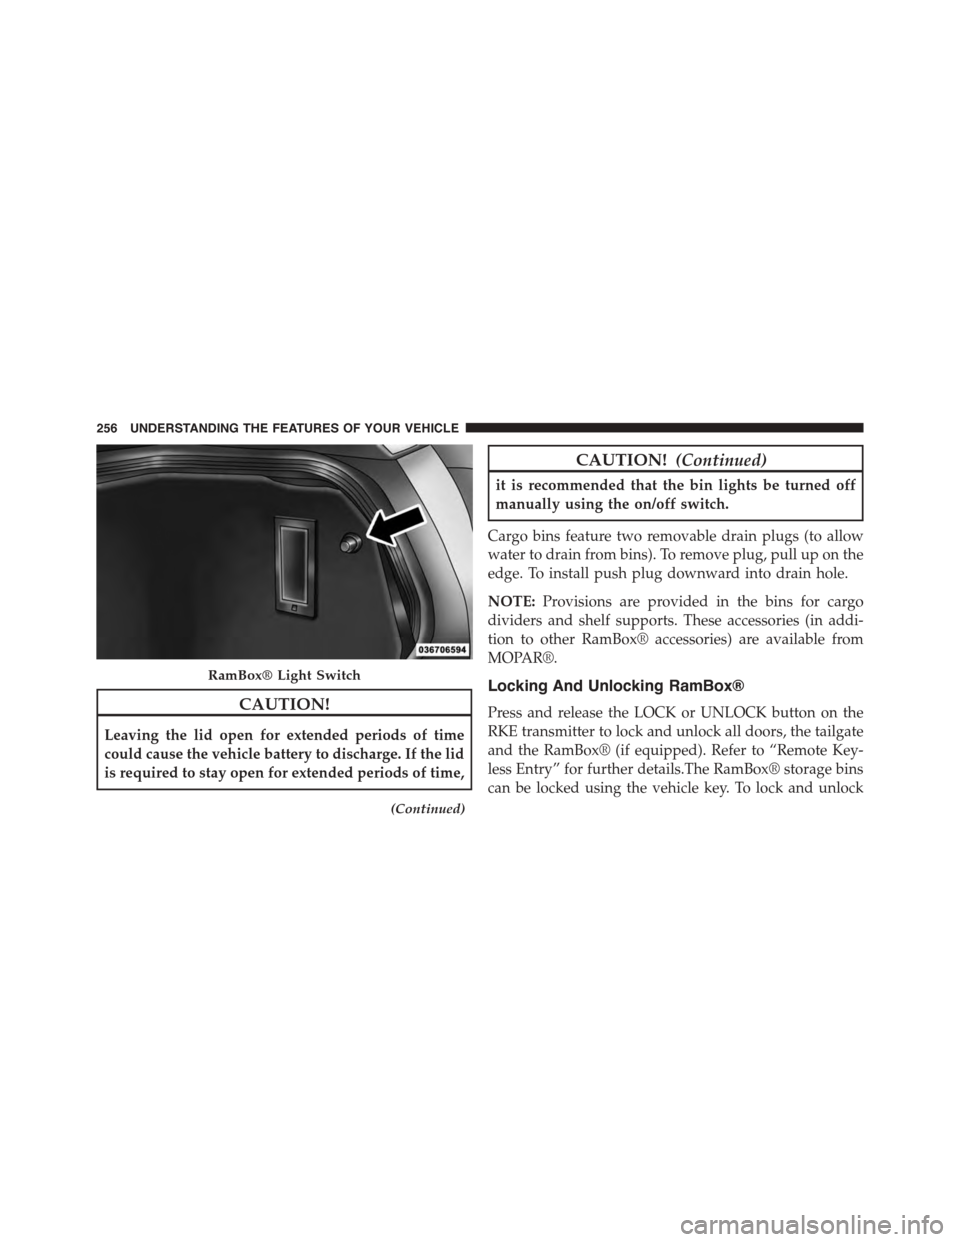
Cargo bins feature two removable drain plugs (to allow
water to drain from bins). To remove plug, pull up on the
edge. To install push plug downward into drain hole.
NOTE:Provisions are provided in the bins for cargo
dividers and shelf supports. These accessories (in addi-
tion to other RamBox® accessories) are available from
MOPAR®.
Locking And Unlocking RamBox®
Press and release the LOCK or UNLOCK button on the
RKE transmitter to lock and unlock all doors, the tailgate
and the RamBox® (if equipped). Refer to “Remote Key-
less Entry” for further details.The RamBox® storage bins
can be locked using the vehicle key. To lock and unlock
RamBox® Light Switch
256 UNDERSTANDING THE FEATURES OF YOUR VEHICLE
Page 259 of 871
the storage bin, insert the key into the keyhole on the
pushbutton and turn clockwise to lock or counterclock-
wise to unlock. Always return the key to the upright
(vertical) position before removing the key from the
pushbutton.
CAUTION!
•Ensure cargo bin lids are closed and latched before
moving or driving vehicle.
•Loads applied to the top of the bin lid should be
minimized to prevent damage to the lid and
latching/hinging mechanisms.
•Damage to the RamBox® bin may occur due to
heavy/sharp objects placed in bin that shift due to
vehicle motion. In order to minimize potential for
damage, secure all cargo to prevent movement and
protect inside surfaces of bin from heavy/sharp
objects with appropriate padding.
RamBox® Safety Warning
Carefully follow these warnings to help prevent personal
injury or damage to your vehicle:
WARNING!
•Always close the storage bin covers when your
vehicle is unattended.
•Do not allow children to have access to the storage
bins. Once in the storage bin, young children may
not be able to escape. If trapped in the storage bin,
children can die from suffocation or heat stroke.
•In an accident, serious injury could result if the
storage bin covers are not properly latched.
•Do not drive the vehicle with the storage bin covers
open.
•Keep the storage bin covers closed and latched
while the vehicle is in motion.
•Do not use a storage bin latch as a tie down.
3
UNDERSTANDING THE FEATURES OF YOUR VEHICLE 257
Page 260 of 871
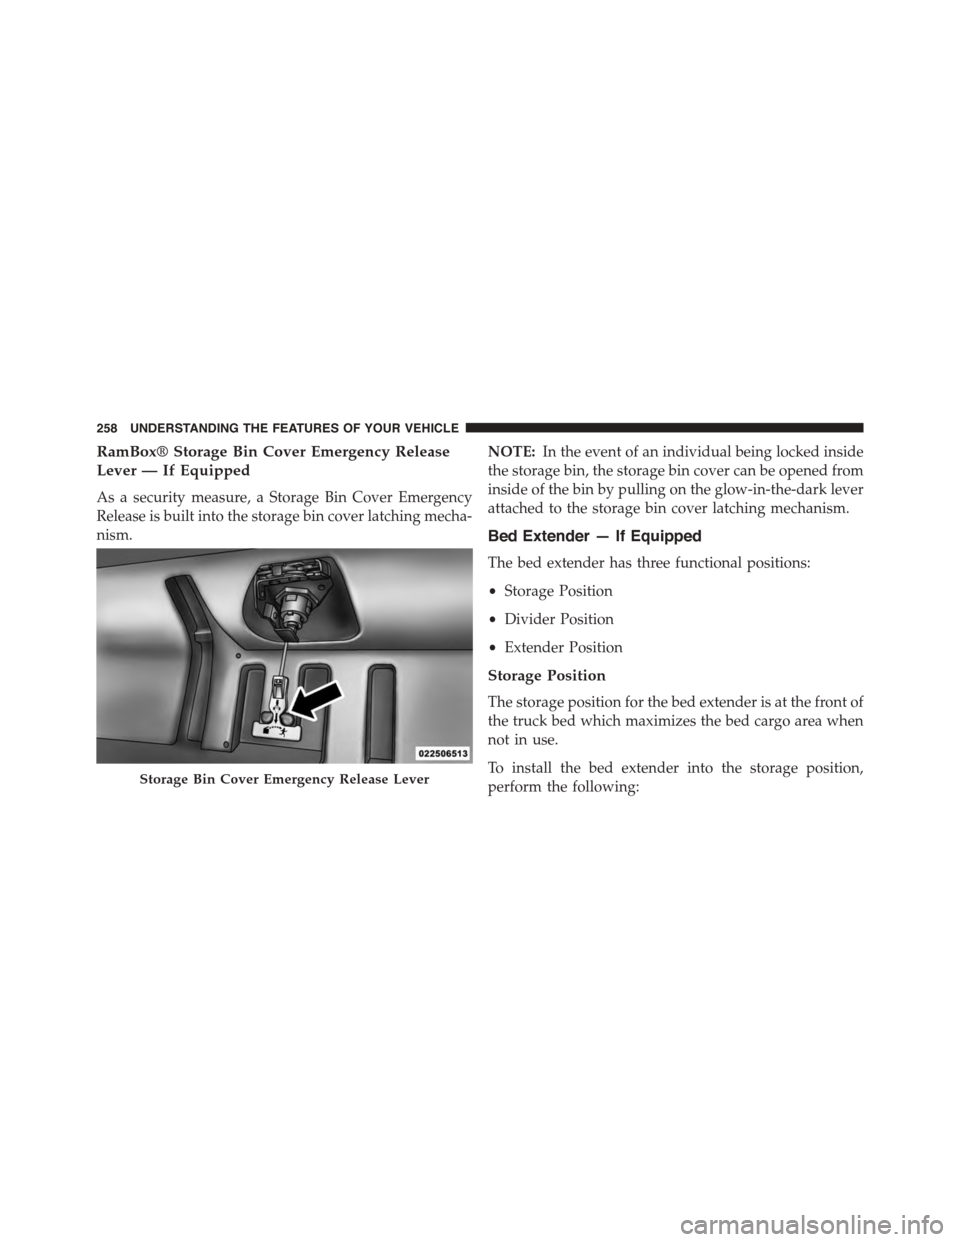
RamBox® Storage Bin Cover Emergency Release
Lever — If Equipped
As a security measure, a Storage Bin Cover Emergency
Release is built into the storage bin cover latching mecha-
nism.
NOTE:In the event of an individual being locked inside
the storage bin, the storage bin cover can be opened from
inside of the bin by pulling on the glow-in-the-dark lever
attached to the storage bin cover latching mechanism.
Bed Extender — If Equipped
The bed extender has three functional positions:
•Storage Position
•Divider Position
•Extender Position
Storage Position
The storage position for the bed extender is at the front of
the truck bed which maximizes the bed cargo area when
not in use.
To install the bed extender into the storage position,
perform the following:Storage Bin Cover Emergency Release Lever
258 UNDERSTANDING THE FEATURES OF YOUR VEHICLE
Page 268 of 871

Bed Rail Tie-Down System
CAUTION!
The maximum load per cleat should not exceed
250 lbs (113 kg) and the angle of the load on each cleat
should not exceed 45 degrees above horizontal, or
damage to the cleat or cleat rail may occur.
There are two adjustable cleats on each side of the bed
that can be used to assist in securing cargo.
Each cleat must be located and tightened down in one of
the detents, along either rail, in order to keep cargo
properly secure.
To move the cleat to any position on the rail, turn the nut
counterclockwise, approximately three turns. Then pull
Adjustable Cleats
266 UNDERSTANDING THE FEATURES OF YOUR VEHICLE
Page 270 of 871
SLIDE-IN CAMPERS
Camper Applications
Certain truck models are not recommended for slide-in
campers. To determine if your vehicle is excluded, please
refer to the “Consumer Information Truck-Camper Load-
ing” document available from your authorized dealer.
For safety reasons, follow all instructions in this impor-
tant document.
NOTE:When a cap or pickup camper is installed on a
vehicle, an alternate Center High-Mounted Stop Light
(CHMSL) must be provided.
EASY-OFF TAILGATE
To simplify mounting of a camper unit with an overhang,
the tailgate can be removed.
NOTE:If your vehicle is equipped with a rear camera or
RKE the electrical connector must be disconnected prior
to removing the tailgate.
268 UNDERSTANDING THE FEATURES OF YOUR VEHICLE
Page 273 of 871
5. Slide the entire tailgate to the right to free the left side
pivot.
6. Remove the tailgate from the vehicle.
NOTE:Do not carry the tailgate loose in the truck
pickup box.
WARNING!
To avoid inhaling carbon monoxide, which is deadly,
the exhaust system on vehicles equipped with “Cap or
Slide-In Campers” should extend beyond the over-
hanging camper compartment and be free of leaks.
Locking Tailgate
The lock is located next to the tailgate handle. The
tailgate can be locked using the vehicle key or by locking
the truck with the key-fob if equipped with remote
keyless entry.
TRI-FOLD TONNEAU COVER — IF EQUIPPED
Your vehicle may be equipped with a Tri-Fold Tonneau
Cover which consists of different features:
•Easy Tri-Fold cover
•Tonneau fore aft locator
•Crosscar inside bed locator
•Front and rear clamps
•Stowage strap
•Locking Capability
NOTE:The Tonneau Cover can be folded up and secured
at the front of the box without removing completely.
3
UNDERSTANDING THE FEATURES OF YOUR VEHICLE 271
Page 280 of 871

NOTE:Once clamped, be sure the clamps are not par-
tially clamped to the truck bed flange.
5. Disengage the stowage straps.
6. Unfold Tonneau Cover to the intermediate position.
NOTE:The vehicle cannot be driven when the Tonneau
Cover is in this position.
Clamped PositionImproper Clamp Position
278 UNDERSTANDING THE FEATURES OF YOUR VEHICLE
Page 281 of 871

7. Completely unfold the Tonneau Cover.8. Pull down on the second set of clamp handles to
release the clamps from the stowed position.
Intermediate Position (Vehicle Cannot Be Driven)Fully Unfolded Position
3
UNDERSTANDING THE FEATURES OF YOUR VEHICLE 279
Page 283 of 871

NOTE:Once clamped, be sure the clamps are not par-
tially clamped to the truck bed flange.
The Tonneau Cover clamps can be locked when in the
clamped position by placing a lock through the locking
hole.
Clamped PositionImproper Clamp Position
3
UNDERSTANDING THE FEATURES OF YOUR VEHICLE 281
Page 284 of 871

CAUTION!
It is the driver ’s responsibility to ensure the Tonneau
Cover is properly installed on the vehicle. Failure to
follow this procedure can result in detachment of the
Tonneau Cover from the vehicle and/or damage to
the vehicle/Tonneau Cover.
Tri-Fold Tonneau Cover Cleaning
For proper cleaning of the Tonneau Cover use MOPAR®
Whitewall & Vinyl Top Cleaner and MOPAR® Leather &
Vinyl Conditioner/Protectant.Locking Hole
282 UNDERSTANDING THE FEATURES OF YOUR VEHICLE