warning light Ram 1500 2020 Owner's Manual
[x] Cancel search | Manufacturer: RAM, Model Year: 2020, Model line: 1500, Model: Ram 1500 2020Pages: 674, PDF Size: 32.69 MB
Page 7 of 674

5
GETTING TO KNOW YOUR INSTRUMENT
PANEL
BASE / MIDLINE INSTRUMENT CLUSTER .............. 161
Base / Midline Instrument Cluster Descriptions.... 162
PREMIUM INSTRUMENT CLUSTER ........................... 164
Premium Instrument Cluster Descriptions ............. 164
INSTRUMENT CLUSTER DISPLAY ............................. 166
Instrument Cluster Display Controls ....................... 166
Oil Life Reset ................................................................ 168
Display Menu Items .................................................... 169
Battery Saver On/Battery Saver Mode Message —
Electrical Load Reduction Actions — If
Equipped....................................................................... 176
WARNING LIGHTS AND MESSAGES ........................ 178
Red Warning Lights .................................................... 179
Yellow Warning Lights............................................... 183
Yellow Indicator Lights .............................................. 188
Green Indicator Lights ................................................ 192
White Indicator Lights ................................................ 193
Blue Indicator Lights ................................................... 194
ONBOARD DIAGNOSTIC SYSTEM — OBD II ........... 195
Onboard Diagnostic System (OBD II)
Cybersecurity ............................................................... 195
EMISSIONS INSPECTION AND MAINTENANCE
PROGRAMS....................................................................... 196
SAFETY
SAFETY FEATURES .........................................................198
Anti-Lock Brake System (ABS) ................................. 198
Electronic Brake Control System ..............................199
AUXILIARY DRIVING SYSTEMS ..................................211
Blind Spot Monitoring (BSM) — If Equipped ........211
Forward Collision Warning (FCW) With Mitigation —
If Equipped ...................................................................222
Tire Pressure Monitoring System (TPMS) ............... 227
OCCUPANT RESTRAINT SYSTEMS ...........................234
Occupant Restraint Systems Features ......................234
Important Safety Precautions.....................................235
Seat Belt Systems .........................................................236
Supplemental Restraint Systems (SRS).....................245
Child Restraints............................................................ 265
Transporting Pets.........................................................285
SAFETY TIPS......................................................................285
Transporting Passengers ............................................285
Exhaust Gas .................................................................286
Safety Checks You Should Make Inside The
Vehicle ..........................................................................286
Periodic Safety Checks You Should Make Outside
The Vehicle ...................................................................289
2020_DT_1500_OM_US.book Page 5
Page 16 of 674

14 INTRODUCTION
tion, that may or may not be applicable to your vehicle, will
be identified with the wording “If Equipped”. All data
contained in this publication are intended to help you use
your vehicle in the best possible way. FCA US LLC aims at a
constant improvement of the vehicles produced. For this
reason, it reserves the right to make changes to the model
described for technical and/or commercial reasons. For
further information, contact an authorized dealer.
When it comes to service, remember that your authorized
dealer knows your vehicle best, has factory-trained techni-
cians and genuine MOPAR® parts, and cares about your
satisfaction.
HOW TO USE THIS MANUAL
Essential Information
Consult the Table of Contents to determine which section
contains the information you desire.
Since the specification of your vehicle depends on the items
of equipment ordered, certain descriptions and illustrations
may differ from your vehicle's equipment.
The detailed Index at the back of this Owner's Manual
contains a complete listing of all subjects.
Symbols
Some vehicle components have colored labels whose
symbols indicate precautions to be observed when using this
component. Refer to “Warning Lights and Messages” in
“Getting To Know Your Instrument Panel” for further infor -
mation on the symbols used in your vehicle.
WARNINGS AND CAUTIONS
This Owner’s Manual contains WARNINGS against oper-
ating procedures that could result in a collision, bodily injury
and/or death. It also contains CAUTIONS against proce -
dures that could result in damage to your vehicle. If you do
not read this entire Owner’s Manual, you may miss
important information. Observe all Warnings and Cautions.
VAN CONVERSIONS/CAMPERS
The New Vehicle Limited Warranty does not apply to body
modifications or special equipment installed by van conver -
sion/camper manufacturers/body builders. US residents
refer to the Warranty Information book, Section 2.1.C. Cana -
dian residents refer to the “What Is Not Covered” section of
the Warranty Information book. Such equipment includes
video monitors, VCRs, heaters, stoves, refrigerators, etc. For
warranty coverage and service on these items, contact the
applicable manufacturer.
2020_DT_1500_OM_US.book Page 14
Page 46 of 674
44 GETTING TO KNOW YOUR VEHICLE
Manual Front Seat Recline Adjustment
The recline lever is located on the outboard side of the seat.
To recline the seat, lean forward slightly, lift the lever, lean
back to the desired position and release the lever. To return
the seatback to its normal upright position, lean forward and
lift the lever. Release the lever once the seat back is in the
upright position.Manual Recline Lever
WARNING!
• Adjusting a seat while driving may be dangerous. Moving a seat while driving could result in loss of
control which could cause a collision and serious injury
or death.
• Seats should be adjusted before fastening the seat belts and while the vehicle is parked. Serious injury or death
could result from a poorly adjusted seat belt.
WARNING!
• Do not stand or lean in front of the seat while actuating the handle. The seatback may swing forward and hit
you causing injury.
• To avoid injury, place your hand on the seatback and actuate the handle, then position the seatback in the
desired position.
2020_DT_1500_OM_US.book Page 44
Page 60 of 674
58 GETTING TO KNOW YOUR VEHICLE
DRIVER ADJUSTABLE PEDALS — IF EQUIPPED
The adjustable pedals system is designed to allow a greater
range of driver comfort for steering wheel tilt and seat posi-
tion. This feature allows the brake and accelerator pedals to
move toward or away from the driver to provide improved
position with the steering wheel.
The adjustable pedal switch is located on the instrument
panel, below the headlight switch. Adjustable Pedals Switch
• The pedals can be adjusted with the ignition placed in the OFF position.
• The pedals cannot be adjusted when the vehicle is in
REVERSE or when the Speed Control System or Adaptive
Cruise Control systems are on. The following messages
will appear on vehicles equipped with an instrument
cluster display if the pedals are attempted to be adjusted
when the system is locked out: “Adjustable Pedal Disabled
— Cruise Control Engaged” or “Adjustable Pedal
Disabled — Vehicle In Reverse”.
WARNING!
• Persons who are unable to feel pain to the skin because of advanced age, chronic illness, diabetes, spinal cord
injury, medication, alcohol use, exhaustion, or other
physical conditions must exercise care when using the
steering wheel heater. It may cause burns even at low
temperatures, especially if used for long periods.
• Do not place anything on the steering wheel that insu -
lates against heat, such as a blanket or steering wheel
covers of any type and material. This may cause the
steering wheel heater to overheat.
2020_DT_1500_OM_US.book Page 58
Page 61 of 674
GETTING TO KNOW YOUR VEHICLE 59
NOTE:
• Always adjust the pedals to a position that allows fullpedal travel.
• Further small adjustments may be necessary to find the best possible seat/pedal position.
• For vehicles equipped with Driver Memory Seat, you can use your key fob or the memory switch on the driver’s
door trim panel to return the adjustable pedals to
pre-programmed positions.
• Refer to “Driver Memory Seat” in this chapter for further information.MIRRORS
Inside Day/Night Mirror — If Equipped
The mirror head can be adjusted up, down, left, and right for
various drivers. The mirror should be adjusted to center on
the view through the rear window.
Headlight glare from vehicles behind you can be reduced by
moving the small control under the mirror to the night position
(toward the rear of the vehicle). The mirror should be adjusted
while set in the day position (toward the windshield).
Adjusting Rearview Mirror
WARNING!
Do not adjust the pedals while the vehicle is moving.
You could lose control and have an accident. Always
adjust the pedals while the vehicle is parked.
CAUTION!
Do not place any article under the adjustable pedals or
impede its ability to move, as it may cause damage to the
pedal controls. Pedal travel may become limited if
movement is stopped by an obstruction in the adjustable
pedal's path.
2
2020_DT_1500_OM_US.book Page 59
Page 63 of 674
GETTING TO KNOW YOUR VEHICLE 61
Outside Mirrors
To receive maximum benefit, adjust the outside mirrors to
center on the adjacent lane of traffic with a slight overlap of
the view obtained on the inside mirror.
NOTE:
If your vehicle is equipped with puddle lamps under the
outside mirrors, they can be turned off through the Uconnect
display. For further information, refer to “Uconnect
Settings” in “Multimedia”.
Driver's Outside Automatic Dimming Mirror — If
Equipped
The driver’s outside mirror will automatically adjust for
glare from vehicles behind you. This feature is controlled bythe inside automatic dimming mirror and will automatically
adjust for headlight glare when the inside mirror adjusts.
Power Mirrors — If Equipped
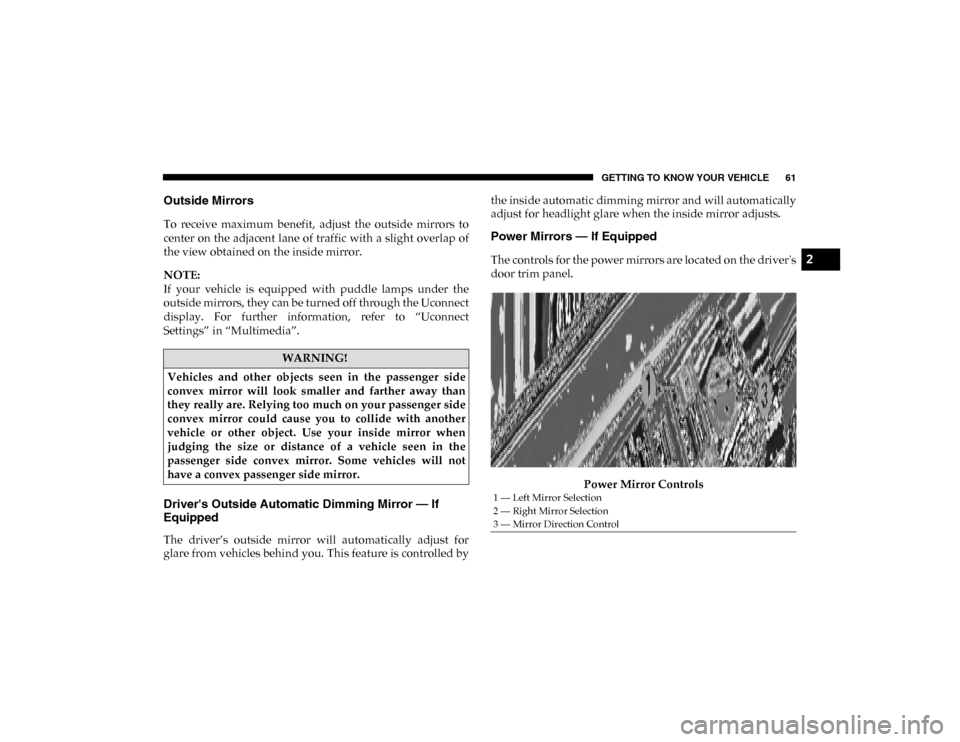
The controls for the power mirrors are located on the driver's
door trim panel.
Power Mirror Controls
WARNING!
Vehicles and other objects seen in the passenger side
convex mirror will look smaller and farther away than
they really are. Relying too much on your passenger side
convex mirror could cause you to collide with another
vehicle or other object. Use your inside mirror when
judging the size or distance of a vehicle seen in the
passenger side convex mirror. Some vehicles will not
have a convex passenger side mirror.
1 — Left Mirror Selection
2 — Right Mirror Selection
3 — Mirror Direction Control
2
2020_DT_1500_OM_US.book Page 61
Page 98 of 674

96 GETTING TO KNOW YOUR VEHICLE
NOTE:
If the window runs into any obstacle during the Auto-Closure,
it will reverse direction and then go back down. Remove the
obstacle and use the window switch again to close the
window. Any impact due to rough road conditions may
trigger the auto reverse function unexpectedly during auto
closure. If this happens, pull the switch lightly to the first
detent and hold to close the window manually.
Reset Auto-Up
Should the Auto-Up feature stop working, the window may
need to be reset. To reset Auto-Up:
1. Make sure the door is fully closed.
2. Pull the window switch up to close the windowcompletely and continue to hold the switch up for an
additional two seconds after the window is closed. 3. Push the window switch down firmly to the second
detent to open the window completely and continue to
hold the switch down for an additional two seconds after
the window is fully open.
Window Lockout Switch
The window lockout switch on the driver's door allows you
to disable the window control on the rear passenger doors.
To disable the window controls on the rear passenger doors,
push the window lock switch into the latched or down posi -
tion. To enable the window controls, push the window lock
switch again and return the switch to the released or up posi -
tion.
Window Lockout Switch
WARNING!
There is no anti-pinch protection when the window is
almost closed. Be sure to clear all objects from the
window before closing.
2020_DT_1500_OM_US.book Page 96
Page 100 of 674
98 GETTING TO KNOW YOUR VEHICLE
POWER SUNROOF — IF EQUIPPED
Single Pane Power Sunroof — If Equipped
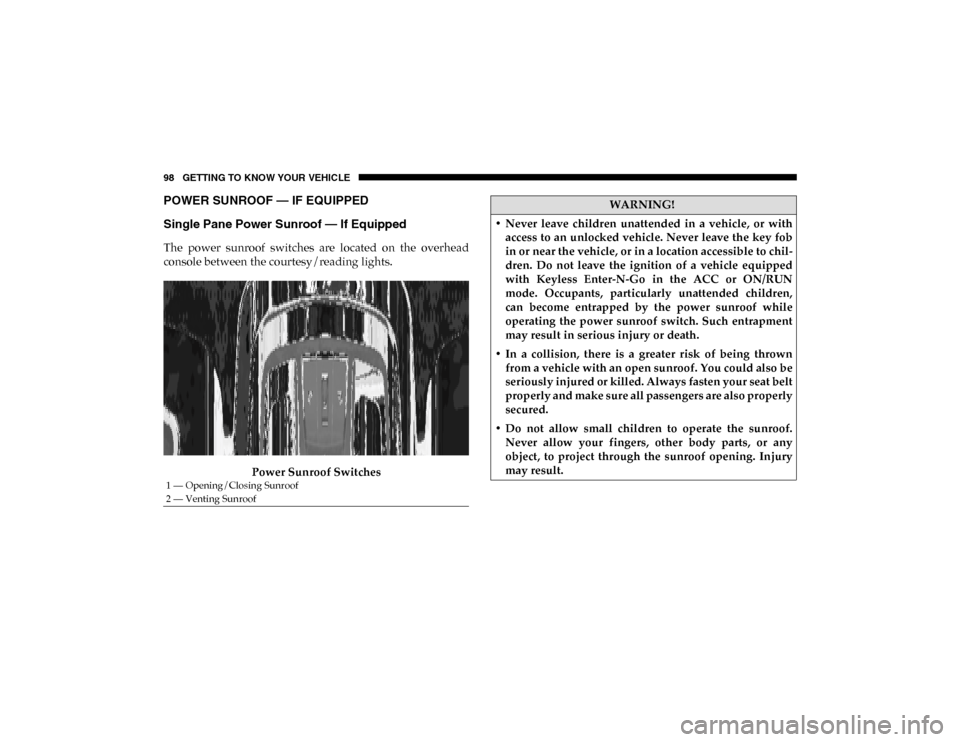
The power sunroof switches are located on the overhead
console between the courtesy/reading lights.Power Sunroof Switches
1 — Opening/Closing Sunroof
2 — Venting Sunroof
WARNING!
• Never leave children unattended in a vehicle, or with access to an unlocked vehicle. Never leave the key fob
in or near the vehicle, or in a location accessible to chil -
dren. Do not leave the ignition of a vehicle equipped
with Keyless Enter-N-Go in the ACC or ON/RUN
mode. Occupants, particularly unattended children,
can become entrapped by the power sunroof while
operating the power sunroof switch. Such entrapment
may result in serious injury or death.
• In a collision, there is a greater risk of being thrown from a vehicle with an open sunroof. You could also be
seriously injured or killed. Always fasten your seat belt
properly and make sure all passengers are also properly
secured.
• Do not allow small children to operate the sunroof. Never allow your fingers, other body parts, or any
object, to project through the sunroof opening. Injury
may result.
2020_DT_1500_OM_US.book Page 98
Page 111 of 674
GETTING TO KNOW YOUR VEHICLE 109
NOTE:
• When the swing doors are open, the maximum load placedon a door cannot exceed 180 lbs (82 kg).
• Pull back on the swing doors firmly after closing to ensure they are securely latched.GARAGE DOOR OPENER — IF EQUIPPED
HomeLink® replaces up to three hand-held transmitters that
operate devices such as garage door openers, motorized
gates, lighting or home security systems. The HomeLink®
unit is powered by your vehicles 12 Volt battery.
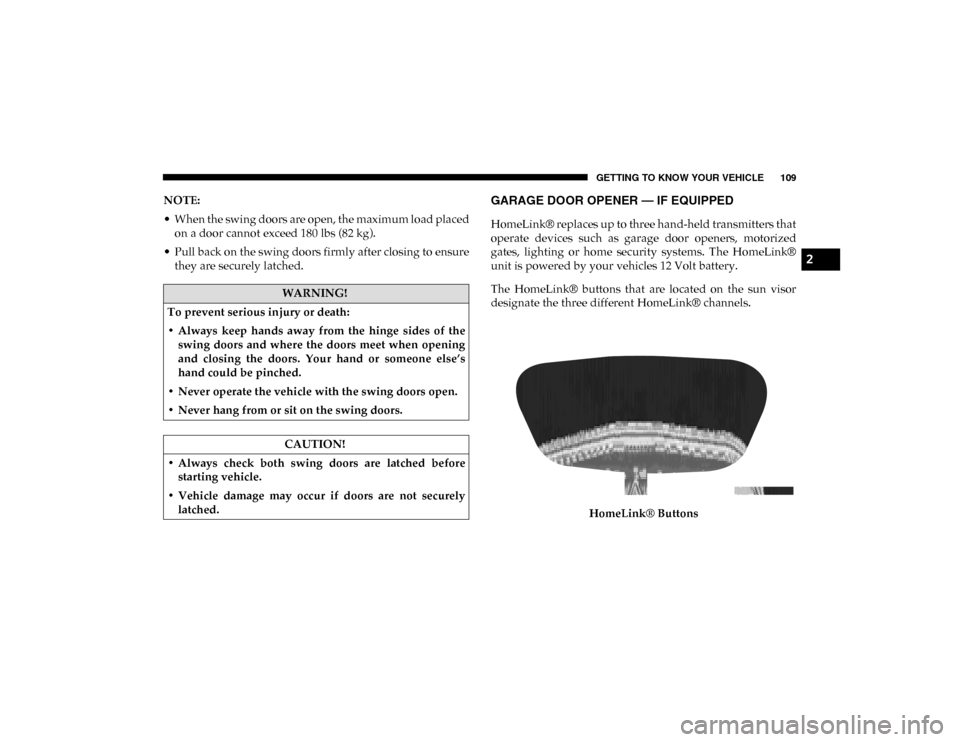
The HomeLink® buttons that are located on the sun visor
designate the three different HomeLink® channels.
HomeLink® Buttons
WARNING!
To prevent serious injury or death:
• Always keep hands away from the hinge sides of the swing doors and where the doors meet when opening
and closing the doors. Your hand or someone else’s
hand could be pinched.
• Never operate the vehicle with the swing doors open.
• Never hang from or sit on the swing doors.
CAUTION!
• Always check both swing doors are latched before starting vehicle.
• Vehicle damage may occur if doors are not securely latched.
2
2020_DT_1500_OM_US.book Page 109
Page 132 of 674

130 GETTING TO KNOW YOUR VEHICLE
When the vehicle is turned off, be sure to unplug any equip-
ment as to not drain the battery of the vehicle. All accessories
connected to the outlet(s) should be removed or turned off
when the vehicle is not in use to protect the battery against
discharge.
WARNING!
To avoid serious injury or death:
• Only devices designed for use in this type of outlet should be inserted into any 12 Volt outlet.
• Do not touch with wet hands.
• Close the lid when not in use and while driving the vehicle.
• If this outlet is mishandled, it may cause an electric shock and failure.
CAUTION!
• Many accessories that can be plugged in draw power from the vehicle's battery, even when not in use (i.e.,
cellular phones, etc.). Eventually, if plugged in long
enough, the vehicle's battery will discharge sufficiently
to degrade battery life and/or prevent the engine from
starting.
• Accessories that draw higher power (i.e., coolers, vacuum cleaners, lights, etc.), will discharge the battery
even more quickly. Only use these intermittently and
with greater caution.
• After the use of high power draw accessories, or long periods of the vehicle not being started (with accesso -
ries still plugged in), the vehicle must be driven a suffi -
cient length of time to allow the generator to recharge
the vehicle's battery.
2020_DT_1500_OM_US.book Page 130