air filter Ram 2500 2020 User Guide
[x] Cancel search | Manufacturer: RAM, Model Year: 2020, Model line: 2500, Model: Ram 2500 2020Pages: 553, PDF Size: 21.99 MB
Page 389 of 553

SERVICING AND MAINTENANCE387
Inspect the CV/Universal joints. X X X X X X X X X X X X X X X X X X X X
Inspect the front suspension,
tie rod ends and boot seals for
cracks or leaks and all parts for
damage, wear, improper
looseness or end play; replace if
necessary. X X X X X X X X X X
Inspect the brake linings. XXXXX X
Inspect and adjust parking
brake. X
XXXX X
Inspect drive belt; replace as
necessary. X
XXXX X
Inspect wheel bearings. XXXX X
Additional Maintenance
Replace cabin air filter. XXXXX X
Mileage or time passed
(whichever comes first):
7,500
15,000
22,500
30,000
37,500
45,000
52,500
60,000
67,500
75,000
82,500
90,000
97,500
105,000
112,500
120,000
127,500
135,000
142,500
150,000
Or Months: 6 12 18 24 30 36 42 48 54 60 66 72 78 84 90 96 102 108 114 120
Or Kilometers:
12,000
24,000
36,000
48,000
60,000
72,000
84,000
96,000
108,000
120,000
132,000
144,000
156,000
168,000
180,000
192,000
204,000
216,000
228,000
240,000
7
20_DJD2_OM_EN_USC_t.book Page 387
Page 392 of 553

390SERVICING AND MAINTENANCE
(Continued)
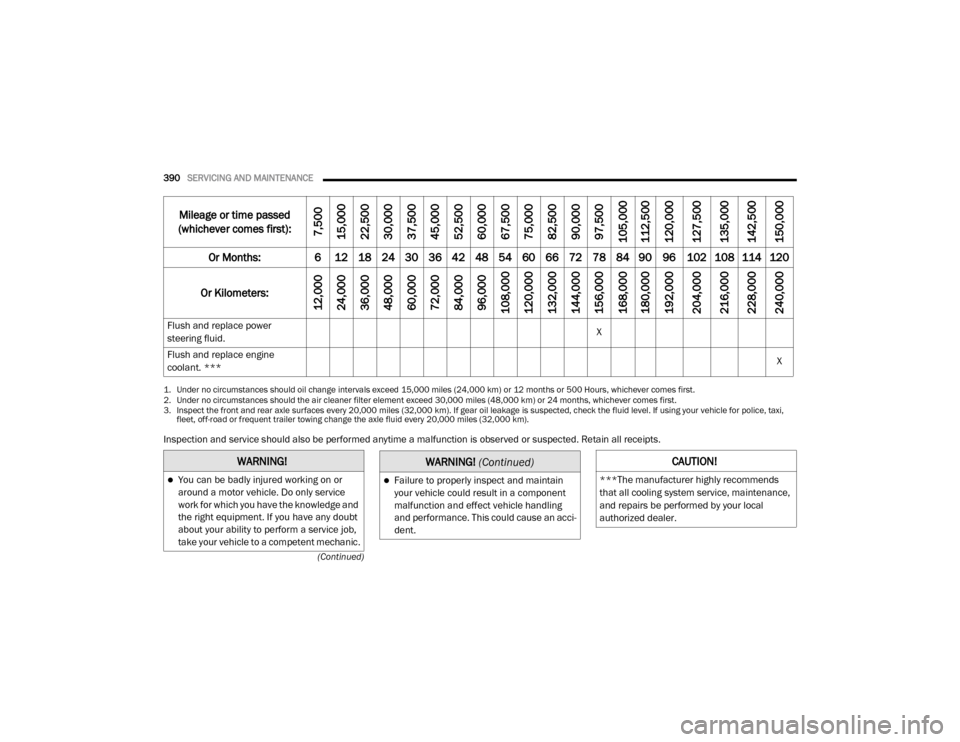
Inspection and service should also be performed anytime a malfunction is observed or suspected. Retain all receipts. Flush and replace power
steering fluid.
X
Flush and replace engine
coolant. *** X
1. Under no circumstances should oil change intervals exceed 15,000 miles (24,000 km) or 12 months or 500 Hours, whichever comes first.
2. Under no circumstances should the air cleaner filter element exceed 30,000 miles (48,000 km) or 24 months, whichever comes first.
3. Inspect the front and rear axle surfaces every 20,000 miles (32,000 km). If gear oil leakage is suspected, check the fluid level. If using your vehicle for police, taxi,
fleet, off-road or frequent trailer towing change the axle fluid every 20,000 miles (32,000 km).
Mileage or time passed
(whichever comes first):
7,500
15,000
22,500
30,000
37,500
45,000
52,500
60,000
67,500
75,000
82,500
90,000
97,500
105,000
112,500
120,000
127,500
135,000
142,500
150,000
Or Months: 6 12 18 24 30 36 42 48 54 60 66 72 78 84 90 96 102 108 114 120
Or Kilometers:
12,000
24,000
36,000
48,000
60,000
72,000
84,000
96,000
108,000
120,000
132,000
144,000
156,000
168,000
180,000
192,000
204,000
216,000
228,000
240,000
WARNING!
You can be badly injured working on or
around a motor vehicle. Do only service
work for which you have the knowledge and
the right equipment. If you have any doubt
about your ability to perform a service job,
take your vehicle to a competent mechanic.Failure to properly inspect and maintain
your vehicle could result in a component
malfunction and effect vehicle handling
and performance. This could cause an acci -
dent.
WARNING! (Continued)CAUTION!
***The manufacturer highly recommends
that all cooling system service, maintenance,
and repairs be performed by your local
authorized dealer.
20_DJD2_OM_EN_USC_t.book Page 390
Page 393 of 553

SERVICING AND MAINTENANCE391
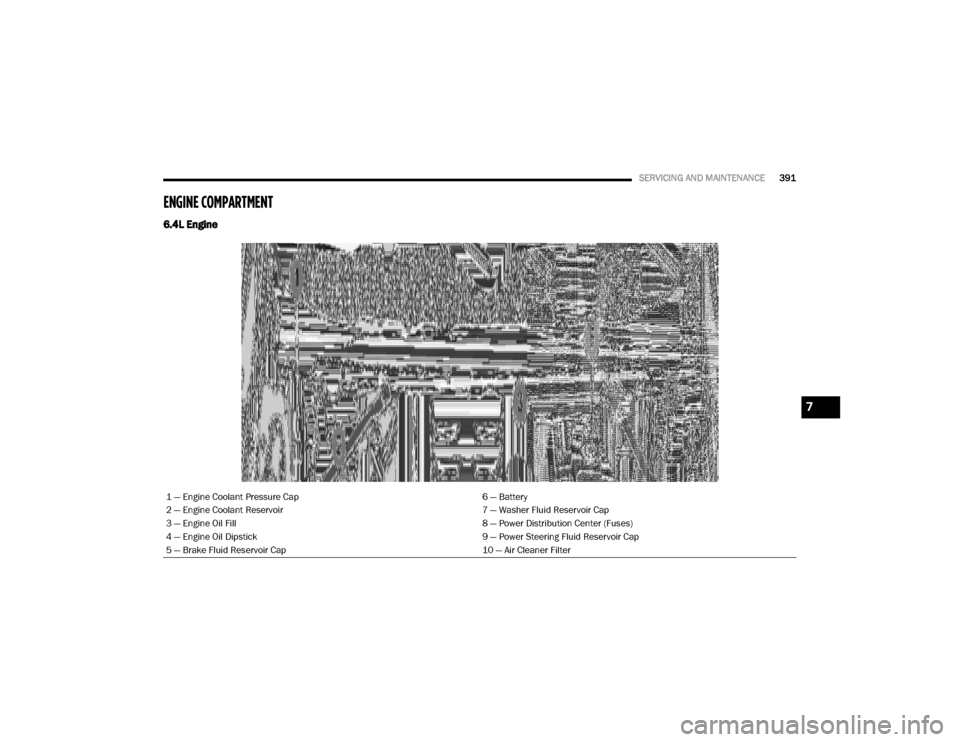
ENGINE COMPARTMENT
6.4L Engine
1 — Engine Coolant Pressure Cap 6 — Battery
2 — Engine Coolant Reservoir 7 — Washer Fluid Reservoir Cap
3 — Engine Oil Fill 8 — Power Distribution Center (Fuses)
4 — Engine Oil Dipstick 9 — Power Steering Fluid Reservoir Cap
5 — Brake Fluid Reservoir Cap 10 — Air Cleaner Filter
7
20_DJD2_OM_EN_USC_t.book Page 391
Page 394 of 553

392SERVICING AND MAINTENANCE
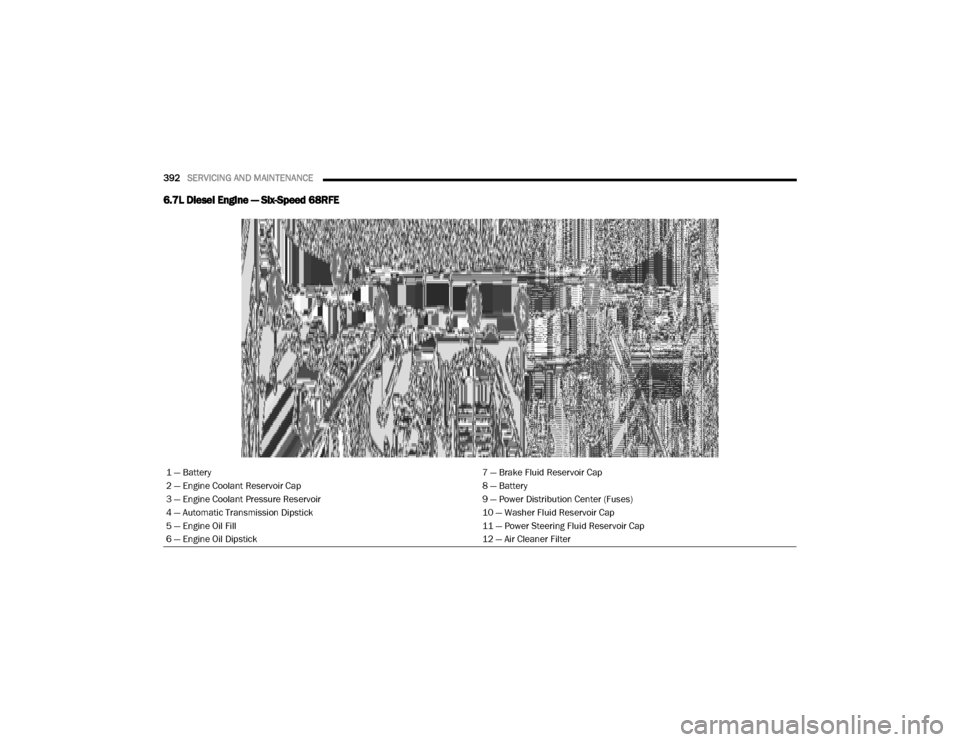
6.7L Diesel Engine — Six-Speed 68RFE
1 — Battery 7 — Brake Fluid Reservoir Cap
2 — Engine Coolant Reservoir Cap 8 — Battery
3 — Engine Coolant Pressure Reservoir 9 — Power Distribution Center (Fuses)
4 — Automatic Transmission Dipstick 10 — Washer Fluid Reservoir Cap
5 — Engine Oil Fill 11 — Power Steering Fluid Reservoir Cap
6 — Engine Oil Dipstick 12 — Air Cleaner Filter
20_DJD2_OM_EN_USC_t.book Page 392
Page 395 of 553

SERVICING AND MAINTENANCE393
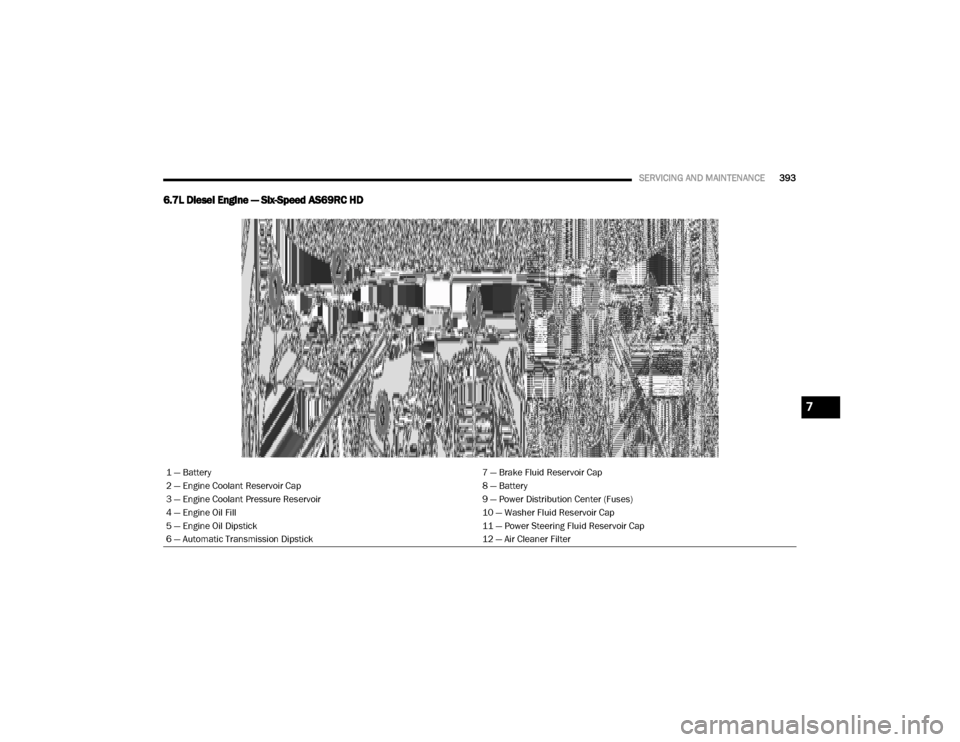
6.7L Diesel Engine — Six-Speed AS69RC HD
1 — Battery 7 — Brake Fluid Reservoir Cap
2 — Engine Coolant Reservoir Cap 8 — Battery
3 — Engine Coolant Pressure Reservoir 9 — Power Distribution Center (Fuses)
4 — Engine Oil Fill 10 — Washer Fluid Reservoir Cap
5 — Engine Oil Dipstick 11 — Power Steering Fluid Reservoir Cap
6 — Automatic Transmission Dipstick 12 — Air Cleaner Filter
7
20_DJD2_OM_EN_USC_t.book Page 393
Page 400 of 553

398SERVICING AND MAINTENANCE
engine oil filler cap also shows the recom -
mended engine oil viscosity for your engine. For
information on engine oil filler cap location,
refer to “Engine Compartment” in “Servicing
And Maintenance” for further information.
Synthetic Engine Oils
You may use synthetic engine oils provided the
recommended oil quality requirements are met,
and the recommended maintenance intervals
for oil and filter changes are followed.
Synthetic engine oils which do not have both the
engine oil certification mark and the correct SAE
viscosity grade number should not be used.
Materials Added To Engine Oil
The manufacturer strongly recommends
against the addition of any additives (other than
leak detection dyes) to the engine oil. Engine oil
is an engineered product and its performance
may be impaired by supplemental additives.
Disposing Of Used Engine Oil And Oil Filters
Care should be taken in disposing of used
engine oil and oil filters from your vehicle. Used
oil and oil filters, indiscriminately discarded, can
present a problem to the environment. Contact
an authorized dealer, service station or govern -
mental agency for advice on how and where used oil and oil filters can be safely discarded in
your area.
Engine Oil Filter
The engine oil filter should be replaced with a
new filter at every engine oil change.
Engine Oil Filter Selection
This manufacturer's engines have a full-flow
type disposable oil filter. Use a filter of this type
for replacement. The quality of replacement
filters varies considerably. Only high quality
filters should be used to ensure most efficient
service. Mopar engine oil filters are high quality
oil filters and are recommended.
Engine Air Cleaner Filter
Refer to the “Maintenance Plan” in this section
for the proper maintenance intervals.
NOTE:
Be sure to follow the “Severe Duty Conditions”
maintenance interval if applicable.
Engine Air Cleaner Filter Selection
The quality of replacement engine air cleaner
filters varies considerably. Only high quality
filters should be used to ensure most efficient
service. Mopar engine air cleaner filters are a
high quality filter and are recommended.
Engine Air Cleaner Filter Inspection And
Replacement — Gas Engine
Inspect engine air cleaner filter for dirt and or
debris, if you find evidence of either dirt or
debris you should change your air cleaner filter.
WARNING!
The air induction system (air cleaner, hoses,
etc.) can provide a measure of protection in
the case of engine backfire. Do not remove
the air induction system (air cleaner, hoses,
etc.) unless such removal is necessary for
repair or maintenance. Make sure that no
one is near the engine compartment before
starting the vehicle with the air induction
system (air cleaner, hoses, etc.) removed.
Failure to do so can result in serious personal
injury.
20_DJD2_OM_EN_USC_t.book Page 398
Page 401 of 553

SERVICING AND MAINTENANCE399
Engine Air Cleaner Filter Removal
1. With suitable tool fully loosen (six)
fasteners on air cleaner filter.
Air Cleaner Filter
2. Lift the air cleaner cover to access the air cleaner filter.
3. Remove the air cleaner filter element from the housing assembly.
Open Air Cleaner Filter Assembly
Engine Air Cleaner Filter Installation
NOTE:
Inspect and clean the housing if dirt or debris is
present before replacing the air filter element.
1. Install the air cleaner filter element into the housing assembly with the air cleaner filter
inspection surface facing downward.
2. Install the air cleaner cover onto the housing assembly.
3. Tighten the fasteners (six) on the air cleaner filter assemblyEngine Air Cleaner Filter Inspection and
Replacement — Diesel Engine
Inspect engine air cleaner filter for dirt and or
debris, if you find evidence of either dirt or
debris you should change your air cleaner filter.
Engine Air Cleaner Filter Removal
1. Remove the screws from the air cleaner cover.
Air Cleaner Filter Cover
2. Lift the air cleaner cover to access the air cleaner filter.
1 — Fasteners
2 — Air Hose Clamp
3 — Air Cleaner Cover
1 — Air Cleaner Cover
2 — Air Cleaner Filter
1 — Air Cleaner Filter Cover
2 — Screws
7
20_DJD2_OM_EN_USC_t.book Page 399
Page 402 of 553

400SERVICING AND MAINTENANCE
3. Remove the air cleaner filter element from
the housing assembly.
Air Cleaner Filter
Engine Air Cleaner Filter Installation
NOTE:
Inspect and clean the housing if dirt or debris is
present before replacing the air filter element.
1. Install the air cleaner filter element into the housing assembly with the air cleaner filter
inspection surface facing downward.
2. Install the air cleaner cover onto the housing assembly locating tabs. 3. Install screws to secure the air cleaner
cover to the housing assembly.
Air Conditioner Maintenance
For best possible performance, your air condi -
tioner should be checked and serviced by an
authorized dealer at the start of each warm
season. This service should include cleaning of
the condenser fins and a performance test.
Drive belt tension should also be checked at
this time.
Refrigerant Recovery And Recycling —
R-134a — (If Equipped)
R-134a Air Conditioning Refrigerant is a hydro -
fluorocarbon (HFC) that is an ozone-friendly
substance. The manufacturer recommends
that air conditioning service be performed by an
authorized dealer or other service facilities
using recovery and recycling equipment.
NOTE:
Use only manufacturer approved A/C system
PAG compressor oil and refrigerants.
Refrigerant Recovery And Recycling —
R-1234yf — (If Equipped)
R–1234yf Air Conditioning Refrigerant is a
hydrofluoroolefin (HFO) that is endorsed by the
Environmental Protection Agency and is an
ozone-friendly substance with a low
global-warming potential. The manufacturer
1 — Air Cleaner Filter
2 — Air Cleaner Filter Inspection Surface
WARNING!
Use only refrigerants and compressor lubri -
cants approved by the manufacturer for
your air conditioning system. Some unap -
proved refrigerants are flammable and can
explode, injuring you. Other unapproved
refrigerants or lubricants can cause the
system to fail, requiring costly repairs.
Refer to Warranty Information Book, for
further warranty information.
The air conditioning system contains refrig -
erant under high pressure. To avoid risk of
personal injury or damage to the system,
adding refrigerant or any repair requiring
lines to be disconnected should be done by
an experienced technician.
CAUTION!
Do not use chemical flushes in your air
conditioning system as the chemicals can
damage your air conditioning components.
Such damage is not covered by the New
Vehicle Limited Warranty.
20_DJD2_OM_EN_USC_t.book Page 400
Page 403 of 553

SERVICING AND MAINTENANCE401
recommends that air conditioning service be
performed by an authorized dealer using
recovery and recycling equipment.
NOTE:
Use only manufacturer approved A/C system
PAG compressor oil, and refrigerants.
Cabin Filter Replacement (A/C Air Filter)
Refer to the “Maintenance Plan” for the proper
maintenance intervals.
The cabin air filter is located in the fresh air inlet
behind the glove compartment. Perform the
following procedure to replace the filter:
1. Open the glove compartment and remove
all contents.
2. With the glove compartment door open, remove the glove compartment tension
tether and tether clip by sliding the clip
toward the face of the glove compartment
door. Lift the clip out of glove compartment
door and release into dash panel.
Right Side Of Glove Compartment
3. There are travel stops on both sides of the
glove compartment. Push inward on right
side of the glove compartment travel stop to
disengage the stop. Then pull the right of
the glove compartment outward (away from
the hinge) to disengaging the right side of
the compartment from the hinge. Continue
by removing the left side from the hinge by
slightly lowering the compartment while
pulling outward until it is completely disen -
gaged from the hinge.
Glove Compartment
WARNING!
Do not remove the cabin air filter while the
vehicle is running, or while the ignition is in
the ACC or ON/RUN mode. With the cabin air
filter removed and the blower operating, the
blower can contact hands and may propel dirt
and debris into your eyes, resulting in
personal injury.
1 — Glove Compartment Door
2 — Glove Compartment Tension Tether
1 — Glove Compartment Travel Stop
2 — Glove Compartment Tension Tether
3 — Glove Compartment Door
7
20_DJD2_OM_EN_USC_t.book Page 401
Page 404 of 553

402SERVICING AND MAINTENANCE
4. Remove the filter cover by pushing in on the
finger tabs on each end of the filter cover.
Filter Cover
Filter Cover Removal
5. Remove the cabin air filter by pulling it
straight out of the housing.
Cabin Air Filter
6. Install the cabin air filter with the arrow on the filter pointing toward the floor. When
installing the filter cover, press on each end
until you hear an audible click.
7. Reinstall the glove compartment on the hinges. 8. Pull the tension tether outward and reinstall
the glove compartment past the travel stops
by pushing in on the glove compartment
sides.
Right Side Of Glove Compartment
NOTE:
Ensure the glove compartment door hinges and
glove compartment travel stops are fully
engaged.
9. Reattach the glove compartment tension tether by inserting the tether clip in the
glove compartment and sliding the clip
away from the face of the glove compart -
ment door.
1 — Finger Tabs
CAUTION!
The cabin air filter is identified with an arrow
to indicate airflow direction through the filter.
Failure to properly install the filter will result
in the need to replace it more often.
1 — Glove Compartment Travel Stop
2 — Glove Compartment Tension Tether
3 — Glove Compartment Door
20_DJD2_OM_EN_USC_t.book Page 402