ESP Ram 2500 2020 Owner's Manual
[x] Cancel search | Manufacturer: RAM, Model Year: 2020, Model line: 2500, Model: Ram 2500 2020Pages: 553, PDF Size: 21.99 MB
Page 2 of 553

WARNING: Operating, servicing and maintaining a passenger vehicle or off-highway
motor vehicle can expose you to chemicals including engine exhaust, carbon monoxide,
phthalates, and lead, which are known to the State of California to cause cancer and birth defects
or other reproductive harm. To minimize exposure, avoid breathing exhaust, do not idle the
engine except as necessary, service your vehicle in a well-ventilated area and wear gloves or wash
your hands frequently when servicing your vehicle. For more information go to
www.P65Warnings.ca.gov/passenger-vehicle.
The driver’s primary responsibility is the safe operation of the vehicle. Driving while distracted can result in loss of vehicle control, resulting in an accident and
personal injury. FCA US LLC strongly recommends that the driver use extreme caution when using any device or feature that may take their attention off the
road. Use of any electrical devices, such as cellular telephones, computers, portable radios, vehicle navigation or other devices, by the driver while the vehicle is moving is dangerous and could lead to a serious accident. Texting while driving is also dangerous and should never be done while the vehicle is moving. If you
find yourself unable to devote your full attention to vehicle operation, pull off the road to a safe location and stop your vehicle. Some states or provinces prohibit the use of cellular telephones or texting while driving. It is always the driver’s responsibility to comply with all local laws.
This Owner’s Manual has been prepared to help you get acquainted with your new Ram brand vehicle and to provide a convenient reference for common questions.
Not all features shown in this manual may apply to your vehicle. For additional information on accessories to help personalize your vehicle, visit
www.mopar.com/en-us/care/owners-manual.html (U.S.), www.owners.mopar.ca (Canada) or your local Ram brand dealer.
DRIVING AND ALCOHOL
Drunk driving is one of the most frequent causes of accidents. Your driving ability can be seriously impaired with blood alcohol levels far below the legal minimum. If you are drinking, don’t drive. Ride with
a designated non-drinking driver, call a cab, a friend or use public transportation.
This Owner’s Manual illustrates and describes the operation of features and equipment that are either standard or optional on this vehicle. This manual may
also include a description of features and equipment that are no longer available or were not ordered on this vehicle. Please disregard any features and
equipment that are no longer available or were not ordered on this vehicle. FCA US LLC reserves the right to make changes in design and specifications, and/or make additions to or improvements to its products without imposing any obligation upon itself to install them on products previously manufactured.
With respect to vehicles sold in Canada, the name FCA US LLC shall be deemed to be deleted and the name FCA Canada Inc. used in substitution therefore.
If you are the first registered retail owner of your vehicle, you may obtain a complimentary printed copy of the Warranty Booklet by calling
1-866-726-4636 (U.S.) or 1-800-387-1143 (Canada), or by contacting your dealer.
This Owner’s Manual is intended to familiarize you with the important features of your vehicle. Your most up-to-date Owner’s Manual, Navigation/Uconnect manuals and Warranty Booklet can be found by visiting the website on the back cover. U.S. residents can purchase replacement kits by visiting
www.techauthority.com and Canadian residents can purchase replacement kits by calling 1-800-387-1143.
WARNING
Driving after drinking can lead to an accident. Your perceptions are less sharp, your reflexes are slower
and your judgment is impaired when you have been drinking. Never drink and then drive.
Page 10 of 553

8
ENHANCED ACCIDENT RESPONSE SYSTEM
(EARS) ................................................................ 371
EVENT DATA RECORDER (EDR) ....................... 371
BULB REPLACEMENT ........................................ 372 Replacement Bulbs ...................................372
Replacing Exterior Bulbs ...........................374
SERVICING AND MAINTENANCE
SCHEDULED SERVICING — GAS ENGINE ....... 380Maintenance Plan — Gasoline Engine......380
Heavy Duty Use Of The Vehicle ................. 384
SCHEDULED SERVICING— DIESEL ENGINE .... 384
Oil Change Indicator System — Cummins
Diesel ..........................................................385 Perform Service Indicator — Cummins
Diesel ..........................................................385
Maintenance Plan — Cummins Diesel
Engine ........................................................ 386
ENGINE COMPARTMENT .................................. 391
6.4L Engine ...............................................391
6.7L Diesel Engine — Six-Speed 68RFE ..392
6.7L Diesel Engine — Six-Speed
AS69RC HD ................................................393 Checking Oil Level — Gas Engine .............394
Checking Oil Level — Diesel Engine ..........394
Adding Washer Fluid..................................394
Maintenance-Free Battery .......................395
Pressure Washing ......................................395 DEALER SERVICE ..............................................396
Engine Oil .................................................. 396
Engine Oil Filter .......................................... 398
Engine Air Cleaner Filter............................ 398
Air Conditioner Maintenance .................... 400
Accessory Drive Belt Inspection ............... 403
Draining Fuel/Water Separator Filter —
Diesel Engine ............................................ 403 Engine Mounted Fuel Filter Replacement —
Diesel Engine ............................................. 405 Underbody Mounted Fuel Filter
Replacement — Diesel Engine .................. 406 Priming If The Engine Has Run Out Of
Fuel — Diesel Engine ................................. 407 Intervention Regeneration Strategy —
Message Process Flow ............................. 407 Diesel Exhaust Fluid .................................. 408
Body Lubrication ........................................ 408
Windshield Wiper Blades .......................... 409
Exhaust System ........................................ 410
Cooling System ......................................... 411
Charge Air Cooler — Inter-Cooler .............. 415
Brake System ............................................ 415
Automatic Transmission............................ 416
Rear Axle And 4x4 Front Driving Axle Fluid
Level .......................................................... 418 Transfer Case ............................................ 419
Noise Control System Required
Maintenance & Warranty ......................... 419 HOISTING ........................................................... 422
TIRES ................................................................... 422
Tire Safety Information.............................. 422
Tires — General Information .................... 428
Tire Types ................................................... 432
Spare Tires — If Equipped ......................... 433
Wheel And Wheel Trim Care ..................... 434
Tire Chains And Traction Devices ............ 435
Tire Rotation Recommendations ............. 436
DEPARTMENT OF TRANSPORTATION UNIFORM
TIRE QUALITY GRADES .................................... 438
Treadwear .................................................. 438
Traction Grades ......................................... 438
Temperature Grades ................................. 438
STORING THE VEHICLE ..................................... 439
BODYWORK ........................................................ 439
Protection From Atmospheric Agents....... 439
Body And Underbody Maintenance .......... 439
Preserving The Bodywork.......................... 440
INTERIORS ......................................................... 442
Seats And Fabric Parts .............................. 442
Plastic And Coated Parts........................... 442
Leather Parts ............................................. 443
Glass Surfaces .......................................... 443
20_DJD2_OM_EN_USC_t.book Page 8
Page 20 of 553
18GETTING TO KNOW YOUR VEHICLE
Le présent appareil est conforme aux CNR
d`Innovation, Science and Economic Develop -
ment applicables aux appareils radio exempts
de licence. L'exploitation est autorisée aux deux
conditions suivantes:
1. l'appareil ne doit pas produire de brouil -
lage, et
2. l'utilisateur de l'appareil doit accepter tout brouillage radioélectrique subi, même si le
brouillage est susceptible d'en comprom -
ettre le fonctionnement.
La operación de este equipo está sujeta a las
siguientes dos condiciones:
1. es posible que este equipo o dispositivo no cause interferencia perjudicial y
2. este equipo o dispositivo debe aceptar cual -
quier interferencia, incluyendo la que
pueda causar su operación no deseada.
NOTE:
Changes or modifications not expressly
approved by the party responsible for compli -
ance could void the user’s authority to operate
the equipment.IGNITION SWITCH
Keyless Push Button Ignition
This feature allows the driver to operate the igni -
tion switch with the push of a button as long as
the Remote Keyless Entry key fob is in the
passenger compartment.
The Keyless Push Button Ignition has four oper -
ating positions; three of which are labeled and
will illuminate when in position. The three posi -
tions are OFF, ACC, and ON/RUN. The fourth
position is START. During START, RUN will illumi -
nate.
NOTE:
In case the ignition switch does not change with
the push of a button, the key fob may have a low
or depleted battery. In this situation, a back up
method can be used to operate the ignition
switch. Put the nose side (side opposite of the
emergency key) of the key fob against the
START/STOP ignition button, with your foot
applied on the brake pedal, and push to operate
the ignition switch.
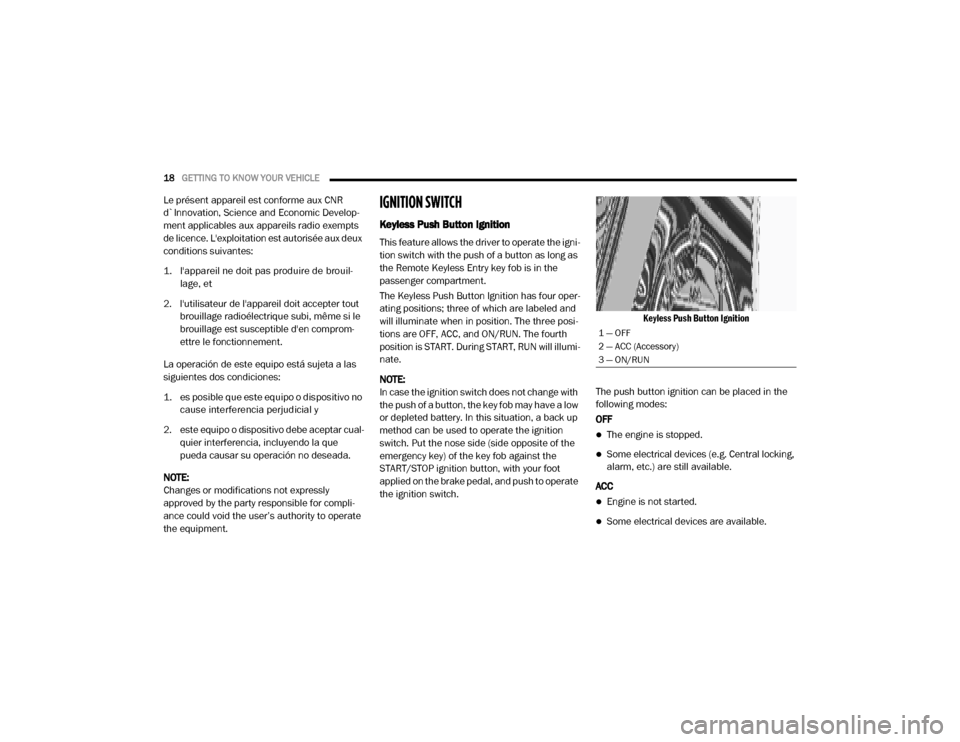
Keyless Push Button Ignition
The push button ignition can be placed in the
following modes:
OFF
The engine is stopped.
Some electrical devices (e.g. Central locking,
alarm, etc.) are still available.
ACC
Engine is not started.
Some electrical devices are available.
1 — OFF
2 — ACC (Accessory)
3 — ON/RUN
20_DJD2_OM_EN_USC_t.book Page 18
Page 24 of 553
22GETTING TO KNOW YOUR VEHICLE
Le présent appareil est conforme aux CNR
d`Innovation, Science and Economic Develop -
ment applicables aux appareils radio exempts
de licence. L'exploitation est autorisée aux deux
conditions suivantes:
1. l'appareil ne doit pas produire de brouil -
lage, et
2. l'utilisateur de l'appareil doit accepter tout brouillage radioélectrique subi, même si le
brouillage est susceptible d'en comprom -
ettre le fonctionnement.
La operación de este equipo está sujeta a las
siguientes dos condiciones:
1. es posible que este equipo o dispositivo no cause interferencia perjudicial y
2. este equipo o dispositivo debe aceptar cual -
quier interferencia, incluyendo la que
pueda causar su operación no deseada.
NOTE:
Changes or modifications not expressly
approved by the party responsible for compli -
ance could void the user’s authority to operate
the equipment.REMOTE START— IF EQUIPPED (DIESEL)
This system uses the key fob to start
the engine conveniently from outside
the vehicle while still maintaining
security. The system has a range of
approximately 300 ft (91 m).
NOTE:
Obstructions between the vehicle and the
key fob may reduce this range.
The Remote Start system will wait for the
“Wait To Start” Indicator Light to extinguish
before cranking the engine. This allows time
for the intake heater to preheat the incoming
air, and is normal operation in cold weather.
Refer to “Wait To Start Light,” located in
“Warning Lights And Messages” in “Getting
To Know Your Instrument Panel” for more
information.
How To Use Remote Start
All of the following conditions must be met
before the engine will remote start:
Transmission in PARK
Doors closed
Hood closed
Hazard switch off
Brake switch inactive (brake pedal not
pushed)
Battery at an acceptable charge level
PANIC button not pushed
Fuel meets minimum requirement
Water In Fuel Indicator Light is not illumi -
nated
Wait To Start Light Indicator Light is not illu -
minated
Malfunction Indicator Light is not illuminated
20_DJD2_OM_EN_USC_t.book Page 22
Page 27 of 553

GETTING TO KNOW YOUR VEHICLE25
NOTE:
Duplication of key fobs may be performed at an
authorized dealer. This procedure consists of
programming a blank key fob to the vehicle
electronics. A blank key fob is one that has
never been programmed.
When having the Sentry Key Immobilizer
System serviced, bring all vehicle keys with you
to an authorized dealer.
General Information
The following regulatory statement applies to all
Radio Frequency (RF) devices equipped in this
vehicle:
This device complies with Part 15 of the FCC
Rules and with Innovation, Science and
Economic Development Canada license-exempt
RSS standard(s). Operation is subject to the
following two conditions:
1. This device may not cause harmful interfer
-
ence, and
2. This device must accept any interference received, including interference that may
cause undesired operation.
Le présent appareil est conforme aux CNR
d`Innovation, Science and Economic Develop -
ment applicables aux appareils radio exempts
de licence. L'exploitation est autorisée aux deux
conditions suivantes:
1. l'appareil ne doit pas produire de brouil -
lage, et
2. l'utilisateur de l'appareil doit accepter tout brouillage radioélectrique subi, même si le
brouillage est susceptible d'en comprom -
ettre le fonctionnement.
La operación de este equipo está sujeta a las
siguientes dos condiciones:
1. es posible que este equipo o dispositivo no cause interferencia perjudicial y
2. este equipo o dispositivo debe aceptar cual -
quier interferencia, incluyendo la que
pueda causar su operación no deseada. NOTE:
Changes or modifications not expressly
approved by the party responsible for compli
-
ance could void the user’s authority to operate
the equipment.
VEHICLE SECURITY ALARM
The vehicle security alarm monitors the vehicle
doors, tailgate, and ignition for unauthorized
operation. When the vehicle security alarm is
activated, interior switches for door locks are
disabled. The system will turn the horn off after
29 seconds, 5 seconds between cycles, up to 8
cycles if the trigger remains active and then the
vehicle security alarm will rearm itself.
To Arm The System
Follow these steps to arm the vehicle security
alarm:
1. Remove the key from the ignition system. Refer to "Starting The Engine" in "Starting
And Operating" for further information.
Make sure the vehicle ignition system is OFF.
For vehicles equipped with Keyless
Enter-N-Go — Ignition, always remember to
place the ignition in the OFF position.
CAUTION! (Continued)
2
20_DJD2_OM_EN_USC_t.book Page 25
Page 30 of 553
28GETTING TO KNOW YOUR VEHICLE
NOTE:
The key fob may not be able to be detected by
the vehicle Keyless Enter-N-Go system if it is
located next to a mobile phone, laptop or other
electronic device; these devices may block the
key fob’s wireless signal and prevent the
Keyless Enter-N-Go system from starting the
vehicle.
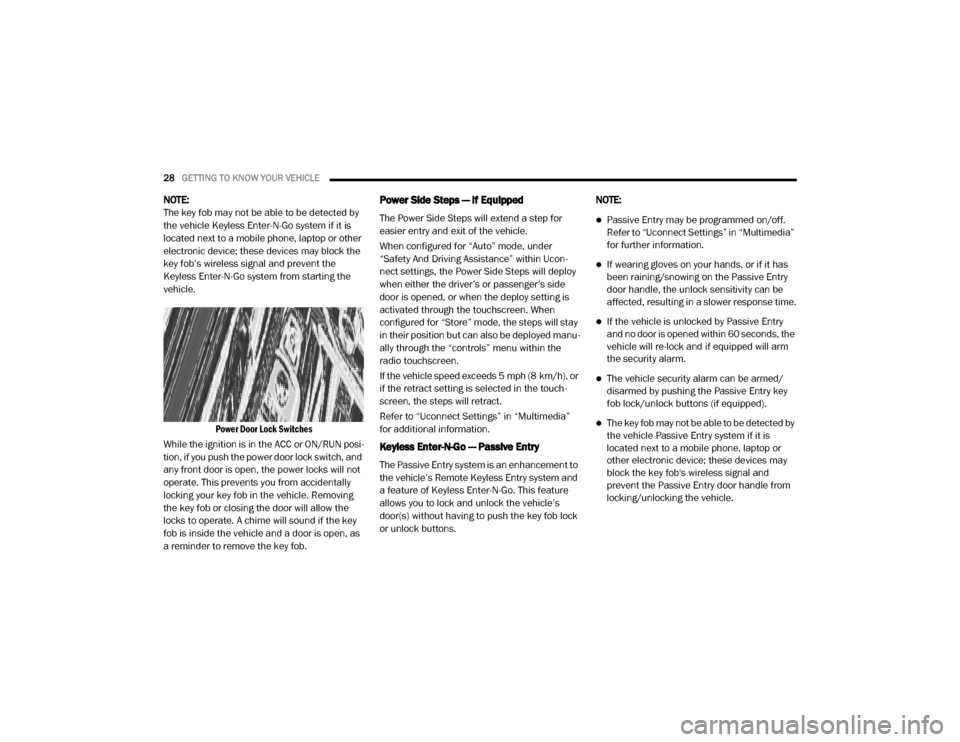
Power Door Lock Switches
While the ignition is in the ACC or ON/RUN posi -
tion, if you push the power door lock switch, and
any front door is open, the power locks will not
operate. This prevents you from accidentally
locking your key fob in the vehicle. Removing
the key fob or closing the door will allow the
locks to operate. A chime will sound if the key
fob is inside the vehicle and a door is open, as
a reminder to remove the key fob.Power Side Steps — If Equipped
The Power Side Steps will extend a step for
easier entry and exit of the vehicle.
When configured for “Auto” mode, under
“Safety And Driving Assistance” within Ucon -
nect settings, the Power Side Steps will deploy
when either the driver’s or passenger’s side
door is opened, or when the deploy setting is
activated through the touchscreen. When
configured for “Store” mode, the steps will stay
in their position but can also be deployed manu -
ally through the “controls” menu within the
radio touchscreen.
If the vehicle speed exceeds 5 mph (8 km/h), or
if the retract setting is selected in the touch -
screen, the steps will retract.
Refer to “Uconnect Settings” in “Multimedia”
for additional information.
Keyless Enter-N-Go — Passive Entry
The Passive Entry system is an enhancement to
the vehicle’s Remote Keyless Entry system and
a feature of Keyless Enter-N-Go. This feature
allows you to lock and unlock the vehicle’s
door(s) without having to push the key fob lock
or unlock buttons. NOTE:
Passive Entry may be programmed on/off.
Refer to “Uconnect Settings” in “Multimedia”
for further information.
If wearing gloves on your hands, or if it has
been raining/snowing on the Passive Entry
door handle, the unlock sensitivity can be
affected, resulting in a slower response time.
If the vehicle is unlocked by Passive Entry
and no door is opened within 60 seconds, the
vehicle will re-lock and if equipped will arm
the security alarm.
The vehicle security alarm can be armed/
disarmed by pushing the Passive Entry key
fob lock/unlock buttons (if equipped).
The key fob may not be able to be detected by
the vehicle Passive Entry system if it is
located next to a mobile phone, laptop or
other electronic device; these devices may
block the key fob's wireless signal and
prevent the Passive Entry door handle from
locking/unlocking the vehicle.
20_DJD2_OM_EN_USC_t.book Page 28
Page 32 of 553
30GETTING TO KNOW YOUR VEHICLE
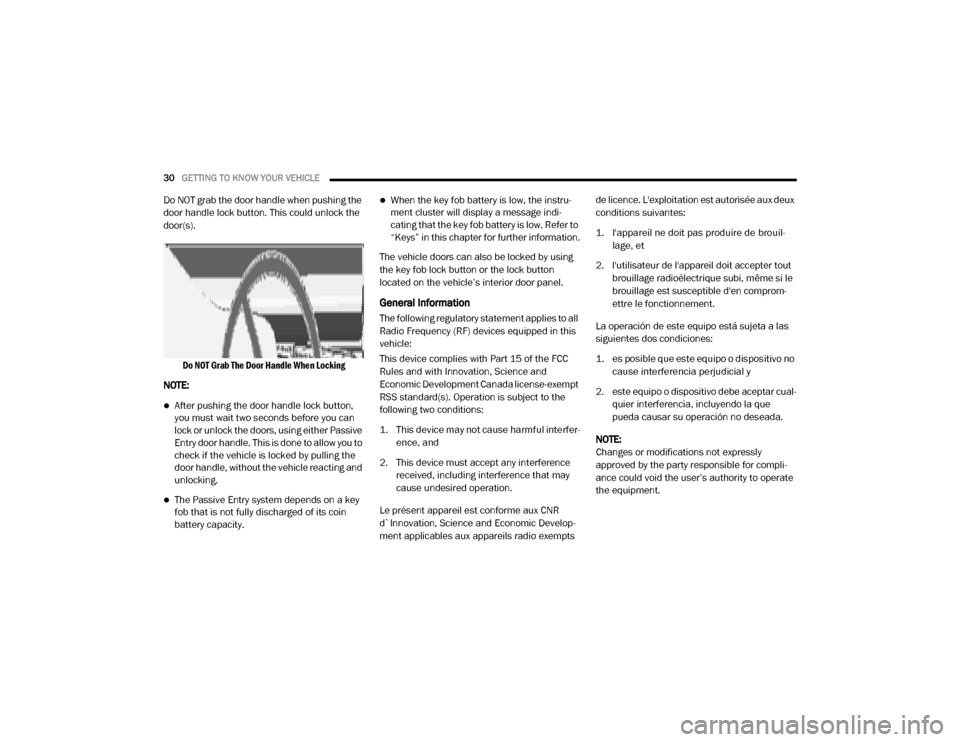
Do NOT grab the door handle when pushing the
door handle lock button. This could unlock the
door(s).
Do NOT Grab The Door Handle When Locking
NOTE:
After pushing the door handle lock button,
you must wait two seconds before you can
lock or unlock the doors, using either Passive
Entry door handle. This is done to allow you to
check if the vehicle is locked by pulling the
door handle, without the vehicle reacting and
unlocking.
The Passive Entry system depends on a key
fob that is not fully discharged of its coin
battery capacity.
When the key fob battery is low, the instru -
ment cluster will display a message indi -
cating that the key fob battery is low. Refer to
“Keys” in this chapter for further information.
The vehicle doors can also be locked by using
the key fob lock button or the lock button
located on the vehicle’s interior door panel.
General Information
The following regulatory statement applies to all
Radio Frequency (RF) devices equipped in this
vehicle:
This device complies with Part 15 of the FCC
Rules and with Innovation, Science and
Economic Development Canada license-exempt
RSS standard(s). Operation is subject to the
following two conditions:
1. This device may not cause harmful interfer -
ence, and
2. This device must accept any interference received, including interference that may
cause undesired operation.
Le présent appareil est conforme aux CNR
d`Innovation, Science and Economic Develop -
ment applicables aux appareils radio exempts de licence. L'exploitation est autorisée aux deux
conditions suivantes:
1. l'appareil ne doit pas produire de brouil
-
lage, et
2. l'utilisateur de l'appareil doit accepter tout brouillage radioélectrique subi, même si le
brouillage est susceptible d'en comprom -
ettre le fonctionnement.
La operación de este equipo está sujeta a las
siguientes dos condiciones:
1. es posible que este equipo o dispositivo no cause interferencia perjudicial y
2. este equipo o dispositivo debe aceptar cual -
quier interferencia, incluyendo la que
pueda causar su operación no deseada.
NOTE:
Changes or modifications not expressly
approved by the party responsible for compli -
ance could void the user’s authority to operate
the equipment.
20_DJD2_OM_EN_USC_t.book Page 30
Page 39 of 553

GETTING TO KNOW YOUR VEHICLE37
Easy Entry/Exit Seat
This feature provides automatic driver’s seat
positioning to enhance driver mobility when
entering and exiting the vehicle.
The distance the driver’s seat moves depends
on where you have the driver’s seat positioned
when you place the ignition in the OFF position.
When you place the ignition in the OFF posi -
tion, the driver’s seat will move about
2.4 inches (60 mm) rearward if the driver’s
seat position is greater than or equal to
2.7 inches (67.7 mm) forward of the rear
stop. The seat will return to its previously set
position when you place the ignition into the
ACC or RUN position.
When you place the ignition in the OFF posi -
tion, the driver’s seat will move to a position
0.3 inches (7.7 mm) forward of the rear stop
if the driver’s seat position is between
0.9 inches and 2.7 inches (22.7 mm and
67.7 mm) forward of the rear stop. The seat
will return to its previously set position when
you place the ignition to the ACC or RUN posi -
tion.
The Easy Entry/Easy Exit feature is disabled
when the driver’s seat position is less than
0.9 inches (22.7 mm) forward of the rear stop. At this position, there is no benefit to
the driver by moving the seat for Easy Exit or
Easy Entry.
Each stored memory setting will have an associ -
ated Easy Entry and Easy Exit position.
NOTE:
The Easy Entry/Exit feature is not enabled when
the vehicle is delivered from the factory. The
Easy Entry/Exit feature is enabled (or later
disabled) through the programmable features
in the Uconnect system. Refer to “Uconnect
Settings” in “Multimedia” for further informa -
tion.
Heated Seats — If Equipped
On some models, the front and rear seats may
be equipped with heaters located in the seat
cushions and seat backs.Front Heated Seats
The heated seats control buttons are located on
the center instrument panel below the touch -
screen, and are also located within the climate
or controls screen of the touchscreen.
WARNING!
Persons who are unable to feel pain to the
skin because of advanced age, chronic
illness, diabetes, spinal cord injury, medica -
tion, alcohol use, exhaustion or other phys -
ical condition must exercise care when
using the seat heater. It may cause burns
even at low temperatures, especially if
used for long periods of time.
Do not place anything on the seat or seat -
back that insulates against heat, such as a
blanket or cushion. This may cause the seat
heater to overheat. Sitting in a seat that has
been overheated could cause serious
burns due to the increased surface
temperature of the seat.
2
20_DJD2_OM_EN_USC_t.book Page 37
Page 44 of 553
42GETTING TO KNOW YOUR VEHICLE
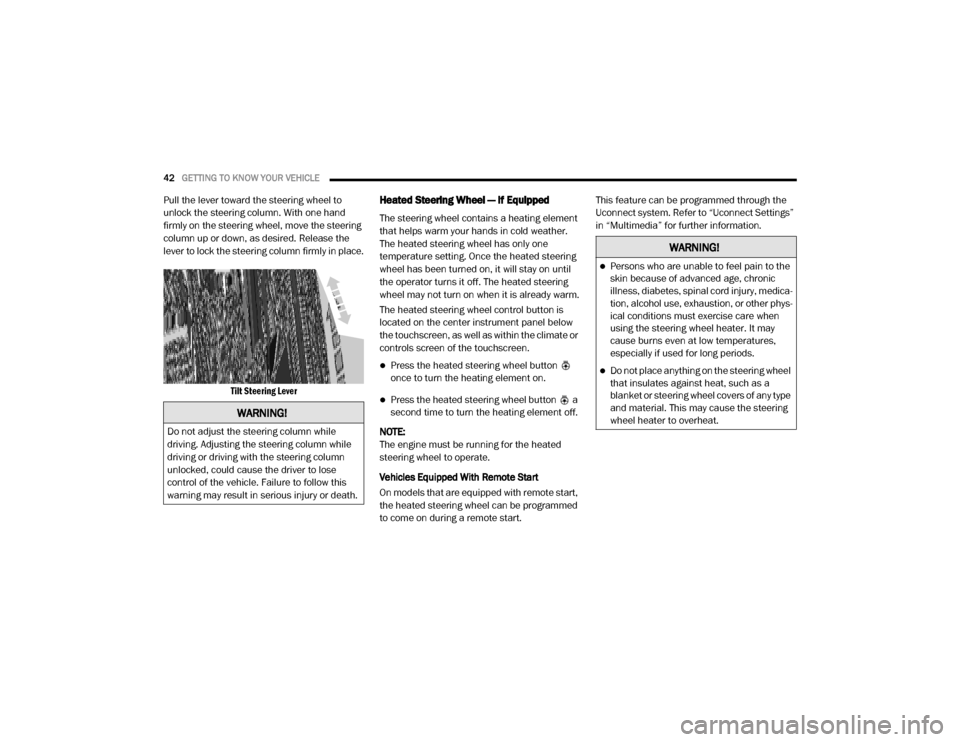
Pull the lever toward the steering wheel to
unlock the steering column. With one hand
firmly on the steering wheel, move the steering
column up or down, as desired. Release the
lever to lock the steering column firmly in place.
Tilt Steering Lever
Heated Steering Wheel — If Equipped
The steering wheel contains a heating element
that helps warm your hands in cold weather.
The heated steering wheel has only one
temperature setting. Once the heated steering
wheel has been turned on, it will stay on until
the operator turns it off. The heated steering
wheel may not turn on when it is already warm.
The heated steering wheel control button is
located on the center instrument panel below
the touchscreen, as well as within the climate or
controls screen of the touchscreen.
Press the heated steering wheel button
once to turn the heating element on.
Press the heated steering wheel button a
second time to turn the heating element off.
NOTE:
The engine must be running for the heated
steering wheel to operate.
Vehicles Equipped With Remote Start
On models that are equipped with remote start,
the heated steering wheel can be programmed
to come on during a remote start. This feature can be programmed through the
Uconnect system. Refer to “Uconnect Settings”
in “Multimedia” for further information.
WARNING!
Do not adjust the steering column while
driving. Adjusting the steering column while
driving or driving with the steering column
unlocked, could cause the driver to lose
control of the vehicle. Failure to follow this
warning may result in serious injury or death.
WARNING!
Persons who are unable to feel pain to the
skin because of advanced age, chronic
illness, diabetes, spinal cord injury, medica
-
tion, alcohol use, exhaustion, or other phys -
ical conditions must exercise care when
using the steering wheel heater. It may
cause burns even at low temperatures,
especially if used for long periods.
Do not place anything on the steering wheel
that insulates against heat, such as a
blanket or steering wheel covers of any type
and material. This may cause the steering
wheel heater to overheat.
20_DJD2_OM_EN_USC_t.book Page 42
Page 56 of 553
54GETTING TO KNOW YOUR VEHICLE
Courtesy/Reading Lights
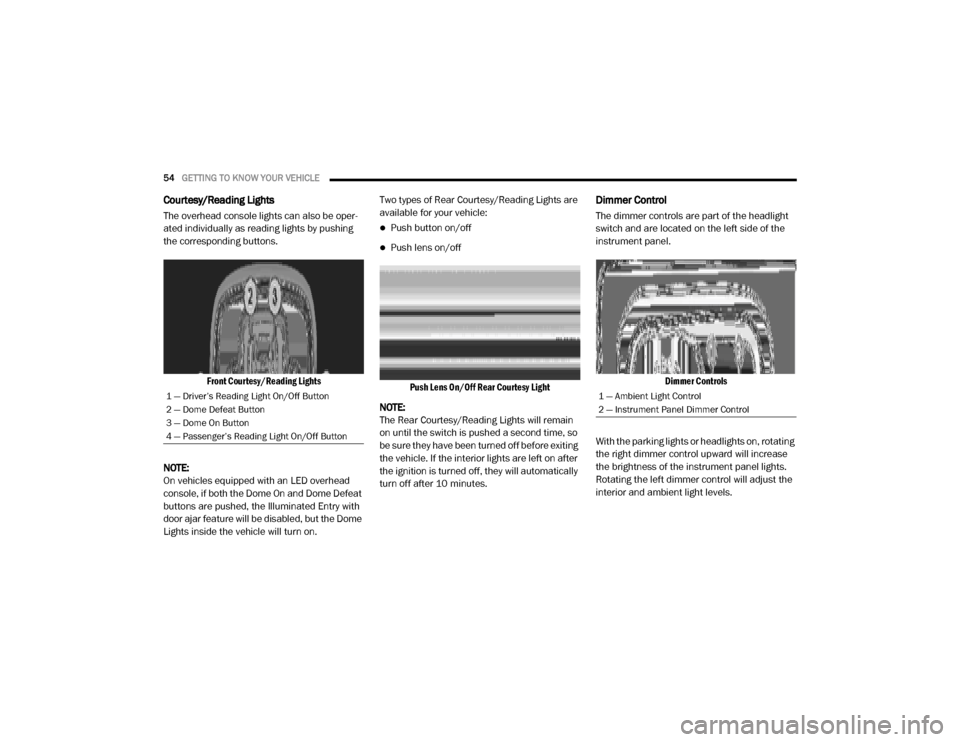
The overhead console lights can also be oper -
ated individually as reading lights by pushing
the corresponding buttons.
Front Courtesy/Reading Lights
NOTE:
On vehicles equipped with an LED overhead
console, if both the Dome On and Dome Defeat
buttons are pushed, the Illuminated Entry with
door ajar feature will be disabled, but the Dome
Lights inside the vehicle will turn on. Two types of Rear Courtesy/Reading Lights are
available for your vehicle:
Push button on/off
Push lens on/off
Push Lens On/Off Rear Courtesy Light
NOTE:
The Rear Courtesy/Reading Lights will remain
on until the switch is pushed a second time, so
be sure they have been turned off before exiting
the vehicle. If the interior lights are left on after
the ignition is turned off, they will automatically
turn off after 10 minutes.
Dimmer Control
The dimmer controls are part of the headlight
switch and are located on the left side of the
instrument panel.
Dimmer Controls
With the parking lights or headlights on, rotating
the right dimmer control upward will increase
the brightness of the instrument panel lights.
Rotating the left dimmer control will adjust the
interior and ambient light levels.
1 — Driver’s Reading Light On/Off Button
2 — Dome Defeat Button
3 — Dome On Button
4 — Passenger’s Reading Light On/Off Button1 — Ambient Light Control
2 — Instrument Panel Dimmer Control
20_DJD2_OM_EN_USC_t.book Page 54