phone Ram 2500 2020 Owner's Manual
[x] Cancel search | Manufacturer: RAM, Model Year: 2020, Model line: 2500, Model: Ram 2500 2020Pages: 553, PDF Size: 21.99 MB
Page 2 of 553

WARNING: Operating, servicing and maintaining a passenger vehicle or off-highway
motor vehicle can expose you to chemicals including engine exhaust, carbon monoxide,
phthalates, and lead, which are known to the State of California to cause cancer and birth defects
or other reproductive harm. To minimize exposure, avoid breathing exhaust, do not idle the
engine except as necessary, service your vehicle in a well-ventilated area and wear gloves or wash
your hands frequently when servicing your vehicle. For more information go to
www.P65Warnings.ca.gov/passenger-vehicle.
The driver’s primary responsibility is the safe operation of the vehicle. Driving while distracted can result in loss of vehicle control, resulting in an accident and
personal injury. FCA US LLC strongly recommends that the driver use extreme caution when using any device or feature that may take their attention off the
road. Use of any electrical devices, such as cellular telephones, computers, portable radios, vehicle navigation or other devices, by the driver while the vehicle is moving is dangerous and could lead to a serious accident. Texting while driving is also dangerous and should never be done while the vehicle is moving. If you
find yourself unable to devote your full attention to vehicle operation, pull off the road to a safe location and stop your vehicle. Some states or provinces prohibit the use of cellular telephones or texting while driving. It is always the driver’s responsibility to comply with all local laws.
This Owner’s Manual has been prepared to help you get acquainted with your new Ram brand vehicle and to provide a convenient reference for common questions.
Not all features shown in this manual may apply to your vehicle. For additional information on accessories to help personalize your vehicle, visit
www.mopar.com/en-us/care/owners-manual.html (U.S.), www.owners.mopar.ca (Canada) or your local Ram brand dealer.
DRIVING AND ALCOHOL
Drunk driving is one of the most frequent causes of accidents. Your driving ability can be seriously impaired with blood alcohol levels far below the legal minimum. If you are drinking, don’t drive. Ride with
a designated non-drinking driver, call a cab, a friend or use public transportation.
This Owner’s Manual illustrates and describes the operation of features and equipment that are either standard or optional on this vehicle. This manual may
also include a description of features and equipment that are no longer available or were not ordered on this vehicle. Please disregard any features and
equipment that are no longer available or were not ordered on this vehicle. FCA US LLC reserves the right to make changes in design and specifications, and/or make additions to or improvements to its products without imposing any obligation upon itself to install them on products previously manufactured.
With respect to vehicles sold in Canada, the name FCA US LLC shall be deemed to be deleted and the name FCA Canada Inc. used in substitution therefore.
If you are the first registered retail owner of your vehicle, you may obtain a complimentary printed copy of the Warranty Booklet by calling
1-866-726-4636 (U.S.) or 1-800-387-1143 (Canada), or by contacting your dealer.
This Owner’s Manual is intended to familiarize you with the important features of your vehicle. Your most up-to-date Owner’s Manual, Navigation/Uconnect manuals and Warranty Booklet can be found by visiting the website on the back cover. U.S. residents can purchase replacement kits by visiting
www.techauthority.com and Canadian residents can purchase replacement kits by calling 1-800-387-1143.
WARNING
Driving after drinking can lead to an accident. Your perceptions are less sharp, your reflexes are slower
and your judgment is impaired when you have been drinking. Never drink and then drive.
Page 11 of 553

9
TECHNICAL SPECIFICATIONS
IDENTIFICATION DATA ...................................... 444Vehicle Identification Number ................. 444
BRAKE SYSTEM ................................................ 444
Hydraulic Brake Assist — If Equipped .......444
WHEEL AND TIRE TORQUE
SPECIFICATIONS ................................................ 444
Torque Specifications ................................444
FUEL REQUIREMENTS — GAS ENGINE ............ 446
6.4L Engine ................................................446
Reformulated Gasoline .............................446
Materials Added To Fuel ...........................446
Gasoline/Oxygenate Blends......................446
Do Not Use E-85 In Non-Flex Fuel
Vehicles ......................................................447 CNG And LP Fuel System Modifications ...447
MMT In Gasoline ........................................447
Fuel System Cautions ................................447
Carbon Monoxide Warnings ......................448
FUEL REQUIREMENTS – DIESEL ENGINE ...... 448
Fuel Specifications ...................................448
Biodiesel Fuel Requirements ....................449
FLUID CAPACITIES — GAS ENGINE .................. 451
FLUID CAPACITIES — DIESEL ENGINE............. 451
FLUIDS AND LUBRICANTS — GAS ENGINE ..... 452
Engine ........................................................ 452
Chassis .......................................................454 FLUIDS AND LUBRICANTS — DIESEL
ENGINE ................................................................ 454
Engine ........................................................ 454
Chassis ....................................................... 457
MULTIMEDIA
UCONNECT SYSTEMS .......................................458
CYBERSECURITY ............................................... 458
UCONNECT SETTINGS ........................................ 459
Uconnect 3 Settings .................................. 459
Uconnect 4/4C/4C NAV Settings ............. 473
Uconnect 4C NAV With 12-inch Display
Settings ...................................................... 493
SAFETY AND GENERAL INFORMATION ........... 511
Safety Guidelines....................................... 511
UCONNECT 3 WITH 5-INCH DISPLAY ..............512
Introduction................................................ 512
Radio Mode ................................................ 513
Media Mode ............................................... 516
Phone Mode ............................................... 518
STEERING WHEEL AUDIO CONTROLS — IF
EQUIPPED ...........................................................525
Radio Operation ......................................... 525
Media Mode ............................................... 525
IPOD®/USB/MP3 CONTROL —
IF EQUIPPED ....................................................... 525 RADIO OPERATION AND MOBILE PHONES.... 527
Regulatory And Safety Information .......... 527
VOICE RECOGNITION QUICK TIPS .................. 529
Introducing Uconnect ................................ 529
Get Started................................................. 529
Basic Voice Commands ............................ 529
Radio .......................................................... 530
Media ......................................................... 530
Phone ......................................................... 531
Voice Text Reply — If Equipped ................. 531
Climate (4C/4C NAV)................................. 532
Navigation (4C NAV) .................................. 532
Siri® Eyes Free — If Equipped ................. 532
Using Do Not Disturb ................................ 532
Android Auto™ — If Equipped .................. 533
Apple CarPlay® — If Equipped ................. 533
General Information .................................. 534
Additional Information............................... 534
CUSTOMER ASSISTANCE
SUGGESTIONS FOR OBTAINING SERVICE FOR
YOUR VEHICLE .................................................. 536
Prepare For The Appointment .................. 536
Prepare A List............................................. 536
Be Reasonable With Requests ................. 536
20_DJD2_OM_EN_USC_t.book Page 9
Page 15 of 553
13
GETTING TO KNOW YOUR VEHICLE
VEHICLE USER GUIDE — IF EQUIPPED
Access your Owner’s Information right through
your Uconnect 4C or 4C NAV touchscreen
system (if equipped).
To access the Vehicle User Guide on your Ucon-
nect Touchscreen: Press the Uconnect Apps
button. From there, press the Vehicle User
Guide icon on your touchscreen. No Uconnect
registration is required.
Uconnect 4C NAV With 8.4–inch Display Vehicle User Guide Touchscreen Icon
NOTE:
Vehicle User Guide features are not available
while the vehicle is moving. If you try to access while the vehicle is in motion, the system will
display the message “Feature not available
while the vehicle is in motion”.
Pre-Installed Features
Your User Guide — Updated in real-time
Touchscreen convenience
Maintenance schedules and information
Comprehensive icon and symbol glossary
Available when and where you need it
Customizable interface
Multilingual
Once you launch your Vehicle User Guide, you
will be able to explore your warranty information
and radio manual when and where you need
them. Your Uconnect system displays the
Vehicle User Guide on your touchscreen radio to
assist in better understanding your vehicle.
There’s no app to download, no phone to
connect and no external device needed for play -
back. Plus, it’s updated throughout the year, in
real-time, so it never goes out of date. Features/Benefits
Pre-installed on your Uconnect touchscreen
radio
Enhanced search and browsing capability
Robust NAV application (if equipped)
Add selected topics to a fast-access Favor
-
ites category
Icon and symbol glossary
Warranty information
Crucial driver information and assistance:
Operating Instructions
Warranty Information
Fluid Level Standards
Maintenance Schedules
Emergency Procedures
911 Contact and More
2
20_DJD2_OM_EN_USC_t.book Page 13
Page 16 of 553
14GETTING TO KNOW YOUR VEHICLE
TIP:
When viewing a topic, tap the star icon to add it
to your Favorites, for easy access in the future.
KEYS
Key Fob
Your vehicle uses a keyless ignition system. The
ignition system consists of a key fob and a
START/STOP push button ignition system. The
Remote Keyless Entry (RKE) system consists of
a key fob and Keyless Enter-N-Go feature.
NOTE:
The key fob may not be found if it is located next
to a mobile phone, laptop or other electronic
device; these devices may block the key fob’s
wireless signal.
The key fob allows you to lock or unlock all
doors, tailgate, and the RamBox (if equipped),
as well as release the tailgate, and activate the
Panic Alarm from distances up to approximately
66 ft (20 m). The key fob does not need to be
pointed at the vehicle to activate the system. NOTE:
In the ON/RUN position, all key fob buttons
will work until the vehicle reaches 2 mph
(4 km/h).
The key fob should not be placed next to the
wireless charging pad (if equipped).
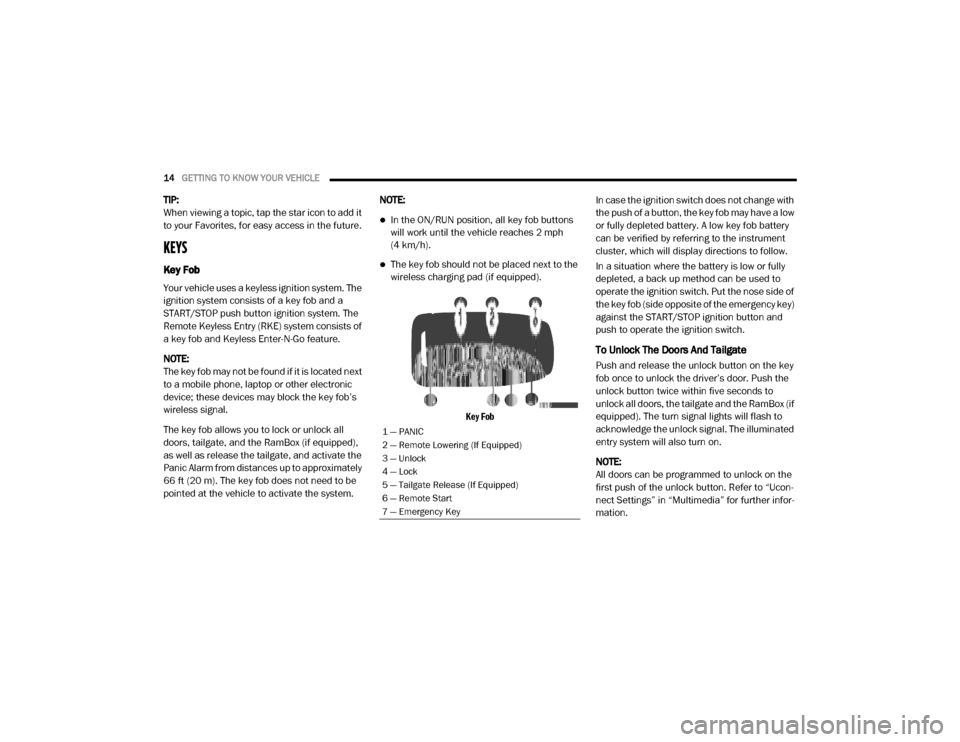
Key Fob
In case the ignition switch does not change with
the push of a button, the key fob may have a low
or fully depleted battery. A low key fob battery
can be verified by referring to the instrument
cluster, which will display directions to follow.
In a situation where the battery is low or fully
depleted, a back up method can be used to
operate the ignition switch. Put the nose side of
the key fob (side opposite of the emergency key)
against the START/STOP ignition button and
push to operate the ignition switch.
To Unlock The Doors And Tailgate
Push and release the unlock button on the key
fob once to unlock the driver’s door. Push the
unlock button twice within five seconds to
unlock all doors, the tailgate and the RamBox (if
equipped). The turn signal lights will flash to
acknowledge the unlock signal. The illuminated
entry system will also turn on.
NOTE:
All doors can be programmed to unlock on the
first push of the unlock button. Refer to “Ucon
-
nect Settings” in “Multimedia” for further infor -
mation.
1 — PANIC
2 — Remote Lowering (If Equipped)
3 — Unlock
4 — Lock
5 — Tailgate Release (If Equipped)
6 — Remote Start
7 — Emergency Key
20_DJD2_OM_EN_USC_t.book Page 14
Page 21 of 553
GETTING TO KNOW YOUR VEHICLE19
(Continued)
RUN
Driving position.
All the electrical devices are available.
START
The engine will start.
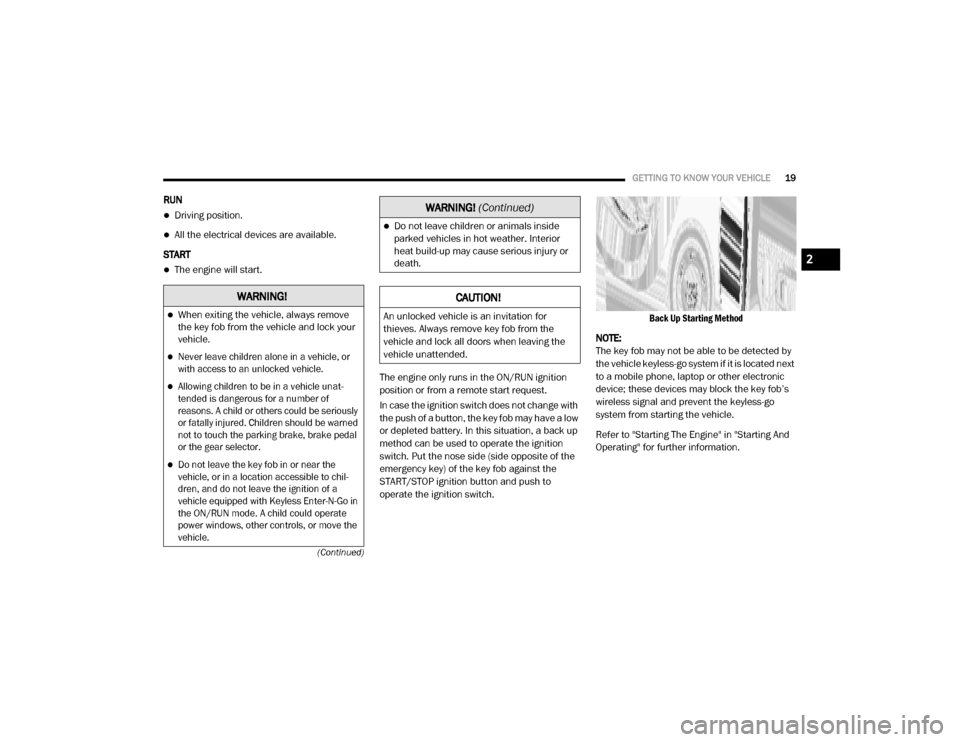
The engine only runs in the ON/RUN ignition
position or from a remote start request.
In case the ignition switch does not change with
the push of a button, the key fob may have a low
or depleted battery. In this situation, a back up
method can be used to operate the ignition
switch. Put the nose side (side opposite of the
emergency key) of the key fob against the
START/STOP ignition button and push to
operate the ignition switch.
Back Up Starting Method
NOTE:
The key fob may not be able to be detected by
the vehicle keyless-go system if it is located next
to a mobile phone, laptop or other electronic
device; these devices may block the key fob’s
wireless signal and prevent the keyless-go
system from starting the vehicle.
Refer to "Starting The Engine" in "Starting And
Operating" for further information.
WARNING!
When exiting the vehicle, always remove
the key fob from the vehicle and lock your
vehicle.
Never leave children alone in a vehicle, or
with access to an unlocked vehicle.
Allowing children to be in a vehicle unat -
tended is dangerous for a number of
reasons. A child or others could be seriously
or fatally injured. Children should be warned
not to touch the parking brake, brake pedal
or the gear selector.
Do not leave the key fob in or near the
vehicle, or in a location accessible to chil -
dren, and do not leave the ignition of a
vehicle equipped with Keyless Enter-N-Go in
the ON/RUN mode. A child could operate
power windows, other controls, or move the
vehicle.
Do not leave children or animals inside
parked vehicles in hot weather. Interior
heat build-up may cause serious injury or
death.
CAUTION!
An unlocked vehicle is an invitation for
thieves. Always remove key fob from the
vehicle and lock all doors when leaving the
vehicle unattended.
WARNING! (Continued)
2
20_DJD2_OM_EN_USC_t.book Page 19
Page 30 of 553
28GETTING TO KNOW YOUR VEHICLE
NOTE:
The key fob may not be able to be detected by
the vehicle Keyless Enter-N-Go system if it is
located next to a mobile phone, laptop or other
electronic device; these devices may block the
key fob’s wireless signal and prevent the
Keyless Enter-N-Go system from starting the
vehicle.
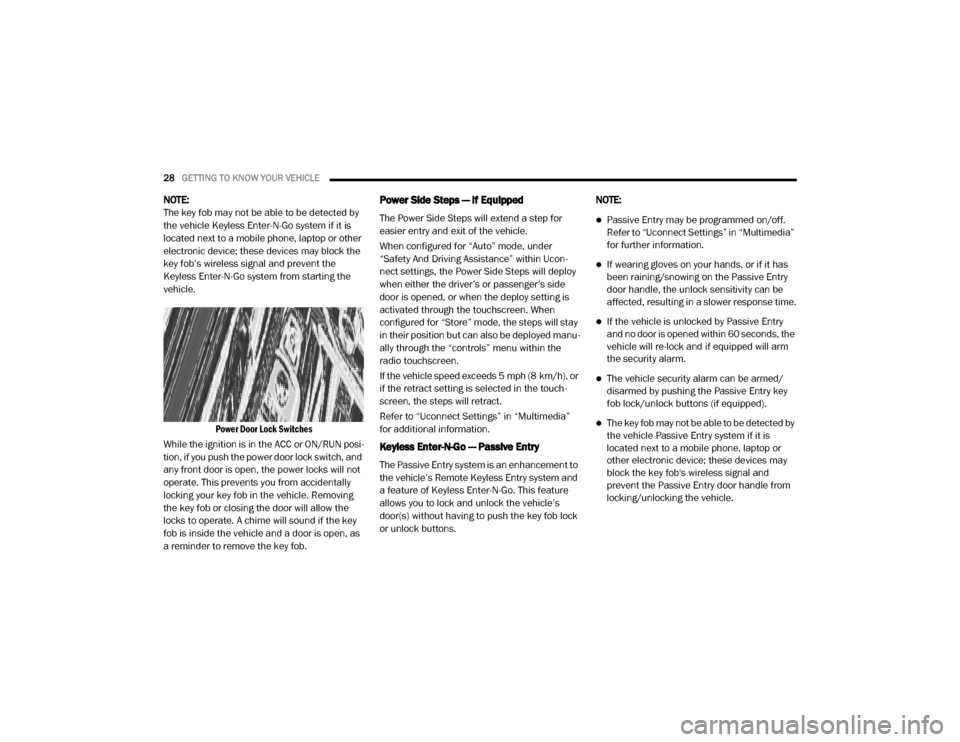
Power Door Lock Switches
While the ignition is in the ACC or ON/RUN posi -
tion, if you push the power door lock switch, and
any front door is open, the power locks will not
operate. This prevents you from accidentally
locking your key fob in the vehicle. Removing
the key fob or closing the door will allow the
locks to operate. A chime will sound if the key
fob is inside the vehicle and a door is open, as
a reminder to remove the key fob.Power Side Steps — If Equipped
The Power Side Steps will extend a step for
easier entry and exit of the vehicle.
When configured for “Auto” mode, under
“Safety And Driving Assistance” within Ucon -
nect settings, the Power Side Steps will deploy
when either the driver’s or passenger’s side
door is opened, or when the deploy setting is
activated through the touchscreen. When
configured for “Store” mode, the steps will stay
in their position but can also be deployed manu -
ally through the “controls” menu within the
radio touchscreen.
If the vehicle speed exceeds 5 mph (8 km/h), or
if the retract setting is selected in the touch -
screen, the steps will retract.
Refer to “Uconnect Settings” in “Multimedia”
for additional information.
Keyless Enter-N-Go — Passive Entry
The Passive Entry system is an enhancement to
the vehicle’s Remote Keyless Entry system and
a feature of Keyless Enter-N-Go. This feature
allows you to lock and unlock the vehicle’s
door(s) without having to push the key fob lock
or unlock buttons. NOTE:
Passive Entry may be programmed on/off.
Refer to “Uconnect Settings” in “Multimedia”
for further information.
If wearing gloves on your hands, or if it has
been raining/snowing on the Passive Entry
door handle, the unlock sensitivity can be
affected, resulting in a slower response time.
If the vehicle is unlocked by Passive Entry
and no door is opened within 60 seconds, the
vehicle will re-lock and if equipped will arm
the security alarm.
The vehicle security alarm can be armed/
disarmed by pushing the Passive Entry key
fob lock/unlock buttons (if equipped).
The key fob may not be able to be detected by
the vehicle Passive Entry system if it is
located next to a mobile phone, laptop or
other electronic device; these devices may
block the key fob's wireless signal and
prevent the Passive Entry door handle from
locking/unlocking the vehicle.
20_DJD2_OM_EN_USC_t.book Page 28
Page 91 of 553
GETTING TO KNOW YOUR VEHICLE89
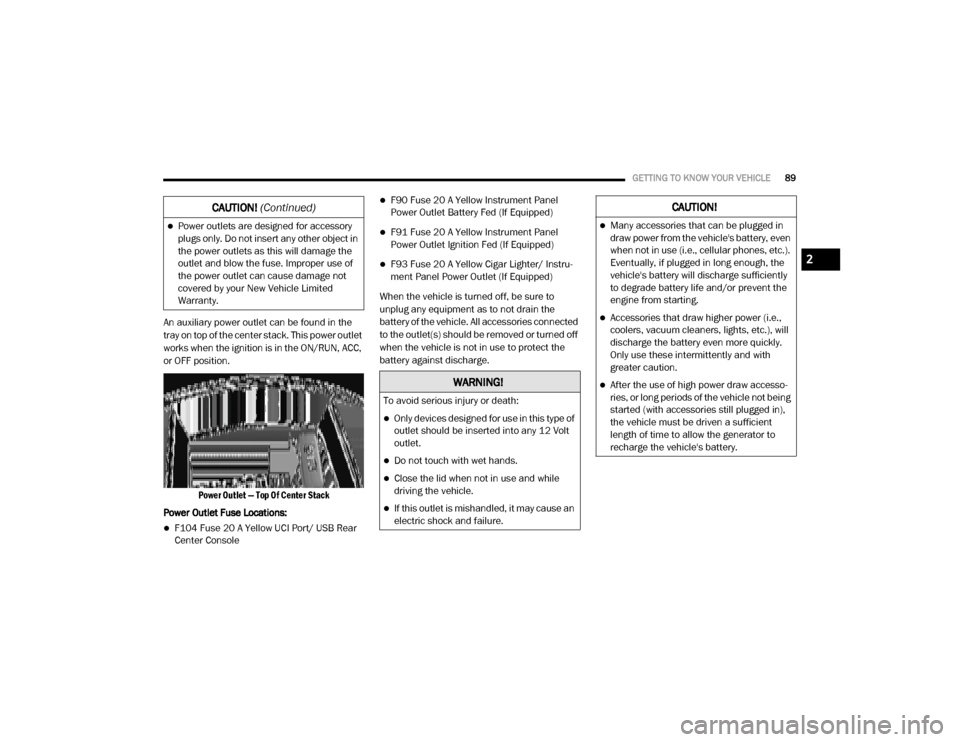
An auxiliary power outlet can be found in the
tray on top of the center stack. This power outlet
works when the ignition is in the ON/RUN, ACC,
or OFF position.
Power Outlet — Top Of Center Stack
Power Outlet Fuse Locations:
F104 Fuse 20 A Yellow UCI Port/ USB Rear
Center Console
F90 Fuse 20 A Yellow Instrument Panel
Power Outlet Battery Fed (If Equipped)
F91 Fuse 20 A Yellow Instrument Panel
Power Outlet Ignition Fed (If Equipped)
F93 Fuse 20 A Yellow Cigar Lighter/ Instru -
ment Panel Power Outlet (If Equipped)
When the vehicle is turned off, be sure to
unplug any equipment as to not drain the
battery of the vehicle. All accessories connected
to the outlet(s) should be removed or turned off
when the vehicle is not in use to protect the
battery against discharge.
Power outlets are designed for accessory
plugs only. Do not insert any other object in
the power outlets as this will damage the
outlet and blow the fuse. Improper use of
the power outlet can cause damage not
covered by your New Vehicle Limited
Warranty.
CAUTION! (Continued)
WARNING!
To avoid serious injury or death:
Only devices designed for use in this type of
outlet should be inserted into any 12 Volt
outlet.
Do not touch with wet hands.
Close the lid when not in use and while
driving the vehicle.
If this outlet is mishandled, it may cause an
electric shock and failure.
CAUTION!
Many accessories that can be plugged in
draw power from the vehicle's battery, even
when not in use (i.e., cellular phones, etc.).
Eventually, if plugged in long enough, the
vehicle's battery will discharge sufficiently
to degrade battery life and/or prevent the
engine from starting.
Accessories that draw higher power (i.e.,
coolers, vacuum cleaners, lights, etc.), will
discharge the battery even more quickly.
Only use these intermittently and with
greater caution.
After the use of high power draw accesso -
ries, or long periods of the vehicle not being
started (with accessories still plugged in),
the vehicle must be driven a sufficient
length of time to allow the generator to
recharge the vehicle's battery.
2
20_DJD2_OM_EN_USC_t.book Page 89
Page 92 of 553
90GETTING TO KNOW YOUR VEHICLE
Power Inverter — If Equipped
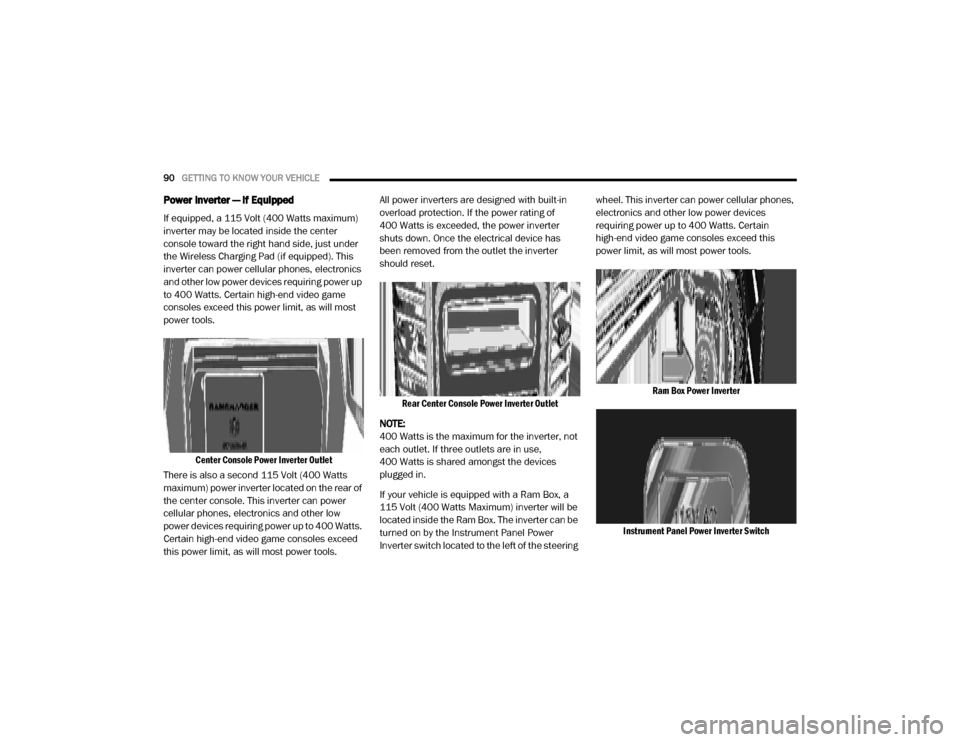
If equipped, a 115 Volt (400 Watts maximum)
inverter may be located inside the center
console toward the right hand side, just under
the Wireless Charging Pad (if equipped). This
inverter can power cellular phones, electronics
and other low power devices requiring power up
to 400 Watts. Certain high-end video game
consoles exceed this power limit, as will most
power tools.
Center Console Power Inverter Outlet
There is also a second 115 Volt (400 Watts
maximum) power inverter located on the rear of
the center console. This inverter can power
cellular phones, electronics and other low
power devices requiring power up to 400 Watts.
Certain high-end video game consoles exceed
this power limit, as will most power tools. All power inverters are designed with built-in
overload protection. If the power rating of
400 Watts is exceeded, the power inverter
shuts down. Once the electrical device has
been removed from the outlet the inverter
should reset.
Rear Center Console Power Inverter Outlet
NOTE:
400 Watts is the maximum for the inverter, not
each outlet. If three outlets are in use,
400 Watts is shared amongst the devices
plugged in.
If your vehicle is equipped with a Ram Box, a
115 Volt (400 Watts Maximum) inverter will be
located inside the Ram Box. The inverter can be
turned on by the Instrument Panel Power
Inverter switch located to the left of the steering wheel. This inverter can power cellular phones,
electronics and other low power devices
requiring power up to 400 Watts. Certain
high-end video game consoles exceed this
power limit, as will most power tools.
Ram Box Power Inverter
Instrument Panel Power Inverter Switch
20_DJD2_OM_EN_USC_t.book Page 90
Page 93 of 553
GETTING TO KNOW YOUR VEHICLE91
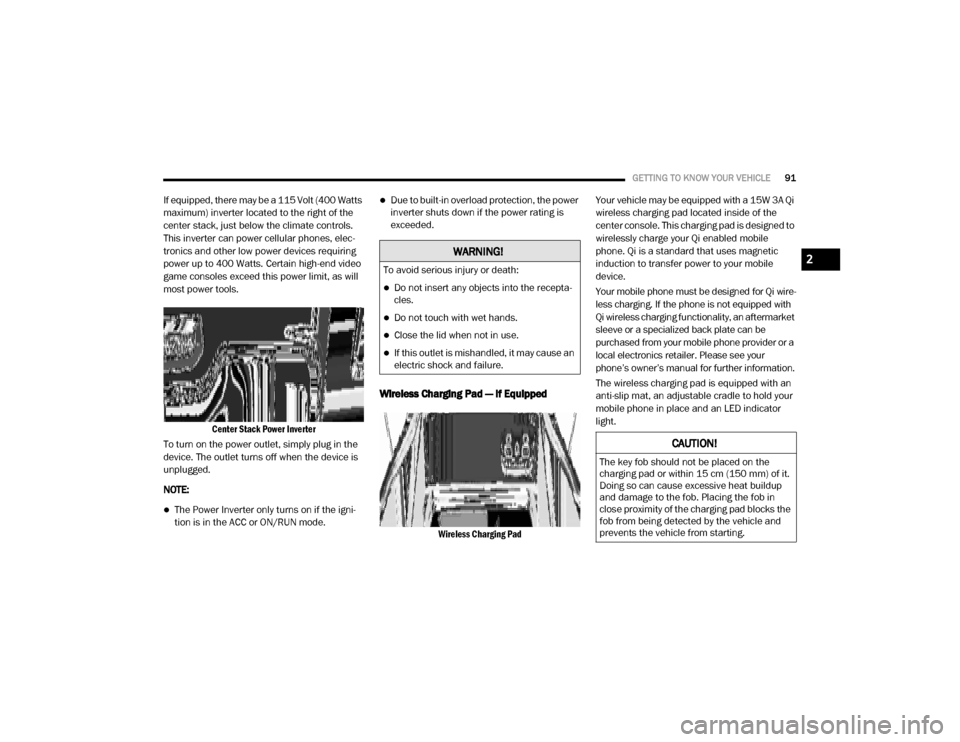
If equipped, there may be a 115 Volt (400 Watts
maximum) inverter located to the right of the
center stack, just below the climate controls.
This inverter can power cellular phones, elec -
tronics and other low power devices requiring
power up to 400 Watts. Certain high-end video
game consoles exceed this power limit, as will
most power tools.
Center Stack Power Inverter
To turn on the power outlet, simply plug in the
device. The outlet turns off when the device is
unplugged.
NOTE:
The Power Inverter only turns on if the igni -
tion is in the ACC or ON/RUN mode.
Due to built-in overload protection, the power
inverter shuts down if the power rating is
exceeded.
Wireless Charging Pad — If Equipped
Wireless Charging Pad
Your vehicle may be equipped with a 15W 3A Qi
wireless charging pad located inside of the
center console. This charging pad is designed to
wirelessly charge your Qi enabled mobile
phone. Qi is a standard that uses magnetic
induction to transfer power to your mobile
device.
Your mobile phone must be designed for Qi wire
-
less charging. If the phone is not equipped with
Qi wireless charging functionality, an aftermarket
sleeve or a specialized back plate can be
purchased from your mobile phone provider or a
local electronics retailer. Please see your
phone’s owner’s manual for further information.
The wireless charging pad is equipped with an
anti-slip mat, an adjustable cradle to hold your
mobile phone in place and an LED indicator
light.
WARNING!
To avoid serious injury or death:
Do not insert any objects into the recepta -
cles.
Do not touch with wet hands.
Close the lid when not in use.
If this outlet is mishandled, it may cause an
electric shock and failure.
CAUTION!
The key fob should not be placed on the
charging pad or within 15 cm (150 mm) of it.
Doing so can cause excessive heat buildup
and damage to the fob. Placing the fob in
close proximity of the charging pad blocks the
fob from being detected by the vehicle and
prevents the vehicle from starting.
2
20_DJD2_OM_EN_USC_t.book Page 91
Page 123 of 553

GETTING TO KNOW YOUR INSTRUMENT PANEL121
LaneSense — If Equipped
The instrument cluster display displays the
current LaneSense system settings. The infor-
mation displayed depends on LaneSense
system status and the conditions that need to
be met. For further information, refer to “Lane -
Sense — If Equipped” in “Starting And Oper-
ating.”
Fuel Economy
Push and release the up or down arrow button
until the Fuel Economy menu item is highlighted
in the instrument cluster display. Push and Hold
the right arrow button to reset Average Fuel
Economy.
Current Fuel Economy Gauge
Average Fuel Economy Value
Range To Empty
Trip A/Trip B
Push and release the up or down arrow button
until the Trip menu item is highlighted in the
instrument cluster display. Push and release
the right arrow button to enter the submenus of
Trip A and Trip B. The Trip A or Trip B information
will display the following:
Distance
Average Fuel Economy
Elapsed Time
Push and hold right arrow button to reset all
information.
Trailer Tow
Push and release the up or down arrow button
until the Trailer Tow menu item is highlighted in
the instrument cluster display. Push and
release the right arrow button and the next
screen will display the following trailer trip infor -
mation:
Trip Distance (trailer specific): Push and hold
the right arrow button to reset the distance.
Trailer Brake
Output
Type
Gain
Trailer Tire Pressure — If Equipped
Audio
Push and release the up or down arrow button
until the Audio Menu icon/title is highlighted in
the instrument cluster display. This menu will
display the audio source information, including the Song name, Artist name, and audio source
with an accompanying graphic.
Phone Call Status
When a call is incoming, a Phone Call Status
pop-up will display on the screen. The pop-up
will remain until the phone is answered or
ignored.
NOTE:
The call status will temporarily replace the
previous media source information displayed
on the screen. When the pop-up is no longer
displayed, the display will return to the last used
screen.
Stored Messages
Push and release the
up or down arrow button
until the Messages Menu item is highlighted.
This feature shows the number of stored
warning messages. Push and release the right
or left arrow buttons to cycle through stored
messages.
Screen Setup Menu Item
Push and release the up or down arrow button
until the Screen Setup menu item is highlighted
in the instrument cluster display. Push and
release the right arrow button to enter the
Screen Setup submenu. The Screen Setup
3
20_DJD2_OM_EN_USC_t.book Page 121