warning light Ram 3500 2020 Owners Manual
[x] Cancel search | Manufacturer: RAM, Model Year: 2020, Model line: 3500, Model: Ram 3500 2020Pages: 568
Page 343 of 568

STARTING AND OPERATING341
Shifting Into (N) NEUTRAL
Use the following procedure to prepare your
vehicle for recreational towing.
1. Bring the vehicle to a complete stop on
level ground, with the engine running.
Firmly apply the parking brake.
2. Shift the transmission to NEUTRAL. NOTE:
If vehicle is equipped with air suspension,
ensure the vehicle is set to Normal Ride Height.
3. Press and hold the brake pedal.
4. Shift the transfer case into N (Neutral):
With manual shift transfer case, shift the
transfer case lever into N (Neutral)
With electronic shift transfer case, push
and hold the transfer case N (Neutral)
button. Some models have a small,
recessed “N” button (at the center of the
transfer case switches) that must be
pushed using a ballpoint pen or similar
object. Other models have a rectangular
N (Neutral) switch, below the rotary
transfer case control knob. The N
(Neutral) indicator light will blink while
the shift is in progress. The light will stop
blinking (stay on solid) when the shift to N
(Neutral) is complete. After the shift is
completed and the N (Neutral) light stays
on, release the N (Neutral) button.
5. Release the parking brake.
6. Shift the transmission into REVERSE. 7. Release the brake pedal for five seconds
and ensure that there is no vehicle
movement.
8. Repeat steps 6 and 7 with automatic transmission in DRIVE.
9. Shift the transmission to NEUTRAL. Firmly apply the parking brake. Turn off the engine.
For vehicles with Keyless Enter-N-Go, push
and hold the ENGINE START/STOP button
until the engine shuts off.
10. Shift the transmission into PARK. On 8-speed transmissions the shifter will
automatically select PARK when the engine
is turned off.
11. Turn the ignition to the OFF mode, then cycle the ignition to the RUN mode and back
to the OFF mode. Remove the key fob from
the ignition.
12. Attach the vehicle to the tow vehicle using a suitable tow bar.
13. Release the parking brake.
WARNING!
You or others could be injured or killed if you
leave the vehicle unattended with the transfer
case in the NEUTRAL (N) position without first
fully engaging the parking brake. The transfer
case NEUTRAL (N) position disengages both
the front and rear driveshafts from the
powertrain, and will allow the vehicle to roll,
even if the automatic transmission is in PARK.
The parking brake should always be applied
when the driver is not in the vehicle.
CAUTION!
It is necessary to follow these steps to be
certain that the transfer case is fully in
NEUTRAL (N) before recreational towing to
prevent damage to internal parts.
5
20_DJD2_OM_EN_USC_t.book Page 341
Page 345 of 568
STARTING AND OPERATING343
(Continued)
11. Shift the transmission into gear, release the brake pedal, and check that the vehicle
operates normally.
NOTE:
With electronic shift transfer case:
Steps 3 and 4 are requirements that must be
met before pushing the button to shift out of
N (Neutral), and must continue to be met
until the shift has been completed. If any of
these requirements are not met before
pushing the button or are no longer met
during the shift, the N (Neutral) indicator light
will flash continuously until all requirements
are met or until the button is released.
The ignition must be in the ON/RUN mode for
a shift to take place and for the position indi -
cator lights to be operable. If the ignition is
not in the ON/RUN mode, the shift will not
take place and no position indicator lights will
be on or flashing.
A flashing N (Neutral) position indicator light
indicates that shift requirements have not
been met.
DRIVING TIPS
DRIVING ON SLIPPERY SURFACES
Acceleration
Rapid acceleration on snow covered, wet, or
other slippery surfaces may cause the driving
wheels to pull erratically to the right or left. This
phenomenon occurs when there is a difference
in the surface traction under the rear (driving)
wheels.
DRIVING THROUGH WATER
Driving through water more than a few inches/
centimeters deep will require extra caution to
ensure safety and prevent damage to your
vehicle.
Flowing/Rising Water
Shallow Standing Water
Although your vehicle is capable of driving
through shallow standing water, consider the
following Cautions and Warnings before doing so.
WARNING!
Rapid acceleration on slippery surfaces is
dangerous. Unequal traction can cause
sudden pulling of the rear wheels. You could
lose control of the vehicle and possibly have a
collision. Accelerate slowly and carefully
whenever there is likely to be poor traction
(ice, snow, wet, mud, loose sand, etc.).
WARNING!
Do not drive on or across a road or path
where water is flowing and/or rising (as in
storm run-off). Flowing water can wear away
the road or path's surface and cause your
vehicle to sink into deeper water.
Furthermore, flowing and/or rising water can
carry your vehicle away swiftly. Failure to
follow this warning may result in injuries that
are serious or fatal to you, your passengers,
and others around you.
WARNING!
Driving through standing water limits your
vehicle’s traction capabilities. Do not
exceed 5 mph (8 km/h) when driving
through standing water.
5
20_DJD2_OM_EN_USC_t.book Page 343
Page 346 of 568
344STARTING AND OPERATING
(Continued)
OFF-ROAD DRIVING TIPS
Care should be taken when attempting to climb
steep hills or driving diagonally across a hill or
slope. If natural obstacles force you to travel
diagonally up or down a hill, choose a mild angle
and keep as little side tilt as possible. Keep the
vehicle moving and make turns slowly and
cautiously.
If you must back down a hill, back straight down
using REVERSE gear. Never back down in
NEUTRAL or diagonally across the hill.
When driving over sand, mud, and other soft
terrain, shift to low gear and drive steadily.
Apply the accelerator slowly to avoid spinning
the wheels.
Do not reduce the tire pressures for this type of
driving.Driving through standing water limits your
vehicle’s braking capabilities, which
increases stopping distances. Therefore,
after driving through standing water, drive
slowly and lightly press on the brake pedal
several times to dry the brakes.
Failure to follow these warnings may result
in injuries that are serious or fatal to you,
your passengers, and others around you.
CAUTION!
Always check the depth of the standing
water before driving through it. Never drive
through standing water that is deeper than
the bottom of the tire rims mounted on the
vehicle.
Determine the condition of the road or the
path that is under water and if there are any
obstacles in the way before driving through
the standing water.
WARNING! (Continued)
Do not exceed 5 mph (8 km/h) when
driving through standing water. This will
minimize wave effects.
Driving through standing water may cause
damage to your vehicle’s drivetrain compo -
nents. Always inspect your vehicle’s fluids
(i.e., engine oil, transmission, axle, etc.) for
signs of contamination (i.e., fluid that is
milky or foamy in appearance) after driving
through standing water. Do not continue to
operate the vehicle if any fluid appears
contaminated, as this may result in further
damage. Such damage is not covered by
the New Vehicle Limited Warranty.
Getting water inside your vehicle’s engine
can cause it to lock up and stall out, and
cause serious internal damage to the
engine. Such damage is not covered by the
New Vehicle Limited Warranty.
CAUTION! (Continued)
20_DJD2_OM_EN_USC_t.book Page 344
Page 349 of 568
IN CASE OF EMERGENCY347
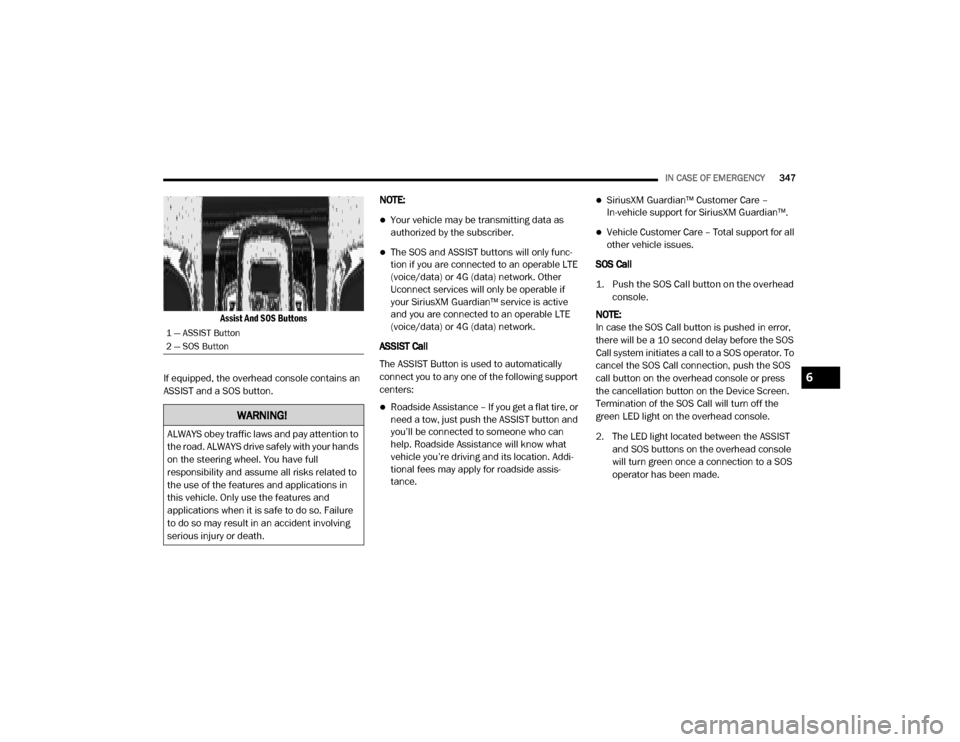
Assist And SOS Buttons
If equipped, the overhead console contains an
ASSIST and a SOS button. NOTE:
Your vehicle may be transmitting data as
authorized by the subscriber.
The SOS and ASSIST buttons will only func
-
tion if you are connected to an operable LTE
(voice/data) or 4G (data) network. Other
Uconnect services will only be operable if
your SiriusXM Guardian™ service is active
and you are connected to an operable LTE
(voice/data) or 4G (data) network.
ASSIST Call
The ASSIST Button is used to automatically
connect you to any one of the following support
centers:
Roadside Assistance – If you get a flat tire, or
need a tow, just push the ASSIST button and
you’ll be connected to someone who can
help. Roadside Assistance will know what
vehicle you’re driving and its location. Addi -
tional fees may apply for roadside assis -
tance.
SiriusXM Guardian™ Customer Care –
In-vehicle support for SiriusXM Guardian™.
Vehicle Customer Care – Total support for all
other vehicle issues.
SOS Call
1. Push the SOS Call button on the overhead console.
NOTE:
In case the SOS Call button is pushed in error,
there will be a 10 second delay before the SOS
Call system initiates a call to a SOS operator. To
cancel the SOS Call connection, push the SOS
call button on the overhead console or press
the cancellation button on the Device Screen.
Termination of the SOS Call will turn off the
green LED light on the overhead console.
2. The LED light located between the ASSIST and SOS buttons on the overhead console
will turn green once a connection to a SOS
operator has been made.
1 — ASSIST Button
2 — SOS Button
WARNING!
ALWAYS obey traffic laws and pay attention to
the road. ALWAYS drive safely with your hands
on the steering wheel. You have full
responsibility and assume all risks related to
the use of the features and applications in
this vehicle. Only use the features and
applications when it is safe to do so. Failure
to do so may result in an accident involving
serious injury or death.
6
20_DJD2_OM_EN_USC_t.book Page 347
Page 351 of 568

IN CASE OF EMERGENCY349
(Continued)
SOS Call System Limitations
Vehicles sold in Mexico DO NOT have SOS Call
system capabilities. SOS or other emergency line operators in
Mexico may not answer or respond to SOS
system calls.
If the SOS Call system detects a malfunction,
any of the following may occur at the time the
malfunction is detected, and at the beginning of
each ignition cycle:
The overhead console light located between
the ASSIST and SOS buttons will continuously
be illuminated red.
The Device Screen will display the following
message: “Vehicle device requires service.
Please contact an authorized dealer.”
An In-Vehicle Audio message will state
“Vehicle device requires service. Please
contact an authorized dealer.”
Even if the SOS Call system is fully functional,
factors beyond FCA US LLC’s control may
prevent or stop the SOS Call system operation.
These include, but are not limited to, the
following factors:Delayed accessories mode is active.
The ignition is in the OFF position.
The vehicle’s electrical systems are not
intact.
The SOS Call system software and/or hard
-
ware are damaged during a crash.
The vehicle battery loses power or becomes
disconnected during a vehicle crash.
The SOS Call system is embedded into the
vehicle’s electrical system. Do not add
aftermarket electrical equipment to the
vehicle’s electrical system. This may
prevent your vehicle from sending a signal
to initiate an emergency call. To avoid inter -
ference that can cause the SOS Call system
to fail, never add aftermarket equipment
(e.g., two-way mobile radio, CB radio, data
recorder, etc.) to your vehicle’s electrical
system or modify the antennas on your
vehicle. IF YOUR VEHICLE LOSES BATTERY
POWER FOR ANY REASON (INCLUDING
DURING OR AFTER AN ACCIDENT), THE
UCONNECT FEATURES, APPS AND
SERVICES, AMONG OTHERS, WILL NOT
OPERATE.
Modifications to any part of the SOS Call
system could cause the air bag system to
fail when you need it. You could be injured
if the air bag system is not there to help
protect you.
WARNING! (Continued)
WARNING!
Ignoring the overhead console light could
mean you will not have SOS Call services. If
the overhead console light is illuminated,
have an authorized dealer service the SOS
Call system immediately.
The Occupant Restraint Control module
turns on the air bag Warning Light on the
instrument panel if a malfunction in any
part of the system is detected. If the Air Bag
Warning Light is illuminated, have an
authorized dealer service the Occupant
Restraint Control system immediately.
WARNING! (Continued)
6
20_DJD2_OM_EN_USC_t.book Page 349
Page 373 of 568

IN CASE OF EMERGENCY371
Rear Jacking Location
Connect the extension tubes and lug
wrench.
NOTE:
If the bottle jack will not lower by turning the dial
(thumbwheel) by hand, it may be necessary to
use the jack driver in order to lower the jack. 4. By rotating the lug wrench clockwise, raise
the vehicle until the wheel just clears the
surface.
5. Remove the lug nuts and pull the wheel off. On Single Rear Wheel (SRW) trucks, install
the spare wheel and lug nuts with the cone
shaped end of the wheel nuts toward the
wheel. On 3500 Dual Rear Wheel models
(DRW) trucks, if the outer tire is being
replaced then leave the inner wheel on the
vehicle. If the inner wheel is being replaced
remove the outer wheel and replace the
inner wheel. The wheel nuts are a two-piece
assembly with a flat face. Lightly tighten the
lug nuts. To avoid the risk of forcing the
vehicle off the jack, do not fully tighten the
lug nuts until the vehicle has been lowered.
Rear Inner Wheel Proper Placement (Dual Rear Wheel
Equipped)
Dual Rear Wheel Jack Placement
CAUTION!
Before raising the wheel off the ground, make
sure that the jack will not damage
surrounding truck parts and adjust the jack
position as required.
WARNING!
Raising the vehicle higher than necessary can
make the vehicle less stable. It could slip off
the jack and hurt someone near it. Raise the
vehicle only enough to remove the tire.
6
20_DJD2_OM_EN_USC_t.book Page 371
Page 377 of 568
IN CASE OF EMERGENCY375
(Continued)
Replace the wheel covers using a rubber mallet
to ease the installation. Align the wheel cover
vent holes to the wheel vent holes. Tap on the
wheel cover as needed to firmly seat it evenly
around the wheel.
JUMP STARTING
If your vehicle has a discharged battery, it can
be jump started using a set of jumper cables
and a battery in another vehicle, or by using a
portable battery booster pack. Jump starting
can be dangerous if done improperly, so please
follow the procedures in this section carefully. NOTE:
When using a portable battery booster pack,
follow the manufacturer's operating instruc
-
tions and precautions.
PREPARATIONS FOR JUMP START
The battery in your vehicle is located in the front
of the engine compartment, behind the driver
side headlight assembly.
NOTE:
If you have a diesel engine, you may have two
batteries, however jump start off the driver
side battery.
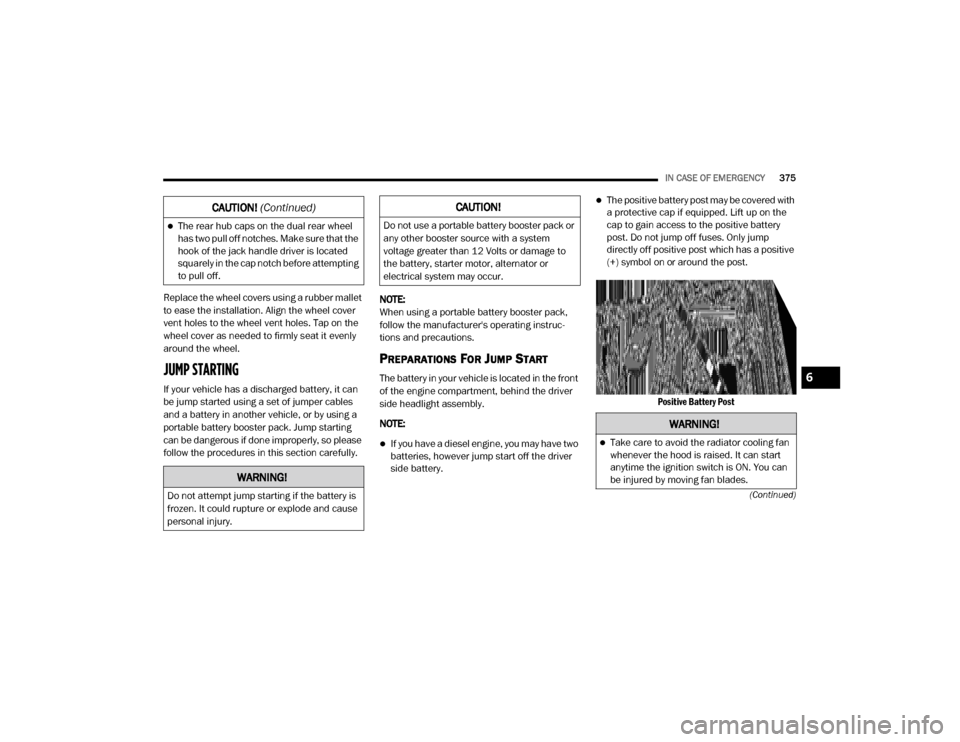
The positive battery post may be covered with
a protective cap if equipped. Lift up on the
cap to gain access to the positive battery
post. Do not jump off fuses. Only jump
directly off positive post which has a positive
(+) symbol on or around the post.
Positive Battery Post
The rear hub caps on the dual rear wheel
has two pull off notches. Make sure that the
hook of the jack handle driver is located
squarely in the cap notch before attempting
to pull off.
WARNING!
Do not attempt jump starting if the battery is
frozen. It could rupture or explode and cause
personal injury.
CAUTION! (Continued)CAUTION!
Do not use a portable battery booster pack or
any other booster source with a system
voltage greater than 12 Volts or damage to
the battery, starter motor, alternator or
electrical system may occur.
WARNING!
Take care to avoid the radiator cooling fan
whenever the hood is raised. It can start
anytime the ignition switch is ON. You can
be injured by moving fan blades.
6
20_DJD2_OM_EN_USC_t.book Page 375
Page 403 of 568
SERVICING AND MAINTENANCE401
DEALER SERVICE
An authorized dealer has the qualified service
personnel, special tools, and equipment to
perform all service operations in an expert
manner. Service Manuals are available which
include detailed service information for your
vehicle. Refer to these Service Manuals before
attempting any procedure yourself.
NOTE:
Intentional tampering with emissions control
systems may void your warranty and could
result in civil penalties being assessed against
you.
ENGINE OIL
Change Engine Oil — Gas Engine
The oil change indicator system will remind you
that it is time to take your vehicle in for
scheduled maintenance. Refer to “Scheduled
Servicing” in this chapter for further
information.
NOTE:
Under no circumstances should oil change
intervals exceed 8,000 miles (13,000 km),
12 months or 350 hours of engine run time,
whichever comes first. The 350 hours of engine
run or idle time is generally only a concern for
fleet customers.
Change Engine Oil — Diesel Engine
Refer to the “Scheduled Servicing” for the
proper maintenance intervals.
Engine Oil Selection — Gas Engine
For best performance and maximum protection
under all types of operating conditions, the
manufacturer only recommends engine oils
that are API Certified and meet the
requirements of FCA Material Standard
MS-12633. NOTE:
Hemi engine (6.4L) at times can tick right after
startup and then quiet down after approxi
-
mately 30 seconds. This is normal and will not
harm the engine. This characteristic can be
caused by short drive cycles. For example, if the
vehicle is started then shut off after driving a
short distance. Upon restarting, you may experi -
ence a ticking sound. Other causes could be if
the vehicle is unused for an extended period of
time, incorrect oil, extended oil changes or
extended idling. If the engine continues to tick
or if the Malfunction Indicator Light (MIL) comes
on, see the nearest authorized dealer.
Engine Oil Selection — Diesel Engine
For best performance and maximum protection
under all types of operating conditions, the
manufacturer only recommends engine oils
that are API CK-4 certified and meet the
requirements of FCA US LLC. Use Mopar or an
equivalent oil meeting FCA Material Standard
MS-10902. Products meeting Cummins CES
20081 may also be used. The identification of
these engine oils are typically located on the
back of the oil container.WARNING!
You can be badly injured working on or
around a motor vehicle. Only do service work
for which you have the knowledge and the
proper equipment. If you have any doubt
about your ability to perform a service job,
take your vehicle to a competent mechanic.7
20_DJD2_OM_EN_USC_t.book Page 401
Page 416 of 568
414SERVICING AND MAINTENANCE
the Diesel Particulate Filter, the engine idle
speed will return to normal when the brake
pedal is applied. A small change in engine tone
or a slight change in engine performance while
accelerating may also be noticeable at speeds
below 20 mph (32 km/h). This operating mode
may last for up to an hour of idle time, or around
20 minutes of driving time.
Additionally, your vehicle has the ability to alert
you to additional maintenance required on your
truck or engine.
Refer to “Instrument Cluster Display” in
“Getting To Know Your Instrument Panel” for
further information.DIESEL EXHAUST FLUID
Diesel Exhaust Fluid (DEF) sometimes known
simply by the name of its active component,
UREA—is a key component of selective catalytic
reduction (SCR) systems, which help diesel
vehicles meet stringent emission regulations.
DEF is a liquid reducing agent that reacts with
engine exhaust in the presence of a catalyst to
convert smog-forming nitrogen oxides (NOx)
into harmless nitrogen and water vapor.
Refer to “Fluids And Lubricants” in “Technical
Specification” for further information.
You can receive assistance in locating DEF in
the United States by calling 866-RAM-INFO
(866-726-4636). In Canada call
1–800–465–2001 (English) or
1–800–387–9983 (French)
You can receive assistance in locating DEF by
contacting an authorized dealer.
BODY LUBRICATION
Locks and all body pivot points, including such
items as seat tracks, door hinge pivot points
and rollers, liftgate, tailgate, decklid, sliding
doors and hood hinges, should be lubricated
periodically with a lithium based grease, such as Mopar Spray White Lube to ensure quiet,
easy operation and to protect against rust and
wear. Prior to the application of any lubricant,
the parts concerned should be wiped clean to
remove dust and grit; after lubricating, excess
oil and grease should be removed. Particular
attention should also be given to hood latching
components to ensure proper function. When
performing other underhood services, the hood
latch, release mechanism and safety catch
should be cleaned and lubricated.
The external lock cylinders should be lubricated
twice a year, preferably in the Autumn and
Spring. Apply a small amount of a high quality
lubricant, such as Mopar Lock Cylinder
Lubricant directly into the lock cylinder.
WINDSHIELD WIPER BLADES
Clean the rubber edges of the wiper blades and
the windshield periodically with a sponge or soft
cloth and a mild nonabrasive cleaner. This will
remove accumulations of salt or road film.
Operation of the wipers on dry glass for long
periods may cause deterioration of the wiper
blades. Always use washer fluid when using the
wipers to remove salt or dirt from a dry
windshield.
WARNING!
A hot exhaust system can start a fire if you
park over materials that can burn. Such
materials might be grass or leaves coming
into contact with your exhaust system. Do not
park or operate your vehicle in areas where
your exhaust system can contact anything
that can burn.
20_DJD2_OM_EN_USC_t.book Page 414
Page 441 of 568

SERVICING AND MAINTENANCE439
(Continued)
Life Of Tire
The service life of a tire is dependent upon
varying factors including, but not limited to:
Driving style.
Tire pressure - Improper cold tire inflation
pressures can cause uneven wear patterns
to develop across the tire tread. These
abnormal wear patterns will reduce tread life,
resulting in the need for earlier tire replace -
ment.
Distance driven.
Performance tires, tires with a speed rating of
V or higher, and Summer tires typically have
a reduced tread life. Rotation of these tires
per the vehicle scheduled maintenance is
highly recommended. NOTE:
Wheel valve stem must be replaced as well
when installing new tires due to wear and tear
in existing tires.
Keep dismounted tires in a cool, dry place with
as little exposure to light as possible. Protect
tires from contact with oil, grease, and gasoline.
Replacement Tires
The tires on your new vehicle provide a balance
of many characteristics. They should be
inspected regularly for wear and correct cold
tire inflation pressures. The manufacturer
strongly recommends that you use tires
equivalent to the originals in size, quality and
performance when replacement is needed.
Refer to the paragraph on “Tread Wear
Indicators” in this section. Refer to the Tire and
Loading Information placard or the Vehicle
Certification Label for the size designation of
your tire. The Load Index and Speed Symbol for
your tire will be found on the original equipment
tire sidewall.
See the Tire Sizing Chart example found in the
“Tire Safety Information” section of this manual
for more information relating to the Load Index
and Speed Symbol of a tire. It is recommended to replace the two front tires
or two rear tires as a pair. Replacing just one tire
can seriously affect your vehicle’s handling. If
you ever replace a wheel, make sure that the
wheel’s specifications match those of the
original wheels.
It is recommended you contact an authorized
tire dealer or original equipment dealer with any
questions you may have on tire specifications or
capability. Failure to use equivalent
replacement tires may adversely affect the
safety, handling, and ride of your vehicle.
WARNING!
Tires and the spare tire should be replaced
after six years, regardless of the remaining
tread. Failure to follow this warning can result
in sudden tire failure. You could lose control
and have a collision resulting in serious injury
or death.
WARNING!
Do not use a tire, wheel size, load rating, or
speed rating other than that specified for
your vehicle. Some combinations of unap
-
proved tires and wheels may change
suspension dimensions and performance
characteristics, resulting in changes to
steering, handling, and braking of your
vehicle. This can cause unpredictable
handling and stress to steering and
suspension components. You could lose
control and have a collision resulting in
serious injury or death. Use only the tire and
wheel sizes with load ratings approved for
your vehicle.
7
20_DJD2_OM_EN_USC_t.book Page 439