radio controls Ram 3500 2020 Owner's Manual
[x] Cancel search | Manufacturer: RAM, Model Year: 2020, Model line: 3500, Model: Ram 3500 2020Pages: 568
Page 12 of 568
10
MULTIMEDIA
UCONNECT SYSTEMS ....................................... 467
CYBERSECURITY ............................................... 467
UCONNECT SETTINGS ....................................... 468
Uconnect 3 Settings ..................................468Uconnect 4/4C/4C NAV Settings .............484
Uconnect 4C NAV With 12-inch
Display Settings .........................................505
SAFETY AND GENERAL INFORMATION .......... 524
Safety Guidelines .......................................524
UCONNECT 3 WITH 5-INCH DISPLAY .............. 525
Introduction ................................................525
Radio Mode ................................................526
Media Mode ...............................................529Phone Mode ...............................................531
STEERING WHEEL AUDIO CONTROLS —
IF EQUIPPED ...................................................... 537
Radio Operation .........................................538
Media Mode ...............................................538
IPOD®/USB/MP3 CONTROL — IF EQUIPPED .. 538
RADIO OPERATION AND MOBILE PHONES ...540
Regulatory And Safety Information........... 540
VOICE RECOGNITION QUICK TIPS ................... 541
Introducing Uconnect ................................ 541
Get Started ................................................. 541
Basic Voice Commands............................. 542Radio .......................................................... 543
Media.......................................................... 543
Phone ......................................................... 543Voice Text Reply — If Equipped ................. 543
Climate (4C/4C NAV) ................................. 544
Navigation (4C NAV) .................................. 544Siri® Eyes Free — If Equipped ................. 545
Using Do Not Disturb ................................ 545
Android Auto™ — If Equipped ................... 545
Apple CarPlay® — If Equipped ................. 546
General Information .................................. 546Additional Information ............................... 547
CUSTOMER ASSISTANCE
SUGGESTIONS FOR OBTAINING SERVICE
FOR YOUR VEHICLE .......................................... 548
Prepare For The Appointment .................. 548Prepare A List............................................. 548
Be Reasonable With Requests ................. 548
IF YOU NEED ASSISTANCE .............................. 548
FCA US LLC Customer Center ................... 549
FCA Canada Inc. Customer Center ........... 549
In Mexico Contact ...................................... 549
Puerto Rico And US Virgin Islands ............ 549
Customer Assistance For The Hearing
Or Speech Impaired (TDD/TTY) ................ 549 Service Contract ....................................... 549
WARRANTY INFORMATION .............................. 550
MOPAR PARTS................................................... 550
REPORTING SAFETY DEFECTS ........................ 550
In The 50 United States And
Washington, D.C. ....................................... 550 In Canada ................................................... 550
PUBLICATION ORDER FORMS ........................ 551
20_DJD2_OM_EN_USC_t.book Page 10
Page 29 of 568
GETTING TO KNOW YOUR VEHICLE27
POWER DOOR LOCKS — IF EQUIPPED
The power door lock switches are on each front
door trim panel. Use these switches to lock or
unlock the doors.
NOTE:
The key fob may not be able to be detected by
the vehicle Keyless Enter-N-Go system if it is
located next to a mobile phone, laptop or other
electronic device; these devices may block the
key fob’s wireless signal and prevent the
Keyless Enter-N-Go system from starting the
vehicle.
Power Door Lock Switches
While the ignition is in the ACC or ON/RUN
position, if you push the power door lock switch,
and any front door is open, the power locks will
not operate. This prevents you from accidentally locking your key fob in the vehicle. Removing
the key fob or closing the door will allow the
locks to operate. A chime will sound if the key
fob is inside the vehicle and a door is open, as
a reminder to remove the key fob.
POWER SIDE STEPS — IF EQUIPPED
The Power Side Steps will extend a step for
easier entry and exit of the vehicle.
When configured for “Auto” mode, under
“Safety And Driving Assistance” within
Uconnect Settings, the Power Side Steps will
deploy when either the driver’s or passenger’s
side door is opened, or when the deploy setting
is activated through the touchscreen. When
configured for “Store” mode, the steps will stay
in their position but can also be deployed
manually through the “controls” menu within
the radio touchscreen.
If the vehicle speed exceeds 5 mph (8 km/h), or
if the retract setting is selected in the
touchscreen, the steps will retract.
Refer to “Uconnect Settings” in “Multimedia”
for additional information.
Never leave children alone in a vehicle, or
with access to an unlocked vehicle. Leaving
children in a vehicle unattended is
dangerous for a number of reasons. A child
or others could be seriously or fatally
injured. Children should be warned not to
touch the parking brake, brake pedal or the
gear selector.
Allowing children to be in a vehicle unat
-
tended is dangerous for a number of
reasons. A child or others could be seriously
or fatally injured. Children should be
warned not to touch the parking brake,
brake pedal or the gear selector.
Do not leave the key fob in or near the
vehicle, or in a location accessible to chil-
dren, and do not leave the ignition of a
vehicle equipped with Keyless Enter-N-Go
in the ACC or ON/RUN mode. A child could
operate power windows, other controls, or
move the vehicle.
WARNING! (Continued)
2
20_DJD2_OM_EN_USC_t.book Page 27
Page 39 of 568
GETTING TO KNOW YOUR VEHICLE37
HEATED SEATS — IF EQUIPPED
On some models, the front and rear seats may
be equipped with heaters located in the seat
cushions and seat backs.
Front Heated Seats
The heated seats control buttons are located on
the center instrument panel below the
touchscreen, and are also located within the
climate or controls screen of the touchscreen.
NOTE:
If the vehicle is equipped with a 12-inch radio,
there will only be control buttons through the
touchscreen.
Push the heated seat buttononce to turn the
HI setting on.
Push the heated seat button a second time to
turn the MED setting on.
Push the heated seat button a third time to
turn the LO setting on.
Push the heated seat buttona fourth time to
turn the heating elements off.
NOTE:
The engine must be running for the heated
seats to operate.
The level of heat selected will stay on until
the operator changes it. Vehicles Equipped With Remote Start
On models that are equipped with remote start,
the driver’s seat can be programmed to come
on during a remote start.
This feature can be programmed through the
Uconnect system. Refer to “Uconnect Settings”
in “Multimedia” for further information.
Rear Heated Seats
On some models, the two outboard rear seats
are equipped with heated seats. The heated
seat switches for these seats are located on the
rear of the center console.
Rear Heated Seat Switches
WARNING!
Persons who are unable to feel pain to the
skin because of advanced age, chronic
illness, diabetes, spinal cord injury, medica -
tion, alcohol use, exhaustion or other phys -
ical condition must exercise care when
using the seat heater. It may cause burns
even at low temperatures, especially if
used for long periods of time.
Do not place anything on the seat or seat -
back that insulates against heat, such as a
blanket or cushion. This may cause the seat
heater to overheat. Sitting in a seat that has
been overheated could cause serious
burns due to the increased surface
temperature of the seat.
2
20_DJD2_OM_EN_USC_t.book Page 37
Page 40 of 568
38GETTING TO KNOW YOUR VEHICLE
There are two heated seat switches that allow
the rear passengers to operate the seats
independently. You can choose from HI, MED,
LO, or OFF heat settings. Amber indicator lights
in each switch indicate the level of heat in use.
Push the heated seat buttononce to turn the
HI setting on.
Push the heated seat button a second time to
turn the MED setting on.
Push the heated seat button a third time to
turn the LO setting on.
Push the heated seat buttona fourth time to
turn the heating elements off.
NOTE:
The level of heat selected will stay on until
the operator changes it.
Once a heat setting is selected, heat will be
felt within two to five minutes.
The engine must be running for the heated
seats to operate.
VENTILATED SEATS — IF EQUIPPED
Front Ventilated Seats
Located in the seat cushion are small fans that
draw the air from the passenger compartment
and move air through fine perforations in the
seat cover to help keep the driver and front
passenger cooler in higher ambient
temperatures. The fans operate at three
speeds, HI, MED and LO.
The front ventilated seats control buttons are
located on the center instrument panel below
the touchscreen, and are also located within the
climate or controls screen of the touchscreen.
NOTE:
If the vehicle is equipped with a 12-inch radio,
there will only be control buttons through the
touchscreen.
Press the ventilated seat button once to
choose HI.
Press the ventilated seat button a second
time to choose MED.
Press the ventilated seat button a third time
to choose LO.
Press the ventilated seat button a fourth time
to turn the ventilation off.
NOTE:
The engine must be running for the ventilated
seats to operate.
Vehicles Equipped With Remote Start
On models that are equipped with remote start,
the driver’s seat can be programmed to come
on during a remote start.
This feature can be programmed through the
Uconnect system. Refer to “Uconnect Settings”
in “Multimedia” for further information.
HEAD RESTRAINTS
Head restraints are designed to reduce the risk
of injury by restricting head movement in the
event of a rear impact. Head restraints should
be adjusted so that the top of the head restraint
is located above the top of your ear.
20_DJD2_OM_EN_USC_t.book Page 38
Page 59 of 568
GETTING TO KNOW YOUR VEHICLE57
CLIMATE CONTROLS
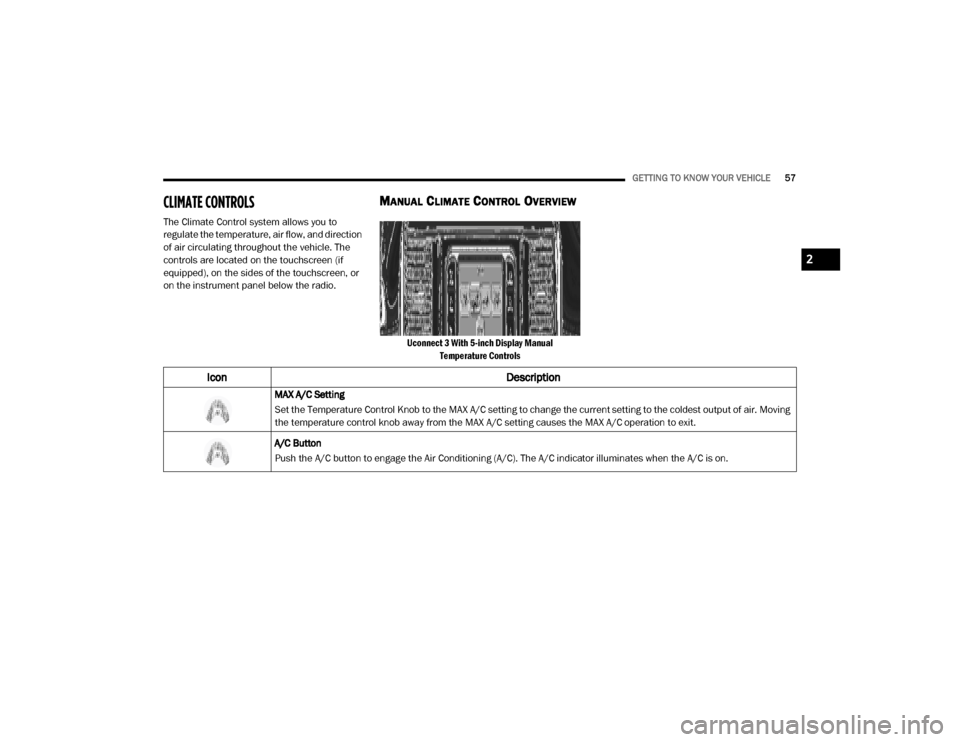
The Climate Control system allows you to
regulate the temperature, air flow, and direction
of air circulating throughout the vehicle. The
controls are located on the touchscreen (if
equipped), on the sides of the touchscreen, or
on the instrument panel below the radio.
MANUAL CLIMATE CONTROL OVERVIEW
Uconnect 3 With 5-inch Display Manual
Temperature Controls
Icon Description
MAX A/C Setting
Set the Temperature Control Knob to the MAX A/C setting to change the current setting to the coldest output of air. Moving
the temperature control knob away from the MAX A/C setting causes the MAX A/C operation to exit.
A/C Button
Push the A/C button to engage the Air Conditioning (A/C). The A/C indicator illuminates when the A/C is on.
2
20_DJD2_OM_EN_USC_t.book Page 57
Page 533 of 568
MULTIMEDIA531
AUX Mode
AUX Mode is entered by inserting a AUX device
using a stereo cable with a 3.5 mm audio jack
into the AUX port or by pushing the MEDIA
button located on the faceplate. Once in Media
Mode, press the Source button on the
touchscreen, and select the AUX button.
Inserting Auxiliary Device
Gently insert the Auxiliary device cable into the
AUX Port. If you insert an Auxiliary device with
the ignition on, the unit will switch to AUX mode
and begin to play when you insert the device
cable.
Controlling The Auxiliary Device
The control of the Auxiliary device (e.g.,
selecting playlists, play, fast forward, etc.)
cannot be provided by the radio; use the device
controls instead. Adjust the volume with the
VOLUME rotary knob or with the volume of the
attached device.
The radio unit is acting as the amplifier for audio
output from the Auxiliary device. Therefore, if
the volume control on the Auxiliary device is set
too low, there will be insufficient audio signal for
the radio unit to play the music on the device.
PHONE MODE
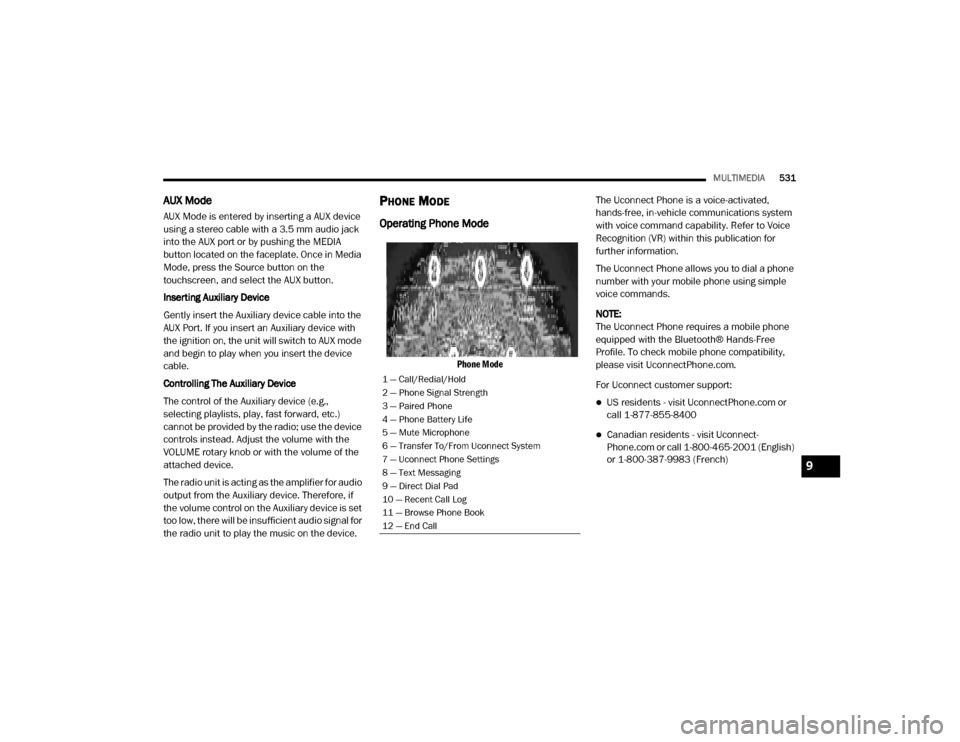
Operating Phone Mode
Phone Mode
The Uconnect Phone is a voice-activated,
hands-free, in-vehicle communications system
with voice command capability. Refer to Voice
Recognition (VR) within this publication for
further information.
The Uconnect Phone allows you to dial a phone
number with your mobile phone using simple
voice commands.
NOTE:
The Uconnect Phone requires a mobile phone
equipped with the Bluetooth® Hands-Free
Profile. To check mobile phone compatibility,
please visit UconnectPhone.com.
For Uconnect customer support:
US residents - visit UconnectPhone.com or
call 1-877-855-8400
Canadian residents - visit Uconnect
-
Phone.com or call 1-800-465-2001 (English)
or 1-800-387-9983 (French)
1 — Call/Redial/Hold
2 — Phone Signal Strength
3 — Paired Phone
4 — Phone Battery Life
5 — Mute Microphone
6 — Transfer To/From Uconnect System
7 — Uconnect Phone Settings
8 — Text Messaging
9 — Direct Dial Pad
10 — Recent Call Log
11 — Browse Phone Book
12 — End Call
9
20_DJD2_OM_EN_USC_t.book Page 531
Page 539 of 568
MULTIMEDIA537
Ending A Call
Press the End button on the touchscreen or the
PHONE button on the steering wheel controls to
end a call in progress.
Only the ongoing call is ended and any call on
hold becomes the new active call.
Depending on the type of mobile phone, if the
ongoing call is ended by the caller, the call on
hold may not be activated automatically.
Uconnect Phone Features
Mute/Unmute
1. During a call, push the VOICE COMMAND
button on the steering wheel.
2. After the beep, say “mute” or “mute off”.
Reading Messages
The system can read the messages received by
the mobile phone.
To use this function, the mobile phone must
support the SMS exchange function via
Bluetooth®. If this function is not supported by the phone,
the corresponding message button is
deactivated (grayed out) or may only accept
incoming messages.
When a text message is received, the display
will show a screen where the options "Listen",
"Call" or "Ignore" can be selected.
Press the Message button to access the list of
SMS messages received by the mobile phone.
The list displays a maximum of 60 messages
received.
Browsing SMS
Using the steering wheel commands, you can
view and manage the last 10 SMS messages
received on the instrument panel. To use this
function, the mobile phone must support the
SMS exchange function through Bluetooth®.
Select the PHONE button on the instrument
panel menu, and then select “SMS Reader”
using the arrow keys on the steering wheel
controls.
The “SMS Reader” submenu allows the last 10
SMS messages to be displayed.
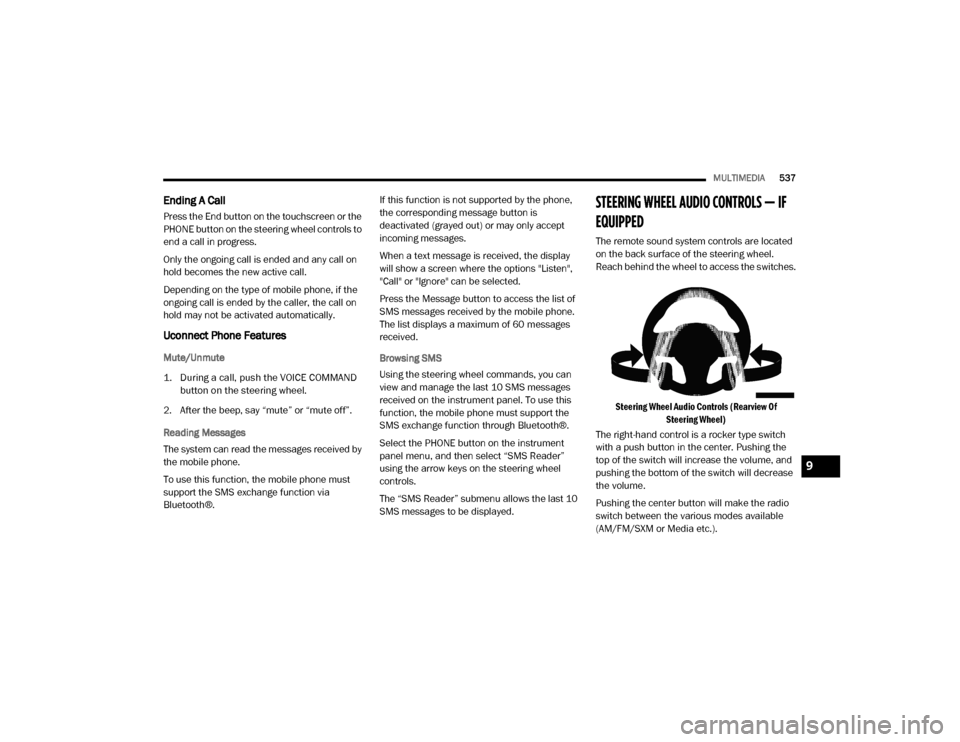
STEERING WHEEL AUDIO CONTROLS — IF
EQUIPPED
The remote sound system controls are located
on the back surface of the steering wheel.
Reach behind the wheel to access the switches.
Steering Wheel Audio Controls (Rearview Of Steering Wheel)
The right-hand control is a rocker type switch
with a push button in the center. Pushing the
top of the switch will increase the volume, and
pushing the bottom of the switch will decrease
the volume.
Pushing the center button will make the radio
switch between the various modes available
(AM/FM/SXM or Media etc.).
9
20_DJD2_OM_EN_USC_t.book Page 537
Page 541 of 568
MULTIMEDIA539
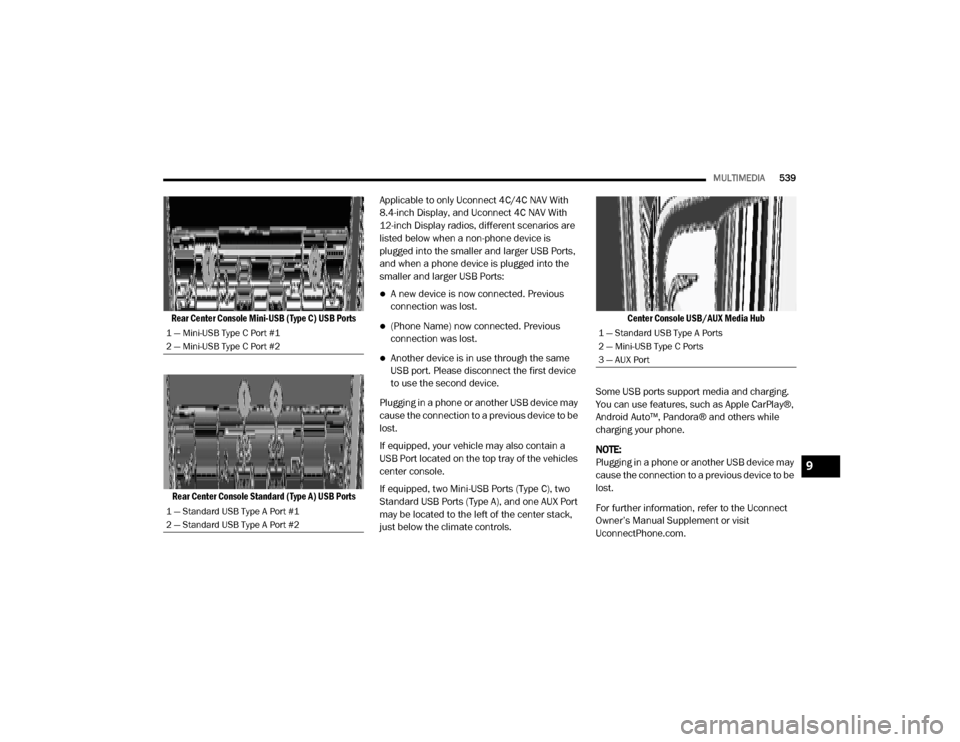
Rear Center Console Mini-USB (Type C) USB Ports
Rear Center Console Standard (Type A) USB Ports
Applicable to only Uconnect 4C/4C NAV With
8.4-inch Display, and Uconnect 4C NAV With
12-inch Display radios, different scenarios are
listed below when a non-phone device is
plugged into the smaller and larger USB Ports,
and when a phone device is plugged into the
smaller and larger USB Ports:
A new device is now connected. Previous
connection was lost.
(Phone Name) now connected. Previous
connection was lost.
Another device is in use through the same
USB port. Please disconnect the first device
to use the second device.
Plugging in a phone or another USB device may
cause the connection to a previous device to be
lost.
If equipped, your vehicle may also contain a
USB Port located on the top tray of the vehicles
center console.
If equipped, two Mini-USB Ports (Type C), two
Standard USB Ports (Type A), and one AUX Port
may be located to the left of the center stack,
just below the climate controls.
Center Console USB/AUX Media Hub
Some USB ports support media and charging.
You can use features, such as Apple CarPlay®,
Android Auto™, Pandora® and others while
charging your phone.
NOTE:
Plugging in a phone or another USB device may
cause the connection to a previous device to be
lost.
For further information, refer to the Uconnect
Owner’s Manual Supplement or visit
UconnectPhone.com.
1 — Mini-USB Type C Port #1
2 — Mini-USB Type C Port #2
1 — Standard USB Type A Port #1
2 — Standard USB Type A Port #21 — Standard USB Type A Ports
2 — Mini-USB Type C Ports
3 — AUX Port
9
20_DJD2_OM_EN_USC_t.book Page 539