clock Ram 4500 Chassis Cab 2018 Owner's Manual
[x] Cancel search | Manufacturer: RAM, Model Year: 2018, Model line: 4500 Chassis Cab, Model: Ram 4500 Chassis Cab 2018Pages: 298, PDF Size: 5.88 MB
Page 230 of 298
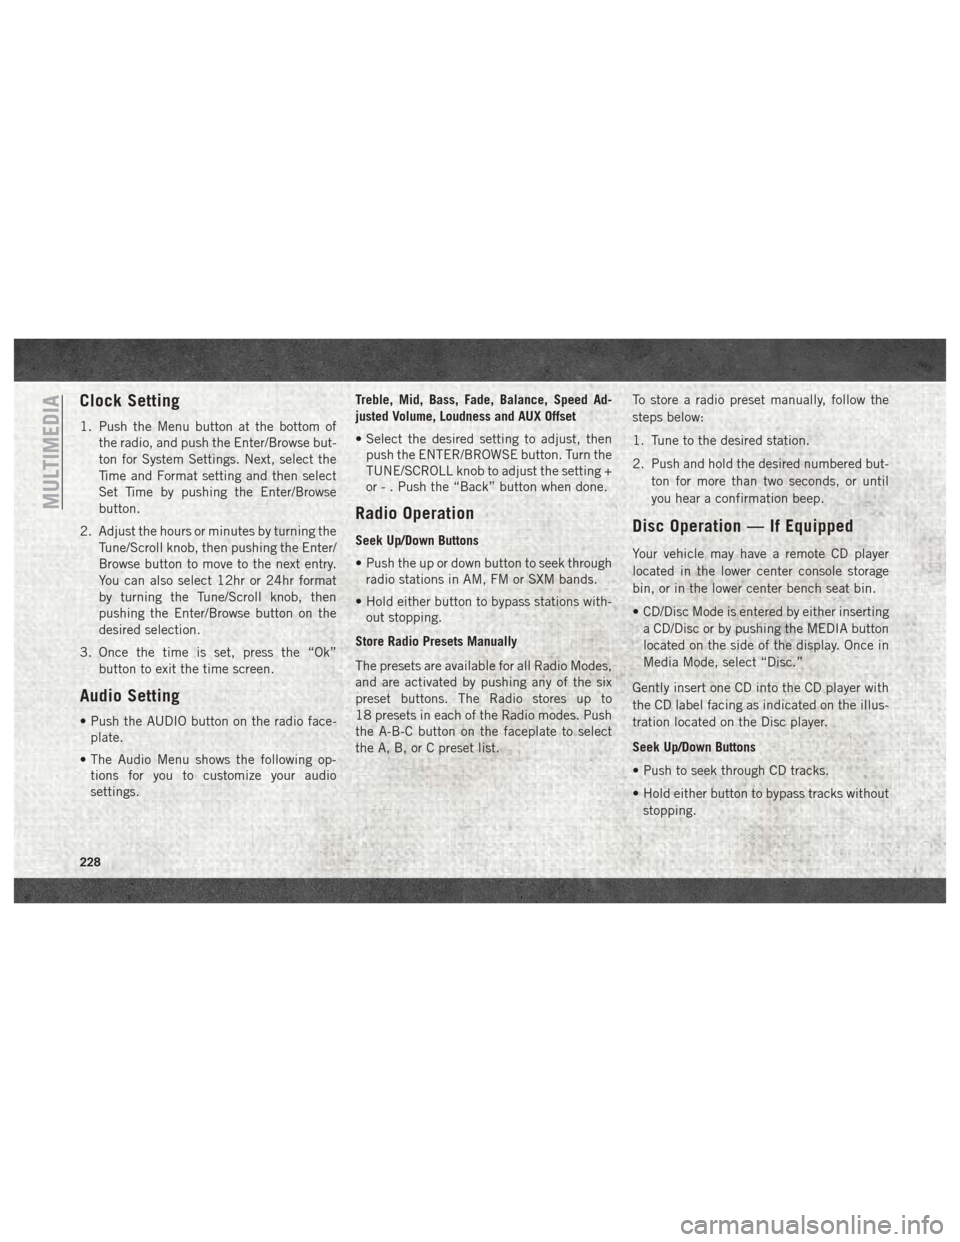
Clock Setting
1. Push the Menu button at the bottom ofthe radio, and push the Enter/Browse but-
ton for System Settings. Next, select the
Time and Format setting and then select
Set Time by pushing the Enter/Browse
button.
2. Adjust the hours or minutes by turning the Tune/Scroll knob, then pushing the Enter/
Browse button to move to the next entry.
You can also select 12hr or 24hr format
by turning the Tune/Scroll knob, then
pushing the Enter/Browse button on the
desired selection.
3. Once the time is set, press the “Ok” button to exit the time screen.
Audio Setting
• Push the AUDIO button on the radio face-plate.
• The Audio Menu shows the following op- tions for you to customize your audio
settings. Treble, Mid, Bass, Fade, Balance, Speed Ad-
justed Volume, Loudness and AUX Offset
• Select the desired setting to adjust, then
push the ENTER/BROWSE button. Turn the
TUNE/SCROLL knob to adjust the setting +
or - . Push the “Back” button when done.
Radio Operation
Seek Up/Down Buttons
• Push the up or down button to seek throughradio stations in AM, FM or SXM bands.
• Hold either button to bypass stations with- out stopping.
Store Radio Presets Manually
The presets are available for all Radio Modes,
and are activated by pushing any of the six
preset buttons. The Radio stores up to
18 presets in each of the Radio modes. Push
the A-B-C button on the faceplate to select
the A, B, or C preset list. To store a radio preset manually, follow the
steps below:
1. Tune to the desired station.
2. Push and hold the desired numbered but-
ton for more than two seconds, or until
you hear a confirmation beep.Disc Operation — If Equipped
Your vehicle may have a remote CD player
located in the lower center console storage
bin, or in the lower center bench seat bin.
• CD/Disc Mode is entered by either insertinga CD/Disc or by pushing the MEDIA button
located on the side of the display. Once in
Media Mode, select “Disc.”
Gently insert one CD into the CD player with
the CD label facing as indicated on the illus-
tration located on the Disc player.
Seek Up/Down Buttons
• Push to seek through CD tracks.
• Hold either button to bypass tracks without stopping.
MULTIMEDIA
228
Page 233 of 298
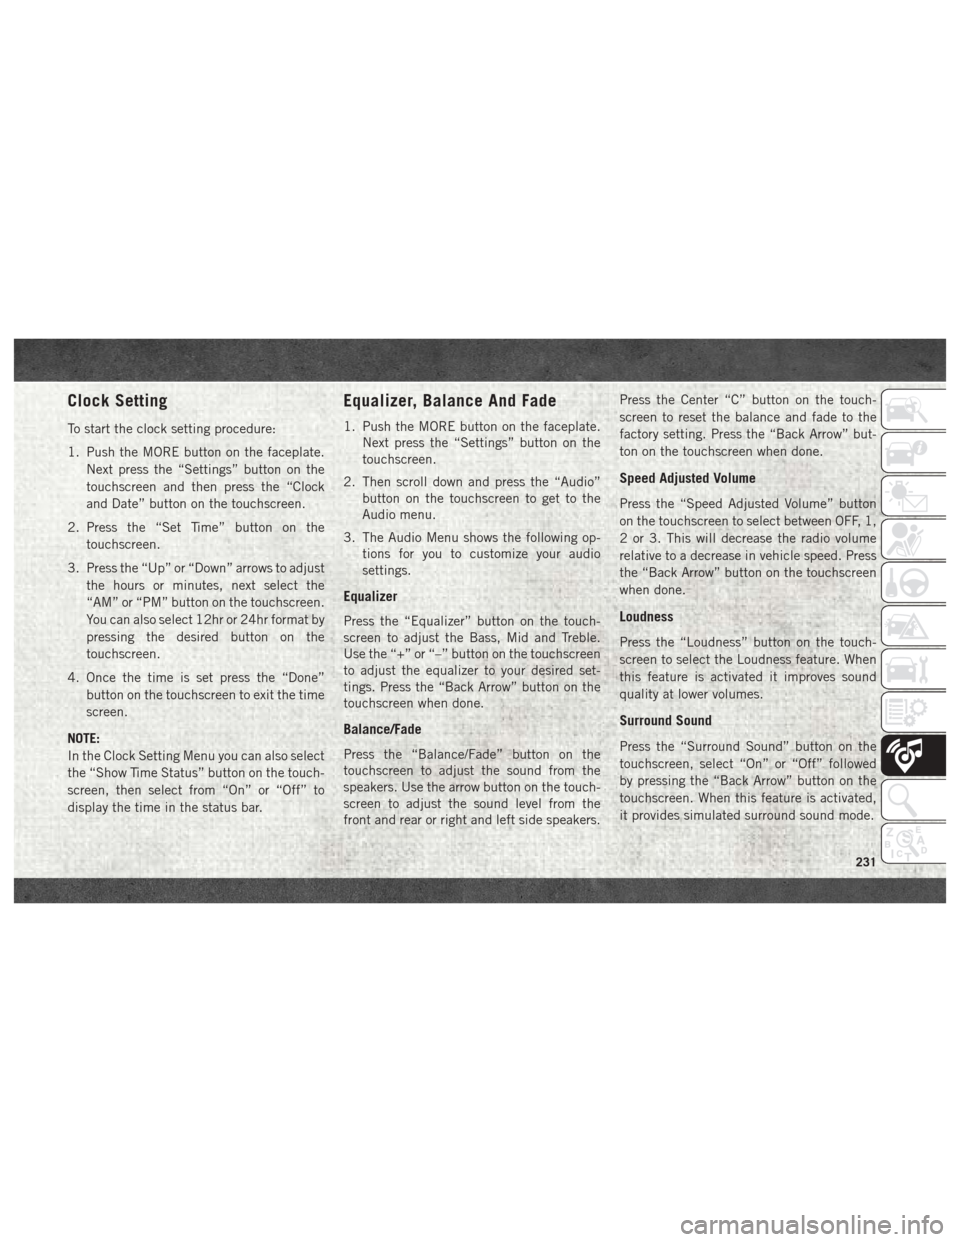
Clock Setting
To start the clock setting procedure:
1. Push the MORE button on the faceplate.Next press the “Settings” button on the
touchscreen and then press the “Clock
and Date” button on the touchscreen.
2. Press the “Set Time” button on the touchscreen.
3. Press the “Up” or “Down” arrows to adjust the hours or minutes, next select the
“AM” or “PM” button on the touchscreen.
You can also select 12hr or 24hr format by
pressing the desired button on the
touchscreen.
4. Once the time is set press the “Done” button on the touchscreen to exit the time
screen.
NOTE:
In the Clock Setting Menu you can also select
the “Show Time Status” button on the touch-
screen, then select from “On” or “Off” to
display the time in the status bar.
Equalizer, Balance And Fade
1. Push the MORE button on the faceplate. Next press the “Settings” button on the
touchscreen.
2. Then scroll down and press the “Audio” button on the touchscreen to get to the
Audio menu.
3. The Audio Menu shows the following op- tions for you to customize your audio
settings.
Equalizer
Press the “Equalizer” button on the touch-
screen to adjust the Bass, Mid and Treble.
Use the “+” or “–” button on the touchscreen
to adjust the equalizer to your desired set-
tings. Press the “Back Arrow” button on the
touchscreen when done.
Balance/Fade
Press the “Balance/Fade” button on the
touchscreen to adjust the sound from the
speakers. Use the arrow button on the touch-
screen to adjust the sound level from the
front and rear or right and left side speakers. Press the Center “C” button on the touch-
screen to reset the balance and fade to the
factory setting. Press the “Back Arrow” but-
ton on the touchscreen when done.
Speed Adjusted Volume
Press the “Speed Adjusted Volume” button
on the touchscreen to select between OFF, 1,
2 or 3. This will decrease the radio volume
relative to a decrease in vehicle speed. Press
the “Back Arrow” button on the touchscreen
when done.
Loudness
Press the “Loudness” button on the touch-
screen to select the Loudness feature. When
this feature is activated it improves sound
quality at lower volumes.
Surround Sound
Press the “Surround Sound” button on the
touchscreen, select “On” or “Off” followed
by pressing the “Back Arrow” button on the
touchscreen. When this feature is activated,
it provides simulated surround sound mode.
231
Page 241 of 298
WARNING!
ALWAYS drive safely with your hands on
the wheel. You have full responsibility and
assume all risks related to the use of the
Uconnect features, SiriusXM Guardian
services, and applications in this vehicle.
Only use Uconnect features and SiriusXM
Guardian services when it is safe to do so.
Failure to do so may result in an accident
involving serious injury or death.
CAUTION!
Do NOT attach any object to the touch-
screen, doing so can result in damage to
the screen.
NOTE:
Uconnect screen images are for illustration
purposes only and may not reflect exact soft-
ware for your vehicle. Setting The Time
• Model 4C NAV synchronizes time automati-
cally via GPS, so it should not require any
time adjustment. If you do need to set the
time manually, follow the instructions be-
low for Model 4C NAV.
• For Model 4C, turn the unit on, and then press the time display at the top of the
screen. Press “Yes.”
• If the time is not displayed at the top of the screen, press the “Settings” button on the
touchscreen. In the Settings screen, press
the “Clock” button on the touchscreen,
then check or uncheck this option.
• Press “+” or “–” next to Set Time Hours and Set Time Minutes to adjust the time.
• If these features are not available, uncheck the Sync Time box.
• Press “X” to save your settings and exit out of the Clock Setting screen. Background Themes
• Screen background themes are selectable
from a pre-loaded list of themes. If you’d
like to set a theme, follow the instructions
below.
• Press the “Settings” button on the touch- screen.
• Press the “Display” button on the touch- screen.
• Then press “Set Theme” button on the touchscreen and select a theme.
Audio Settings
• Press of the “Audio” button on the touch- screen to activate the Audio settings screen
to adjust Balance\Fade, Equalizer, and
Speed Adjusted Volume.
• You can return to the Radio screen by pressing the “X” located at the top right.
239
Page 258 of 298
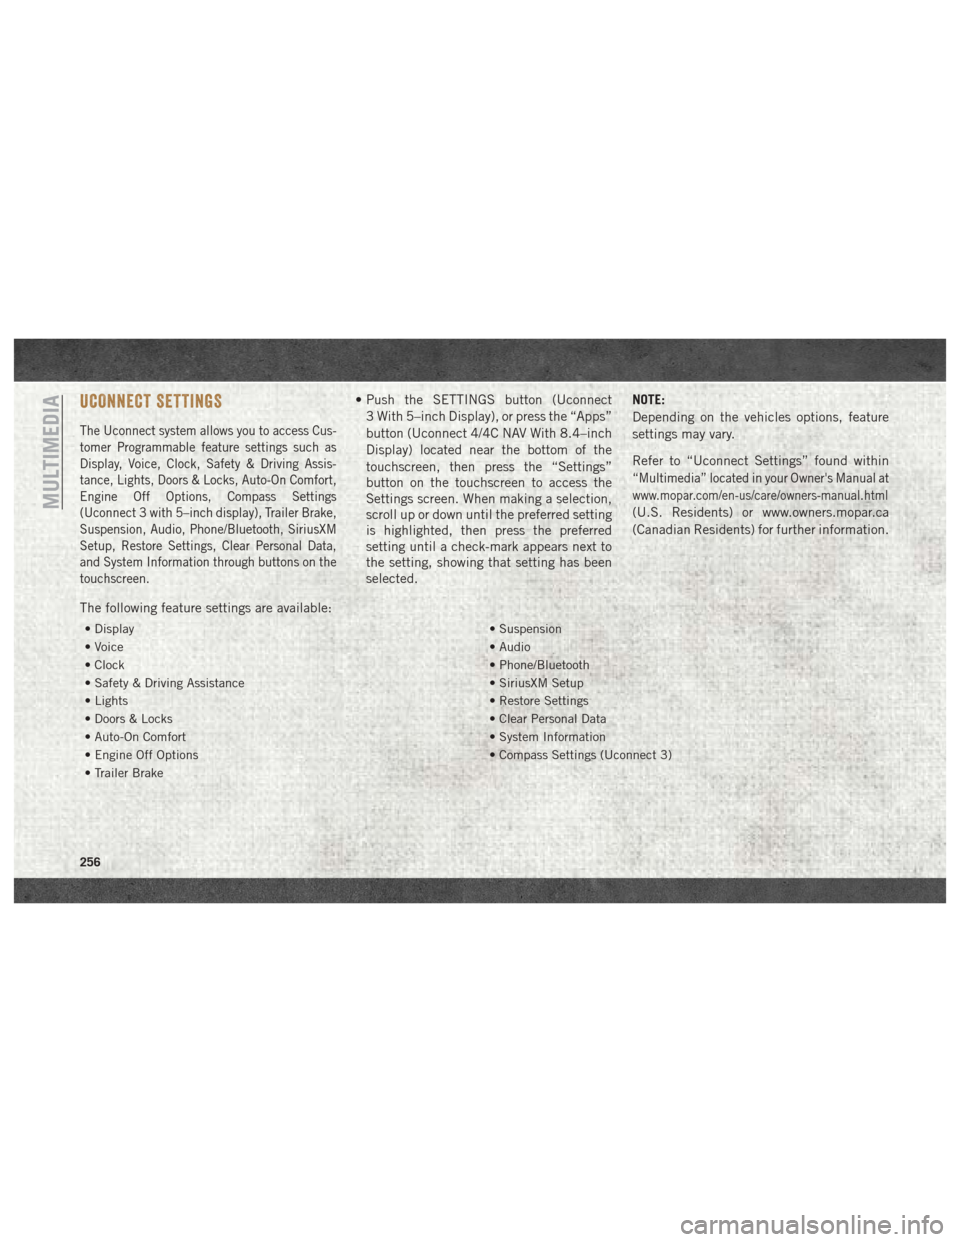
UCONNECT SETTINGS
The Uconnect system allows you to access Cus-
tomer Programmable feature settings such as
Display, Voice, Clock, Safety & Driving Assis-
tance, Lights, Doors & Locks, Auto-On Comfort,
Engine Off Options, Compass Settings
(Uconnect 3 with 5–inch display), Trailer Brake,
Suspension, Audio, Phone/Bluetooth, SiriusXM
Setup, Restore Settings, Clear Personal Data,
and System Information through buttons on the
touchscreen.
• Push the SETTINGS button (Uconnect3 With 5–inch Display), or press the “Apps”
button (Uconnect 4/4C NAV With 8.4–inch
Display) located near the bottom of the
touchscreen, then press the “Settings”
button on the touchscreen to access the
Settings screen. When making a selection,
scroll up or down until the preferred setting
is highlighted, then press the preferred
setting until a check-mark appears next to
the setting, showing that setting has been
selected. NOTE:
Depending on the vehicles options, feature
settings may vary.
Refer to “Uconnect Settings” found within
“Multimedia” located in your Owner's Manual at
www.mopar.com/en-us/care/owners-manual.html
(U.S. Residents) or www.owners.mopar.ca
(Canadian Residents) for further information.
The following feature settings are available:
• Display • Suspension
• Voice • Audio
• Clock • Phone/Bluetooth
• Safety & Driving Assistance • SiriusXM Setup
• Lights • Restore Settings
• Doors & Locks • Clear Personal Data
• Auto-On Comfort • System Information
• Engine Off Options • Compass Settings (Uconnect 3)
• Trailer Brake
MULTIMEDIA
256
Page 292 of 298
Lower Anchors And Tethers
For Children...............101
Older Children And Child
Restraints .................98
Seating Positions ............100
Cleaning Wheels ..................206
Climate Control ................37
Manual ...................37
Clock .....................231
Clock Setting .................231
Compact Spare Tire .............204
Contract, Service ..............285
Cooling System Coolant Capacity ............213
Selection Of Coolant
(Antifreeze) ............214, 216
Cruise Light ..................68
Customer Assistance ............284
Customer Programmable Features . . . .256
Dealer Service ................186
Defroster, Windshield ............116
Delay (Intermittent) Wipers .........35
Diagnostic System, Onboard ........69
Diesel Fuel System, Re-Priming .....190
Disabled Vehicle Towing ..........169Disturb
....................270
Door Ajar ....................62
Door Ajar Light ................62
Draining Fuel/Water Separator Filter . . .187
Driver's Seat Back Tilt ............21
Dual Rear Wheels ..........210, 211
Electrical Power Outlets ...........49
Electronically Shifted Transfer Case . . .132
Electronic Range Select (ERS) ......131
Electronic Speed Control (Cruise Control) ..............133
Electronic Throttle Control Warning Light ...............62
Emergency, In Case Of Freeing Vehicle When Stuck .....168
Hazard Warning Flasher ........154
Jacking ..................160
Jump Starting ..............164
Engine .................184, 185
Air Cleaner ............... .186
Block
Heater ...............124
Break-In Recommendations .....127
Compartment ..............185
Compartment Identification ......184
Coolant (Antifreeze) .......214, 216
Exhaust Gas Caution ..........115 Identification
..............185
Idling ...................125
Jump Starting ..............164
Oil .................214, 216
Oil Filler Cap ..............184
Overheating ...............166
Enhanced Accident Response Feature ................94, 171
Exhaust Gas Caution ............115
Exhaust System ...............115
Exterior Lighting ...............31
Exterior Lights .............31, 118
Filters Air Conditioning .............44
Engine Fuel ...........187, 214
Engine Oil ............214, 216
Flashers Turn Signal ..........34, 68, 118
Flat Tire Stowage ..............163
Fluid, Brake .................216
Fluid Capacities ...............213
Fluid Leaks ..................118
Fluids And Lubricants ........214, 216
Fog Lights ...................67
Folding Rear Seat ...............21
Four-Way Hazard Flasher .........154
INDEX
290