radio Ram ProMaster 2020 Owner's Guide
[x] Cancel search | Manufacturer: RAM, Model Year: 2020, Model line: ProMaster, Model: Ram ProMaster 2020Pages: 264, PDF Size: 10.11 MB
Page 214 of 264
212MULTIMEDIA
Fast Seek Down
Press and hold the Seek Down button on the
touchscreen to advance the radio through the
available stations or channel at a faster rate.
The radio stops at the next available station or
channel when the button on the touchscreen is
released.
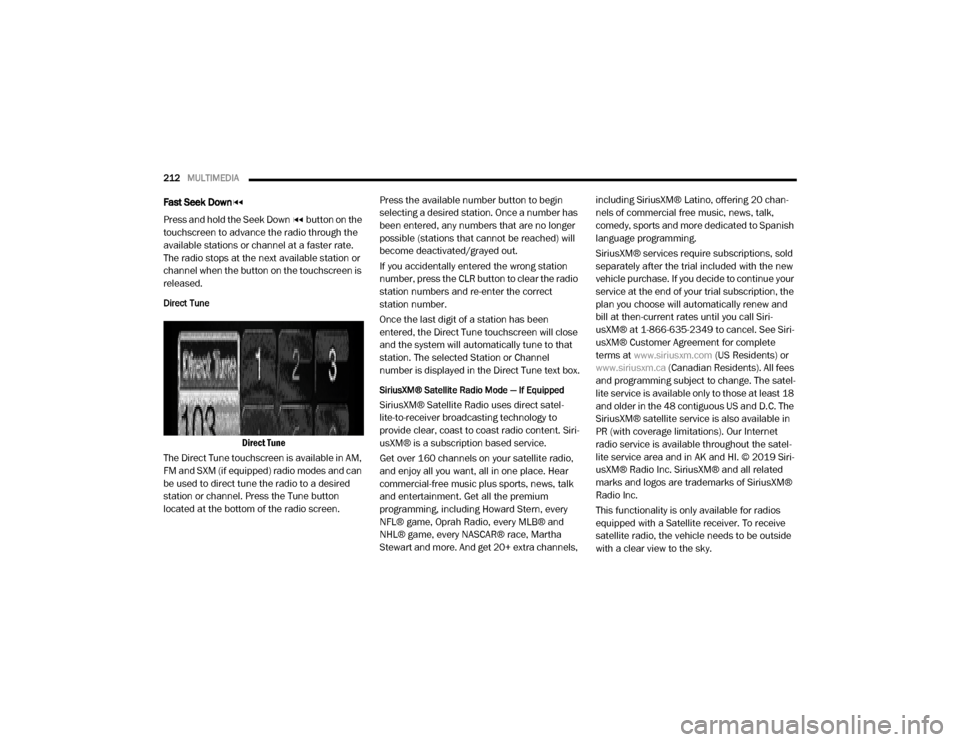
Direct Tune
Direct Tune
The Direct Tune touchscreen is available in AM,
FM and SXM (if equipped) radio modes and can
be used to direct tune the radio to a desired
station or channel. Press the Tune button
located at the bottom of the radio screen. Press the available number button to begin
selecting a desired station. Once a number has
been entered, any numbers that are no longer
possible (stations that cannot be reached) will
become deactivated/grayed out.
If you accidentally entered the wrong station
number, press the CLR button to clear the radio
station numbers and re-enter the correct
station number.
Once the last digit of a station has been
entered, the Direct Tune touchscreen will close
and the system will automatically tune to that
station. The selected Station or Channel
number is displayed in the Direct Tune text box.
SiriusXM® Satellite Radio Mode — If Equipped
SiriusXM® Satellite Radio uses direct satel
-
lite-to-receiver broadcasting technology to
provide clear, coast to coast radio content. Siri -
usXM® is a subscription based service.
Get over 160 channels on your satellite radio,
and enjoy all you want, all in one place. Hear
commercial-free music plus sports, news, talk
and entertainment. Get all the premium
programming, including Howard Stern, every
NFL® game, Oprah Radio, every MLB® and
NHL® game, every NASCAR® race, Martha
Stewart and more. And get 20+ extra channels, including SiriusXM® Latino, offering 20 chan
-
nels of commercial free music, news, talk,
comedy, sports and more dedicated to Spanish
language programming.
SiriusXM® services require subscriptions, sold
separately after the trial included with the new
vehicle purchase. If you decide to continue your
service at the end of your trial subscription, the
plan you choose will automatically renew and
bill at then-current rates until you call Siri -
usXM® at 1-866-635-2349 to cancel. See Siri -
usXM® Customer Agreement for complete
terms at www.siriusxm.com (US Residents) or
www.siriusxm.ca (Canadian Residents). All fees
and programming subject to change. The satel-
lite service is available only to those at least 18
and older in the 48 contiguous US and D.C. The
SiriusXM® satellite service is also available in
PR (with coverage limitations). Our Internet
radio service is available throughout the satel -
lite service area and in AK and HI. © 2019 Siri -
usXM® Radio Inc. SiriusXM® and all related
marks and logos are trademarks of SiriusXM®
Radio Inc.
This functionality is only available for radios
equipped with a Satellite receiver. To receive
satellite radio, the vehicle needs to be outside
with a clear view to the sky.
20_VF_OM_EN_US_t.book Page 212
Page 215 of 264
MULTIMEDIA213
If the screen displays Acquiring Signal, you may
need to change the vehicle’s position to receive
a signal. In most cases, the satellite radio does
not receive a signal in underground parking
garages or tunnels.
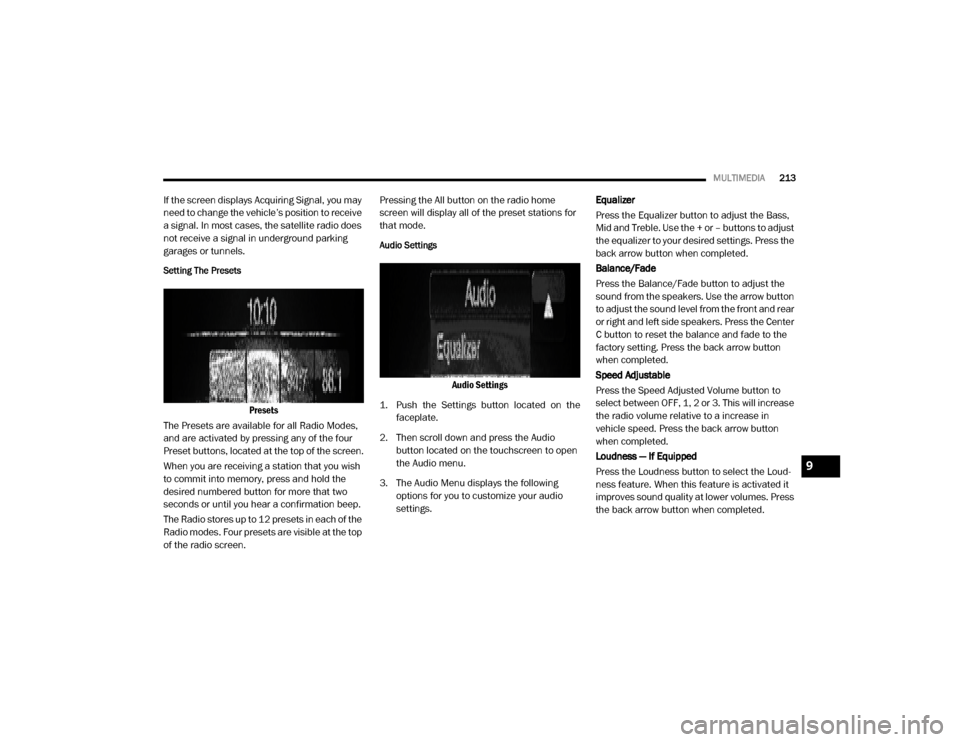
Setting The Presets
Presets
The Presets are available for all Radio Modes,
and are activated by pressing any of the four
Preset buttons, located at the top of the screen.
When you are receiving a station that you wish
to commit into memory, press and hold the
desired numbered button for more that two
seconds or until you hear a confirmation beep.
The Radio stores up to 12 presets in each of the
Radio modes. Four presets are visible at the top
of the radio screen. Pressing the All button on the radio home
screen will display all of the preset stations for
that mode.
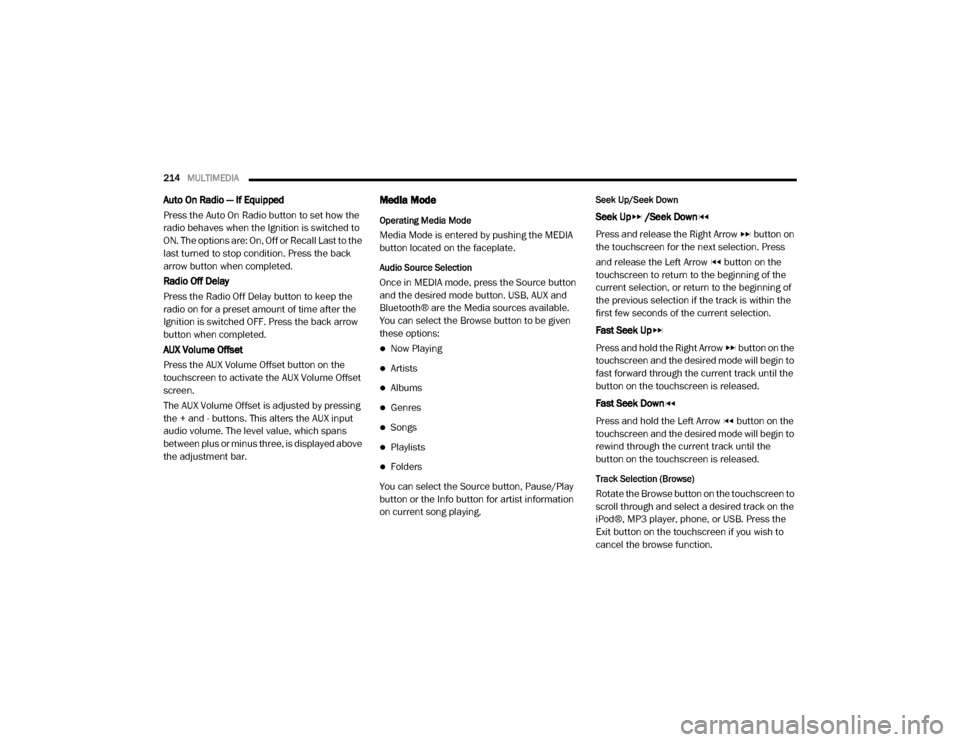
Audio Settings
Audio Settings
1. Push the Settings button located on the faceplate.
2. Then scroll down and press the Audio button located on the touchscreen to open
the Audio menu.
3. The Audio Menu displays the following options for you to customize your audio
settings. Equalizer
Press the Equalizer button to adjust the Bass,
Mid and Treble. Use the + or – buttons to adjust
the equalizer to your desired settings. Press the
back arrow button when completed.
Balance/Fade
Press the Balance/Fade button to adjust the
sound from the speakers. Use the arrow button
to adjust the sound level from the front and rear
or right and left side speakers. Press the Center
C button to reset the balance and fade to the
factory setting. Press the back arrow button
when completed.
Speed Adjustable
Press the Speed Adjusted Volume button to
select between OFF, 1, 2 or 3. This will increase
the radio volume relative to a increase in
vehicle speed. Press the back arrow button
when completed.
Loudness — If Equipped
Press the Loudness button to select the Loud
-
ness feature. When this feature is activated it
improves sound quality at lower volumes. Press
the back arrow button when completed.
9
20_VF_OM_EN_US_t.book Page 213
Page 216 of 264
214MULTIMEDIA
Auto On Radio — If Equipped
Press the Auto On Radio button to set how the
radio behaves when the Ignition is switched to
ON. The options are: On, Off or Recall Last to the
last turned to stop condition. Press the back
arrow button when completed.
Radio Off Delay
Press the Radio Off Delay button to keep the
radio on for a preset amount of time after the
Ignition is switched OFF. Press the back arrow
button when completed.
AUX Volume Offset
Press the AUX Volume Offset button on the
touchscreen to activate the AUX Volume Offset
screen.
The AUX Volume Offset is adjusted by pressing
the + and - buttons. This alters the AUX input
audio volume. The level value, which spans
between plus or minus three, is displayed above
the adjustment bar.Media Mode
Operating Media Mode
Media Mode is entered by pushing the MEDIA
button located on the faceplate.
Audio Source Selection
Once in MEDIA mode, press the Source button
and the desired mode button. USB, AUX and
Bluetooth® are the Media sources available.
You can select the Browse button to be given
these options:
Now Playing
Artists
Albums
Genres
Songs
Playlists
Folders
You can select the Source button, Pause/Play
button or the Info button for artist information
on current song playing.
Seek Up/Seek Down
Seek Up /Seek Down
Press and release the Right Arrow button on
the touchscreen for the next selection. Press
and release the Left Arrow button on the
touchscreen to return to the beginning of the
current selection, or return to the beginning of
the previous selection if the track is within the
first few seconds of the current selection.
Fast Seek Up
Press and hold the Right Arrow button on the
touchscreen and the desired mode will begin to
fast forward through the current track until the
button on the touchscreen is released.
Fast Seek Down
Press and hold the Left Arrow button on the
touchscreen and the desired mode will begin to
rewind through the current track until the
button on the touchscreen is released.
Track Selection (Browse)
Rotate the Browse button on the touchscreen to
scroll through and select a desired track on the
iPod®, MP3 player, phone, or USB. Press the
Exit button on the touchscreen if you wish to
cancel the browse function.
20_VF_OM_EN_US_t.book Page 214
Page 217 of 264
MULTIMEDIA215
Repeat
Press the Repeat button on the touchscreen to
repeat the song selection. To cancel repeat,
press the Repeat button on the touchscreen a
second time.
Shuffle
Press the Shuffle button on the touchscreen to
play the selections on the USB/iPod® or Blue -
tooth® device in random order to provide an
interesting change of pace. Press the Shuffle
button on the touchscreen a second time to
turn this feature off.
Audio
Refer to “Operating Radio Mode” in this section
for the adjustable audio settings.
Info
Press the Info button to display the current
track information. Press the X button to cancel
this feature.
USB Mode
USB Mode is entered by either inserting a USB
Jump Drive cable into the USB port, or by
pushing the MEDIA button located on the face -
plate. Once in “Media Mode”, press the Source
button on the touchscreen and select “USB”. NOTE:
The system supports only FAT32 or ExFAT
formatted USB devices. The system does not
support devices with a capacity higher than
64GB. The system does not support USB hubs
connected to the USB port of the vehicle.
Connect your multimedia device directly to the
USB port, using the specific connection cable
for the device if necessary.
Inserting USB Device
Gently insert the USB/device into the USB Port.
If you insert a USB device with the ignition ON,
the unit will switch to USB mode and begin to
play when you insert the device. The display will
show the track number and index time in
minutes and seconds. Play will begin at the start
of track 1.
Browse
Press the Browse button on the touchscreen to
select Artist, Albums, Genres, Songs, Playlists or
Folders from the USB device. Once the desired
selection is made you can chose from the avail
-
able media by pressing the button on the touch -
screen. Press the Exit button on the
touchscreen if you wish to cancel the browse
function.
Bluetooth® Mode
Bluetooth® Streaming Audio (BTSA) or Blue -
tooth® Mode is entered by pairing a Bluetooth®
device containing music to the Uconnect
system.
Before proceeding, the Bluetooth® device must
be paired with the Uconnect Phone to communi -
cate with the Uconnect system.
See the pairing procedure within this manual.
Once the Bluetooth® device is paired to the
Uconnect system, push the MEDIA button
located on the faceplate. Once in Media Mode,
press the Source button on the touchscreen
and select Bluetooth®.
NOTE:
For mobile phone compatibility and pairing
instructions, please visit UconnectPhone.com.
9
20_VF_OM_EN_US_t.book Page 215
Page 218 of 264
216MULTIMEDIA
AUX Mode
AUX Mode is entered by inserting a AUX device
using a stereo cable with a 3.5 mm audio jack
into the AUX port, or by pushing the MEDIA
button located on the faceplate. Once in Media
Mode, press the Source button on the touch -
screen and select AUX.
Inserting Auxiliary Device
Gently insert the Auxiliary device cable into the
AUX Port. If you insert a Auxiliary device with the
ignition ON, the unit will switch to AUX mode and
begin to play when you insert the device cable.
Controlling The Auxiliary Device
The control of the Auxiliary device (e.g.,
selecting playlists, play, fast forward, etc.)
cannot be provided by the radio; use the device
controls instead. Adjust the volume with the
VOLUME rotary knob, or with the volume of the
attached device.
The radio unit is acting as the amplifier for audio
output from the Auxiliary device. Therefore if the
volume control on the Auxiliary device is set too
low, there will be insufficient audio signal for the
radio unit to play the music on the device.
Phone Mode
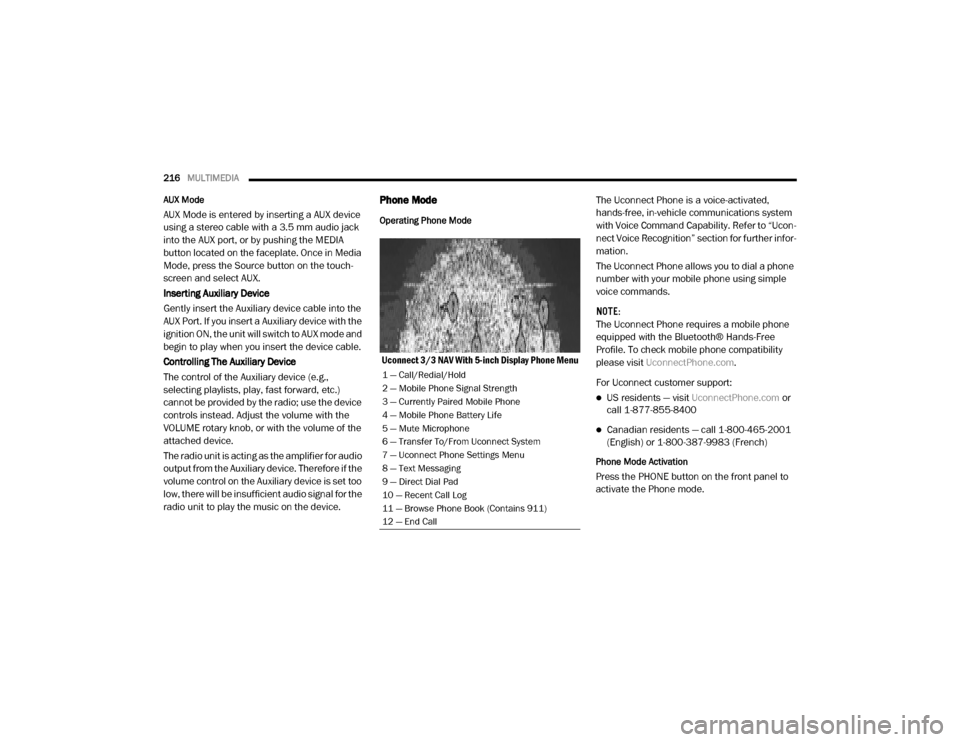
Operating Phone Mode
Uconnect 3/3 NAV With 5-inch Display Phone Menu The Uconnect Phone is a voice-activated,
hands-free, in-vehicle communications system
with Voice Command Capability. Refer to “Ucon
-
nect Voice Recognition” section for further infor -
mation.
The Uconnect Phone allows you to dial a phone
number with your mobile phone using simple
voice commands.
NOTE:
The Uconnect Phone requires a mobile phone
equipped with the Bluetooth® Hands-Free
Profile. To check mobile phone compatibility
please visit UconnectPhone.com .
For Uconnect customer support:
US residents — visit UconnectPhone.com or
call 1-877-855-8400
Canadian residents — call 1-800-465-2001
(English) or 1-800-387-9983 (French)
Phone Mode Activation
Press the PHONE button on the front panel to
activate the Phone mode.
1 — Call/Redial/Hold
2 — Mobile Phone Signal Strength
3 — Currently Paired Mobile Phone
4 — Mobile Phone Battery Life
5 — Mute Microphone
6 — Transfer To/From Uconnect System
7 — Uconnect Phone Settings Menu
8 — Text Messaging
9 — Direct Dial Pad
10 — Recent Call Log
11 — Browse Phone Book (Contains 911)
12 — End Call
20_VF_OM_EN_US_t.book Page 216
Page 219 of 264
MULTIMEDIA217
Main Functions
The buttons on the display can be used to:
Compose phone numbers (using the graphic
keypad on the display)
Display and call the contacts in the mobile
phone phonebook
Display and call contacts from the “recent
calls” menu
Pair phones/audio devices to make access
and connection easier and quicker
Transfer calls from the system to the mobile
phone and vice versa
Deactivate the microphone audio for private
conversations
The mobile phone audio is transmitted through
the vehicle’s audio system. The system auto -
matically mutes the radio when the Phone func -
tion is used.
Connecting/Disconnecting A Mobile Phone Or
Bluetooth® Device
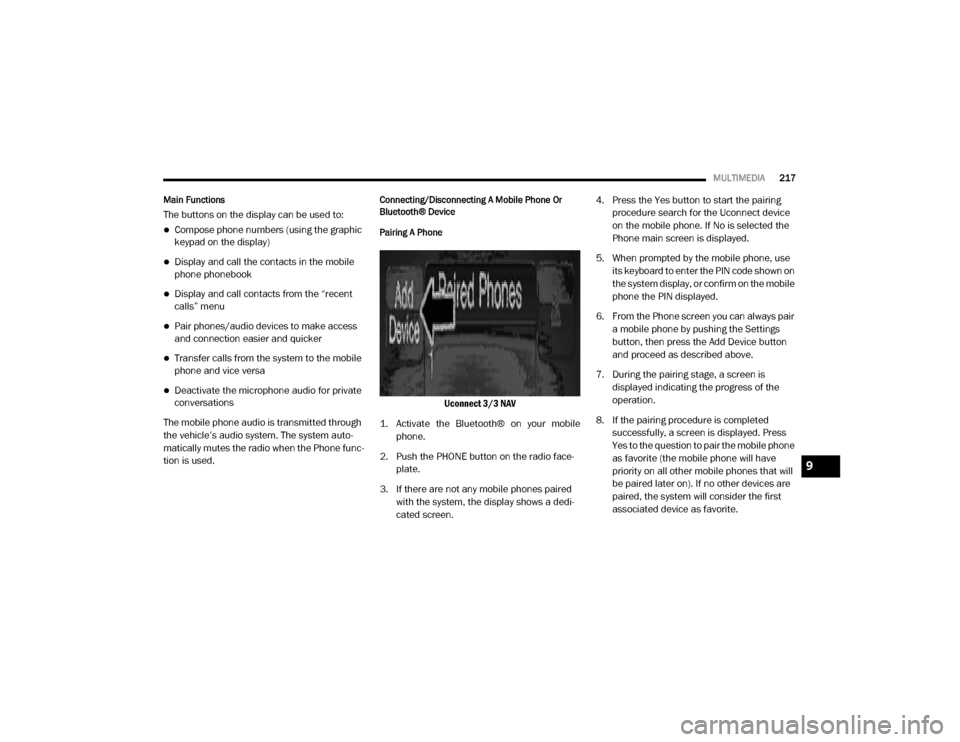
Pairing A Phone
Uconnect 3/3 NAV
1. Activate the Bluetooth® on your mobile phone.
2. Push the PHONE button on the radio face -
plate.
3. If there are not any mobile phones paired with the system, the display shows a dedi -
cated screen. 4. Press the Yes button to start the pairing
procedure search for the Uconnect device
on the mobile phone. If No is selected the
Phone main screen is displayed.
5. When prompted by the mobile phone, use its keyboard to enter the PIN code shown on
the system display, or confirm on the mobile
phone the PIN displayed.
6. From the Phone screen you can always pair a mobile phone by pushing the Settings
button, then press the Add Device button
and proceed as described above.
7. During the pairing stage, a screen is displayed indicating the progress of the
operation.
8. If the pairing procedure is completed successfully, a screen is displayed. Press
Yes to the question to pair the mobile phone
as favorite (the mobile phone will have
priority on all other mobile phones that will
be paired later on). If no other devices are
paired, the system will consider the first
associated device as favorite.
9
20_VF_OM_EN_US_t.book Page 217
Page 233 of 264
MULTIMEDIA231
Voices
About Voices
Your navigation system uses sound for some or
all of the following:
Driving directions
Warnings that you set
By selecting “Settings” in the Main Menu, then
selecting “Voices,” you can change the settings
for how voice instructions are given. Instruction
settings include the following:
Read Early Instructions Out Loud : This setting
allows to you to hear early instructions. For
example, an early instruction could be, “After
two miles, take the exit right.”
Read Road Numbers Out Loud (if equipped):
Use this setting to control whether road
numbers are read out loud as part of naviga -
tion instructions.
Read Road Sign Information Out Loud (if
equipped): Use this setting to control whether
road sign information is read out loud as part
of navigation instructions.
Read Street Names Out Loud (if equipped):
Use this setting to control whether street
names are read out loud as part of navigation
instructions.
Read Foreign Street Names Out Loud (if
equipped): Use this setting to control wether
foreign street names are read out loud as
part of navigation instructions.
Changing The Volume Level
To change the volume of your navigation
system, use the volume button on the radio
when an instruction is being given.
Settings
About Settings
You can change the way your naviga -
tion system looks and behaves. Most
of the settings on your system can be accessed
by pressing the Settings button in the Main
Menu. Appearance
To change how your navigation screen looks,
select “Appearance” in the settings menu. From
here, you can change these features:
Switch To Night Colors When Dark
: Select
this setting to make your system automati -
cally switch to night colors when it gets dark.
Automatic Zoom : Select “Automatic Zoom” to
change how your system zooms in Guidance
view when you approach a turn or intersec -
tion. Zooming in can make the turn or inter -
section easier to drive. The following options
are available:
Zoom in to next turn
Based on road type
None
Arrival Information
In the settings menu, select “Arrival Informa -
tion” to change the following settings:
Show Remaining Distance : Select this setting
to show the remaining distance left to travel
in the arrival information panel during navi -
gation.
9
20_VF_OM_EN_US_t.book Page 231
Page 240 of 264
238MULTIMEDIA
STEERING WHEEL AUDIO CONTROLS
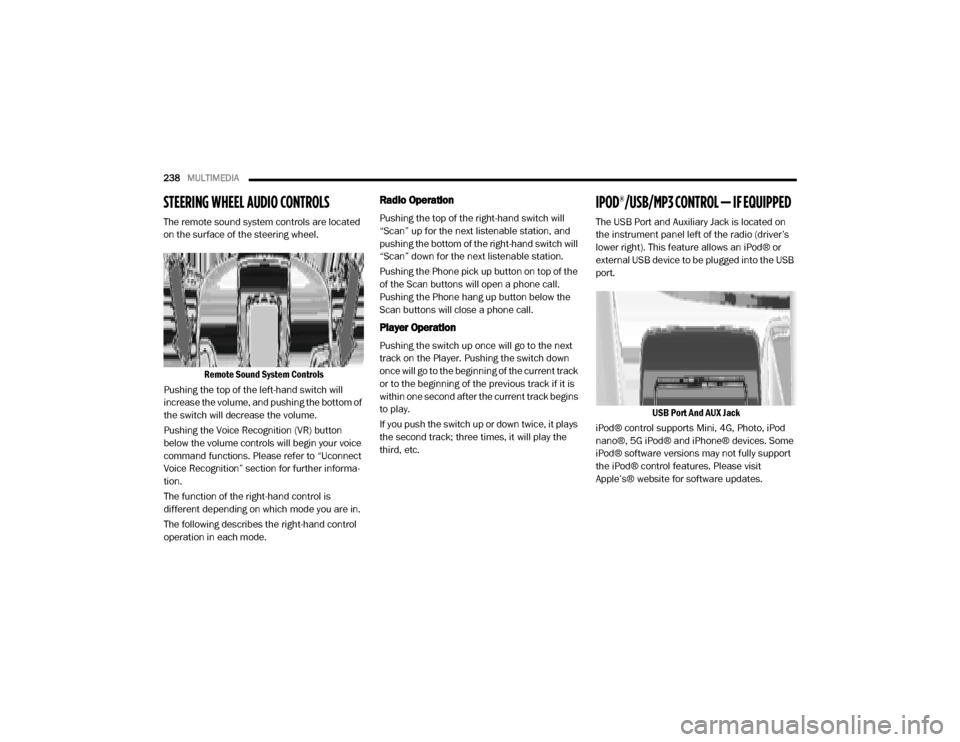
The remote sound system controls are located
on the surface of the steering wheel.
Remote Sound System Controls
Pushing the top of the left-hand switch will
increase the volume, and pushing the bottom of
the switch will decrease the volume.
Pushing the Voice Recognition (VR) button
below the volume controls will begin your voice
command functions. Please refer to “Uconnect
Voice Recognition” section for further informa -
tion.
The function of the right-hand control is
different depending on which mode you are in.
The following describes the right-hand control
operation in each mode.
Radio Operation
Pushing the top of the right-hand switch will
“Scan” up for the next listenable station, and
pushing the bottom of the right-hand switch will
“Scan” down for the next listenable station.
Pushing the Phone pick up button on top of the
of the Scan buttons will open a phone call.
Pushing the Phone hang up button below the
Scan buttons will close a phone call.
Player Operation
Pushing the switch up once will go to the next
track on the Player. Pushing the switch down
once will go to the beginning of the current track
or to the beginning of the previous track if it is
within one second after the current track begins
to play.
If you push the switch up or down twice, it plays
the second track; three times, it will play the
third, etc.
IPOD®/USB/MP3 CONTROL — IF EQUIPPED
The USB Port and Auxiliary Jack is located on
the instrument panel left of the radio (driver’s
lower right). This feature allows an iPod® or
external USB device to be plugged into the USB
port.
USB Port And AUX Jack
iPod® control supports Mini, 4G, Photo, iPod
nano®, 5G iPod® and iPhone® devices. Some
iPod® software versions may not fully support
the iPod® control features. Please visit
Apple’s® website for software updates.
20_VF_OM_EN_US_t.book Page 238
Page 242 of 264

240MULTIMEDIA
Interference Statement
This device complies with Part 15, 22, 24, and
27 of the FCC and Industry Canada
licence-exempt RSS standard(s). Operation is
subject to the following two conditions:(1) This
device may not cause interference, and(2) This
device must accept any interference, including
interference that may cause undesired opera -
tion of the device.
RF Exposure
This equipment complies with FCC and IC radia-
tion exposure limits set forth for an uncontrolled
environment. The antenna should be installed
and operated with minimum distance of 20 cm
between the radiator and your body.
Cet appareil est conforme aux limites d'exposi -
tion aux rayonnements de la IC pour environne -
ment non contrôlé. L'antenne doit être installé
de façon à garder une distance minmale de 20
centimètres entre la source de rayonnements
et votre corps.RADIO OPERATION AND MOBILE PHONES
Under certain conditions, the mobile phone
being on in your vehicle can cause erratic or
noisy performance from your radio. This condi -
tion may be lessened or eliminated by relo -
cating the mobile phone. This condition is not
harmful to the radio. If your radio performance
does not satisfactorily “clear” by the reposi -
tioning of the phone, it is recommended that the
radio volume be turned down or off during
mobile phone operation when not using Ucon -
nect (if equipped).
Regulatory And Safety Information
USA/CANADA
Exposure to Radio Frequency Radiation
The radiated output power of the internal wire -
less radio is far below the FCC and IC radio
frequency exposure limits. Nevertheless, the
wireless radio will be used in such a manner
that the radio is 8 inch (20 cm) or further from
the human body.
The internal wireless radio operates within
guidelines found in radio frequency safety stan -
dards and recommendations, which reflect the
consensus of the scientific community. The radio manufacturer believes the internal
wireless radio is safe for use by consumers. The
level of energy emitted is far less than the elec
-
tromagnetic energy emitted by wireless devices
such as mobile phones. However, the use of
wireless radios may be restricted in some situa-
tions or environments, such as aboard
airplanes. If you are unsure of restrictions, you
are encouraged to ask for authorization before
turning on the wireless radio.
The following regulatory statement applies to all
Radio Frequency (RF) devices equipped in this
vehicle:
This device complies with Part 15 of the FCC
Rules and with Innovation, Science and
Economic Development Canada license-exempt
RSS standard(s). Operation is subject to the
following two conditions:
1. This device may not cause harmful interfer -
ence, and
2. This device must accept any interference received, including interference that may
cause undesired operation.
20_VF_OM_EN_US_t.book Page 240
Page 243 of 264
MULTIMEDIA241
Le présent appareil est conforme aux CNR
d`Innovation, Science and Economic Develop -
ment applicables aux appareils radio exempts
de licence. L'exploitation est autorisée aux deux
conditions suivantes:
1. l'appareil ne doit pas produire de brouillage, et
2. l'utilisateur de l'appareil doit accepter tout brouillage radioélectrique subi, même si le
brouillage est susceptible d'en comprom -
ettre le fonctionnement.
La operación de este equipo está sujeta a las
siguientes dos condiciones:
1. es posible que este equipo o dispositivo no cause interferencia perjudicial y
2. este equipo o dispositivo debe aceptar cual -
quier interferencia, incluyendo la que
pueda causar su operación no deseada.
NOTE:
Changes or modifications not expressly
approved by the party responsible for compli -
ance could void the user’s authority to operate
the equipment. NOTE:
This equipment has been tested and found to
comply with the limits for a Class B digital
device, pursuant to Part 15 of the FCC Rules.
These limits are designed to provide reason
-
able protection against harmful interference
in a residential installation. This equipment
generates, uses and can radiate radio
frequency energy and, if not installed and
used in accordance with the instructions,
may cause harmful interference to radio
communications. However, there is no guar -
antee that interference will not occur in a
particular installation.
If this equipment does cause harmful inter -
ference to radio or television reception,
which can be determined by turning the
equipment off and on, the user is encour -
aged to try to correct the interference by one
or more of the following measures:
a. Increase the separation between the equipment and receiver.
b. Consult an authorized dealer or an expe -
rienced radio technician for help.
UCONNECT VOICE RECOGNITION
Introducing Uconnect
Start using Uconnect Voice Recognition (VR)
with these helpful quick tips. It provides the key
Voice Commands and tips you need to know to
control your Uconnect system.
Get Started
1. Visit UconnectPhone.com to check mobile
device and feature compatibility and to find
phone pairing instructions.
2. Reduce background noise. Wind and passenger conversations are examples of
noise that may impact recognition.
3. Speak clearly at a normal pace and volume while facing straight ahead. The micro -
phone is positioned in the dome lamp and
aimed at the driver.
4. Each time you give a Voice Command, you must first push either the VR or Phone
button , wait until after the beep, then
say your Voice Command.
9
20_VF_OM_EN_US_t.book Page 241