display Ram ProMaster 2020 Service Manual
[x] Cancel search | Manufacturer: RAM, Model Year: 2020, Model line: ProMaster, Model: Ram ProMaster 2020Pages: 264, PDF Size: 10.11 MB
Page 219 of 264
MULTIMEDIA217
Main Functions
The buttons on the display can be used to:
Compose phone numbers (using the graphic
keypad on the display)
Display and call the contacts in the mobile
phone phonebook
Display and call contacts from the “recent
calls” menu
Pair phones/audio devices to make access
and connection easier and quicker
Transfer calls from the system to the mobile
phone and vice versa
Deactivate the microphone audio for private
conversations
The mobile phone audio is transmitted through
the vehicle’s audio system. The system auto -
matically mutes the radio when the Phone func -
tion is used.
Connecting/Disconnecting A Mobile Phone Or
Bluetooth® Device
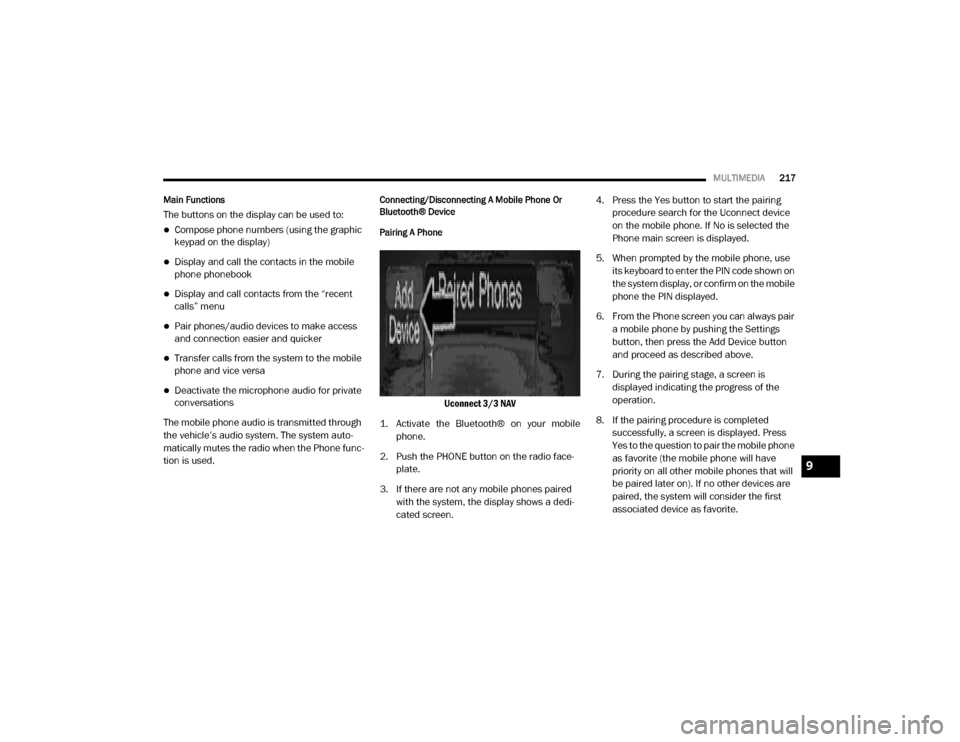
Pairing A Phone
Uconnect 3/3 NAV
1. Activate the Bluetooth® on your mobile phone.
2. Push the PHONE button on the radio face -
plate.
3. If there are not any mobile phones paired with the system, the display shows a dedi -
cated screen. 4. Press the Yes button to start the pairing
procedure search for the Uconnect device
on the mobile phone. If No is selected the
Phone main screen is displayed.
5. When prompted by the mobile phone, use its keyboard to enter the PIN code shown on
the system display, or confirm on the mobile
phone the PIN displayed.
6. From the Phone screen you can always pair a mobile phone by pushing the Settings
button, then press the Add Device button
and proceed as described above.
7. During the pairing stage, a screen is displayed indicating the progress of the
operation.
8. If the pairing procedure is completed successfully, a screen is displayed. Press
Yes to the question to pair the mobile phone
as favorite (the mobile phone will have
priority on all other mobile phones that will
be paired later on). If no other devices are
paired, the system will consider the first
associated device as favorite.
9
20_VF_OM_EN_US_t.book Page 217
Page 220 of 264
218MULTIMEDIA
NOTE:
The priority is determined according to the
order of connection for mobile phones which
are not set as favorite. The last phone
connected will have the highest priority.
For more assistance on pairing your phone,
contact Uconnect customer support:
US residents — visit UconnectPhone.com
for phone compatibility, pairing instruc-
tions and details or call 1-877-855-8400
Canadian residents — visit Uconnect-
Phone.com for phone compatibility,
pairing instructions and details or call
1-800-465-2001 (English) or 1-800-387-9983 (French)
Storing Names/Numbers in The Mobile Phone
Before pairing your mobile phone, you must
make sure you have stored the names you want
to contact in the phonebook on your mobile
phone so that you can call them using the
vehicle's hands-free system.
If your phonebook does not contain any names,
enter new names for the most frequently used
numbers.
For further details, refer to your mobile phone
owner's handbook. NOTE:
The names in the phonebook which do not
contain phone numbers or where both fields
(name and surname) are empty will not be
displayed.
Connection
The system connects automatically to the
paired mobile phone with the highest priority.
To choose a specific mobile phone or Blue
-
tooth® audio device, proceed as follows:
Access the Settings menu
Select Phone/Bluetooth®
Select the Paired Phones or Paired Audio list
using the corresponding button on the
display
Select the specific device (mobile phone or
Bluetooth® device)
Press the Connect button
During the connection stage a screen is
displayed showing the progress of the opera -
tion
The device connected is highlighted in the list
Disconnection
To disconnect a specific mobile phone or Blue -
tooth® audio device, proceed as follows:
Access the Settings menu
Select Phone/Bluetooth®
Select the Paired Phones or Paired Audio list
using the corresponding button on the
display
Select the specific device (mobile phone or
Bluetooth® device)
Press the Disconnect button
Downloading A Phonebook From Your Mobile
Phone
If equipped and specifically supported by your
phone, Uconnect Phone asks you if you want to
download names (text names) and number
entries from your mobile phone’s phonebook.
Specific Bluetooth®-enabled phones with
Phone Book Access Profile may support this
feature. See UconnectPhone.com for supported
phones.
20_VF_OM_EN_US_t.book Page 218
Page 221 of 264
MULTIMEDIA219
NOTE:
If supported, the download and update begin
as soon as the Bluetooth® wireless phone
connection is made to the Uconnect Phone,
for example, after you start the vehicle.
You may be asked for permission to initiate
the phonebook download.
A maximum of 2,000 contact names with six
numbers per contact will be downloaded and
updated every time a phone is connected to
the Uconnect Phone.
Depending on the maximum number of
entries downloaded, there may be a short
delay before the latest downloaded names
can be used. Until then, if available, the previ -
ously downloaded phonebook is available for
use.
Only the phonebook of the currently
connected mobile phone is accessible.
Only the mobile phone’s phonebook is down -
loaded. SIM card phonebook is not part of
the mobile phonebook.
This downloaded phonebook cannot be
edited or deleted on the Uconnect Phone.
These can only be edited on the mobile
phone. The changes are transferred and
updated to Uconnect Phone on the next
phone connection.
Making A Phone Call
Dialing The Phone Number Using The Keyboard
Icon On The Display
Enter the phone number using the graphic
keypad displayed.
Proceed as follows:
1. Press the Keyboard icon on the display and
use the number buttons to enter the
number.
2. Press the Call button to make a call.
Call By Saying A Phonebook Name Or Phone
Number
1. Push the VR button or Phone button (if enabled) on the steering wheel.
2. After the BEEP, say “dial” (or “call” a full name or phone number). Recent Calls
The list of the last calls made for each of the
following call types can be displayed:
Calls received
Calls made
Calls without a reply
All calls
To access these types of calls, press the Recent
Calls button on the Phone menu main screen.
Making A Second Call While Current Call Is In
Progress
When a phone conversation is active, a second
phone call can be made as follows:
Select the number/contact from the list of
recent calls.
Select the contact from the phonebook.
Press the Hold button and dial the number
using the graphic keyboard of the display.
Redial
To call the number/contact of last call made,
press the Redial button.9
20_VF_OM_EN_US_t.book Page 219
Page 222 of 264
220MULTIMEDIA
Answering An Incoming Call
Call Controls
The buttons on the display allow the following
phone call functions to be managed:
Answer
End
Ignore
Put on hold/resume
Deactivate/activate the microphone
Transfer the call
Switch from one call to the other
Conference/merge two active calls
Answering Or Ignoring A Call With No Call
Currently In Progress
When an incoming call rings or is announced on
Uconnect, push the Answer button on the touch -
screen or push the PHONE button on the
steering wheel. Answering Or Ignoring An Incoming Call With A
Call Currently In Progress
When an incoming call rings or is announced on
Uconnect, push the Answer button on the touch
-
screen or push the PHONE button on the
steering wheel to answer the call and put the
ongoing call on hold.
NOTE:
Not all mobile phones may support the manage -
ment of an incoming call when another phone
conversation is active.
Ending A Call
Press the End button on the touchscreen or the
PHONE button on the steering wheel controls to
end a call in progress.
Only the ongoing call is ended and any call on
hold becomes the new active call.
Depending on the type of mobile phone, if the
ongoing call is ended by the caller, the call on
hold may not be activated automatically.
Uconnect Phone Features
Mute/Unmute
1. During a call, push the Voice Recognition (VR) button on the steering wheel.
2. After the BEEP, say “mute” (or “mute off”).
Reading Messages
The system can read the messages received by
the mobile phone.
To use this function the mobile phone must
support the SMS exchange function via Blue -
tooth®.
If this function is not supported by the phone,
the corresponding message button is deacti -
vated (grayed out) or may only accept incoming
messages.
When a text message is received, the display
will show a screen where the options "Listen",
"Call" or "Ignore" can be selected.
Press the message button to access the list of
SMS messages received by the mobile phone
(the list displays a maximum of 60 messages
received).
20_VF_OM_EN_US_t.book Page 220
Page 223 of 264
MULTIMEDIA221
SMS Message Reader Activation/Deactivation
The SMS message automatic reading function
can be activated/deactivated by pressing the
corresponding button on the display, which is
shown after pressing the phone selection
button.
NOTE:
On some mobile phones, to make the SMS
voice reading function available, the SMS notifi -
cation option on the phone must be enabled,
this option is usually available on the phone, in
the Bluetooth® connections menu for a device
registered as Uconnect. After enabling this func -
tion on the mobile phone, it must be discon -
nected and reconnected with the system to
make it effective.
SMS Message Options
Preset SMS messages are stored in the system
and can be sent to answer a received message
or as a new message.Navigation Mode — If Equipped
Operating Navigation Mode — If Equipped
Planning A Route
Using the search bar provides a wide range of
ways to find places and then navigate to them.
You can search your destination in different
ways:
A specific address
A partial address
A type of place
A zip code
A city to navigate to a city center
A Point of Interest (POI) near your current
location
Latitude and longitude coordinates Using Search
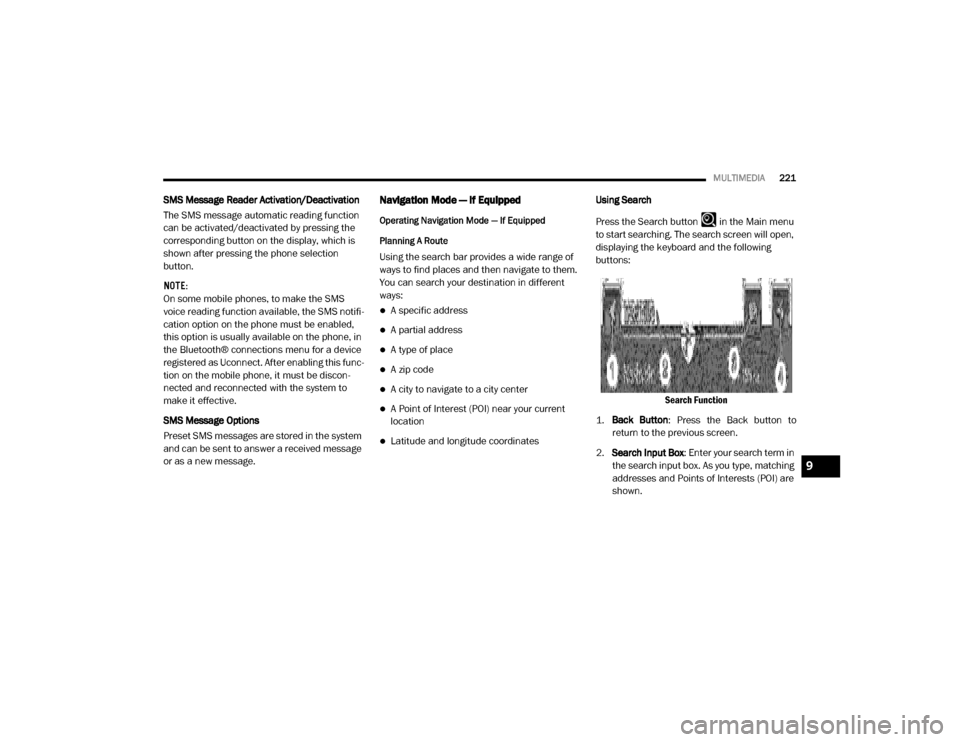
Press the Search button in the Main menu
to start searching. The search screen will open,
displaying the keyboard and the following
buttons:
Search Function
1. Back Button : Press the Back button to
return to the previous screen.
2. Search Input Box : Enter your search term in
the search input box. As you type, matching
addresses and Points of Interests (POI) are
shown.
9
20_VF_OM_EN_US_t.book Page 221
Page 232 of 264
230MULTIMEDIA
Map View
About Map View
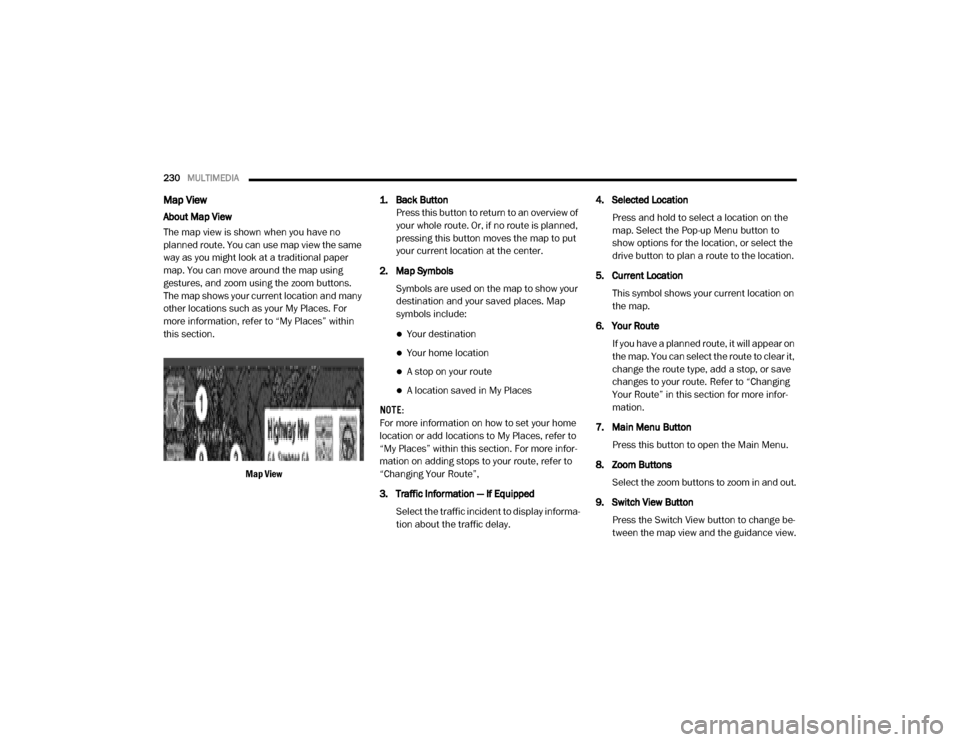
The map view is shown when you have no
planned route. You can use map view the same
way as you might look at a traditional paper
map. You can move around the map using
gestures, and zoom using the zoom buttons.
The map shows your current location and many
other locations such as your My Places. For
more information, refer to “My Places” within
this section.
Map View 1. Back Button
Press this button to return to an overview of
your whole route. Or, if no route is planned,
pressing this button moves the map to put
your current location at the center.
2. Map Symbols Symbols are used on the map to show your
destination and your saved places. Map
symbols include:
Your destination
Your home location
A stop on your route
A location saved in My Places
NOTE:
For more information on how to set your home
location or add locations to My Places, refer to
“My Places” within this section. For more infor -
mation on adding stops to your route, refer to
“Changing Your Route”,
3. Traffic Information — If Equipped
Select the traffic incident to display informa -
tion about the traffic delay. 4. Selected Location
Press and hold to select a location on the
map. Select the Pop-up Menu button to
show options for the location, or select the
drive button to plan a route to the location.
5. Current Location This symbol shows your current location on
the map.
6. Your Route If you have a planned route, it will appear on
the map. You can select the route to clear it,
change the route type, add a stop, or save
changes to your route. Refer to “Changing
Your Route” in this section for more infor -
mation.
7. Main Menu Button Press this button to open the Main Menu.
8. Zoom Buttons Select the zoom buttons to zoom in and out.
9. Switch View Button Press the Switch View button to change be -
tween the map view and the guidance view.
20_VF_OM_EN_US_t.book Page 230
Page 236 of 264
234MULTIMEDIA
Using POIs To Plan A Route
When you plan a route, you can use a POI for the
destination or as a stop along the route.
Using Search
1. Select “Search” on the Main Menu to begin
a search. The search screen will open,
displaying the keyboard. Enter the name of
your desired destination. Your search
results will be displayed in two lists.
Addresses and city matches are shown in
the list called “Addresses.” POIs, types of
POIs, and Places are shown in the list called
“Points of Interest.” You can also select a
POI category to only see POI search results
from that category.
2. Select the desired POI. The location will appear on the map. From here, you can
save the POI to “My Places,” use this POI as
a starting point, begin navigation to this
destination, or view more details about this
POI. By pressing “More Information,” you
can view the phone number and full
address of the POI.
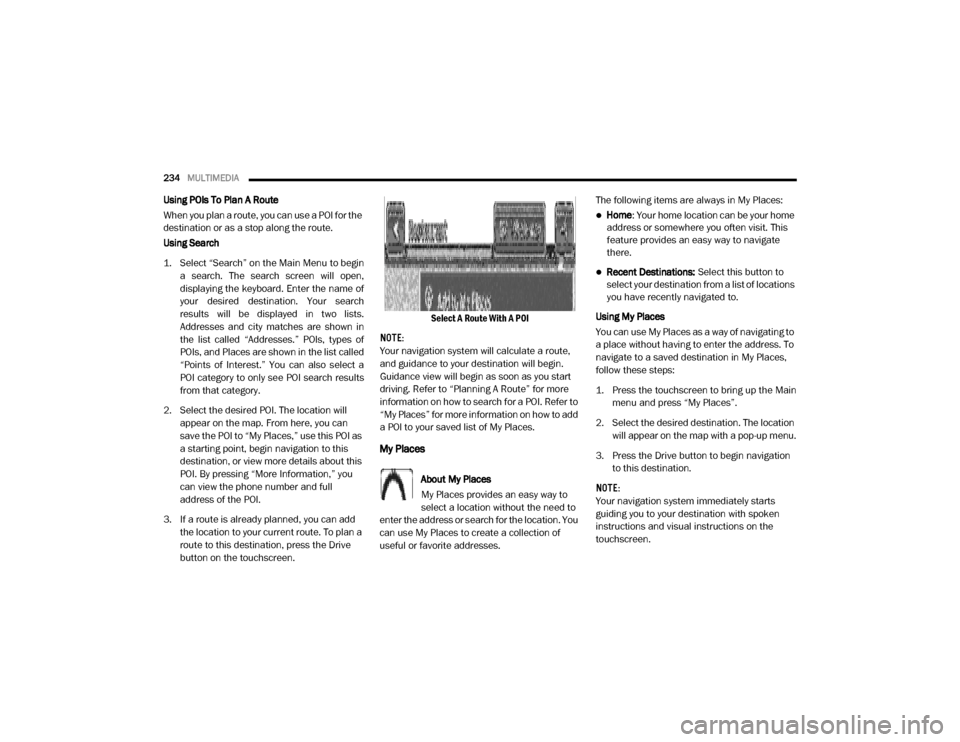
3. If a route is already planned, you can add the location to your current route. To plan a
route to this destination, press the Drive
button on the touchscreen. Select A Route With A POI
NOTE:
Your navigation system will calculate a route,
and guidance to your destination will begin.
Guidance view will begin as soon as you start
driving. Refer to “Planning A Route” for more
information on how to search for a POI. Refer to
“My Places” for more information on how to add
a POI to your saved list of My Places.
My Places
About My Places
My Places provides an easy way to
select a location without the need to
enter the address or search for the location. You
can use My Places to create a collection of
useful or favorite addresses. The following items are always in My Places:
Home
: Your home location can be your home
address or somewhere you often visit. This
feature provides an easy way to navigate
there.
Recent Destinations: Select this button to
select your destination from a list of locations
you have recently navigated to.
Using My Places
You can use My Places as a way of navigating to
a place without having to enter the address. To
navigate to a saved destination in My Places,
follow these steps:
1. Press the touchscreen to bring up the Main menu and press “My Places”.
2. Select the desired destination. The location will appear on the map with a pop-up menu.
3. Press the Drive button to begin navigation to this destination.
NOTE:
Your navigation system immediately starts
guiding you to your destination with spoken
instructions and visual instructions on the
touchscreen.
20_VF_OM_EN_US_t.book Page 234
Page 245 of 264
MULTIMEDIA243
Media
Uconnect offers connections via USB, Blue -
tooth®, and Auxiliary ports. Voice operation is
only available for connected USB and iPod®
devices.
Push the VR button on the steering wheel. After
the beep, say one of the following commands
and follow the prompts to switch your media
source or choose an artist.
“ Change source to Bluetooth®”
“Change source to iPod®”
“Change source to USB”
“Play artist Beethoven”; “ Play album
Greatest Hits”; “ Play song Moonlight
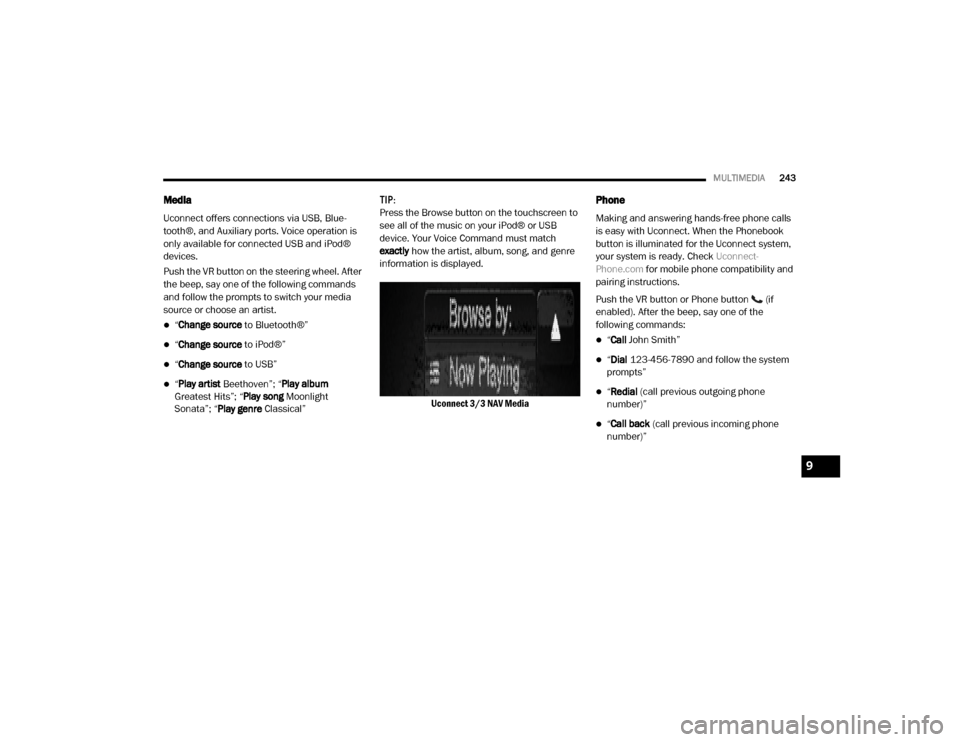
Sonata”; “ Play genre Classical” TIP:
Press the Browse button on the touchscreen to
see all of the music on your iPod® or USB
device. Your Voice Command must match
exactly
how the artist, album, song, and genre
information is displayed.
Uconnect 3/3 NAV Media
Phone
Making and answering hands-free phone calls
is easy with Uconnect. When the Phonebook
button is illuminated for the Uconnect system,
your system is ready. Check Uconnect-
Phone.com for mobile phone compatibility and
pairing instructions.
Push the VR button or Phone button (if
enabled). After the beep, say one of the
following commands:
“ Call John Smith”
“Dial 123-456-7890 and follow the system
prompts”
“ Redial (call previous outgoing phone
number)”
“ Call back (call previous incoming phone
number)”
9
20_VF_OM_EN_US_t.book Page 243
Page 255 of 264

253
H
Hazard
Driving Through Flowing, Rising,
Or Shallow Standing Water
................. 121
Hazard Warning Flashers
.......................... 123
Head Restraints
....................................... 20
Headlights
Cleaning......................................... 187High Beam........................................ 24High Beam/Low Beam Select Switch....... 24Passing............................................ 24Switch.............................................. 23
Heated Mirrors
........................................ 23
Heated Seats
.......................................... 18
Heater, Engine Block
................................. 93
High Beam/Low Beam Select (Dimmer) Switch
... 24
Hill Start Assist
........................................ 60
Hitches
Trailer Towing.................................. 114
Hood Prop
............................................. 36
Hood Release
......................................... 36
I
Ignition
.................................................11Key.............................................. 9, 11Switch.............................................. 11
Ignition Key Removal
.................................11
Illuminated Entry
......................................27
Immobilizer (Sentry Key)
............................. 12
Inside Rearview Mirror
................................21
Instrument Cluster
.............................. 41, 53Display............................................. 43
Instrument Panel Lens Cleaning
................... 189
Interior And Instrument Lights
.......................25
Interior Appearance Care
........................... 188
Interior Lights
..........................................25
Intermittent Wipers (Delay Wipers)
..................28
Introduction
..............................................7
iPod/USB/MP3 Control
............................. 238
J
Jack Location
........................................ 133
Jack Operation
.............................. 133, 168
Jacking And Tire Changing
......................... 133
Jacking And Tire Changing Instructions
...........135
Jump Starting
........................................ 145
K
Key Fob
Programming Additional Key Fobs
.......... 10
Key Fob Battery Service (Remote Keyless Entry)
.. 10
Key Fob Programming (Remote Keyless Entry)
.... 10
Key-In Reminder
...................................... 12
Keys
..................................................... 9Replacement.................................... 12Sentry (Immobilizer)............................ 12
L
Lane Change Assist
.................................. 25
Lap/Shoulder Belts
.................................. 67
Latches
................................................ 91Hood............................................... 36
Lead Free Gasoline
................................ 192
Leaks, Fluid
........................................... 91
Life Of Tires
......................................... 179
Light Bulbs
.....................................91, 123
Lights
.................................................. 91Air Bag................................. 47, 73, 90Brake Assist Warning.......................... 59Brake Warning.................................. 48Bulb Replacement............................ 123Cruise............................................. 53Daytime Running............................... 24Dimmer Switch, Headlight...............23, 2411
20_VF_OM_EN_US_t.book Page 253