display Ram ProMaster 2020 User Guide
[x] Cancel search | Manufacturer: RAM, Model Year: 2020, Model line: ProMaster, Model: Ram ProMaster 2020Pages: 264, PDF Size: 10.11 MB
Page 49 of 264
GETTING TO KNOW YOUR INSTRUMENT PANEL47
“Trip B” can be used to display the figures
relating to:
Trip Distance B
Average Fuel Consumption
Average Speed B
Travel Time B (Driving Time)
NOTE:
“Trip B” functions may be excluded (see “Trip B
Data”). “Range” and “Instantaneous Fuel
Consumption” cannot be reset.
WARNING LIGHTS AND MESSAGES
The warning/indicator lights will illuminate in
the instrument panel together with a dedicated
message and/or acoustic signal when appli -
cable. These indications are indicative and
precautionary and as such must not be consid -
ered as exhaustive and/or alternative to the
information contained in the Owner’s Manual,
which you are advised to read carefully in all
cases. Always refer to the information in this
chapter in the event of a failure indication. All
active telltales will display first if applicable. The system check menu may appear different
based upon equipment options and current
vehicle status. Some telltales are optional and
may not appear.
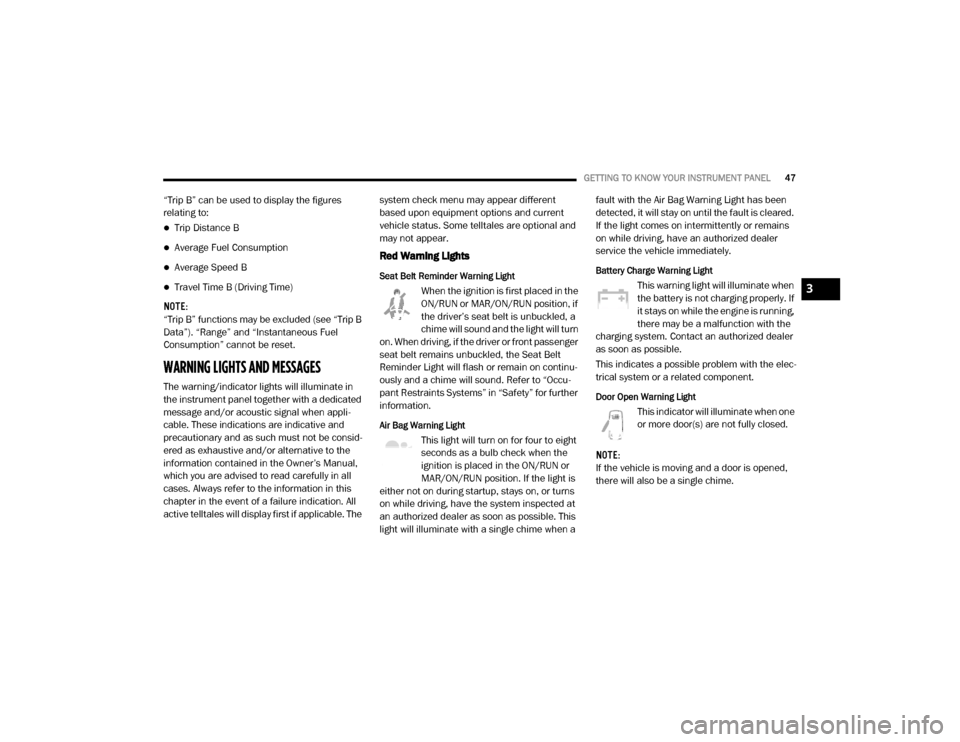
Red Warning Lights
Seat Belt Reminder Warning Light
When the ignition is first placed in the
ON/RUN or MAR/ON/RUN position, if
the driver’s seat belt is unbuckled, a
chime will sound and the light will turn
on. When driving, if the driver or front passenger
seat belt remains unbuckled, the Seat Belt
Reminder Light will flash or remain on continu-
ously and a chime will sound. Refer to “Occu -
pant Restraints Systems” in “Safety” for further
information.
Air Bag Warning Light
This light will turn on for four to eight
seconds as a bulb check when the
ignition is placed in the ON/RUN or
MAR/ON/RUN position. If the light is
either not on during startup, stays on, or turns
on while driving, have the system inspected at
an authorized dealer as soon as possible. This
light will illuminate with a single chime when a fault with the Air Bag Warning Light has been
detected, it will stay on until the fault is cleared.
If the light comes on intermittently or remains
on while driving, have an authorized dealer
service the vehicle immediately.
Battery Charge Warning Light
This warning light will illuminate when
the battery is not charging properly. If
it stays on while the engine is running,
there may be a malfunction with the
charging system. Contact an authorized dealer
as soon as possible.
This indicates a possible problem with the elec -
trical system or a related component.
Door Open Warning Light
This indicator will illuminate when one
or more door(s) are not fully closed.
NOTE:
If the vehicle is moving and a door is opened,
there will also be a single chime.
3
20_VF_OM_EN_US_t.book Page 47
Page 50 of 264
48GETTING TO KNOW YOUR INSTRUMENT PANEL
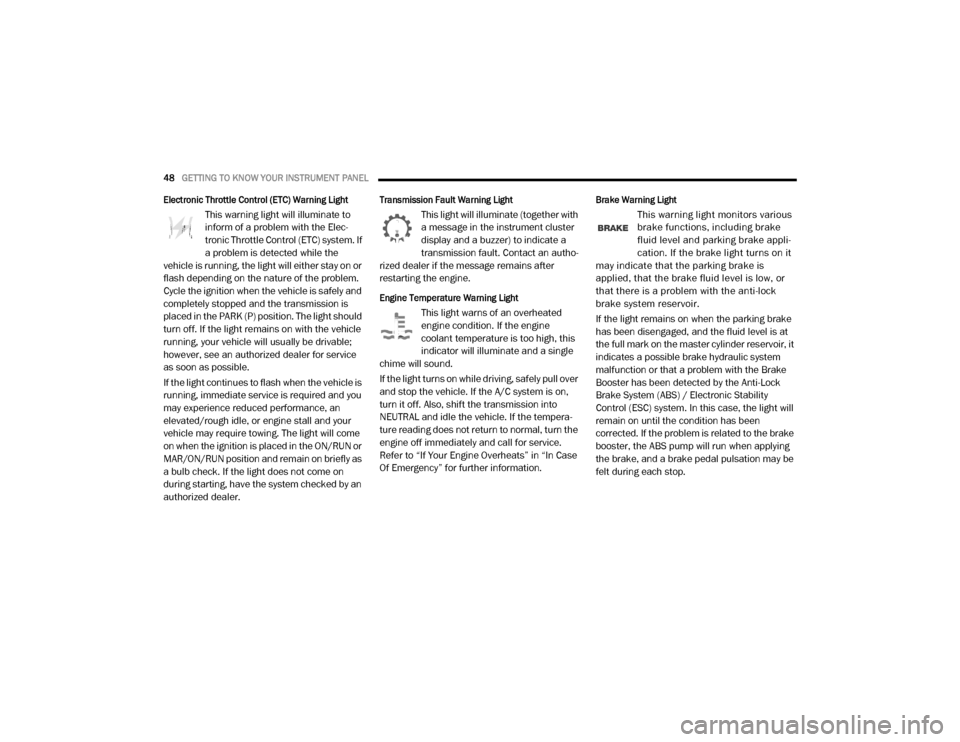
Electronic Throttle Control (ETC) Warning Light
This warning light will illuminate to
inform of a problem with the Elec -
tronic Throttle Control (ETC) system. If
a problem is detected while the
vehicle is running, the light will either stay on or
flash depending on the nature of the problem.
Cycle the ignition when the vehicle is safely and
completely stopped and the transmission is
placed in the PARK (P) position. The light should
turn off. If the light remains on with the vehicle
running, your vehicle will usually be drivable;
however, see an authorized dealer for service
as soon as possible.
If the light continues to flash when the vehicle is
running, immediate service is required and you
may experience reduced performance, an
elevated/rough idle, or engine stall and your
vehicle may require towing. The light will come
on when the ignition is placed in the ON/RUN or
MAR/ON/RUN position and remain on briefly as
a bulb check. If the light does not come on
during starting, have the system checked by an
authorized dealer.
Transmission Fault Warning Light
This light will illuminate (together with
a message in the instrument cluster
display and a buzzer) to indicate a
transmission fault. Contact an autho -
rized dealer if the message remains after
restarting the engine.
Engine Temperature Warning Light
This light warns of an overheated
engine condition. If the engine
coolant temperature is too high, this
indicator will illuminate and a single
chime will sound.
If the light turns on while driving, safely pull over
and stop the vehicle. If the A/C system is on,
turn it off. Also, shift the transmission into
NEUTRAL and idle the vehicle. If the tempera -
ture reading does not return to normal, turn the
engine off immediately and call for service.
Refer to “If Your Engine Overheats” in “In Case
Of Emergency” for further information.
Brake Warning Light
This warning light monitors various
brake functions, including brake
fluid level and parking brake appli -
cation. If the brake light turns on it
may indicate that the parking brake is
applied, that the brake fluid level is low, or
that there is a problem with the anti-lock
brake system reservoir.
If the light remains on when the parking brake
has been disengaged, and the fluid level is at
the full mark on the master cylinder reservoir, it
indicates a possible brake hydraulic system
malfunction or that a problem with the Brake
Booster has been detected by the Anti-Lock
Brake System (ABS) / Electronic Stability
Control (ESC) system. In this case, the light will
remain on until the condition has been
corrected. If the problem is related to the brake
booster, the ABS pump will run when applying
the brake, and a brake pedal pulsation may be
felt during each stop.
20_VF_OM_EN_US_t.book Page 48
Page 52 of 264
50GETTING TO KNOW YOUR INSTRUMENT PANEL
Yellow Warning Lights
Immobilizer Fail / VPS Electrical Alarm Indicator
Light
This telltale will illuminate when the
vehicle security alarm system has
detected an attempt to break into the
vehicle.
NOTE:
After cycling the ignition to the ON/RUN posi -
tion, the Vehicle Security Warning Light could
illuminate if a problem with the system is
detected. This condition will result in the engine
being shut off after two seconds.
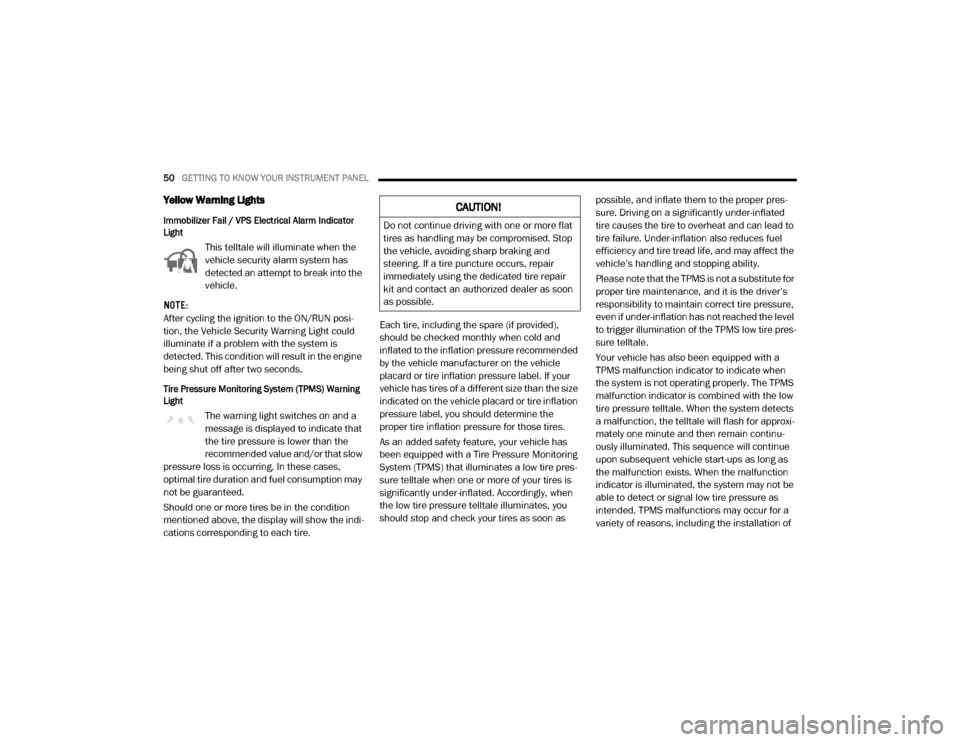
Tire Pressure Monitoring System (TPMS) Warning
Light
The warning light switches on and a
message is displayed to indicate that
the tire pressure is lower than the
recommended value and/or that slow
pressure loss is occurring. In these cases,
optimal tire duration and fuel consumption may
not be guaranteed.
Should one or more tires be in the condition
mentioned above, the display will show the indi -
cations corresponding to each tire. Each tire, including the spare (if provided),
should be checked monthly when cold and
inflated to the inflation pressure recommended
by the vehicle manufacturer on the vehicle
placard or tire inflation pressure label. If your
vehicle has tires of a different size than the size
indicated on the vehicle placard or tire inflation
pressure label, you should determine the
proper tire inflation pressure for those tires.
As an added safety feature, your vehicle has
been equipped with a Tire Pressure Monitoring
System (TPMS) that illuminates a low tire pres
-
sure telltale when one or more of your tires is
significantly under-inflated. Accordingly, when
the low tire pressure telltale illuminates, you
should stop and check your tires as soon as possible, and inflate them to the proper pres
-
sure. Driving on a significantly under-inflated
tire causes the tire to overheat and can lead to
tire failure. Under-inflation also reduces fuel
efficiency and tire tread life, and may affect the
vehicle’s handling and stopping ability.
Please note that the TPMS is not a substitute for
proper tire maintenance, and it is the driver’s
responsibility to maintain correct tire pressure,
even if under-inflation has not reached the level
to trigger illumination of the TPMS low tire pres -
sure telltale.
Your vehicle has also been equipped with a
TPMS malfunction indicator to indicate when
the system is not operating properly. The TPMS
malfunction indicator is combined with the low
tire pressure telltale. When the system detects
a malfunction, the telltale will flash for approxi -
mately one minute and then remain continu -
ously illuminated. This sequence will continue
upon subsequent vehicle start-ups as long as
the malfunction exists. When the malfunction
indicator is illuminated, the system may not be
able to detect or signal low tire pressure as
intended. TPMS malfunctions may occur for a
variety of reasons, including the installation of
CAUTION!
Do not continue driving with one or more flat
tires as handling may be compromised. Stop
the vehicle, avoiding sharp braking and
steering. If a tire puncture occurs, repair
immediately using the dedicated tire repair
kit and contact an authorized dealer as soon
as possible.
20_VF_OM_EN_US_t.book Page 50
Page 65 of 264
SAFETY63
The TPMS is not a substitute for proper tire
maintenance, and it is the driver’s responsi -
bility to maintain correct tire pressure using
an accurate tire pressure gauge, even if
under-inflation has not reached the level to
trigger illumination of the TPMS Warning
Light.
Seasonal temperature changes will affect
tire pressure, and the TPMS will monitor the
actual tire pressure in the tire.
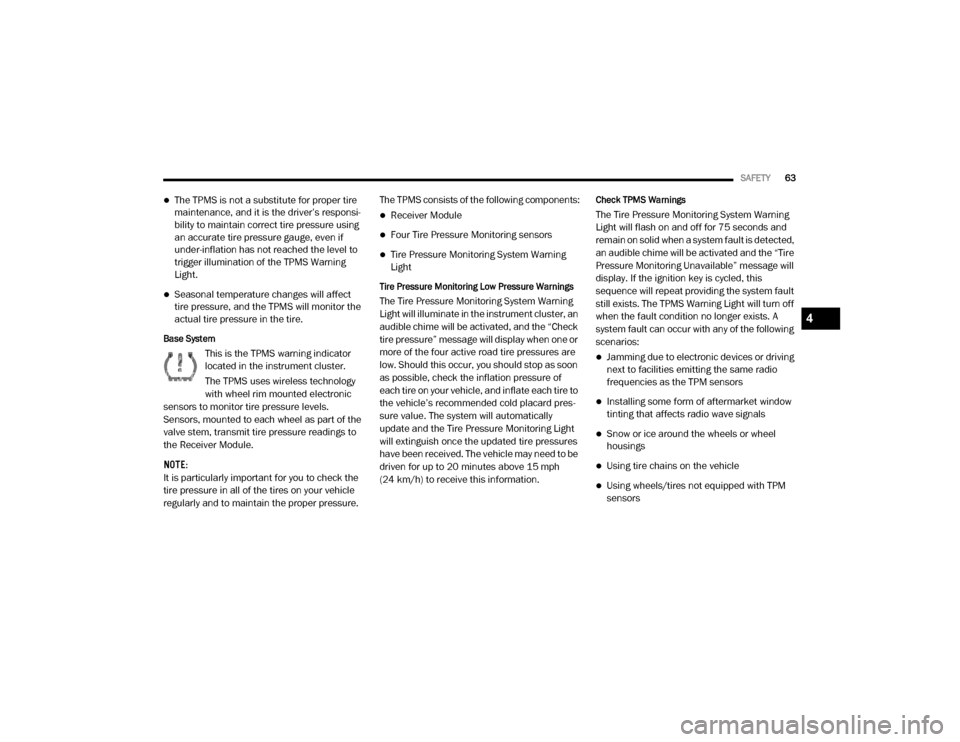
Base System
This is the TPMS warning indicator
located in the instrument cluster.
The TPMS uses wireless technology
with wheel rim mounted electronic
sensors to monitor tire pressure levels.
Sensors, mounted to each wheel as part of the
valve stem, transmit tire pressure readings to
the Receiver Module.
NOTE:
It is particularly important for you to check the
tire pressure in all of the tires on your vehicle
regularly and to maintain the proper pressure.
The TPMS consists of the following components:
Receiver Module
Four Tire Pressure Monitoring sensors
Tire Pressure Monitoring System Warning
Light
Tire Pressure Monitoring Low Pressure Warnings
The Tire Pressure Monitoring System Warning
Light will illuminate in the instrument cluster, an
audible chime will be activated, and the “Check
tire pressure” message will display when one or
more of the four active road tire pressures are
low. Should this occur, you should stop as soon
as possible, check the inflation pressure of
each tire on your vehicle, and inflate each tire to
the vehicle’s recommended cold placard pres
-
sure value. The system will automatically
update and the Tire Pressure Monitoring Light
will extinguish once the updated tire pressures
have been received. The vehicle may need to be
driven for up to 20 minutes above 15 mph
(24 km/h) to receive this information.
Check TPMS Warnings
The Tire Pressure Monitoring System Warning
Light will flash on and off for 75 seconds and
remain on solid when a system fault is detected,
an audible chime will be activated and the “Tire
Pressure Monitoring Unavailable” message will
display. If the ignition key is cycled, this
sequence will repeat providing the system fault
still exists. The TPMS Warning Light will turn off
when the fault condition no longer exists. A
system fault can occur with any of the following
scenarios:
Jamming due to electronic devices or driving
next to facilities emitting the same radio
frequencies as the TPM sensors
Installing some form of aftermarket window
tinting that affects radio wave signals
Snow or ice around the wheels or wheel
housings
Using tire chains on the vehicle
Using wheels/tires not equipped with TPM
sensors
4
20_VF_OM_EN_US_t.book Page 63
Page 98 of 264
96STARTING AND OPERATING
NOTE:
You must press and hold the brake pedal while
shifting out of PARK.
Key Ignition Park Interlock
This vehicle is equipped with a Key Ignition Park
Interlock which requires the transmission to be
in PARK before the ignition can be turned to the
LOCK/OFF (key removal) position. The key can
only be removed from the ignition when the igni -
tion is in the LOCK/OFF position, and once
removed the transmission is locked in PARK. NOTE:
If a malfunction occurs, the system will trap the
key in the ignition to warn you that this safety
feature is inoperable. The engine can be started
and stopped but the key cannot be removed
until you obtain service.
Brake/Transmission Shift Interlock System
This vehicle is equipped with a Brake Transmis
-
sion Shift Interlock System (BTSI) that holds the
transmission gear selector in PARK unless the
brakes are applied. To shift the transmission
out of PARK, the ignition must be turned to the
ON/RUN mode (engine running or not), and the
brake pedal must be pressed.
NOTE:
Swivel seats that are unlocked can also prevent
the transmission gear selector from being
moved out of the PARK position. To shift the
transmission out of the PARK position the first
time after cranking is allowed, ensure swivel
seats are locked in the forward facing position.
Six-Speed Automatic Transmission
The transmission gear position display (located
in the instrument cluster) indicates the trans -
mission gear range. You must press the brake
pedal to move the gear selector out of PARK
(Refer to “Brake/Transmission Shift Interlock
System” in this section). To drive, move the gear
selector from PARK or NEUTRAL to the DRIVE
position.
The electronically-controlled transmission
provides a precise shift schedule. The transmis -
sion electronics are self-calibrating; therefore,
the first few shifts on a new vehicle may be
somewhat abrupt. This is a normal condition,
and precision shifts will develop within a few
hundred miles (kilometers).
Gear SelectorCAUTION!
Shift into or out of PARK or REVERSE only
after the vehicle has come to a complete
stop.
Do not shift between PARK, REVERSE,
NEUTRAL, or DRIVE when the engine is
above idle speed.
Before shifting into any gear, make sure
your foot is firmly pressing the brake pedal.
20_VF_OM_EN_US_t.book Page 96
Page 99 of 264
STARTING AND OPERATING97
(Continued)
Only shift from DRIVE to PARK or REVERSE
when the accelerator pedal is released and the
vehicle is stopped. Be sure to keep your foot on
the brake pedal when shifting between these
gears.
The transmission gear selector provides PARK,
REVERSE, NEUTRAL, DRIVE, and Electronic
Range Select (ERS) shift positions. Manual
downshifts can be made using the ERS shift
control. Moving the gear selector into the ERS
(-/+) position (beside the DRIVE position) acti -
vates ERS mode, displays the current gear in
the instrument cluster, and prevents automatic
upshifts beyond this gear. In ERS mode,
toggling the gear selector forward (-) or rear -
ward (+) will change the highest available gear.
Refer to "Electronic Range Select (ERS) Opera -
tion" in this section for further information.
NOTE:
If the gear selector cannot be moved to the
PARK, REVERSE, or NEUTRAL position (when
pushed forward) it is probably in the ERS (+/-)
position (beside the DRIVE position). In ERS
mode, the transmission gear limit (1, 2, 3, etc.)
is displayed in the instrument cluster. Move the gear selector to the right (into the DRIVE [D]
position) for access to PARK, REVERSE, and
NEUTRAL.
Gear Ranges
Do not depress the accelerator pedal when
shifting from PARK or NEUTRAL into another
gear range.
NOTE:
After selecting any gear range, wait a moment
to allow the selected gear to engage before
accelerating. This is especially important when
the engine is cold.
PARK (P)
This range supplements the parking brake by
locking the transmission. The engine can be
started in this range. Never attempt to use
PARK while the vehicle is in motion. Apply the
parking brake when exiting the vehicle in this
range.
When parking on a level surface, you may shift
the transmission into PARK first, and then apply
the parking brake. When parking on a hill, apply the parking brake
before shifting the transmission to PARK, other
-
wise the load on the transmission locking mech -
anism may make it difficult to move the gear
selector out of PARK. As an added precaution,
turn the front wheels toward the curb on a
downhill grade, and away from the curb on an
uphill grade.
When exiting the vehicle, always:
Apply the parking brake.
Shift the transmission into PARK.
Turn the engine OFF.
Remove the ignition key.
WARNING!
Never use the PARK position as a substi -
tute for the parking brake. Always apply the
parking brake fully when exiting the vehicle
to guard against vehicle movement and
possible injury or damage.
5
20_VF_OM_EN_US_t.book Page 97
Page 100 of 264
98STARTING AND OPERATING
(Continued)
The following indicators should be used to
ensure that you have engaged the transmission
into the PARK position:
When shifting into PARK, firmly move the
gear selector all the way forward and to the
left until it stops and is fully seated.
Look at the transmission gear position
display and verify that it indicates the PARK
position (P).
With the brake pedal released, verify that the
gear selector will not move out of PARK.
Your vehicle could move and injure you and
others if it is not in PARK. Check by trying to
move the gear selector out of PARK with the
brake pedal released. Make sure the trans -
mission is in PARK before exiting the
vehicle.
It is dangerous to shift out of PARK or
NEUTRAL if the engine speed is higher than
idle speed. If your foot is not firmly pressing
the brake pedal, the vehicle could accel -
erate quickly forward or in reverse. You
could lose control of the vehicle and hit
someone or something. Only shift into gear
when the engine is idling normally and your
foot is firmly pressing the brake pedal.
Unintended movement of a vehicle could
injure those in or near the vehicle. As with
all vehicles, you should never exit a vehicle
while the engine is running. Before exiting a
vehicle always come to a complete stop,
then apply the parking brake, shift the
transmission into PARK, turn the engine
OFF, and remove the ignition key. Once the
key is removed, the transmission is locked
in PARK, securing the vehicle against
unwanted movement.
WARNING!
(Continued)
When exiting the vehicle, always remove
the ignition key from the vehicle and lock
the vehicle.
Never leave children alone in a vehicle, or
with access to an unlocked vehicle.
Allowing children to be in a vehicle unat -
tended is dangerous for a number of
reasons. A child or others could be seriously
or fatally injured. Children should be
warned not to touch the parking brake,
brake pedal or the transmission gear
selector.
Do not leave the ignition key in or near the
vehicle (or in a location accessible to chil -
dren). A child could operate power
windows, other controls, or move the
vehicle.
WARNING!
(Continued)
CAUTION!
Before moving the transmission gear
selector out of PARK, you must turn the igni -
tion to the ON/RUN mode, and also press
the brake pedal. Otherwise, damage to the
gear selector could result.
DO NOT race the engine when shifting from
PARK or NEUTRAL into another gear range,
as this can damage the drivetrain.
20_VF_OM_EN_US_t.book Page 98
Page 102 of 264
100STARTING AND OPERATING
Transmission Limp Home Mode
Transmission function is monitored electroni -
cally for abnormal conditions. If a condition is
detected that could result in transmission
damage, Transmission Limp Home Mode is acti -
vated. In this mode, the transmission remains
in third gear regardless of which forward gear is
selected. PARK, REVERSE, and NEUTRAL will
continue to operate. The Malfunction Indicator
Light (MIL) may be illuminated. Transmission
Limp Home Mode allows the vehicle to be
driven to an authorized dealer for service
without damaging the transmission. In the event of a momentary problem, the trans
-
mission can be reset to regain all forward gears
by performing the following steps:
1. Stop the vehicle.
2. Shift the transmission into PARK.
3. Turn the ignition OFF.
4. Wait approximately 10 seconds.
5. Restart the engine.
6. Shift into the desired gear range. If the problem is no longer detected, the trans -
mission will return to normal operation.
NOTE:
Even if the transmission can be reset, we
recommend that you visit your authorized
dealer at your earliest possible convenience.
Your authorized dealer has diagnostic equip -
ment to assess the condition of your transmis -
sion.
If the transmission cannot be reset, authorized
dealer service is required.
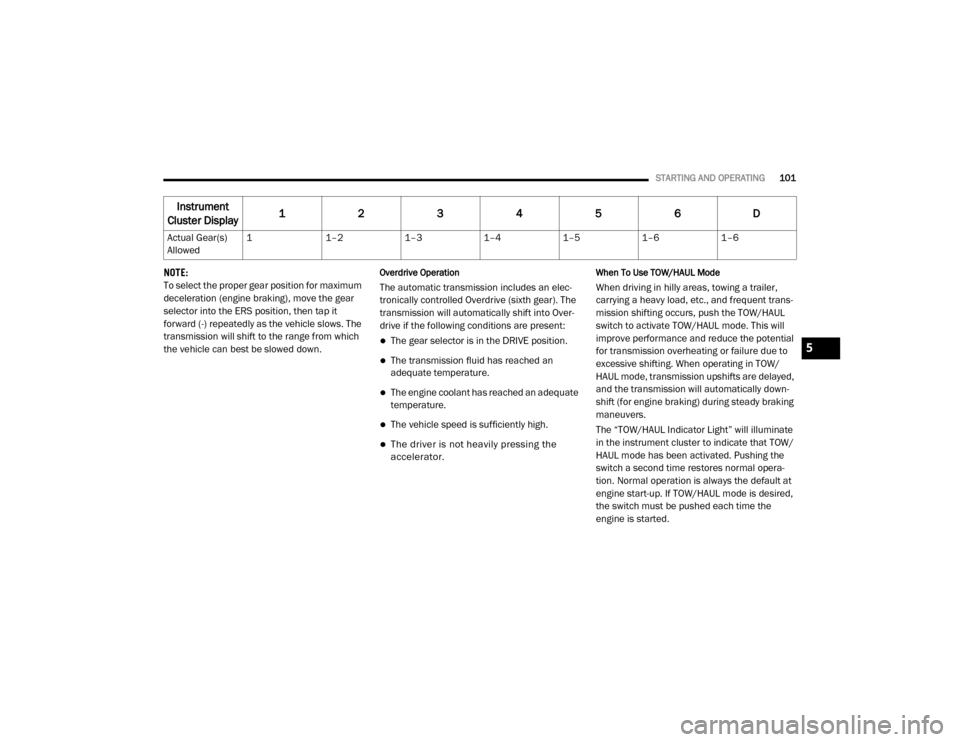
Electronic Range Select (ERS) Operation
The Electronic Range Select (ERS) shift control
allows the driver to limit the highest available
gear. For example, if you set the transmission
gear limit to 4 (fourth gear), the transmission
will not shift above fourth gear, but will shift
through the lower gears normally.
You can switch between DRIVE and ERS mode
at any vehicle speed. When the gear selector is
in the DRIVE position, the transmission will
operate automatically, shifting between all
available gears. Moving the gear selector to the
ERS position (beside DRIVE) will activate ERS
mode, display the current gear in the instru -
ment cluster, and set that gear as the top avail -
able gear. Once in ERS mode, moving the gear
selector forward (-) or rearward (+) will change
the top available gear.
To exit ERS mode, simply return the gear
selector to the DRIVE position.
WARNING!
Do not downshift for additional engine
braking on a slippery surface. The drive
wheels could lose their grip and the vehicle
could skid, causing a collision or personal
injury.
20_VF_OM_EN_US_t.book Page 100
Page 103 of 264
STARTING AND OPERATING101
NOTE:
To select the proper gear position for maximum
deceleration (engine braking), move the gear
selector into the ERS position, then tap it
forward (-) repeatedly as the vehicle slows. The
transmission will shift to the range from which
the vehicle can best be slowed down.Overdrive Operation
The automatic transmission includes an elec -
tronically controlled Overdrive (sixth gear). The
transmission will automatically shift into Over -
drive if the following conditions are present:
The gear selector is in the DRIVE position.
The transmission fluid has reached an
adequate temperature.
The engine coolant has reached an adequate
temperature.
The vehicle speed is sufficiently high.
The driver is not heavily pressing the
accelerator.
When To Use TOW/HAUL Mode
When driving in hilly areas, towing a trailer,
carrying a heavy load, etc., and frequent trans -
mission shifting occurs, push the TOW/HAUL
switch to activate TOW/HAUL mode. This will
improve performance and reduce the potential
for transmission overheating or failure due to
excessive shifting. When operating in TOW/
HAUL mode, transmission upshifts are delayed,
and the transmission will automatically down -
shift (for engine braking) during steady braking
maneuvers.
The “TOW/HAUL Indicator Light” will illuminate
in the instrument cluster to indicate that TOW/
HAUL mode has been activated. Pushing the
switch a second time restores normal opera -
tion. Normal operation is always the default at
engine start-up. If TOW/HAUL mode is desired,
the switch must be pushed each time the
engine is started.
Instrument
Cluster Display 1
23456D
Actual Gear(s)
Allowed 1
1–21–31–41–51–61–6
5
20_VF_OM_EN_US_t.book Page 101
Page 105 of 264
STARTING AND OPERATING103
Power Steering Fluid Check
Checking the power steering fluid level at a
defined service interval is not required. The fluid
should be checked at every oil change if a leak
is suspected, abnormal noises are apparent,
and/or the system is not functioning as antici -
pated. Coordinate inspection efforts through an
authorized dealer. If necessary, add fluid to restore to the proper
indicated level. With a clean cloth, wipe any
spilled fluid from all surfaces. Refer to “Fluids
And Lubricants” in “Technical Specifications”
for further information.
SPEED CONTROL — IF EQUIPPED
When engaged, the Speed Control takes over
accelerator operations at speeds greater than
25 mph (40 km/h) up to the maximum speed of
100 mph (160 km/h).
The Speed Control lever is located on the left
side of the steering column.
Speed Control Lever NOTE:
In order to ensure proper operation, the Speed
Control system has been designed to shut down
if multiple Speed Control functions are operated
at the same time. If this occurs, the Speed
Control system can be reactivated by rotating
the Speed Control ON/OFF center ring and
resetting the desired vehicle set speed.
To Activate
Rotate the center ring upward on the Speed
Control lever to turn the system on. The Cruise
Indicator Light in the instrument cluster display
will illuminate. To turn the system off, rotate the
center ring upward a second time. The Cruise
Indicator Light will turn off. The system should
be turned off when not in use.WARNING!
Fluid level should be checked on a level
surface and with the engine off to prevent
injury from moving parts and to ensure
accurate fluid level reading. Do not overfill.
Use only manufacturer's recommended
power steering fluid.
CAUTION!
Do not use chemical flushes in your power
steering system as the chemicals can
damage your power steering components.
Such damage is not covered by the New
Vehicle Limited Warranty.
WARNING!
Leaving the Speed Control system on when
not in use is dangerous. You could
accidentally set the system or cause it to go
faster than you want. You could lose control
and have an accident. Always leave the
system off when you are not using it.
5
20_VF_OM_EN_US_t.book Page 103