check engine light RENAULT ALASKAN 2017 User Guide
[x] Cancel search | Manufacturer: RENAULT, Model Year: 2017, Model line: ALASKAN, Model: RENAULT ALASKAN 2017Pages: 340, PDF Size: 6.93 MB
Page 86 of 340
22. Shipping Mode On Push Storage
Fuse warning (where fitted)
This warning may appear if the extended storage
fuse switch is not pushed in (switched on). When
this warning appears, push in (switch on) the ex- tended storage fuse switch to turn off the warning.
For more information, see “Fuses” in the “8. Main-
tenance and do-it-yourself” section.
23. Headlight System Error warning
(where fitted)
This warning appears if the LED headlights are mal-
functioning. Have the system checked by an ap-
proved dealer or qualified workshop.
24. Reminder Turn OFF Headlights
warning
This warning appears when the driver side door is
opened with the headlight switch is left ONand the
ignition switch is placed in the OFF,ACCorLOCK
position. Place the headlight switch in the
formation, see “Headlight and turn signal switch” in
the “2. Instruments and controls” section.
25. Time for adriver break? indicator
This indicator appears when the set [Timer] alarm activates. You can set the time for up to 6hours.
(See “Settings” earlier in this section.) 26. Cruise control indicator
(where fitted)
This indicator shows the cruise control system sta-
tus. The status is shown by the colour.
See “Cruise control (where fitted)” in the “5. Start-
ing and driving” section for details.
27. Automatic Transmission (AT)
position indicator (AT models)
This indicator shows the automatic shift position.
In the manual shift mode, when the transmission
does not shift to the selected gear due to
atrans-
mission protection mode, the AT position indicator
will blink and achime will sound.
For further details, see “Driving with Automatic
Transmission (AT)” in the “5. Starting and driving”
section.
28. Automatic Transmission (AT) Error
warning (AT models)
If the Automatic Transmission (AT) Error warning
appears while the engine is running, or while driv-
ing, it may indicate that the AT is not functioning
properly and may need servicing. Have the system
checked, and if necessary repaired, by an approved
dealer or qualified workshop promptly. 29. Automatic Transmission (AT) park
warning (AT models)
This warning indicates that the Automatic Transmis-
sion (AT) parking function is not engaged. If the
transfer control is not secured in any driving position
while the AT shift lever is in the
P(Park) position, the
transmission will disengage and the wheels will not
lock.
For 4WD model: If the ATP warning appears with
the shift lever in the P(Park) position, shift the
Four-Wheel Drive (4WD) mode switch to the
<2WD>, <4H> or <4LO> position again with the
shift lever in the N(Neutral) position. (See “Four-
Wheel Drive (4WD) (where fitted)” in the “5. Start-
ing and driving” section.) WARNING
If the 4WD mode indicator (see “4WD mode
indicator” in the “5. Starting and driving” section)
is OFF or the ATP warning light is ON, this indi-
cates that the automatic transmission P(Park)
position will not function and could result in the
vehicle moving unexpectedly, causing serious
personal injury or property damage. Always set
the parking brake.
30. Parking Sensor Error warning
(where fitted)
This warning appears when the parking sensor (so-
nar) system is not functioning properly. If the warn-
ing appears, have the system checked by an ap-
proved dealer or qualified workshop.
2-28 Instruments and controls
Page 96 of 340
If the window does not close
automatically
If the power window automatic function (closing
only) does not operate properly, perform the follow-
ing procedure to initialise the power window sys-
tem.
1. With the engine running.
2. Close the door.
3. Open the window completely by operating the power window switch.
4. Pull the power window switch and hold it to close the window, and then hold the switch more than
3seconds after the window is closed completely.
5. Release the power window switch. Operate the window by the automatic function to confirm the
initialisation is complete.
If the power window automatic function does not
operate properly after performing the procedure above, have your vehicle checked by an approved
dealer or qualified workshop. The power outlet is used to power electrical acces-
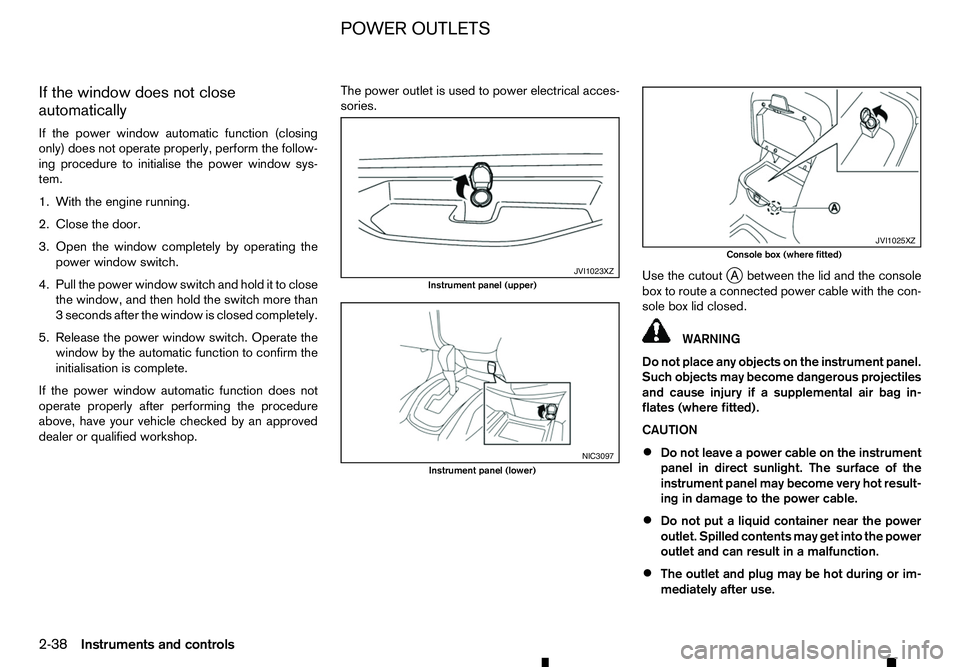
sories.
Use the cutoutj
Ab etween the lid and the console
box to route aconnected power cable with the con-
sole box lid closed. WARNING
Do not place any objects on the instrument panel.
Such objects may become dangerous projectiles
and cause injury if asupplemental air bag in-
flates (where fitted).
CAUTION
• Do not leave
apower cable on the instrument
panel in direct sunlight. The surface of the
instrument panel may become very hot result-
ing in damage to the power cable.
• Do not put
aliquid container near the power
outlet. Spilled contents may get into the power
outlet and can result in amalfunction.
• The outlet and plug may be hot during or im-
mediately after use. JVI1023XZ
Instrument panel (upper)
NIC3097
Instrument panel (lower) JVI1025XZ
Console box (where fitted)
POWER OUTLETS
2-38 Instruments and controls
Page 101 of 340
If the sunroof does not operate properly after per-
forming the procedure above, have your vehicle
checked by an approved dealer or qualified work-
shop. CAUTION
• Turn off the lights when you leave the vehicle.
• Do not use the lights for extended periods of
time with the engine stopped. This could re-
sult in
adischarged battery.
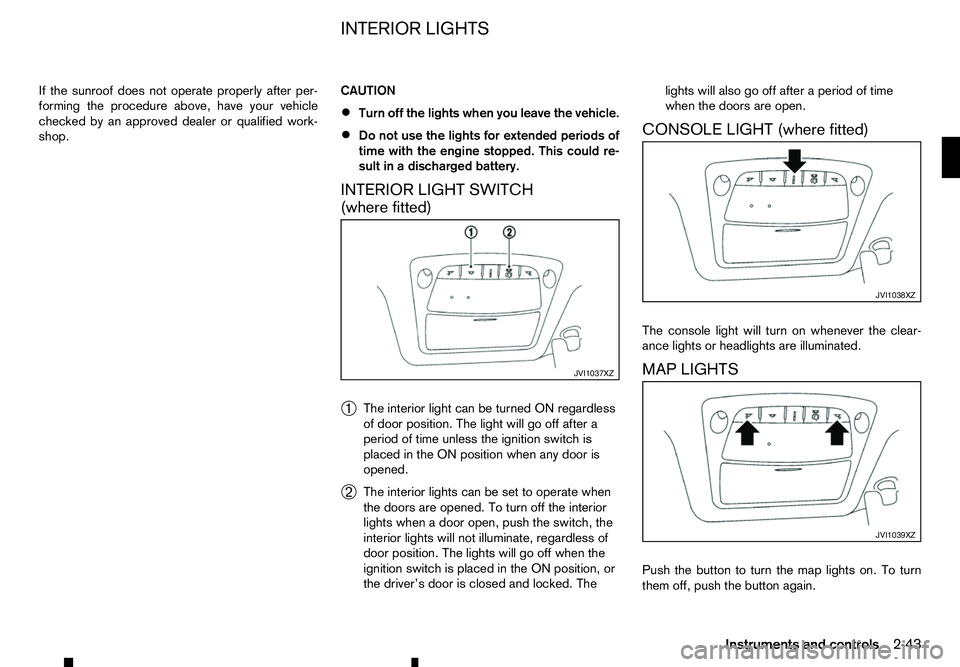
INTERIOR LIGHT SWITCH
(where fitted)
➀ The interior light can be turned ON regardless
of door position. The light will go off after a
period of time unless the ignition switch is
placed in the ON position when any door is
opened.
➁ The interior lights can be set to operate when
the doors are opened. To turn off the interior
lights when
adoor open, push the switch, the
interior lights will not illuminate, regardless of
door position. The lights will go off when the
ignition switch is placed in the ON position, or
the driver’s door is closed and locked. The lights will also go off after
aperiod of time
when the doors are open.
CONSOLE LIGHT (where fitted)
The console light will turn on whenever the clear-
ance lights or headlights are illuminated.
MAP LIGHTS
Push the button to turn the map lights on. To turn
them off, push the button again. JVI1037XZ JVI1038XZ
JVI1039XZ
INTERIOR LIGHTS
Instruments and controls2-43
Page 120 of 340
How to activate system (where fitted)
1. Close all windows.
The system can be armed even if the windows
are open.
2. Place the ignition switch in the OFF position.
3. Carry the integrated key fob or the Remote Con- trol Key with you and get out of the vehicle.
4. Close and lock all doors. The doors can be locked with the integrated key fob, the Remote
Control Key, door handle request switch (where
fitted), power door lock switch or mechanical
key.
5. Confirm that the security indicator light comes on. The security indicator light glows for about
30 seconds and then blinks. The system is now
activated. If, during this 30 second time period,
the door is unlocked or the ignition switch is
placed in the ACC or ON position, the system
will not activate.
Even when the driver and/or passengers are in
the vehicle, the system will activate with all doors
locked with the ignition switch in the LOCK posi-
tion. When pushing the ignition switch to the ACC
or ON position, the system will be released.
Theft warning system operation
The vehicle security system will give the following
alarm:
• The hazard indicator blinks and the horn sounds
intermittently. •
The alarm automatically turns off after approxi-
mately 30 seconds. However, the alarm reacti-
vates if the vehicle is tampered with again.
The alarm is activated by:
• Unlocking the door without using the integrated
key fob, the Remote Control Key, the door handle
request switch (where fitted) or the mechanical
key. (Even if the door is opened by releasing the
door inside lock knob, the alarm will activate.)
How to stop alarm
• The alarm will stop only by unlocking
adoor by
pushing the UNLOCK button on the Remote
Control Key.
• The alarm will not stop if the ignition switch is
placed in the ACC or ON position.
ANTI-THEFT SYSTEM (ATS)
The Anti-Theft System (ATS) will not allow the en-
gine to start without the use of the registered ATS
key.
If the engine does not start using the registered ATS
key, it may be due to interference caused by:
• Another ATS key.
• Automated toll road device.
• Automated payment device.
• Other devices that transmit similar signals. Start the engine using the following procedure:
1. Remove any items that may be causing the inter-
ference away from the ATS key.
2. Leave the ignition switch in the ON position for approximately 5seconds.
3. Place the ignition switch in the OFF or LOCK position, and wait approximately 10 seconds.
4. Repeat steps 2and 3again.
5. Start the engine.
6. Repeat the steps above until all possible interfer- ences are eliminated.
If this procedure allows the engine to start,
RENAULT recommends placing the registered ATS
key separate from other devices to avoid interfer-
ence.
If ATS is malfunctioning, this light will remain on
while the ignition switch is in the ON position.
If the light remains on and/or the engine does
not start, contact an approved dealer or qualified
workshop for ATS service as soon as possible.
Be sure to bring all Remote Control Keys that you
have when visiting an approved dealer for ser-
vice.
3-16 Pre-driving checks and adjustments
Page 204 of 340
During the first 1,600 km (1,000 miles), follow these
recommendations to obtain maximum engine per-
formance and ensure the future reliability and
economy of your new vehicle. Failure to follow these
recommendations may result in shortened engine
life and reduced engine performance.
• Do not drive at
aconstant speed, either fast or
slow, for long periods of time.
• Do not run the engine over 4,000 rpm.
• Do not accelerate at full throttle in any gear.
• Do not start quickly.
• Do not brake hard as much as possible.
• Do not tow
atrailer for at least the first 800 km
(500 miles). WARNING
The driving characteristics of your vehicle will
change remarkably by any additional load and its
distribution, as well as by adding optional equip-
ment (trailer coupling, roof rail, etc.). Your driv-
ing style and speed must be adjusted according
to the circumstances. Especially when carrying
heavy loads, your speed must be reduced ad-
equately.
• Make sure the area around the vehicle is clear.
• Check fluid levels such as engine oil, coolant,
brake (and clutch) fluid, window washer fluid as
frequently as possible, at least whenever you
refuel.
• Visually inspect tyres for their appearance and
condition. Measure and check the tyre pressure
for proper inflation.
• Check that all windows and lights are clean.
• Adjust the seat and head restraint positions.
• Adjust the inside and outside rearview mirror po-
sitions.
• Fasten your seat belt and ask all passengers to
do the same.
• Check that all doors are closed.
• Check the operation of the warning lights when
the ignition switch is placed in the “ON” position. •
Maintenance items in the “8. Maintenance and
do-it-yourself” section should be checked peri-
odically.
RUNNING-IN SCHEDULE
BEFORE STARTING ENGINE
5-2 Starting and driving
Page 206 of 340
AdBlue® warning display
If the AdBlue® level in the tank is low or there is a malfunction in the AdBlue® SCR system, awarning
message will appear in the vehicle information dis- play.
Refill AdBlue®:
For information on refilling the AdBlue® tank see
“AdBlue® filler lid and cap” in the “3. Pre-driving
checks and adjustments” section and “AdBlue®
tank (where fitted for diesel engine model)” in the
“8. Maintenance and do-it-yourself” section.
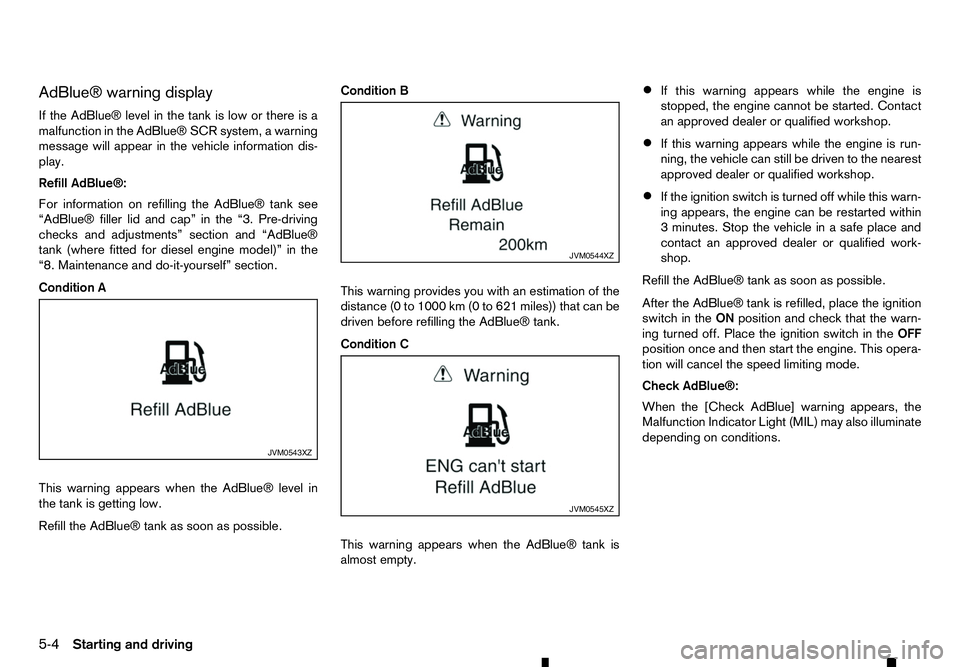
Condition A
This warning appears when the AdBlue® level in
the tank is getting low.
Refill the AdBlue® tank as soon as possible. Condition B
This warning provides you with an estimation of the
distance (0 to 1000 km (0 to 621 miles)) that can be
driven before refilling the AdBlue® tank.
Condition C
This warning appears when the AdBlue® tank is
almost empty.•
If this warning appears while the engine is
stopped, the engine cannot be started. Contact
an approved dealer or qualified workshop.
• If this warning appears while the engine is run-
ning, the vehicle can still be driven to the nearest
approved dealer or qualified workshop.
• If the ignition switch is turned off while this warn-
ing appears, the engine can be restarted within
3m
inutes. Stop the vehicle in asafe place and
contact an approved dealer or qualified work-
shop.
Refill the AdBlue® tank as soon as possible.
After the AdBlue® tank is refilled, place the ignition
switch in the ONposition and check that the warn-
ing turned off. Place the ignition switch in the OFF
position once and then start the engine. This opera-
tion will cancel the speed limiting mode.
Check AdBlue®:
When the [Check AdBlue] warning appears, the
Malfunction Indicator Light (MIL) may also illuminate
depending on conditions. JVM0543XZ JVM0544XZ
JVM0545XZ
5-4 Starting and driving
Page 223 of 340
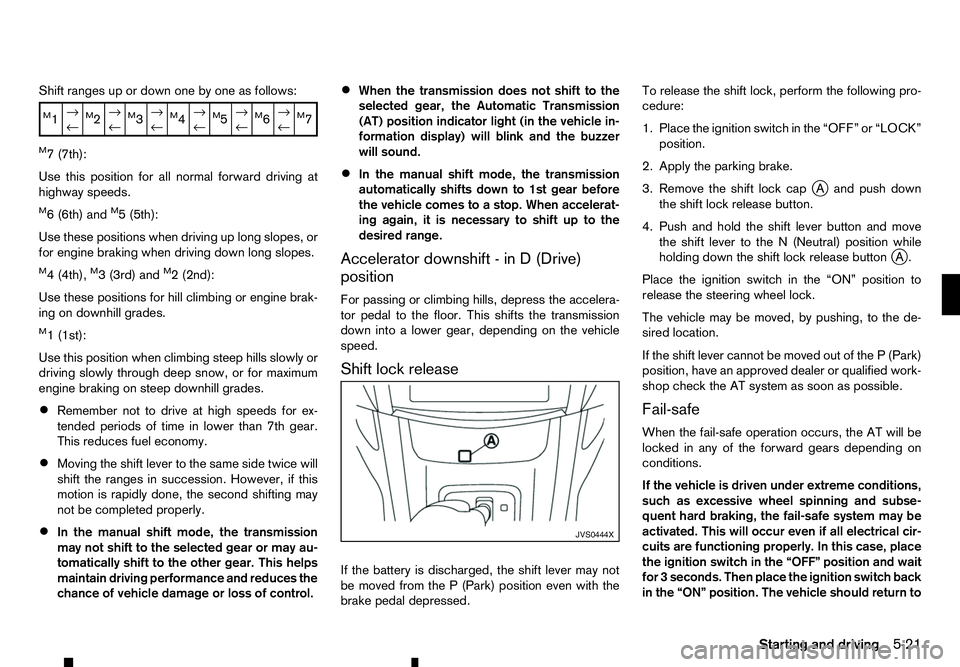
Shift ranges up or down one by one as follows:
M1
→
←M2→
←M3→
←M4→
←M5→
←M6→
←M7
M7(
7th):
Use this position for all normal forward driving at
highway speeds.
M6( 6th) andM5(5th):
Use these positions when driving up long slopes, or
for engine braking when driving down long slopes.
M4( 4th),M3(3rd) andM2(2nd):
Use these positions for hill climbing or engine brak-
ing on downhill grades.
M1( 1st):
Use this position when climbing steep hills slowly or
driving slowly through deep snow, or for maximum
engine braking on steep downhill grades.
• Remember not to drive at high speeds for ex-
tended periods of time in lower than 7th gear.
This reduces fuel economy.
• Moving the shift lever to the same side twice will
shift the ranges in succession. However, if this
motion is rapidly done, the second shifting may
not be completed properly.
• In the manual shift mode, the transmission
may not shift to the selected gear or may au-
tomatically shift to the other gear. This helps
maintain driving performance and reduces the
chance of vehicle damage or loss of control. •
When the transmission does not shift to the
selected gear, the Automatic Transmission
(AT) position indicator light (in the vehicle in-
formation display) will blink and the buzzer
will sound.
• In the manual shift mode, the transmission
automatically shifts down to 1st gear before
the vehicle comes to
astop. When accelerat-
ing again, it is necessary to shift up to the
desired range.
Accelerator downshift -inD(Drive)
position
For passing or climbing hills, depress the accelera-
tor pedal to the floor. This shifts the transmission
down into alower gear, depending on the vehicle
speed.
Shift lock release
If the battery is discharged, the shift lever may not
be moved from the P(Park) position even with the
brake pedal depressed. To release the shift lock, perform the following pro-
cedure:
1. Place the ignition switch in the “OFF” or “LOCK”
position.
2. Apply the parking brake.
3. Remove the shift lock cap jAa nd push down
the shift lock release button.
4. Push and hold the shift lever button and move the shift lever to the N(Neutral) position while
holding down the shift lock release button j
A.
Place the ignition switch in the “ON” position to
release the steering wheel lock.
The vehicle may be moved, by pushing, to the de-
sired location.
If the shift lever cannot be moved out of the P(Park)
position, have an approved dealer or qualified work-
shop check the AT system as soon as possible.
Fail-safe
When the fail-safe operation occurs, the AT will be
locked in any of the forward gears depending on
conditions.
If the vehicle is driven under extreme conditions,
such as excessive wheel spinning and subse-
quent hard braking, the fail-safe system may be
activated. This will occur even if all electrical cir-
cuits are functioning properly. In this case, place
the ignition switch in the “OFF” position and wait
for 3seconds. Then place the ignition switch back
in the “ON” position. The vehicle should return to JVS0444X
Starting
and driving
5-21
Page 224 of 340
its normal operating condition. If it does not re-
turn to its normal operating condition, have an
approved dealer or qualified workshop check the
transmission and repair it if necessary.
DRIVING WITH MANUAL
TRANSMISSION (MT) WARNING
• Do not downshift abruptly on slippery roads.
This may cause aloss of control.
• Do not over-rev the engine when shifting to a
lower gear. This may cause
aloss of vehicle
control or engine damage.
CAUTION
• Do not rest your foot on the clutch pedal while
driving. This may damage the clutch system.
• Fully depress the clutch pedal before shifting
to help prevent transmission damage.
• Stop the vehicle completely before shifting
into the
R(Reverse) position.
• When the vehicle is stopped for
aperiod of
time, for example, waiting at stoplights, shift
to the N(Neutral) position and release the
clutch pedal with the footbrake pedal
depressed. Starting vehicle
1. After starting the engine, depress the clutch
pedal to the floor and move the shift lever to the
1( 1st), 2(2nd) or R(Reverse) position.
RENAULT recommends to start the vehicle in
2nd gear on level, flat ground and in the unladen
condition.
2. Slowly depress the accelerator pedal, releasing the clutch pedal and parking brake at the same
time.
Shifting gear
To change gears, or when upshifting or downshift-
ing, fully depress the clutch pedal, shift into the ap-
propriate gear, then slowly and smoothly release the
clutch pedal.
Start the vehicle in the 1(1st) or 2(2nd) position
and shift to the 3(3rd), 4(4th), 5(5th) and 6(6th)
gear in sequence according to the vehicle speed.
If it is difficult to move the shift lever into the R
(Reverse) or 1(1st) position, shift to the N(Neutral)
position, and then release the clutch pedal once.
Fully depress the clutch pedal again and shift into R
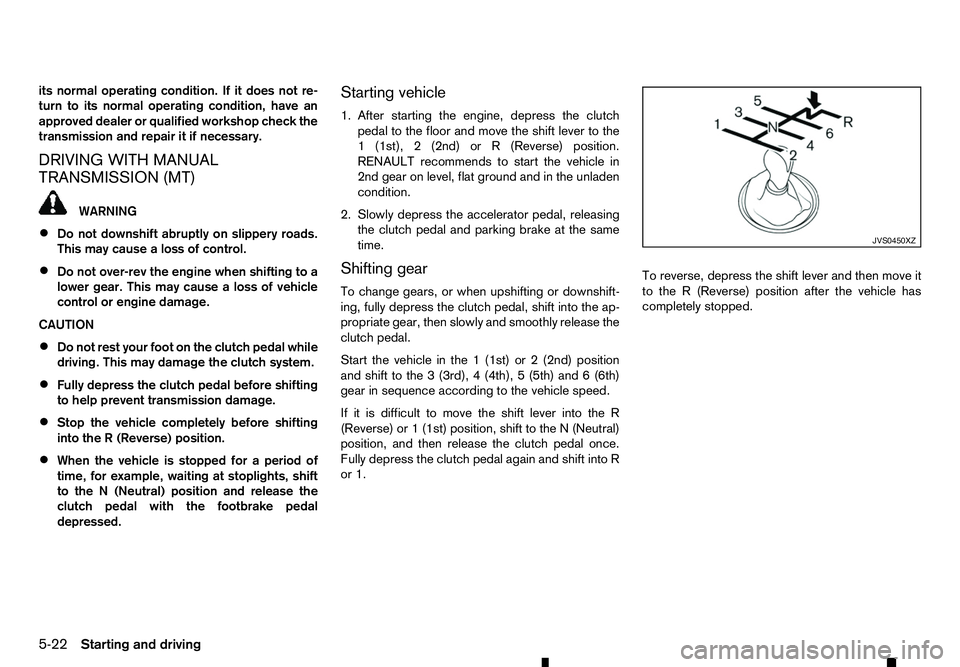
or 1. To reverse, depress the shift lever and then move it
to the
R(Reverse) position after the vehicle has
completely stopped. JVS0450XZ
5-22 Starting and driving
Page 228 of 340
•
Whenever the Stop/Start System is deactivated
the indicator light ➀on the Stop/Start OFF
switch illuminates. In this condition the Stop/
Start System cannot prevent unnecessary fuel
consumption, exhaust emissions, or noise dur-
ing your journey.
• If the Stop/Start System is malfunctioning, the
indicator light
➀on the Stop/Start OFF switch
illuminates.
NOTE
The Stop/Start System ON or OFF messages dis-
played for afew seconds in the vehicle informa-
tion display when the Stop/Start OFF switch is
pressed. See “Stop/Start System display” earlier
in this section. WARNING
• Do not attempt to raise two wheels off the
ground and shift the transmission to any drive
or reverse position with the engine running.
Doing so may result in drivetrain damage or
unexpected vehicle movement which could
result in serious vehicle damage or personal
injury.
• Do not attempt to test
a4WD equipped ve-
hicle on a2-wheel dynamometer or similar
equipment even if the other two wheels are
raised off the ground. Make sure you inform
test facility personnel that your vehicle is
equipped with 4WD before it is placed on a
dynamometer. Using the wrong test equip-
ment may result in drivetrain damage or unex-
pected vehicle movement which could result
in serious vehicle damage or personal injury.
CAUTION
• Do not drive the vehicle in the <4H> or <4LO>
position on dry hard surface roads. Driving on
dry, hard surfaces in <4H> or <4LO> may
cause unnecessary noise, tyre wear and in-
creased fuel consumption.
If the Four-Wheel Drive (4WD) warning light
turns on when driving on dry hard surface
roads:
–i
nthe <4H> position, shift the 4WD mode
switch to <2WD>. –i
nthe <4LO> position, stop the vehicle and
shift the transmission lever to the N(Neu-
tral) position with the brake pedal
depressed and shift the 4WD mode switch
to <2WD>.
If the 4WD warning light is still on after the
above operation, have your vehicle
checked by an approved dealer or quali-
fied workshop as soon as possible.
• The transfer case may be damaged if you con-
tinue driving with the 4WD warning light blink-
ing.
See “On-road and off-road driving precautions” ear-
lier in this section for other precautions.
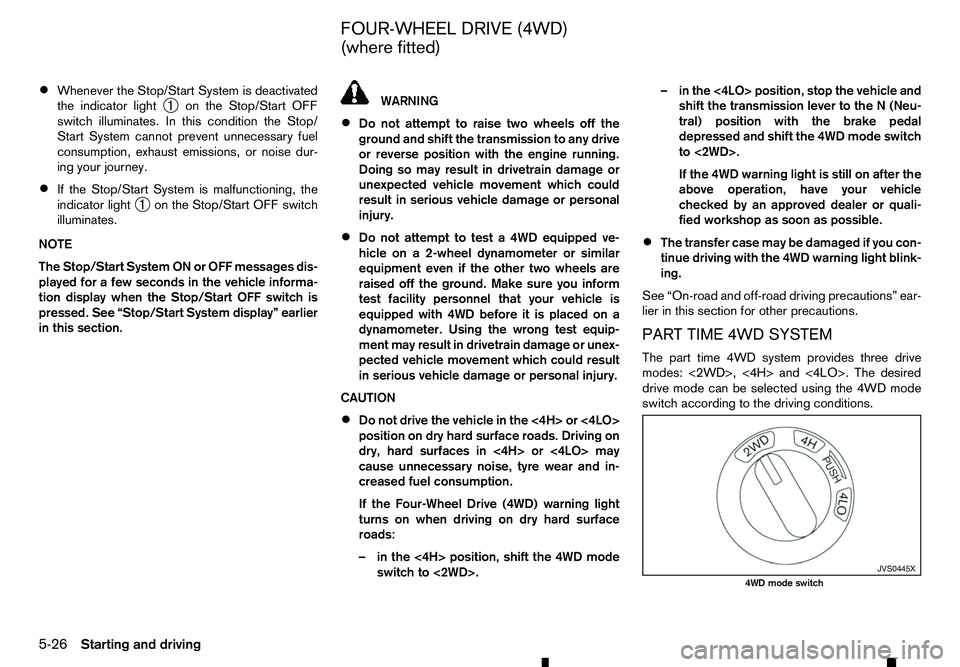
PART TIME 4WD SYSTEM
The part time 4WD system provides three drive
modes: <2WD>, <4H> and <4LO>. The desired
drive mode can be selected using the 4WD mode
switch according to the driving conditions. JVS0445X
4WD mode switch
FOUR-WHEEL DRIVE (4WD)
(where fitted)
5-26 Starting and driving
Page 231 of 340
WARNING
AT model: If the 4WD mode indicator is “OFF” or
the ATP warning light is “ON”, this indicates that
the automatic transmission P(Park) position will
not function and could result in the vehicle mov-
ing unexpectedly, causing serious personal in-
jury or property damage. Always set the parking
brake.
CAUTION
To avoid vehicle damage:
• Do not operate the 4WD mode switch when
cornering, reversing or if the rear wheels are
spinning freely. The vehicle must be moving
straight ahead.
• Do not move the shift lever (AT model) or
release the clutch pedal (MT model) when the
4LO indicator is blinking. Failure to do this
may cause the gears to grind and damaging
the powertrain.
• MT model: Do not accelerate rapidly from a
stopped position when the 4LO indicator is
blinking. Drive straight ahead at
alow speed
until the 4LO indicator is lit. The 4LO indicator
blinks when shifting between <4LO> and
<4H>.
• If the 4WD warning light comes on, perform
the following procedure:
1) Turn off the engine.
2) Start the engine. 3) Check if the 4WD warning light comes on.
If the 4WD warning light is still on after following
the above procedure, have the system checked
and serviced immediately by an approved dealer
or qualified workshop.
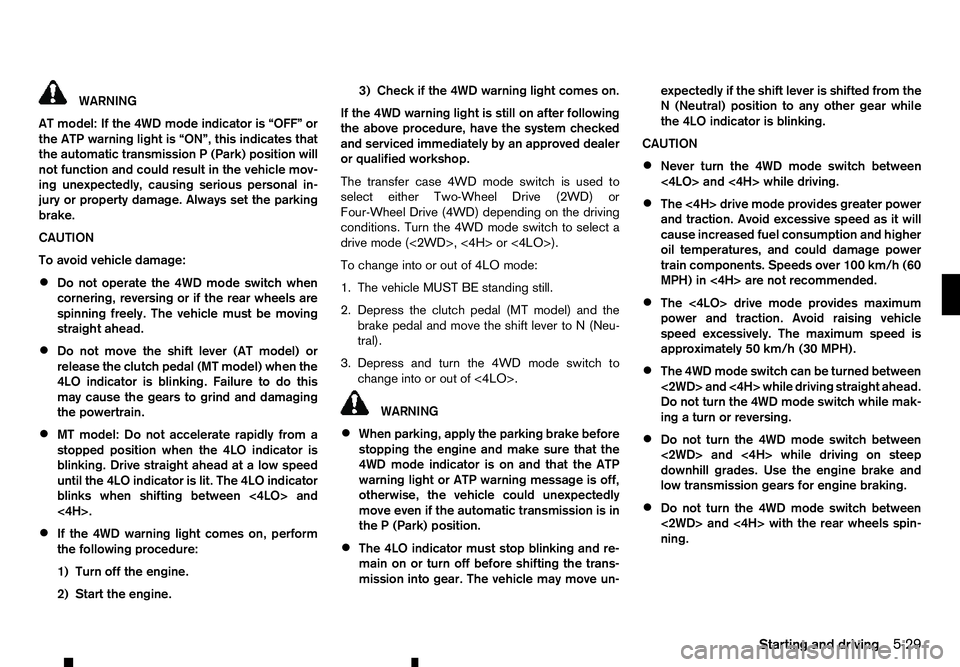
The transfer case 4WD mode switch is used to
select either Two-Wheel Drive (2WD) or
Four-Wheel Drive (4WD) depending on the driving
conditions. Turn the 4WD mode switch to select a drive mode (<2WD>, <4H> or <4LO>).
To change into or out of 4LO mode:
1. The vehicle MUST BE standing still.
2. Depress the clutch pedal (MT model) and the brake pedal and move the shift lever to N(Neu-
tral).
3. Depress and turn the 4WD mode switch to change into or out of <4LO>. WARNING
• When parking, apply the parking brake before
stopping the engine and make sure that the
4WD mode indicator is on and that the ATP
warning light or ATP warning message is off,
otherwise, the vehicle could unexpectedly
move even if the automatic transmission is in
the P(Park) position.
• The 4LO indicator must stop blinking and re-
main on or turn off before shifting the trans-
mission into gear. The vehicle may move un- expectedly if the shift lever is shifted from the
N(
Neutral) position to any other gear while
the 4LO indicator is blinking.
CAUTION
• Never turn the 4WD mode switch between
<4LO> and <4H> while driving.
• The <4H> drive mode provides greater power
and traction. Avoid excessive speed as it will
cause increased fuel consumption and higher
oil temperatures, and could damage power
train components. Speeds over 100 km/h (60
MPH) in <4H> are not recommended.
• The <4LO> drive mode provides maximum
power and traction. Avoid raising vehicle
speed excessively. The maximum speed is
approximately 50 km/h (30 MPH).
• The 4WD mode switch can be turned between
<2WD> and <4H> while driving straight ahead.
Do not turn the 4WD mode switch while mak-
ing
aturn or reversing.
• Do not turn the 4WD mode switch between
<2WD> and <4H> while driving on steep
downhill grades. Use the engine brake and
low transmission gears for engine braking.
• Do not turn the 4WD mode switch between
<2WD> and <4H> with the rear wheels spin-
ning.
Starting and driving 5-29