display RENAULT SCENIC 2011 J95 / 3.G Engine And Peripherals EDC16 Injection User Guide
[x] Cancel search | Manufacturer: RENAULT, Model Year: 2011, Model line: SCENIC, Model: RENAULT SCENIC 2011 J95 / 3.GPages: 236, PDF Size: 1.32 MB
Page 61 of 236
13B-61
DIESEL INJECTION
Fault finding - Interpretation of faults13B
V10 MR-372-J84-13B150$329.mif
EDC16 INJECTION
Program No.: C1
Vdiag No.: 44, 48 and 4C
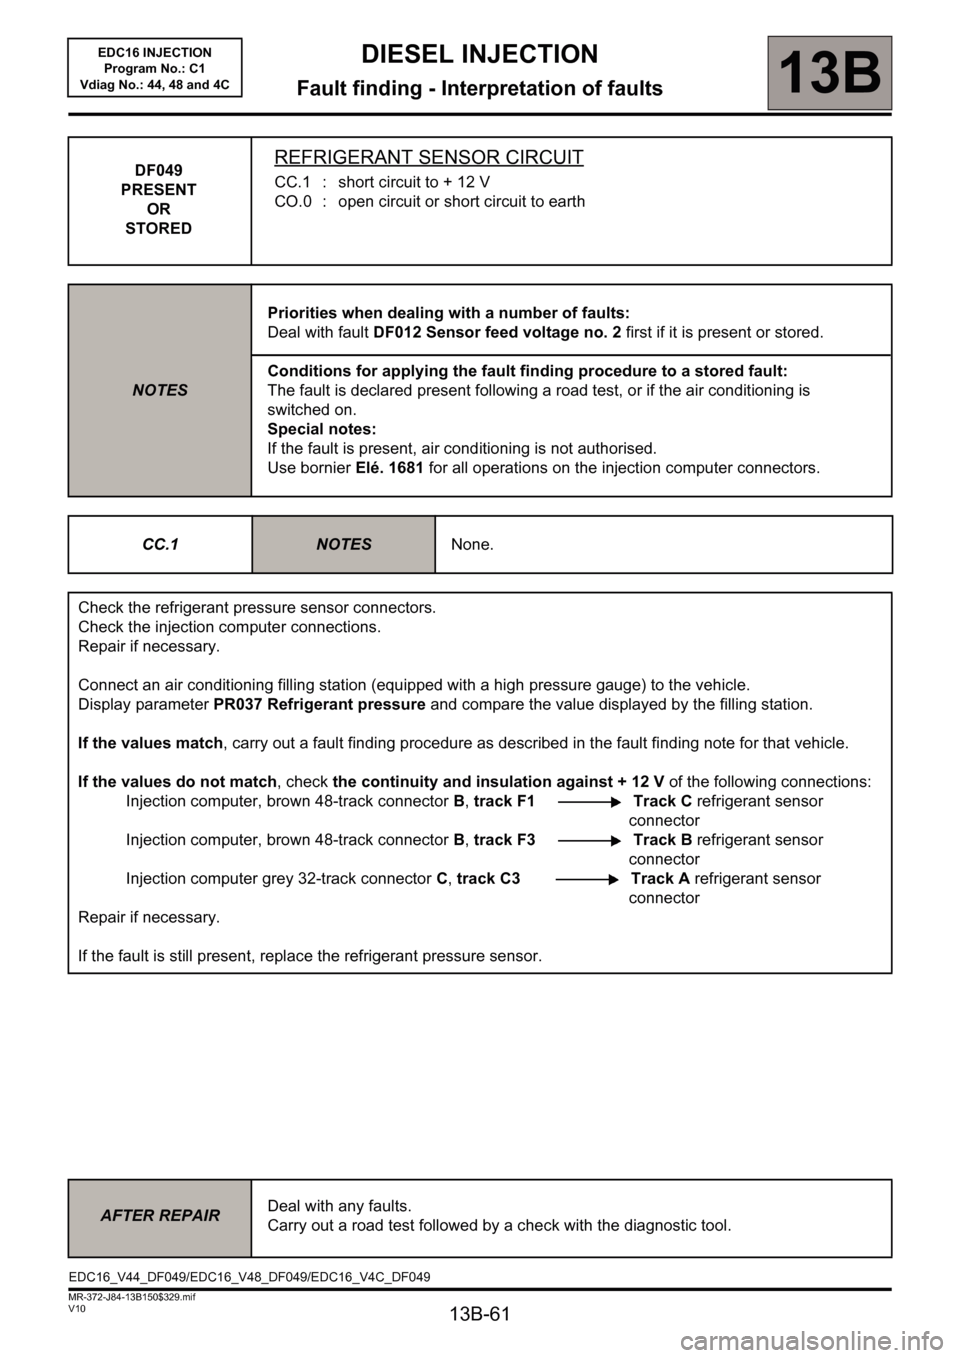
DF049
PRESENT
OR
STOREDREFRIGERANT SENSOR CIRCUIT
CC.1 : short circuit to + 12 V
CO.0 : open circuit or short circuit to earth
NOTESPriorities when dealing with a number of faults:
Deal with fault DF012 Sensor feed voltage no. 2 first if it is present or stored.
Conditions for applying the fault finding procedure to a stored fault:
The fault is declared present following a road test, or if the air conditioning is
switched on.
Special notes:
If the fault is present, air conditioning is not authorised.
Use bornier Elé. 1681 for all operations on the injection computer connectors.
CC.1
NOTESNone.
Check the refrigerant pressure sensor connectors.
Check the injection computer connections.
Repair if necessary.
Connect an air conditioning filling station (equipped with a high pressure gauge) to the vehicle.
Display parameter PR037 Refrigerant pressure and compare the value displayed by the filling station.
If the values match, carry out a fault finding procedure as described in the fault finding note for that vehicle.
If the values do not match, check the continuity and insulation against + 12 V of the following connections:
Injection computer, brown 48-track connector B, track F1 Track C refrigerant sensor
connector
Injection computer, brown 48-track connector B, track F3 Track B refrigerant sensor
connector
Injection computer grey 32-track connector C, track C3 Track A refrigerant sensor
connector
Repair if necessary.
If the fault is still present, replace the refrigerant pressure sensor.
AFTER REPAIRDeal with any faults.
Carry out a road test followed by a check with the diagnostic tool.
EDC16_V44_DF049/EDC16_V48_DF049/EDC16_V4C_DF049
Page 62 of 236
13B-62
DIESEL INJECTION
Fault finding - Interpretation of faults13B
V10 MR-372-J84-13B150$329.mif
EDC16 INJECTION
Program No.: C1
Vdiag No.: 44, 48 and 4C
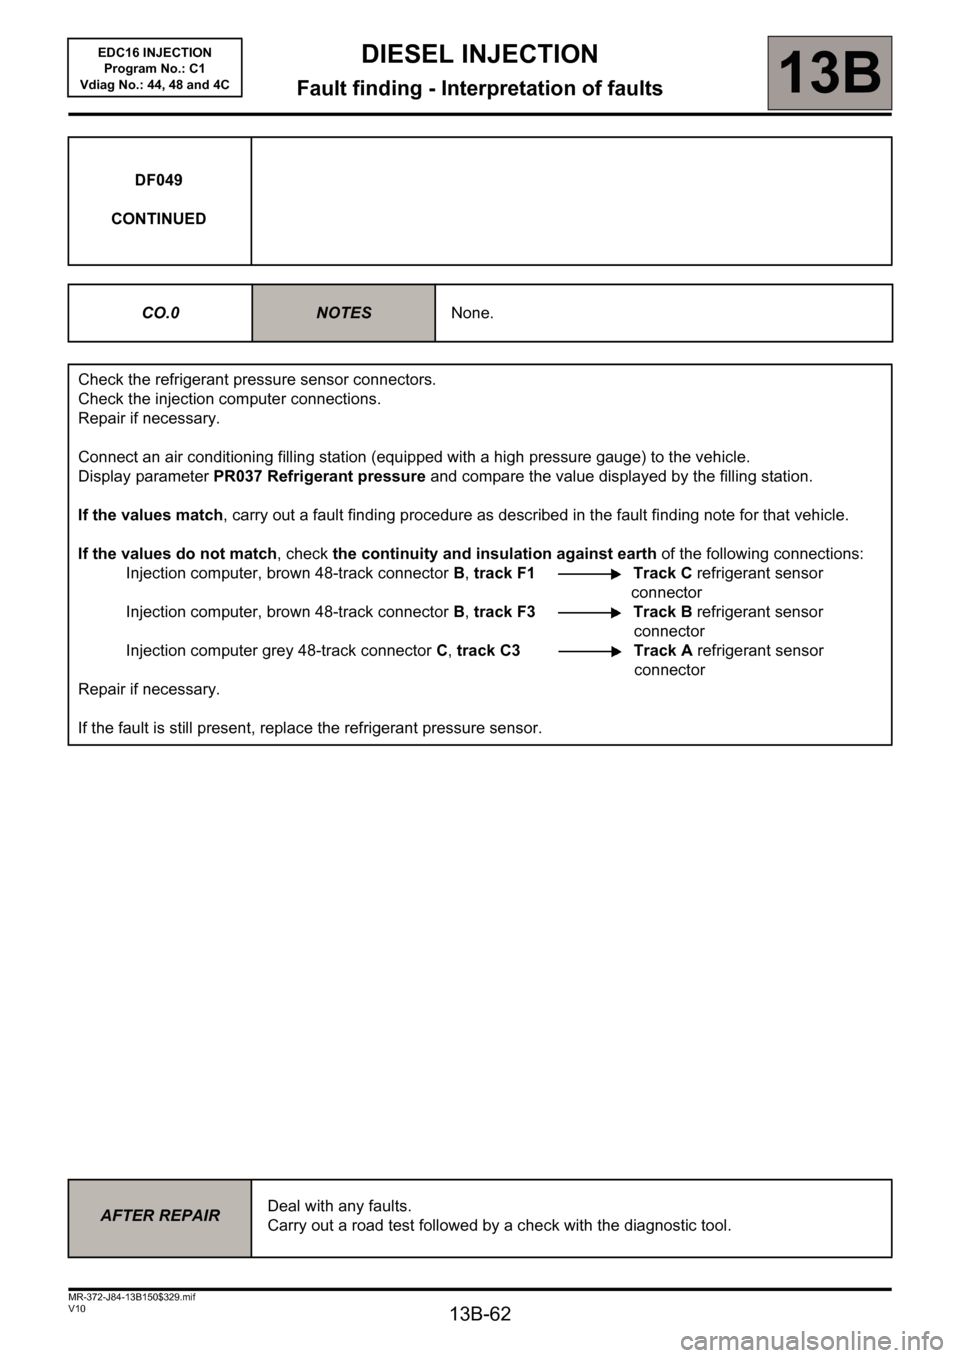
DF049
CONTINUED
CO.0
NOTESNone.
Check the refrigerant pressure sensor connectors.
Check the injection computer connections.
Repair if necessary.
Connect an air conditioning filling station (equipped with a high pressure gauge) to the vehicle.
Display parameter PR037 Refrigerant pressure and compare the value displayed by the filling station.
If the values match, carry out a fault finding procedure as described in the fault finding note for that vehicle.
If the values do not match, check the continuity and insulation against earth of the following connections:
Injection computer, brown 48-track connector B, track F1 Track C refrigerant sensor
connector
Injection computer, brown 48-track connector B, track F3 Track B refrigerant sensor
connector
Injection computer grey 48-track connector C, track C3 Track A refrigerant sensor
connector
Repair if necessary.
If the fault is still present, replace the refrigerant pressure sensor.
AFTER REPAIRDeal with any faults.
Carry out a road test followed by a check with the diagnostic tool.
Page 69 of 236
13B-69
DIESEL INJECTION
Fault finding - Interpretation of faults13B
V10 MR-372-J84-13B150$329.mif
EDC16 INJECTION
Program No.: C1
Vdiag No.: 44, 48 and 4C
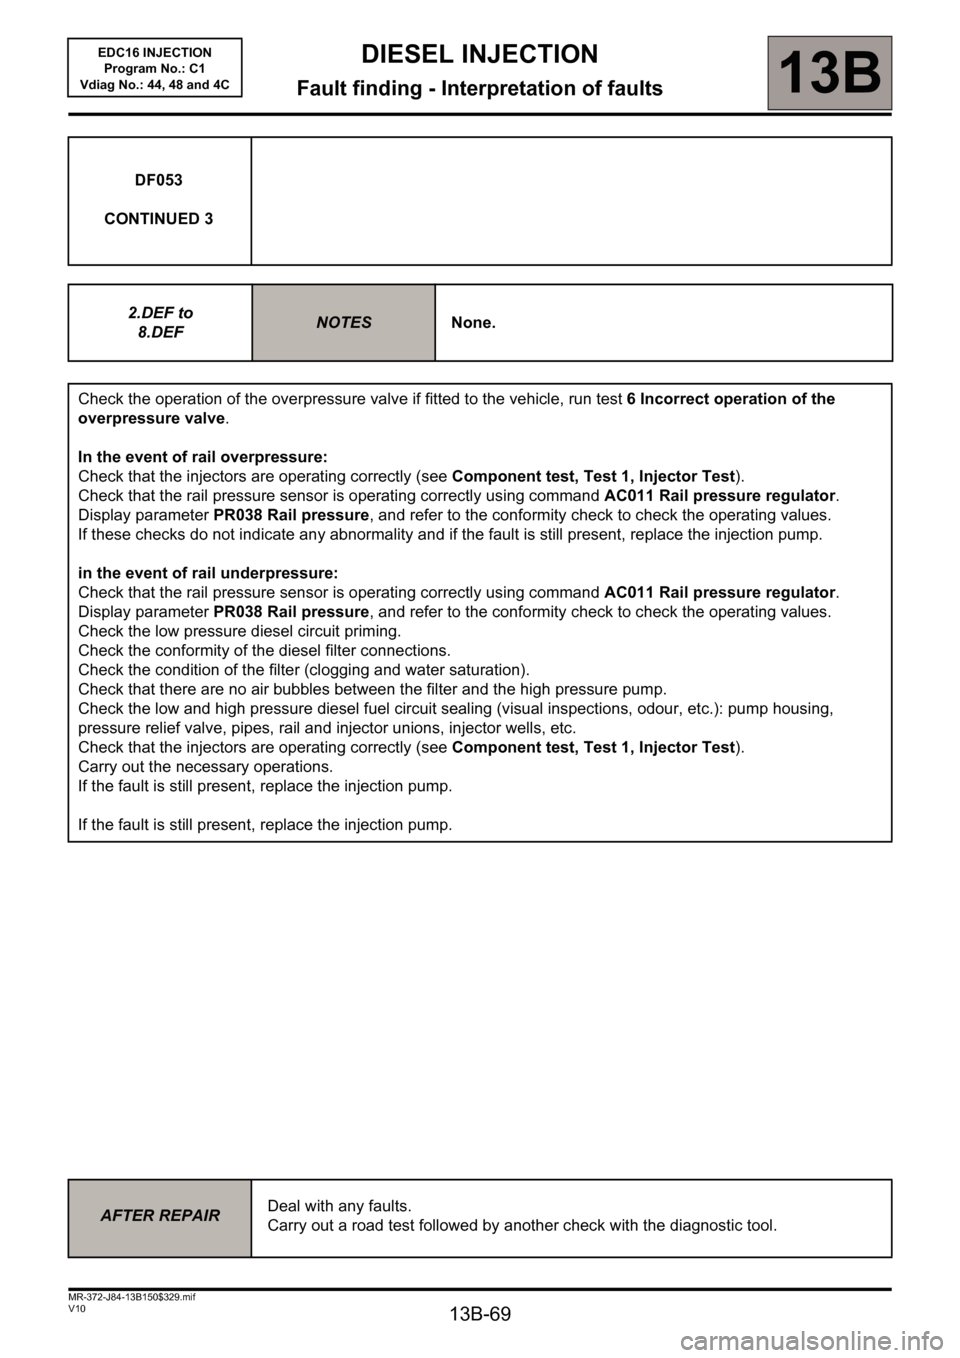
DF053
CONTINUED 3
2.DEF to
8.DEF
NOTESNone.
Check the operation of the overpressure valve if fitted to the vehicle, run test 6 Incorrect operation of the
overpressure valve.
In the event of rail overpressure:
Check that the injectors are operating correctly (see Component test, Test 1, Injector Test).
Check that the rail pressure sensor is operating correctly using command AC011 Rail pressure regulator.
Display parameter PR038 Rail pressure, and refer to the conformity check to check the operating values.
If these checks do not indicate any abnormality and if the fault is still present, replace the injection pump.
in the event of rail underpressure:
Check that the rail pressure sensor is operating correctly using command AC011 Rail pressure regulator.
Display parameter PR038 Rail pressure, and refer to the conformity check to check the operating values.
Check the low pressure diesel circuit priming.
Check the conformity of the diesel filter connections.
Check the condition of the filter (clogging and water saturation).
Check that there are no air bubbles between the filter and the high pressure pump.
Check the low and high pressure diesel fuel circuit sealing (visual inspections, odour, etc.): pump housing,
pressure relief valve, pipes, rail and injector unions, injector wells, etc.
Check that the injectors are operating correctly (see Component test, Test 1, Injector Test).
Carry out the necessary operations.
If the fault is still present, replace the injection pump.
If the fault is still present, replace the injection pump.
AFTER REPAIRDeal with any faults.
Carry out a road test followed by another check with the diagnostic tool.
Page 70 of 236
13B-70
DIESEL INJECTION
Fault finding - Interpretation of faults13B
V10 MR-372-J84-13B150$329.mif
EDC16 INJECTION
Program No.: C1
Vdiag No.: 44, 48 and 4C
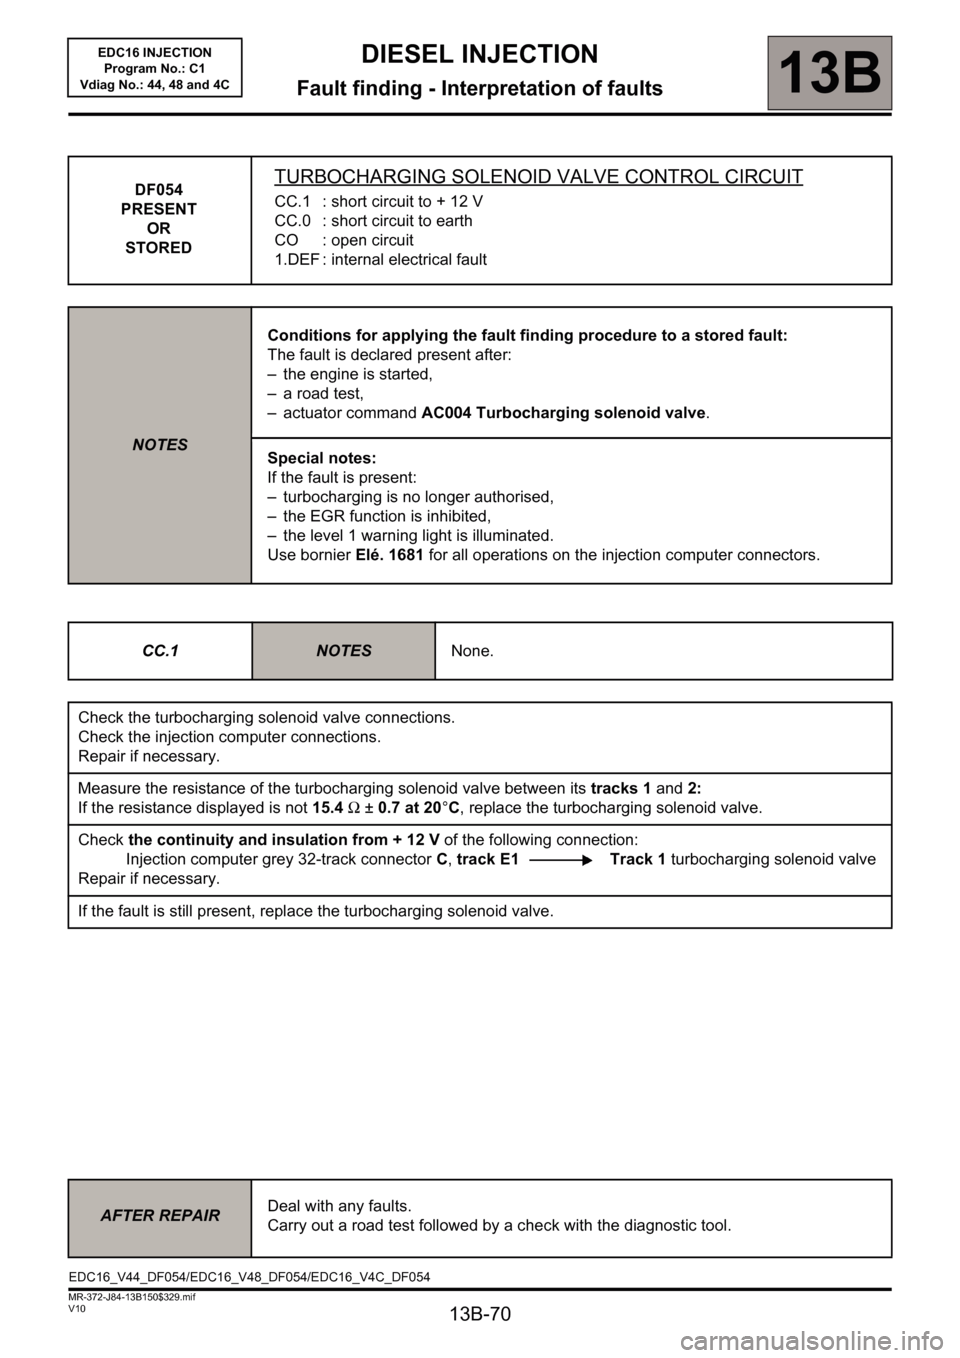
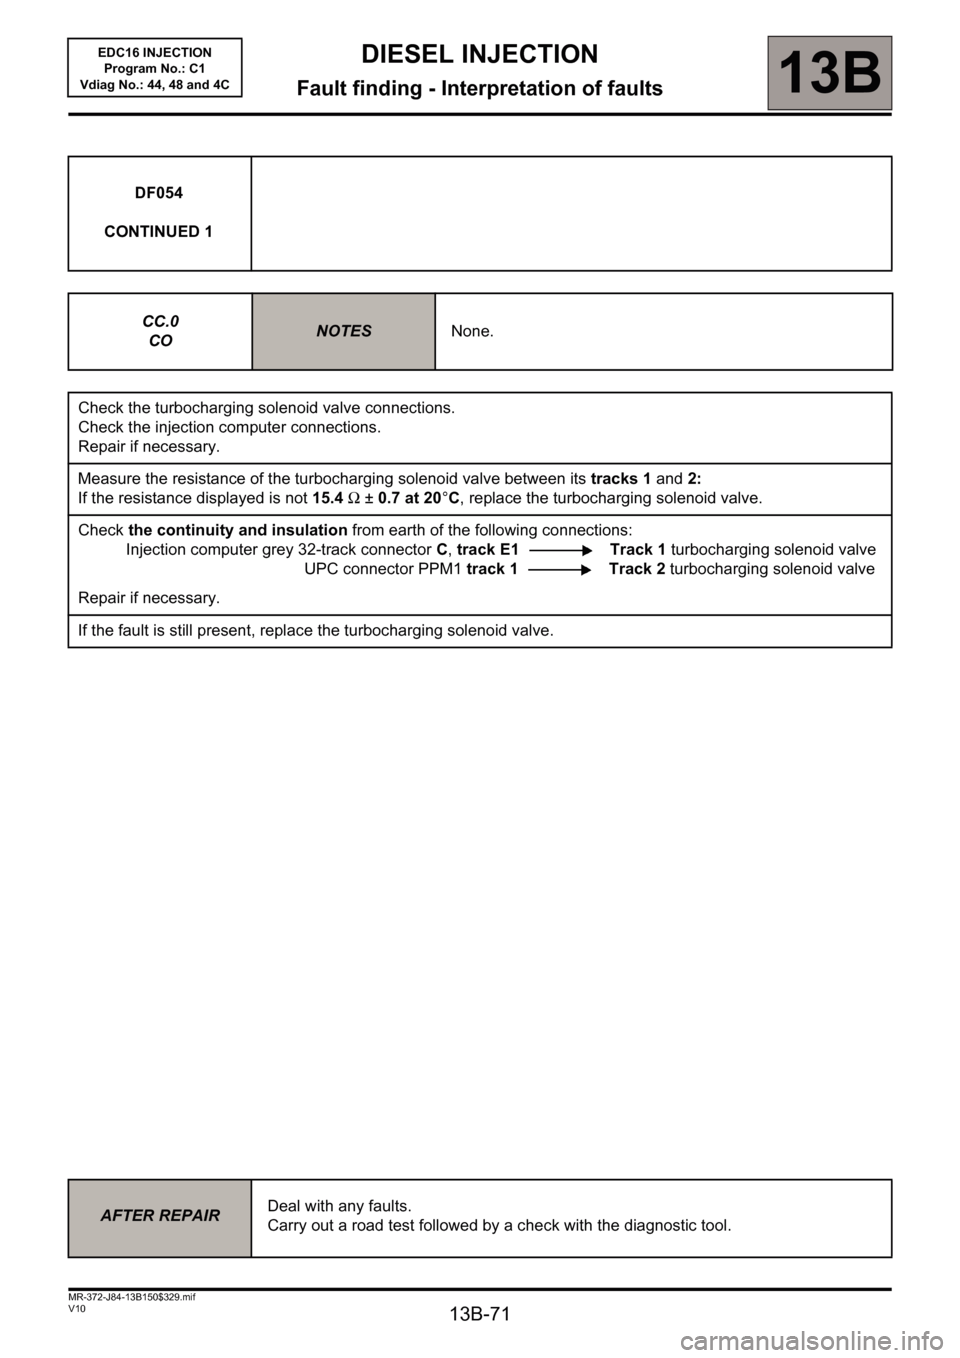
DF054
PRESENT
OR
STOREDTURBOCHARGING SOLENOID VALVE CONTROL CIRCUIT
CC.1 : short circuit to + 12 V
CC.0 : short circuit to earth
CO : open circuit
1.DEF : internal electrical fault
NOTESConditions for applying the fault finding procedure to a stored fault:
The fault is declared present after:
– the engine is started,
– a road test,
– actuator command AC004 Turbocharging solenoid valve.
Special notes:
If the fault is present:
– turbocharging is no longer authorised,
– the EGR function is inhibited,
– the level 1 warning light is illuminated.
Use bornier Elé. 1681 for all operations on the injection computer connectors.
CC.1
NOTESNone.
Check the turbocharging solenoid valve connections.
Check the injection computer connections.
Repair if necessary.
Measure the resistance of the turbocharging solenoid valve between its tracks 1 and 2:
If the resistance displayed is not 15.4Ω ±0.7 at 20°C, replace the turbocharging solenoid valve.
Check the continuity and insulation from + 12 V of the following connection:
Injection computer grey 32-track connector C, track E1 Track 1 turbocharging solenoid valve
Repair if necessary.
If the fault is still present, replace the turbocharging solenoid valve.
AFTER REPAIRDeal with any faults.
Carry out a road test followed by a check with the diagnostic tool.
EDC16_V44_DF054/EDC16_V48_DF054/EDC16_V4C_DF054
Page 71 of 236
13B-71
DIESEL INJECTION
Fault finding - Interpretation of faults13B
V10 MR-372-J84-13B150$329.mif
EDC16 INJECTION
Program No.: C1
Vdiag No.: 44, 48 and 4C
DF054
CONTINUED 1
CC.0
CO
NOTESNone.
Check the turbocharging solenoid valve connections.
Check the injection computer connections.
Repair if necessary.
Measure the resistance of the turbocharging solenoid valve between its tracks 1 and 2:
If the resistance displayed is not 15.4Ω ±0.7 at 20°C, replace the turbocharging solenoid valve.
Check the continuity and insulation from earth of the following connections:
Injection computer grey 32-track connector C, track E1 Track 1 turbocharging solenoid valve
UPC connector PPM1 track 1 Track 2 turbocharging solenoid valve
Repair if necessary.
If the fault is still present, replace the turbocharging solenoid valve.
AFTER REPAIRDeal with any faults.
Carry out a road test followed by a check with the diagnostic tool.
Page 72 of 236
13B-72
DIESEL INJECTION
Fault finding - Interpretation of faults13B
V10 MR-372-J84-13B150$329.mif
EDC16 INJECTION
Program No.: C1
Vdiag No.: 44, 48 and 4C
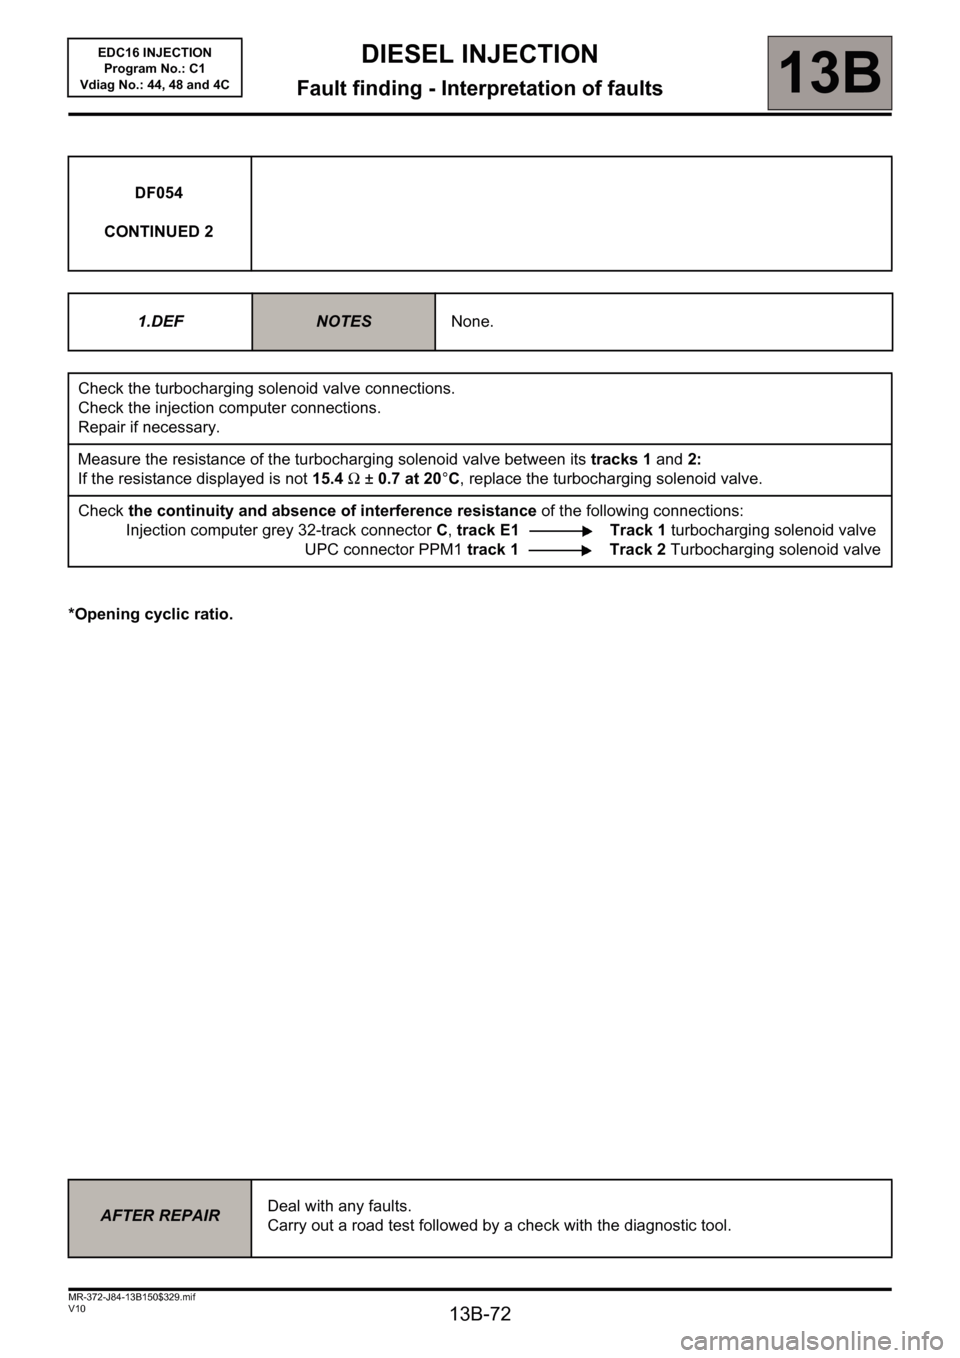
*Opening cyclic ratio.DF054
CONTINUED 2
1.DEF
NOTESNone.
Check the turbocharging solenoid valve connections.
Check the injection computer connections.
Repair if necessary.
Measure the resistance of the turbocharging solenoid valve between its tracks 1 and 2:
If the resistance displayed is not 15.4Ω ±0.7 at 20°C, replace the turbocharging solenoid valve.
Check the continuity and absence of interference resistance of the following connections:
Injection computer grey 32-track connector C, track E1 Track 1 turbocharging solenoid valve
UPC connector PPM1 track 1 Track 2 Turbocharging solenoid valve
AFTER REPAIRDeal with any faults.
Carry out a road test followed by a check with the diagnostic tool.
Page 83 of 236

13B-83
DIESEL INJECTION
Fault finding - Interpretation of faults
13B
V10 MR-372-J84-13B150$376.mif
EDC16 INJECTION
Program No.: C1
Vdiag No.: 44, 48 and 4C
DF070
PRESENT
OR
STOREDCLUTCH SWITCH CIRCUIT
1.DEF : no signal
2.DEF : inconsistent signal
NOTESConditions for applying the fault finding procedure to stored faults:
The fault is declared present after the clutch pedal is depressed, or during a road test.
Special notes:
Use bornier Ele. 1681 for all operations on the injection computer connectors.
WARNING
This fault may appear if the wiring harness has been damaged.
Follow the procedure described in the Wiring Check in the Introduction.
This check enables the condition and the conformity of the engine wiring harness to be checked.
Check the conformity and adjustment of the clutch switch (position, connection).
– display status ET405 Clutch pedal switch,
– when the clutch pedal is engaged, status ET405 should be INACTIVE,
– when the clutch pedal is disengaged, status ET405 should be ACTIVE,
If these checks are not OK, replace the clutch switch.
If these checks are correct:
Check the connections of the clutch pedal switch.
Check the injection computer connections.
Repair if necessary.
Check for continuity and the absence of interference resistance on the following connection:
Injection computer black 32-track connector A, track C4 Track 1 Clutch pedal switch
Repair if necessary.
Check for earth on track 2 of the clutch pedal switch.
Repair if necessary.
If the fault is still present, contact the Techline.
AFTER REPAIRDeal with any faults.
Carry out a road test, then check with the diagnostic tool.
EDC16_V44_DF070/EDC16_V48_DF070/EDC16_V4C_DF070
Page 86 of 236
13B-86
DIESEL INJECTION
Fault finding - Interpretation of faults
13B
V10 MR-372-J84-13B150$376.mif
EDC16 INJECTION
Program No.: C1
Vdiag No.: 44, 48 and 4C
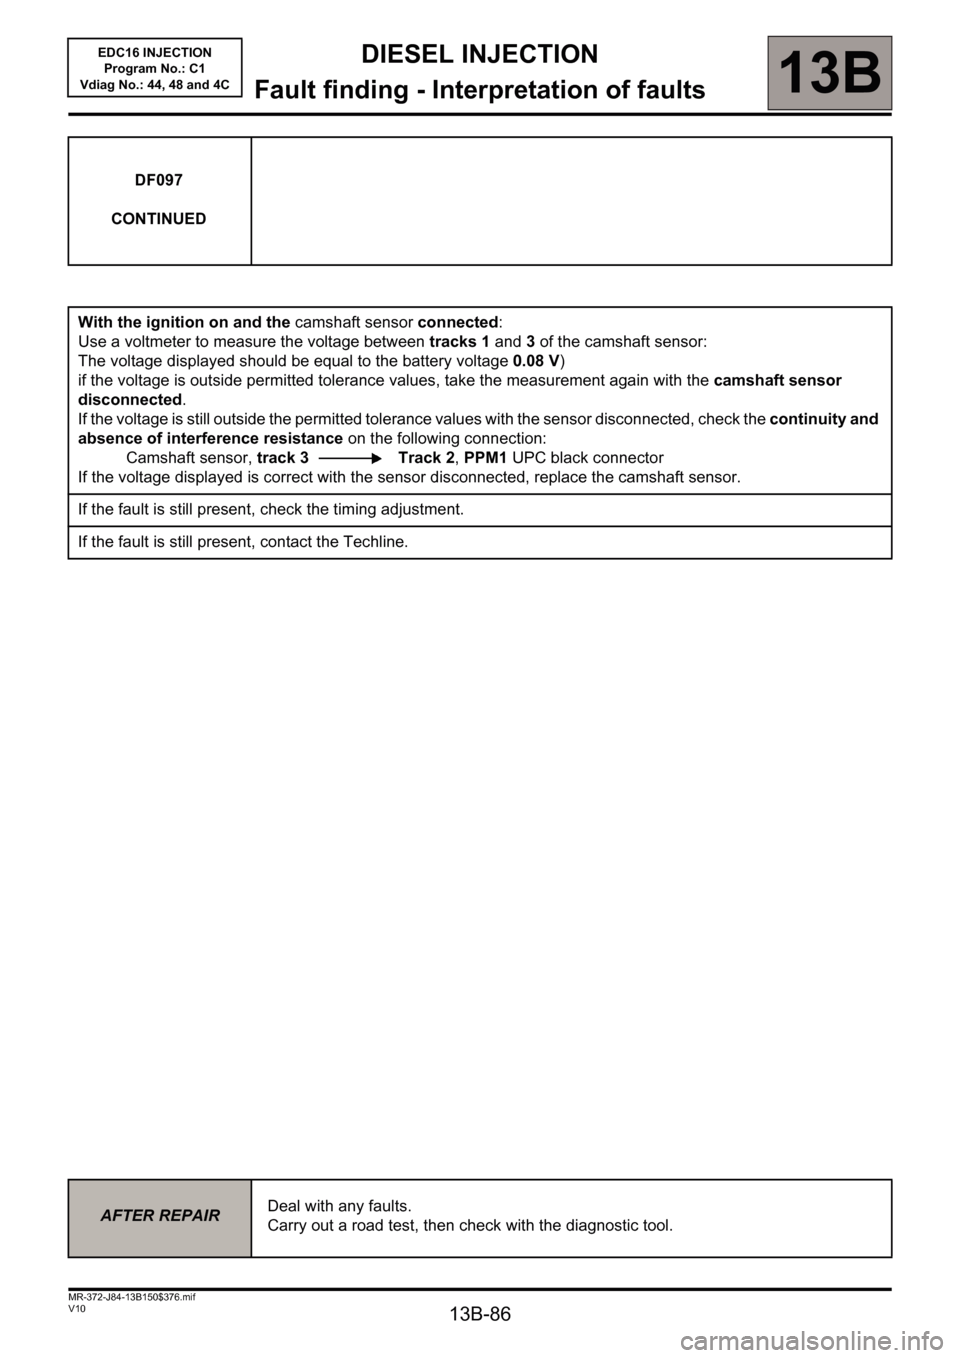
DF097
CONTINUED
With the ignition on and the camshaft sensor connected:
Use a voltmeter to measure the voltage between tracks 1 and 3 of the camshaft sensor:
The voltage displayed should be equal to the battery voltage 0.08 V)
if the voltage is outside permitted tolerance values, take the measurement again with the camshaft sensor
disconnected.
If the voltage is still outside the permitted tolerance values with the sensor disconnected, check the continuity and
absence of interference resistance on the following connection:
Camshaft sensor, track 3 Track 2, PPM1 UPC black connector
If the voltage displayed is correct with the sensor disconnected, replace the camshaft sensor.
If the fault is still present, check the timing adjustment.
If the fault is still present, contact the Techline.
AFTER REPAIRDeal with any faults.
Carry out a road test, then check with the diagnostic tool.
Page 93 of 236
13B-93
DIESEL INJECTION
Fault finding - Interpretation of faults
13B
V10 MR-372-J84-13B150$376.mif
EDC16 INJECTION
Program No.: C1
Vdiag No.: 44, 48 and 4C
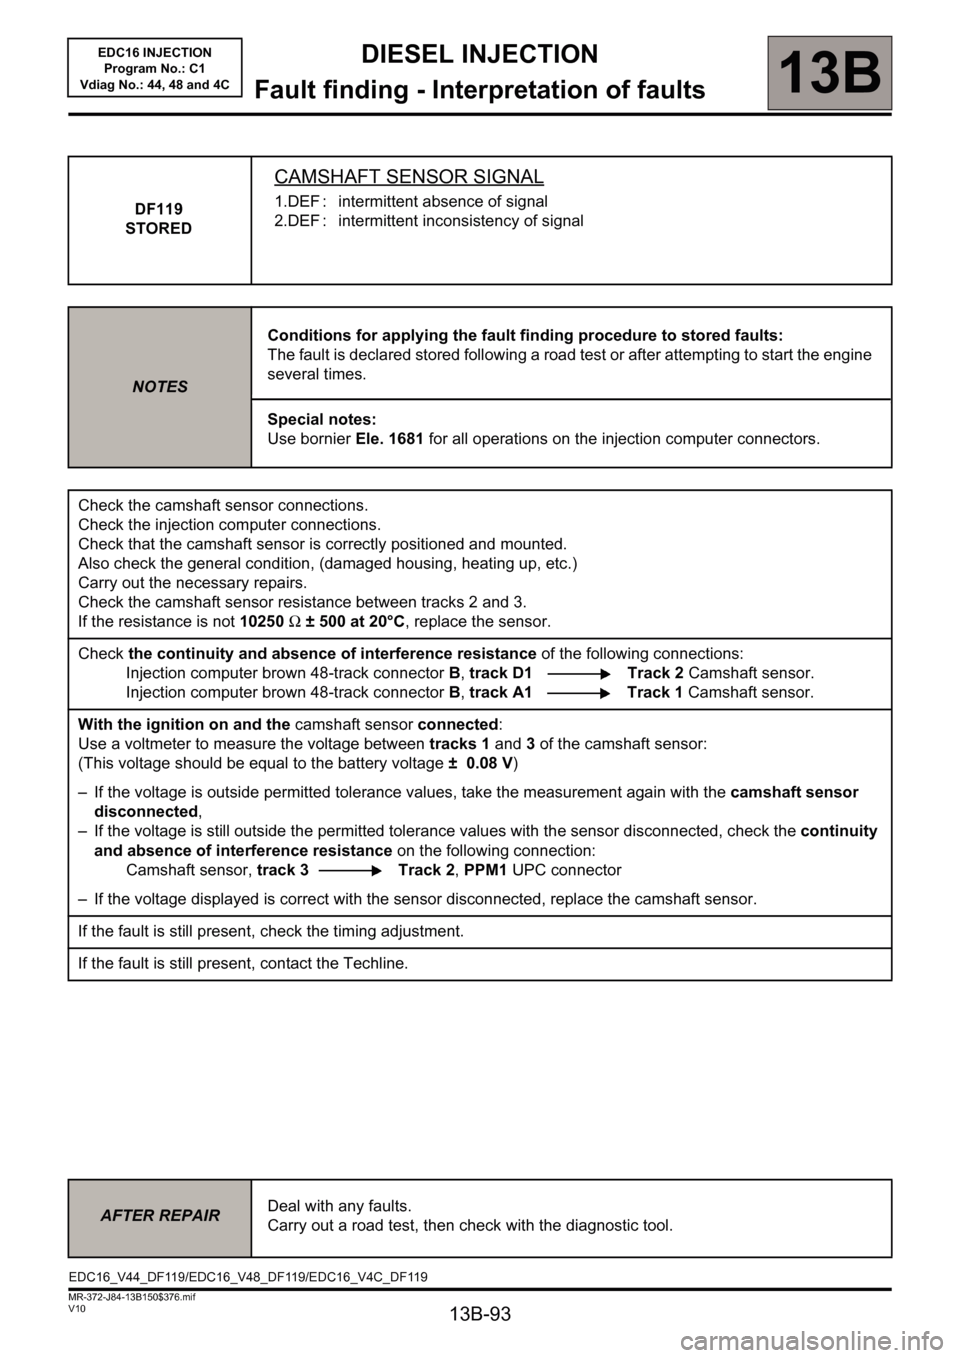
DF119
STORED
CAMSHAFT SENSOR SIGNAL
1.DEF : intermittent absence of signal
2.DEF : intermittent inconsistency of signal
NOTESConditions for applying the fault finding procedure to stored faults:
The fault is declared stored following a road test or after attempting to start the engine
several times.
Special notes:
Use bornier Ele. 1681 for all operations on the injection computer connectors.
Check the camshaft sensor connections.
Check the injection computer connections.
Check that the camshaft sensor is correctly positioned and mounted.
Also check the general condition, (damaged housing, heating up, etc.)
Carry out the necessary repairs.
Check the camshaft sensor resistance between tracks 2 and 3.
If the resistance is not 10250Ω ± 500 at 20°C, replace the sensor.
Check the continuity and absence of interference resistance of the following connections:
Injection computer brown 48-track connector B, track D1 Track 2 Camshaft sensor.
Injection computer brown 48-track connector B, track A1 Track 1 Camshaft sensor.
With the ignition on and the camshaft sensor connected:
Use a voltmeter to measure the voltage between tracks 1 and 3 of the camshaft sensor:
(This voltage should be equal to the battery voltage ± 0.08 V)
– If the voltage is outside permitted tolerance values, take the measurement again with the camshaft sensor
disconnected,
– If the voltage is still outside the permitted tolerance values with the sensor disconnected, check the continuity
and absence of interference resistance on the following connection:
Camshaft sensor, track 3 Track 2, PPM1 UPC connector
– If the voltage displayed is correct with the sensor disconnected, replace the camshaft sensor.
If the fault is still present, check the timing adjustment.
If the fault is still present, contact the Techline.
AFTER REPAIRDeal with any faults.
Carry out a road test, then check with the diagnostic tool.
EDC16_V44_DF119/EDC16_V48_DF119/EDC16_V4C_DF119
Page 109 of 236
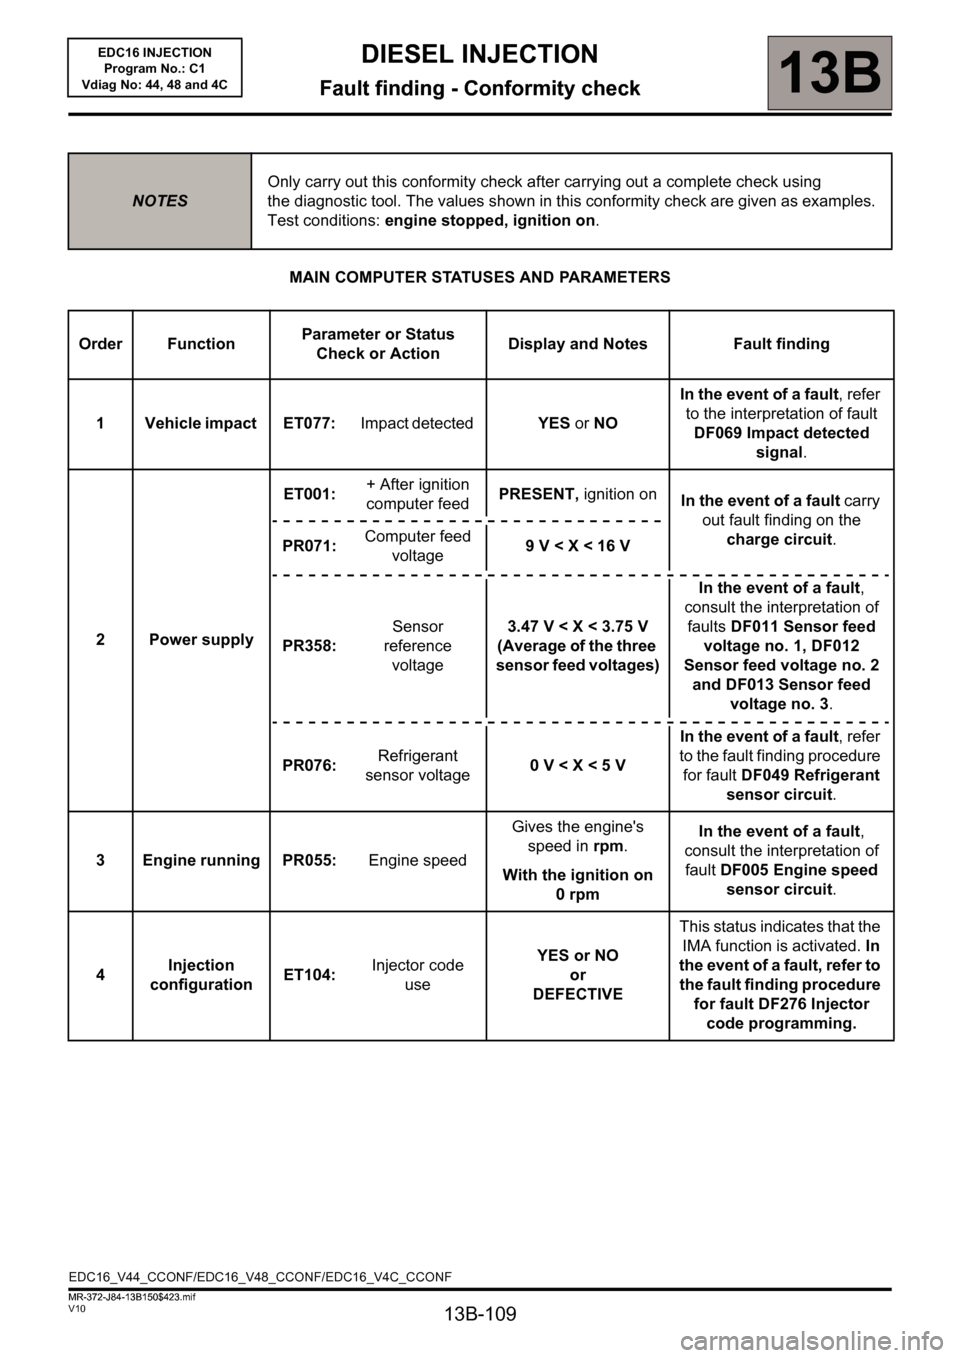
13B-109
DIESEL INJECTION
Fault finding - Conformity check13B
V10 MR-372-J84-13B150$423.mif
EDC16 INJECTION
Program No.: C1
Vdiag No: 44, 48 and 4CDIESEL INJECTION
Fault finding - Conformity check
MAIN COMPUTER STATUSES AND PARAMETERS
NOTESOnly carry out this conformity check after carrying out a complete check using
the diagnostic tool. The values shown in this conformity check are given as examples.
Test conditions: engine stopped, ignition on.
Order FunctionParameter or Status
Check or ActionDisplay and Notes Fault finding
1 Vehicle impact ET077:Impact detected YES or NOIn the event of a fault, refer
to the interpretation of fault
DF069 Impact detected
signal.
2 Power supplyET001: + After ignition
computer feedPRESENT, ignition on
In the event of a fault carry
out fault finding on the
charge circuit.
PR071: Computer feed
voltage9 V < X < 16 V
PR358: Sensor
reference
voltage3.47 V < X < 3.75 V
(Average of the three
sensor feed voltages)In the event of a fault,
consult the interpretation of
faults DF011 Sensor feed
voltage no. 1, DF012
Sensor feed voltage no. 2
and DF013 Sensor feed
voltage no. 3.
PR076: Refrigerant
sensor voltage0V
for fault DF049 Refrigerant
sensor circuit.
3 Engine running PR055: Engine speedGives the engine's
speed in rpm.
With the ignition on
0rpmIn the event of a fault,
consult the interpretation of
fault DF005 Engine speed
sensor circuit.
4Injection
configurationET104: Injector code
useYES or NO
or
DEFECTIVEThis status indicates that the
IMA function is activated. In
the event of a fault, refer to
the fault finding procedure
for fault DF276 Injector
code programming.
EDC16_V44_CCONF/EDC16_V48_CCONF/EDC16_V4C_CCONF
MR-372-J84-13B150$423.mif