RENAULT SCENIC 2011 J95 / 3.G Engine And Peripherals EDC16 Service Manual
Manufacturer: RENAULT, Model Year: 2011, Model line: SCENIC, Model: RENAULT SCENIC 2011 J95 / 3.GPages: 365, PDF Size: 2.11 MB
Page 41 of 365
13B-41
MR-372-J84-13B200$252.mif
V13
DIESEL INJECTION
Fault finding – Interpretation of faults
EDC16
Program No.: C1
Vdiag no.: 18, 1C, 20,
50, 58, 5C
13B
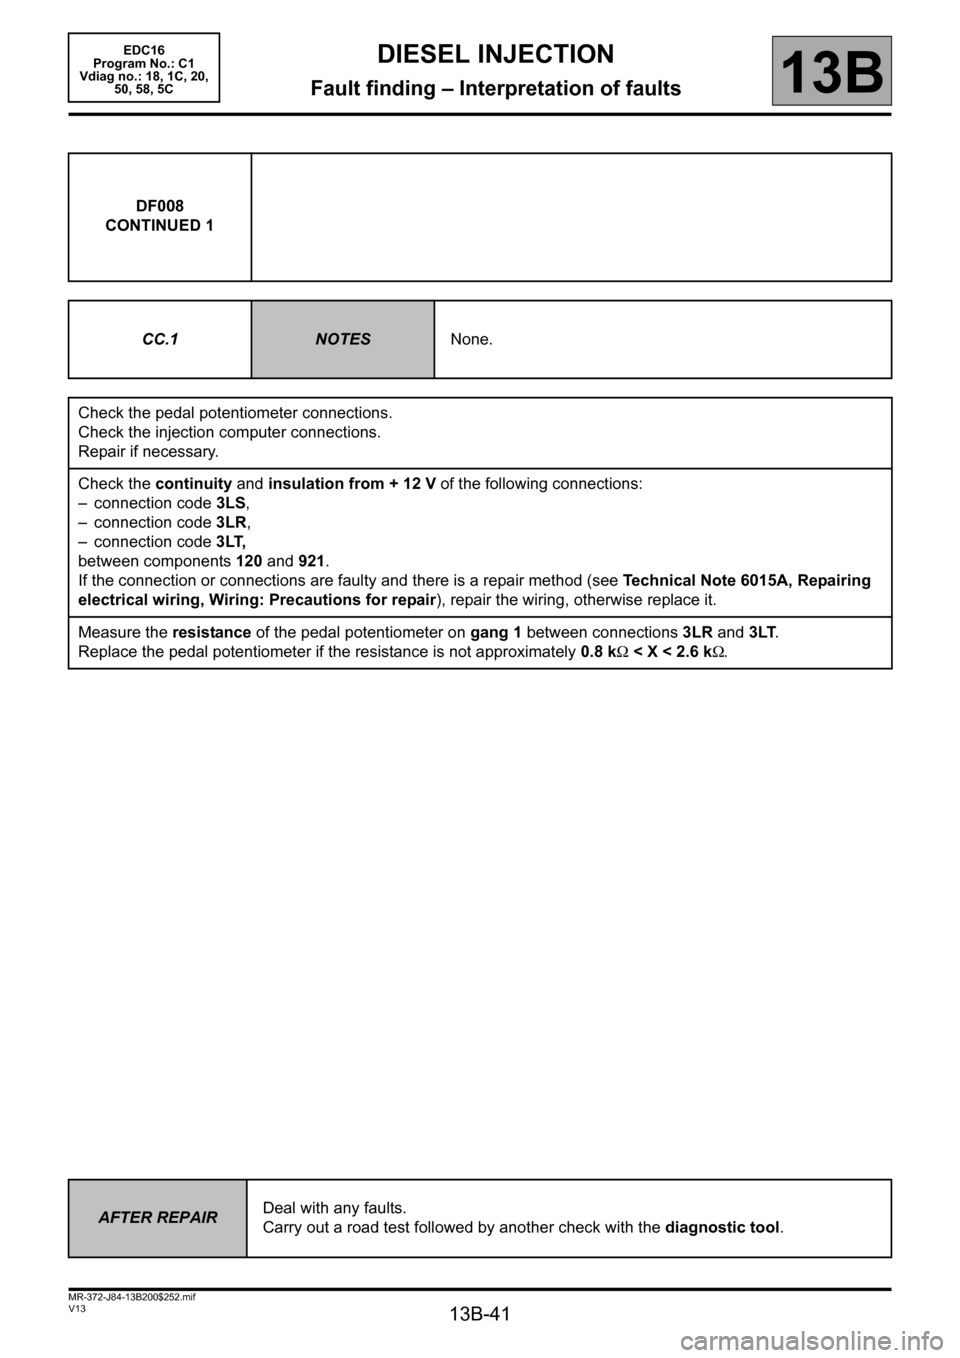
DF008
CONTINUED 1
CC.1
NOTESNone.
Check the pedal potentiometer connections.
Check the injection computer connections.
Repair if necessary.
Check the continuity and insulation from + 12 V of the following connections:
– connection code 3LS,
– connection code 3LR,
– connection code 3LT,
between components 120 and 921.
If the connection or connections are faulty and there is a repair method (see Technical Note 6015A, Repairing
electrical wiring, Wiring: Precautions for repair), repair the wiring, otherwise replace it.
Measure the resistance of the pedal potentiometer on gang 1 between connections 3LR and 3LT.
Replace the pedal potentiometer if the resistance is not approximately 0.8 kΩ < X < 2.6 kΩ.
AFTER REPAIRDeal with any faults.
Carry out a road test followed by another check with the diagnostic tool.
Page 42 of 365
13B-42
MR-372-J84-13B200$252.mif
V13
DIESEL INJECTION
Fault finding – Interpretation of faults
EDC16
Program No.: C1
Vdiag no.: 18, 1C, 20,
50, 58, 5C
13B
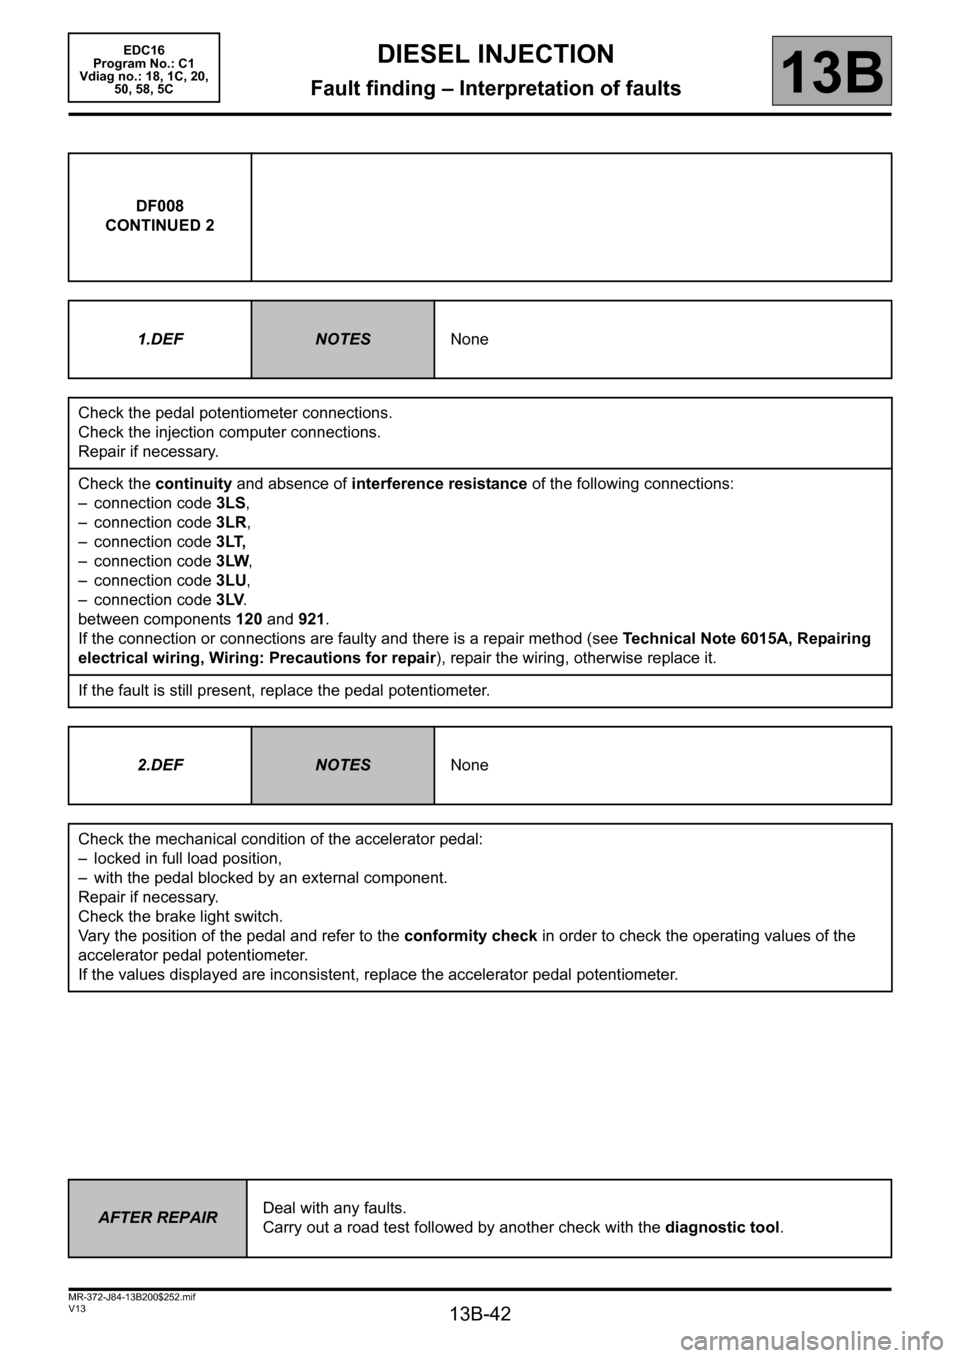
DF008
CONTINUED 2
1.DEF
NOTESNone
Check the pedal potentiometer connections.
Check the injection computer connections.
Repair if necessary.
Check the continuity and absence of interference resistance of the following connections:
– connection code 3LS,
– connection code 3LR,
– connection code 3LT,
– connection code3LW,
– connection code 3LU,
– connection code 3LV.
between components 120 and 921.
If the connection or connections are faulty and there is a repair method (see Technical Note 6015A, Repairing
electrical wiring, Wiring: Precautions for repair), repair the wiring, otherwise replace it.
If the fault is still present, replace the pedal potentiometer.
2.DEF
NOTESNone
Check the mechanical condition of the accelerator pedal:
– locked in full load position,
– with the pedal blocked by an external component.
Repair if necessary.
Check the brake light switch.
Vary the position of the pedal and refer to the conformity check in order to check the operating values of the
accelerator pedal potentiometer.
If the values displayed are inconsistent, replace the accelerator pedal potentiometer.
AFTER REPAIRDeal with any faults.
Carry out a road test followed by another check with the diagnostic tool.
Page 43 of 365
13B-43
MR-372-J84-13B200$252.mif
V13
DIESEL INJECTION
Fault finding – Interpretation of faults
EDC16
Program No.: C1
Vdiag no.: 18, 1C, 20,
50, 58, 5C
13B
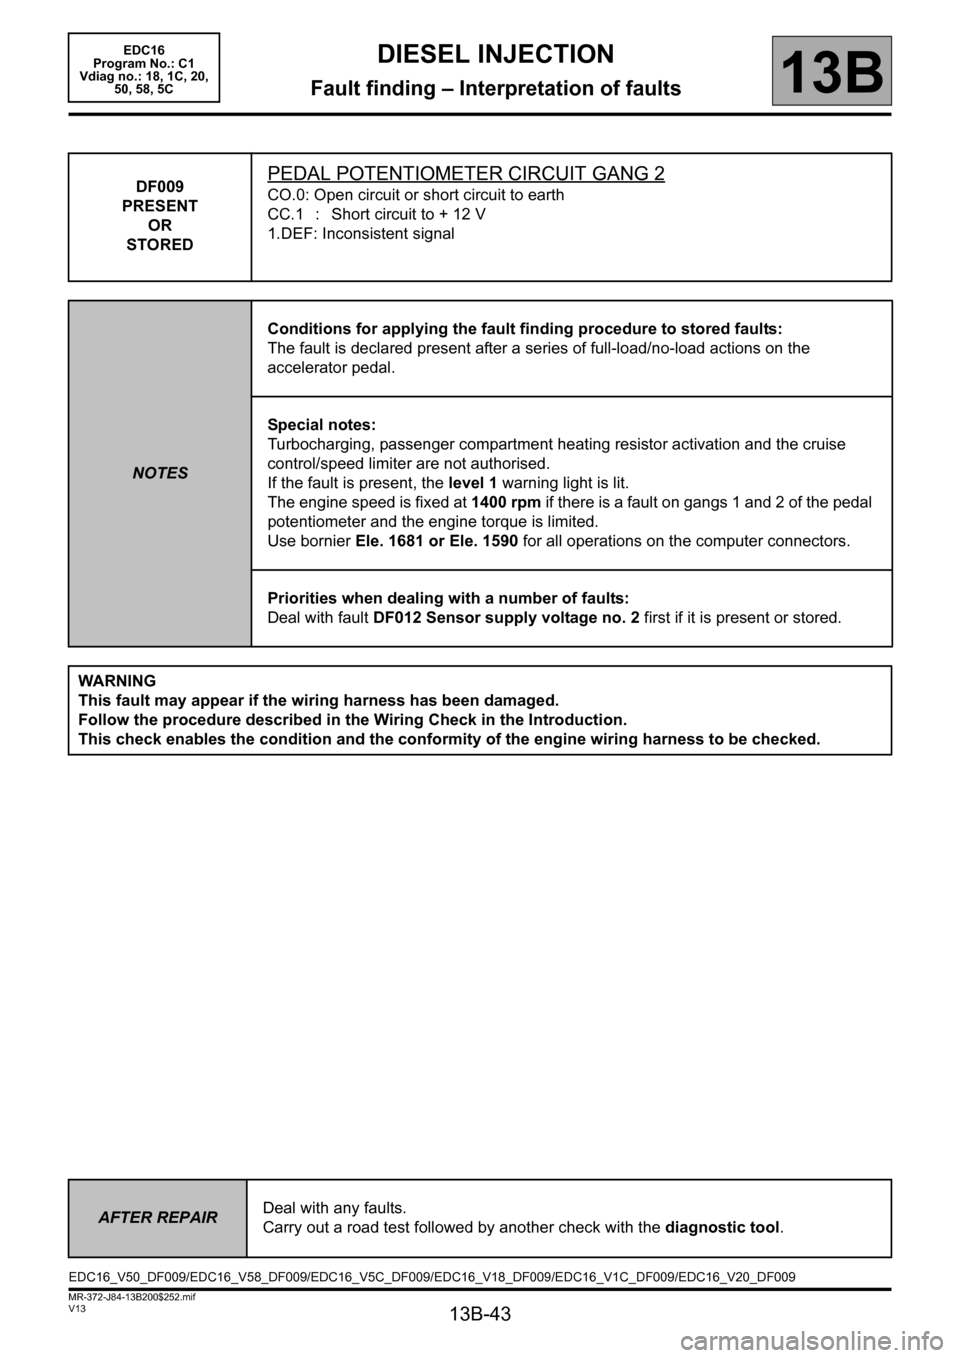
DF009
PRESENT
OR
STOREDPEDAL POTENTIOMETER CIRCUIT GANG 2
CO.0: Open circuit or short circuit to earth
CC.1 : Short circuit to + 12 V
1.DEF: Inconsistent signal
NOTESConditions for applying the fault finding procedure to stored faults:
The fault is declared present after a series of full-load/no-load actions on the
accelerator pedal.
Special notes:
Turbocharging, passenger compartment heating resistor activation and the cruise
control/speed limiter are not authorised.
If the fault is present, the level 1 warning light is lit.
The engine speed is fixed at 1400 rpm if there is a fault on gangs 1 and 2 of the pedal
potentiometer and the engine torque is limited.
Use bornier Ele. 1681 or Ele. 1590 for all operations on the computer connectors.
Priorities when dealing with a number of faults:
Deal with fault DF012 Sensor supply voltage no. 2 first if it is present or stored.
WARNING
This fault may appear if the wiring harness has been damaged.
Follow the procedure described in the Wiring Check in the Introduction.
This check enables the condition and the conformity of the engine wiring harness to be checked.
AFTER REPAIRDeal with any faults.
Carry out a road test followed by another check with the diagnostic tool.
EDC16_V50_DF009/EDC16_V58_DF009/EDC16_V5C_DF009/EDC16_V18_DF009/EDC16_V1C_DF009/EDC16_V20_DF009
Page 44 of 365
13B-44
MR-372-J84-13B200$252.mif
V13
DIESEL INJECTION
Fault finding – Interpretation of faults
EDC16
Program No.: C1
Vdiag no.: 18, 1C, 20,
50, 58, 5C
13B
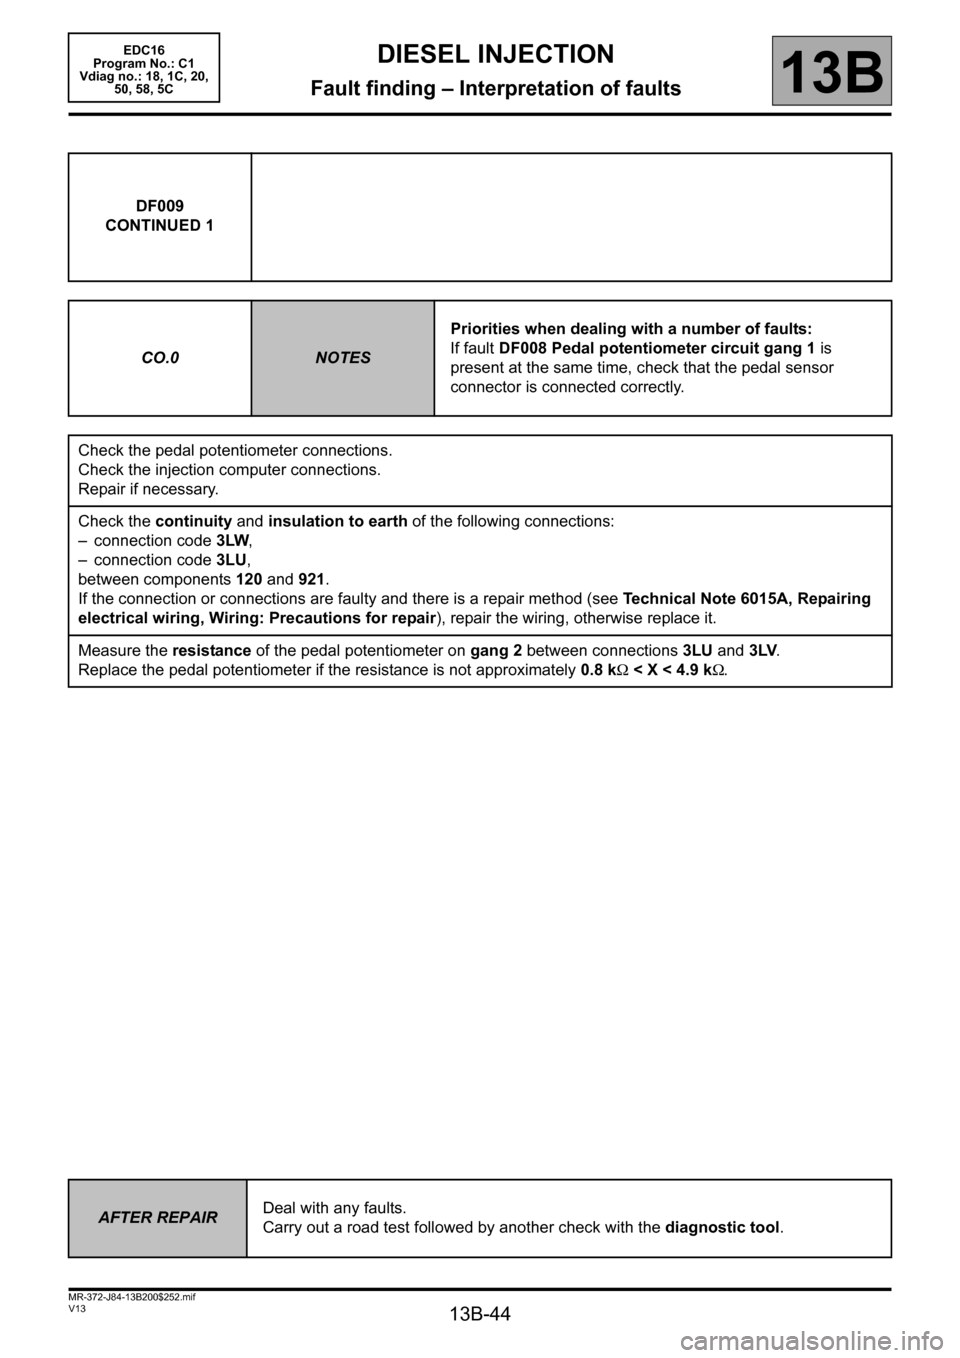
DF009
CONTINUED 1
CO.0
NOTESPriorities when dealing with a number of faults:
If fault DF008 Pedal potentiometer circuit gang 1 is
present at the same time, check that the pedal sensor
connector is connected correctly.
Check the pedal potentiometer connections.
Check the injection computer connections.
Repair if necessary.
Check the continuity and insulation to earth of the following connections:
– connection code3LW,
– connection code 3LU,
between components 120 and 921.
If the connection or connections are faulty and there is a repair method (see Technical Note 6015A, Repairing
electrical wiring, Wiring: Precautions for repair), repair the wiring, otherwise replace it.
Measure the resistance of the pedal potentiometer on gang 2 between connections 3LU and 3LV.
Replace the pedal potentiometer if the resistance is not approximately 0.8 kΩ < X < 4.9 kΩ.
AFTER REPAIRDeal with any faults.
Carry out a road test followed by another check with the diagnostic tool.
Page 45 of 365
13B-45
MR-372-J84-13B200$252.mif
V13
DIESEL INJECTION
Fault finding – Interpretation of faults
EDC16
Program No.: C1
Vdiag no.: 18, 1C, 20,
50, 58, 5C
13B
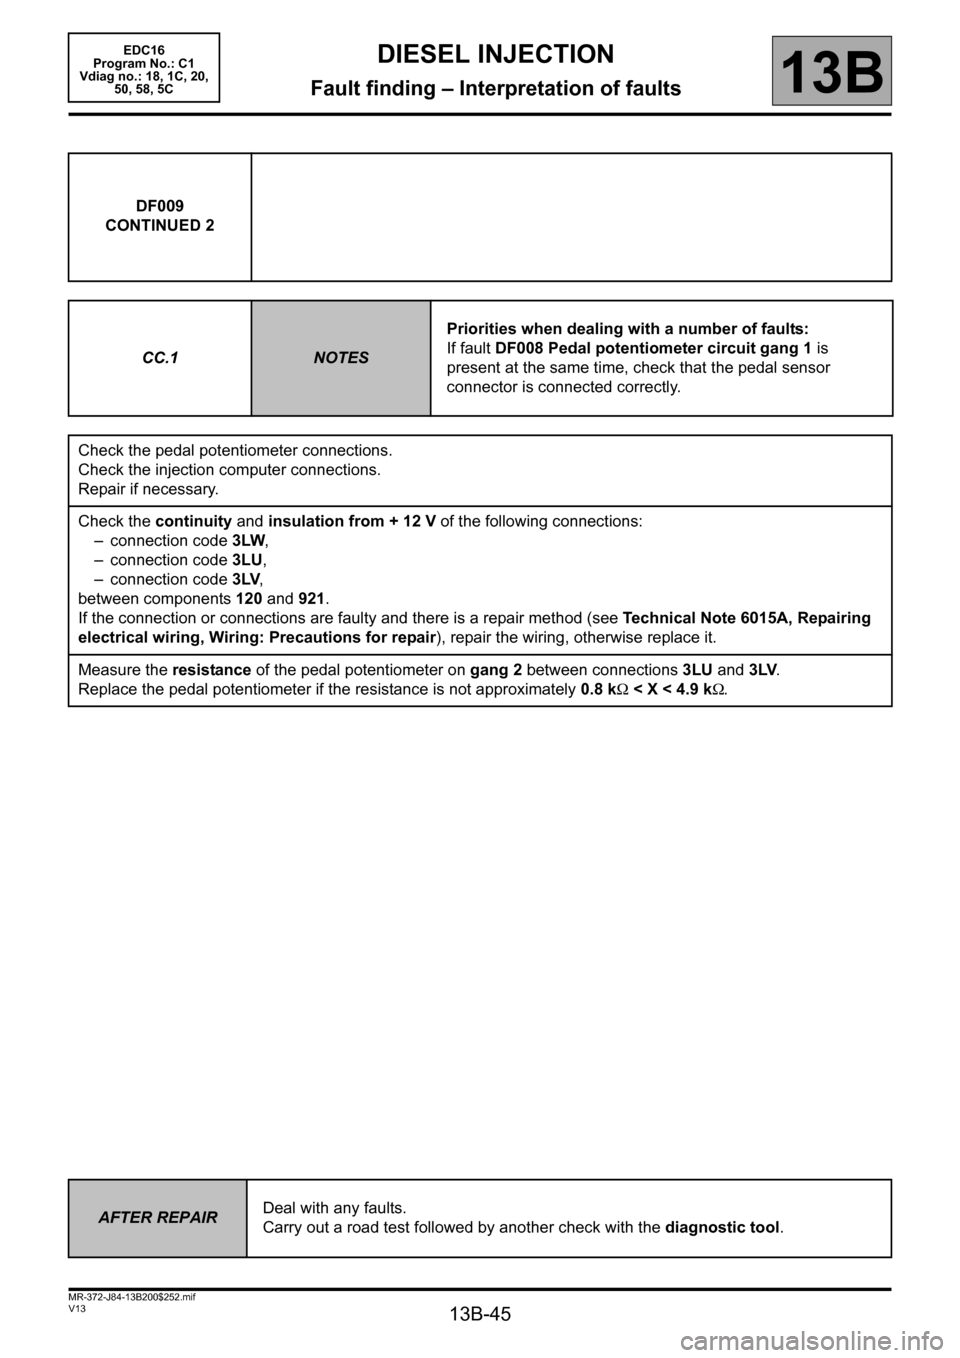
DF009
CONTINUED 2
CC.1
NOTESPriorities when dealing with a number of faults:
If fault DF008 Pedal potentiometer circuit gang 1 is
present at the same time, check that the pedal sensor
connector is connected correctly.
Check the pedal potentiometer connections.
Check the injection computer connections.
Repair if necessary.
Check the continuity and insulation from + 12 V of the following connections:
– connection code3LW,
– connection code 3LU,
– connection code 3LV,
between components 120 and 921.
If the connection or connections are faulty and there is a repair method (see Technical Note 6015A, Repairing
electrical wiring, Wiring: Precautions for repair), repair the wiring, otherwise replace it.
Measure the resistance of the pedal potentiometer on gang 2 between connections 3LU and 3LV.
Replace the pedal potentiometer if the resistance is not approximately 0.8 kΩ < X < 4.9 kΩ.
AFTER REPAIRDeal with any faults.
Carry out a road test followed by another check with the diagnostic tool.
Page 46 of 365
13B-46
MR-372-J84-13B200$252.mif
V13
DIESEL INJECTION
Fault finding – Interpretation of faults
EDC16
Program No.: C1
Vdiag no.: 18, 1C, 20,
50, 58, 5C
13B
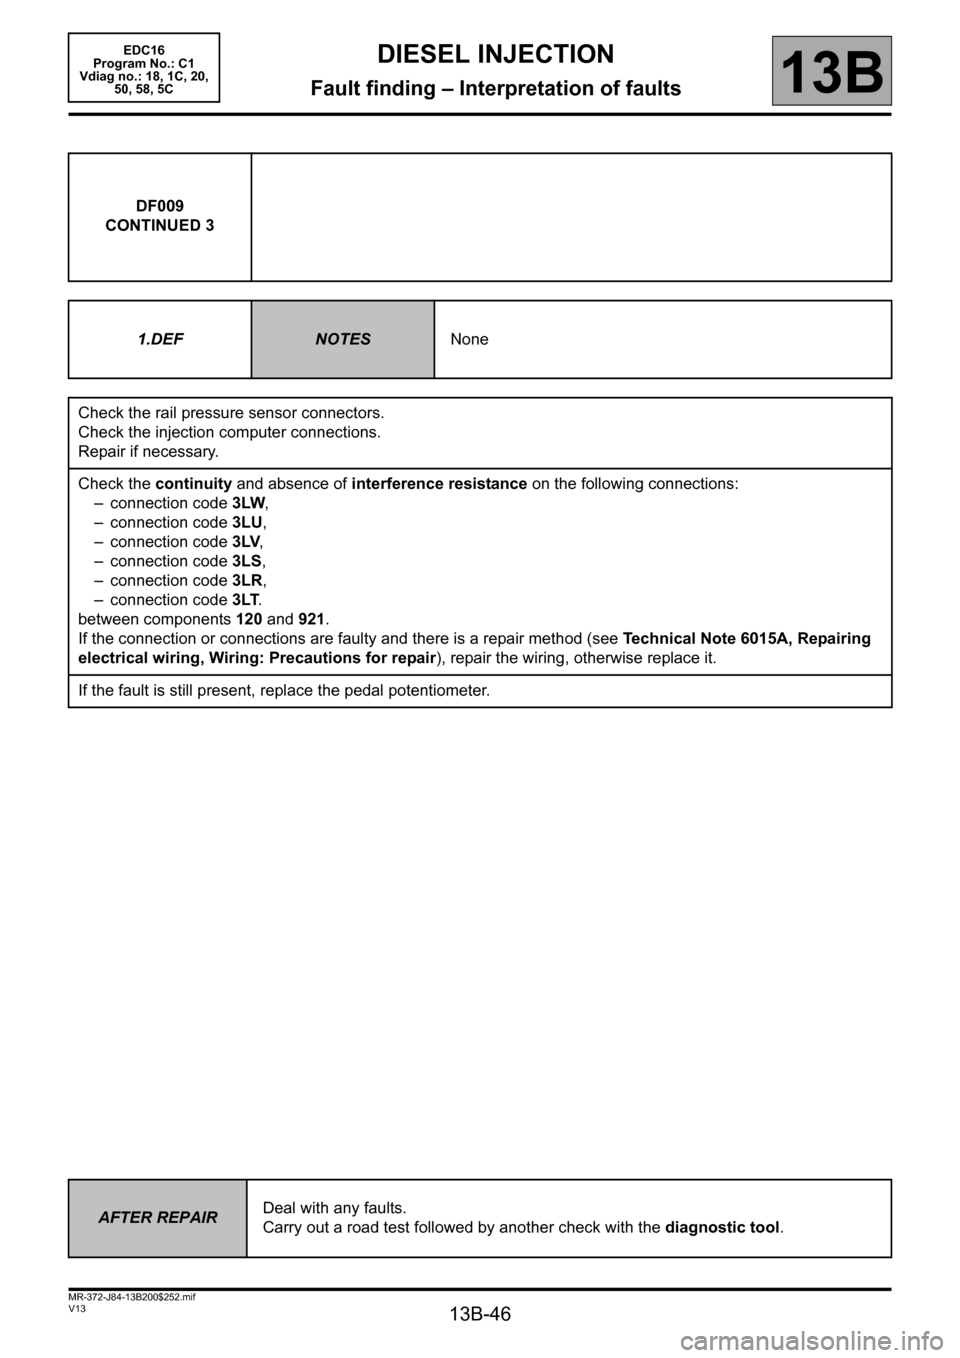
DF009
CONTINUED 3
1.DEF
NOTESNone
Check the rail pressure sensor connectors.
Check the injection computer connections.
Repair if necessary.
Check the continuity and absence of interference resistance on the following connections:
– connection code3LW,
– connection code 3LU,
– connection code 3LV,
– connection code 3LS,
– connection code 3LR,
– connection code 3LT.
between components 120 and 921.
If the connection or connections are faulty and there is a repair method (see Technical Note 6015A, Repairing
electrical wiring, Wiring: Precautions for repair), repair the wiring, otherwise replace it.
If the fault is still present, replace the pedal potentiometer.
AFTER REPAIRDeal with any faults.
Carry out a road test followed by another check with the diagnostic tool.
Page 47 of 365
13B-47
MR-372-J84-13B200$252.mif
V13
DIESEL INJECTION
Fault finding – Interpretation of faults
EDC16
Program No.: C1
Vdiag no.: 18, 1C, 20,
50, 58, 5C
13B
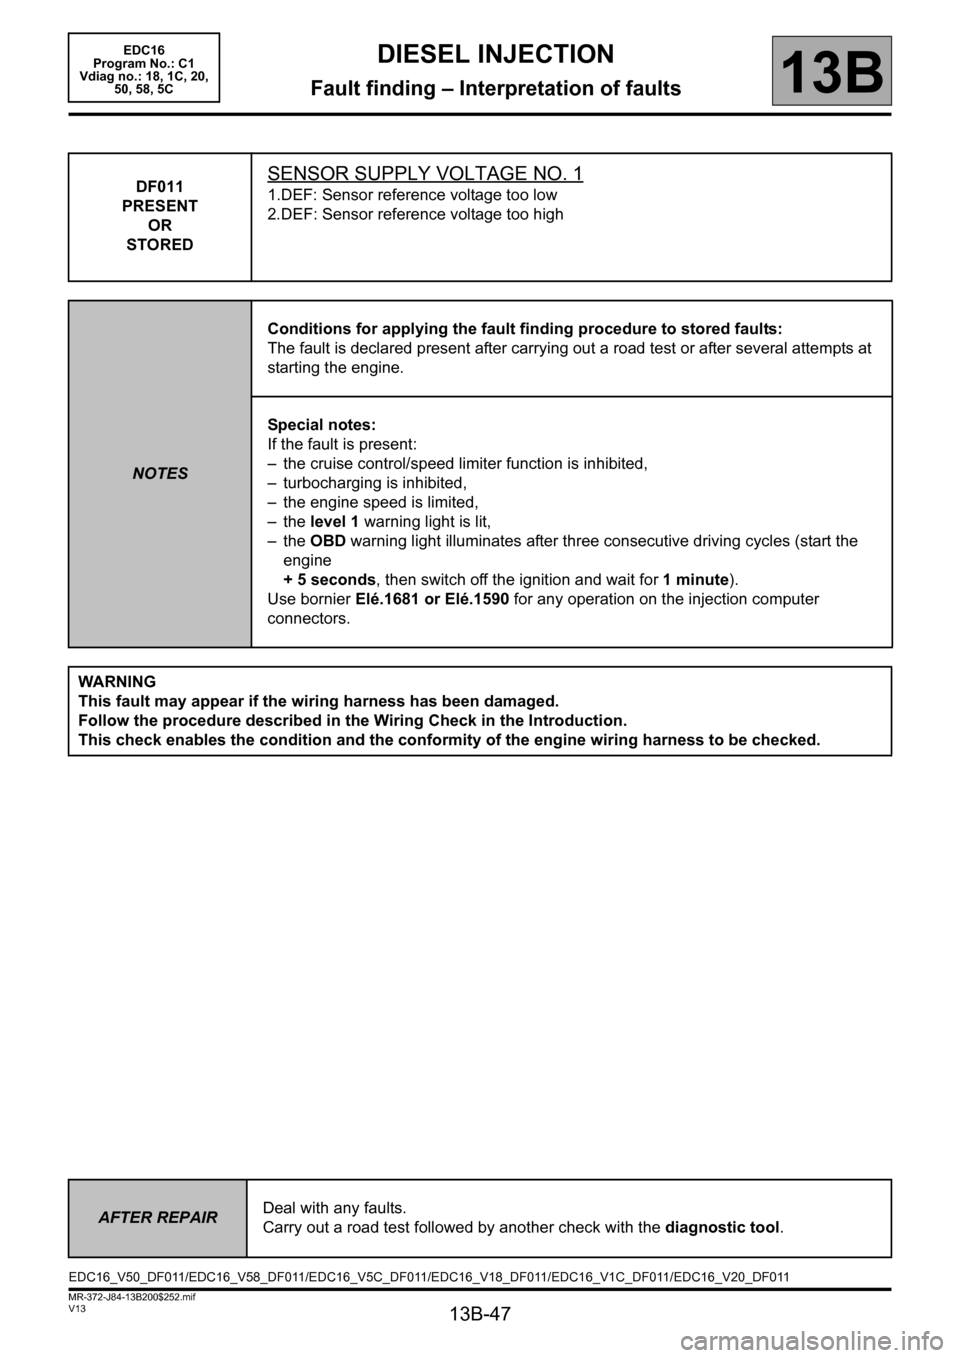
DF011
PRESENT
OR
STOREDSENSOR SUPPLY VOLTAGE NO. 1
1.DEF: Sensor reference voltage too low
2.DEF: Sensor reference voltage too high
NOTESConditions for applying the fault finding procedure to stored faults:
The fault is declared present after carrying out a road test or after several attempts at
starting the engine.
Special notes:
If the fault is present:
– the cruise control/speed limiter function is inhibited,
– turbocharging is inhibited,
– the engine speed is limited,
– the level 1 warning light is lit,
– the OBD warning light illuminates after three consecutive driving cycles (start the
engine
+ 5 seconds, then switch off the ignition and wait for 1 minute).
Use bornier Elé.1681 or Elé.1590 for any operation on the injection computer
connectors.
WARNING
This fault may appear if the wiring harness has been damaged.
Follow the procedure described in the Wiring Check in the Introduction.
This check enables the condition and the conformity of the engine wiring harness to be checked.
AFTER REPAIRDeal with any faults.
Carry out a road test followed by another check with the diagnostic tool.
EDC16_V50_DF011/EDC16_V58_DF011/EDC16_V5C_DF011/EDC16_V18_DF011/EDC16_V1C_DF011/EDC16_V20_DF011
Page 48 of 365
13B-48
MR-372-J84-13B200$252.mif
V13
DIESEL INJECTION
Fault finding – Interpretation of faults
EDC16
Program No.: C1
Vdiag no.: 18, 1C, 20,
50, 58, 5C
13B
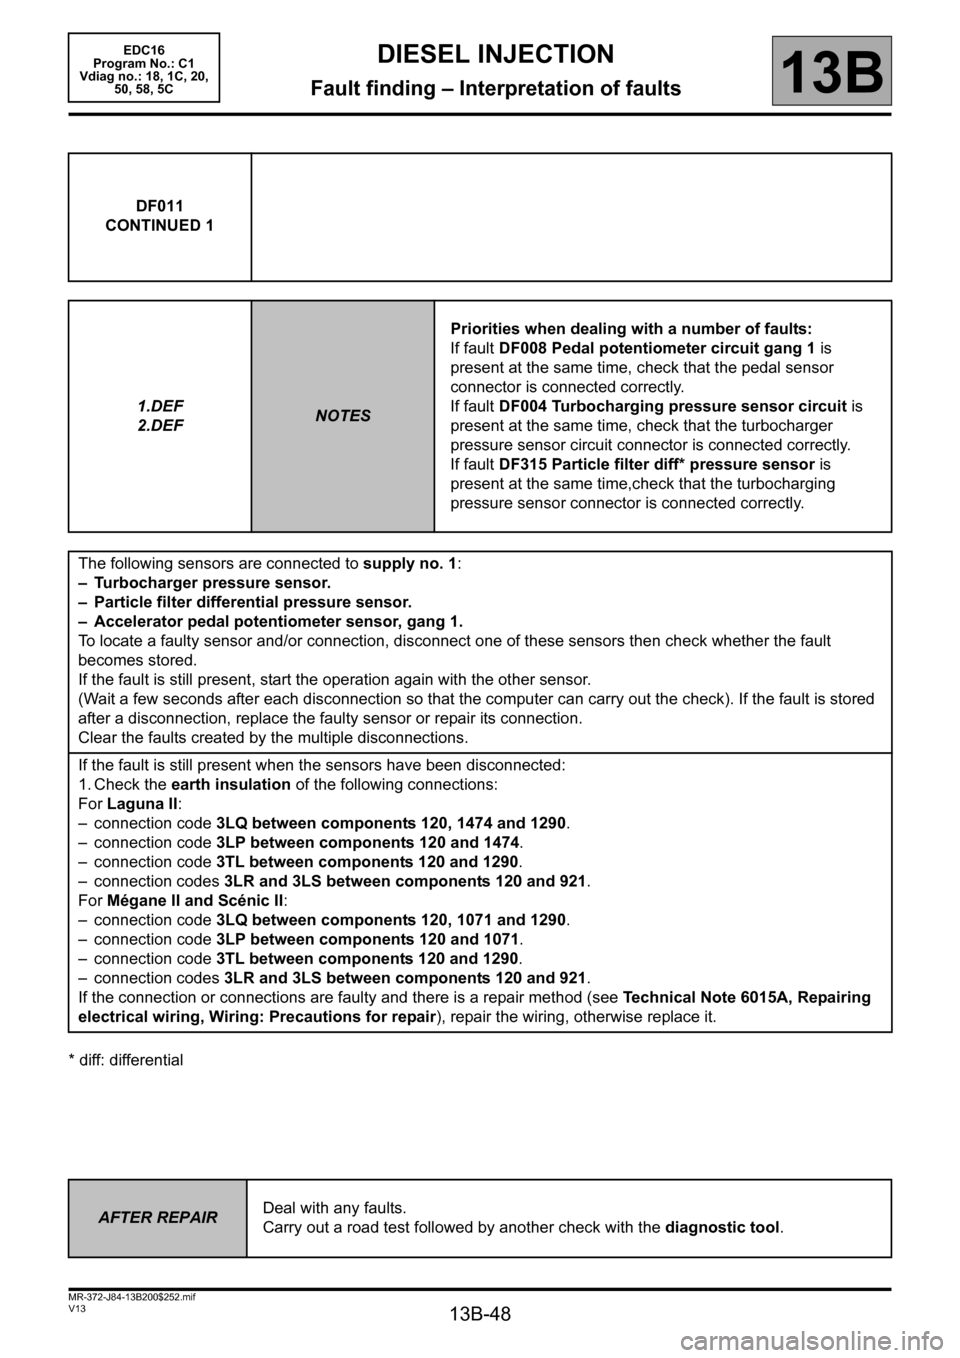
* diff: differentialDF011
CONTINUED 1
1.DEF
2.DEF
NOTESPriorities when dealing with a number of faults:
If fault DF008 Pedal potentiometer circuit gang 1 is
present at the same time, check that the pedal sensor
connector is connected correctly.
If fault DF004 Turbocharging pressure sensor circuit is
present at the same time, check that the turbocharger
pressure sensor circuit connector is connected correctly.
If fault DF315 Particle filter diff* pressure sensor is
present at the same time,check that the turbocharging
pressure sensor connector is connected correctly.
The following sensors are connected to supply no. 1:
– Turbocharger pressure sensor.
– Particle filter differential pressure sensor.
– Accelerator pedal potentiometer sensor, gang 1.
To locate a faulty sensor and/or connection, disconnect one of these sensors then check whether the fault
becomes stored.
If the fault is still present, start the operation again with the other sensor.
(Wait a few seconds after each disconnection so that the computer can carry out the check). If the fault is stored
after a disconnection, replace the faulty sensor or repair its connection.
Clear the faults created by the multiple disconnections.
If the fault is still present when the sensors have been disconnected:
1. Check the earth insulation of the following connections:
For Laguna II:
– connection code 3LQ between components 120, 1474 and 1290.
– connection code 3LP between components 120 and 1474.
– connection code 3TL between components 120 and 1290.
– connection codes 3LR and 3LS between components 120 and 921.
For Mégane II and Scénic II:
– connection code 3LQ between components 120, 1071 and 1290.
– connection code 3LP between components 120 and 1071.
– connection code 3TL between components 120 and 1290.
– connection codes 3LR and 3LS between components 120 and 921.
If the connection or connections are faulty and there is a repair method (see Technical Note 6015A, Repairing
electrical wiring, Wiring: Precautions for repair), repair the wiring, otherwise replace it.
AFTER REPAIRDeal with any faults.
Carry out a road test followed by another check with the diagnostic tool.
Page 49 of 365
13B-49
MR-372-J84-13B200$252.mif
V13
DIESEL INJECTION
Fault finding – Interpretation of faults
EDC16
Program No.: C1
Vdiag no.: 18, 1C, 20,
50, 58, 5C
13B
DF011
CONTINUED 2
2. Check the insulation against + 12 V of the following connections:
– connection code 3LP,
– connection code 3LN,
– connection code 3LQ,
– connection code3TL,
– connection code 3TK,
– connection code 3LT,
– connection code 3LS,
– connection code 3LR,
between components 120, 1071, 921 and 1290.
If the connection or connections are faulty and there is a repair method (see Technical Note 6015A, Repairing
electrical wiring, Wiring: Precautions for repair), repair the wiring, otherwise replace it.
3. Check the insulation between the following connections after disconnecting the sensors and the injection
computer:
– connection codes 3LN and 3LQ of the turbocharging pressure sensor,
– connection codes 3LQ and 3TK of the particle filter differential pressure sensor,
– connection codes 3LS and 3LU of pedal sensor gang 1.
If the connection or connections are faulty and there is a repair method (see Technical Note 6015A, Repairing
electrical wiring, Wiring: Precautions for repair), repair the wiring, otherwise replace it.
If these checks do not produce the correct results, replace the faulty sensor(s).
If the fault is still present, contact the Techline.
AFTER REPAIRDeal with any faults.
Carry out a road test followed by another check with the diagnostic tool.
Page 50 of 365
13B-50
MR-372-J84-13B200$252.mif
V13
DIESEL INJECTION
Fault finding – Interpretation of faults
EDC16
Program No.: C1
Vdiag no.: 18, 1C, 20,
50, 58, 5C
13B
DF012
PRESENT
OR
STOREDSENSOR SUPPLY VOLTAGE NO. 2
1.DEF: Sensor reference voltage too low
2DEF: Sensor reference voltage too high
NOTESConditions for applying the fault finding procedure to stored faults:
The fault is declared present after carrying out a road test or after several attempts at
starting the engine.
Special notes:
If the fault is present:
– the EGR functions and passenger compartment heating resistance functions are
inhibited,
– the cruise control/speed limiter function is inhibited,
– the engine speed is limited,
– the level 1 warning light is lit,
– the OBD warning light illuminates after three consecutive driving cycles (starting
+ 5 seconds + switch off the ignition and wait 1 minute).
Use bornier Elé.1681 or Elé.1590 for any operation on the injection computer
connectors.
WARNING
This fault may appear if the wiring harness has been damaged.
Follow the procedure described in the Wiring Check in the Introduction.
This check enables the condition and the conformity of the engine wiring harness to be checked.
Check the condition of the connectors of the EGR valve position sensor, component code 1460, of the
accelerator pedal potentiometer gang 2 sensor, component code 921 and of the refrigerant pressure
sensor, component code 1202.
Check the condition of the injection computer connector, component code 120.
If the connectors are faulty and if there is a repair procedure (see Technical Note 6015A, Repairing electrical
wiring, Wiring: Precautions for repair), repair the connector, otherwise replace the wiring.
The following sensors are connected to supply no. 2:
– EGR valve position sensor.
– Accelerator pedal potentiometer track 2 sensor.
– Refrigerant pressure sensor.
To locate a faulty sensor and/or connection, disconnect one of these sensors then check whether the fault
becomes stored.
If the fault is still present, repeat the operation with the other sensors.
(Wait a few seconds after each disconnection so that the computer can carry out the check).
If the fault is stored after a disconnection, replace the faulty sensor or repair its connection.
Clear the faults created by the multiple disconnections.
AFTER REPAIRDeal with any faults.
Carry out a road test followed by another check with the diagnostic tool.
EDC16_V50_DF012/EDC16_V58_DF012/EDC16_V5C_DF012/EDC16_V18_DF012/EDC16_V1C_DF012/EDC16_V20_DF012