wiring RENAULT SCENIC 2012 J95 / 3.G Engine And Peripherals EDC16CP33 Workshop Manual
[x] Cancel search | Manufacturer: RENAULT, Model Year: 2012, Model line: SCENIC, Model: RENAULT SCENIC 2012 J95 / 3.GPages: 510, PDF Size: 2.98 MB
Page 294 of 510
13B-294V12 MR-372-J84-13B300$101.mif
DIESEL INJECTION
Fault finding – Interpretation of statuses13B
ET285INJECTION -> AUTOMATIC TRANSMISSION CONNECTION
STATUS
DEFINITIONPRESENT
ABSENT
NOTESSpecial notes:
Only perform these tests if the statuses do not correspond with the system
programming functions.
Conformity check with engine stopped and ignition on, or engine running, and engine coolant
temperature > 80°C
PRESENTThere is a multiplex connection between the injection computer and the automatic
transmission computer.
ABSENTThere is no multiplex connection between the injection computer and the automatic
transmission computer, as there is a manual gearbox.
If there is an automatic transmission and the message ABSENT appears:
Run a multiplex network test (see 88B, Multiplex).
Check the continuity and insulation to earth of the following connections:
•3MS and 3MT between components 119 and 120.
If the connection or connections are faulty and there is a repair procedure (see
Technical Note 6015A, Electrical wiring repair, Wiring: Precautions for repair),
repair the wiring, otherwise replace it.
EDC16CP33_V18_ET285 / EDC16CP33_V1C_ET285 / EDC16CP33_V54_ET285 / EDC16CP33_V20_ET285 / EDC16CP33_V58_ET285 /
EDC16CP33_V5C_ET285 / EDC16CP33_V24_ET285 / EDC16CP33_V28_ET285 / EDC16CP33_V62_ET285 / EDC16CP33_V26_ET285 /
EDC16CP33_V60_ET285
AFTER REPAIRCarry out a road test, then check with the diagnostic tool.
EDC16CP33
Program No.: C4
Vdiag No.: 18, 1C, 20, 24,
26, 28, 54, 58, 5C, 60, 62
Page 297 of 510
13B-297V12 MR-372-J84-13B300$101.mif
DIESEL INJECTION
Fault finding – Interpretation of statuses13B
ET405
CONTINUED
"INACTIVE"
Check the condition and fitting of the clutch pedal switch.
Remove the clutch pedal switch, check the insulation between connections M
and86D of component 675, with the switch in the rest position.
If the connection or connections are faulty and there is a repair procedure (see
Technical Note 6015A, Electrical wiring repair, Wiring: Precautions for repair),
repair the wiring, otherwise replace it.
Repeat this operation with the switch pressed, and check the continuity between
the two connections.
If these 2 checks are faulty, replace the switch.
Then check the continuity and absence of interference resistance of the
following connection:
•86D between components120 and 675.
Check that the earth is in order on connectionM of component675.
If the connection or connections are faulty and there is a repair procedure (see
Technical Note 6015A, Electrical wiring repair, Wiring: Precautions for repair),
repair the wiring, otherwise replace it.
"ACTIVE"Check the condition and fitting of the clutch pedal switch.
Remove the clutch pedal switch, check the insulation between connections M
and86D of component 675, with the switch in the rest position.
– Repeat this operation with the switch pressed, and check the continuity
between the two connections.
If the connection or connections are faulty and there is a repair procedure (see
Technical Note 6015A, Electrical wiring repair, Wiring: Precautions for repair),
repair the wiring, otherwise replace it.
If these 2 checks are faulty, replace the switch.
AFTER REPAIRCarry out a road test, then check with the diagnostic tool.
EDC16CP33
Program No.: C4
Vdiag No.: 04, 08, 18, 1C,
20, 24, 26, 28, 34, 38, 44,
4C, 54, 58, 5C, 60, 62, 74
Page 311 of 510
13B-311V12 MR-372-J84-13B300$102.mif
13B
ET703
CONTINUED 1
Sensor electrical conformity
"INACTIVE"Status ET703 becomes INACTIVE when none of the cruise control / speed limiter
buttons is pressed. These buttons are located on the steering wheel.
If status ET703 does not display INACTIVE,
– check the condition of the cruise control / speed limiter +/- button and the condition
of its connector,
– check the condition of the cruise control / speed limiter R/0 button and the condition
of its connector.
"PLUS"Status ET703 becomes PLUS when the cruise control / speed limiter + button is
pressed. This button is on the steering wheel, on the left-hand side.
If status ET703 does not display INCREASE, check the condition of the cruise
control/speed limiter +/- button and the condition of its connector. Repair if necessary.
To perform these checks and measurements in complete safety, observe the
recommendations for removing the driver's front airbag (see MR Mechanical, 88C,
Airbag and pretensioners, Driver's front airbag: Removal - Refitting).
Measure the resistance of the following connections while pressing the + button
(on the button connections):
•86G of component 331,
•86M of component 331.
If the connection or connections are faulty and there is a repair procedure
(seeTechnical Note 6015A, Electrical wiring repair, Wiring: Precautions for
repair), repair the wiring, otherwise replace it.
If the resistance is not approximately 300 Ω, check the continuity of the connection
when the button is not pressed.
If there is continuity, replace the +/- control button.
If the connection or connections are faulty and there is a repair procedure
(seeTechnical Note 6015A, Electrical wiring repair, Wiring: Precautions for
repair), repair the wiring, otherwise replace it.
DIESEL INJECTION
Fault finding – Interpretation of statuses
AFTER REPAIRCarry out a road test, then check with the diagnostic tool.
EDC16CP33
Program No.: C4
VDiag No.: 04, 08, 18, 1C,
20, 24, 26, 28, 34, 38, 44,
4C, 54, 58, 5C, 60, 62, 74
Page 312 of 510
13B-312V12 MR-372-J84-13B300$102.mif
DIESEL INJECTION
Fault finding – Interpretation of statuses13B
ET703
CONTINUED 2
"MINUS"
Status ET703 becomes DECREASE when the - button of the cruise control/speed
limiter is pressed. This button is on the steering wheel, on the left-hand side.
If status ET703 does not change to MINUS, check the condition of the cruise control/
speed limiter +/- button, and the condition of its connector. Repair if necessary.
To perform these checks and measurements in complete safety, observe the
recommendations for removing the driver's front airbag (see MR Mechanical, 88C,
Airbag and pretensioners, Driver's front airbag: Removal - Refitting).
Measure the resistance of the following connections while pressing the - button
(on the button connections):
•86G of component 331,
•86M of component 331.
If the connection or connections are faulty and there is a repair procedure
(seeTechnical Note 6015A, Electrical wiring repair, Wiring: Precautions for
repair), repair the wiring, otherwise replace it.
If the resistance is not approximately 100 Ω check the continuity of the connection
when the button is not pressed.
If there is continuity, replace the +/- control button.
If the connection or connections are faulty and there is a repair procedure
(seeTechnical Note 6015A, Electrical wiring repair, Wiring: Precautions for
repair), repair the wiring, otherwise replace it.
AFTER REPAIRCarry out a road test, then check with the diagnostic tool.
EDC16CP33
Program No.: C4
VDiag No.: 04, 08, 18, 1C,
20, 24, 26, 28, 34, 38, 44,
4C, 54, 58, 5C, 60, 62, 74
Page 313 of 510
13B-313V12 MR-372-J84-13B300$102.mif
DIESEL INJECTION
Fault finding – Interpretation of statuses13B
ET703
CONTINUED 3
"SUSPEND"
Status ET703 becomes SUSPEND when the cruise control / speed limiter 0 button is
pressed. This button is located on the steering wheel, to the right.
If status ET703 does not change to SUSPEND, check the condition of the cruise
control / speed limiter R/0 button, and the condition of its connector.
To perform these checks and measurements in complete safety, observe the
recommendations for removing the driver's front airbag (see MR Mechanical, 88C,
Airbag and pretensioners, Driver's front airbag: Removal - Refitting).
Measure the resistance of the following connections while pressing the 0 button
(on the button connections):
•86G of component 331,
•86M of component 331.
If the connection or connections are faulty and there is a repair procedure
(seeTechnical Note 6015A, Electrical wiring repair, Wiring: Precautions for
repair), repair the wiring, otherwise replace it.
If the resistance is not approximately 0 Ω, replace the R/0 control button.
If there is continuity, replace the R/0 control button.
If there is a repair method (see Technical Note 6015A, Repairing electrical wiring,
Wiring: Precautions for repair), repair the wiring, otherwise replace it.
EDC16CP33
Program No.: C4
VDiag No.: 04, 08, 18, 1C,
20, 24, 26, 28, 34, 38, 44,
4C, 54, 58, 5C, 60, 62, 74
AFTER REPAIRCarry out a road test, then check with the diagnostic tool.
Page 314 of 510
13B-314V12 MR-372-J84-13B300$102.mif
DIESEL INJECTION
Fault finding – Interpretation of statuses13B
ET703
CONTINUED 4
"REACTIVATE"
Status ET703 becomes RESUME when the R button of the cruise control/speed
limiter is pressed. This button is located on the steering wheel, to the right.
If status ET703 does not change to RESUME, check the status of the cruise control/
speed limiter R/0 button, and the status of its connector. Repair if necessary.
To perform these checks and measurements in complete safety, observe the
recommendations for removing the driver's front airbag (see MR Mechanical, 88C,
Airbag and pretensioners, Driver's front airbag: Removal - Refitting).
Measure the resistance of the following connections while pressing the R button
(on the button connections):
•86G of component 331,
•86M of component 331.
If the connection or connections are faulty and there is a repair procedure
(seeTechnical Note 6015A, Electrical wiring repair, Wiring: Precautions for
repair), repair the wiring, otherwise replace it.
If the resistance is not approximately 900 Ω, check the continuity of the connection
when the button is not pressed.
If there is continuity, replace the R/0 control button.
If there is a repair method (see Technical Note 6015A, Repairing electrical wiring,
Wiring: Precautions for repair), repair the wiring, otherwise replace it.
AFTER REPAIRCarry out a road test, then check with the diagnostic tool.
EDC16CP33
Program No.: C4
VDiag No.: 04, 08, 18, 1C,
20, 24, 26, 28, 34, 38, 44,
4C, 54, 58, 5C, 60, 62, 74
Page 316 of 510

13B-316V12 MR-372-J84-13B300$102.mif
DIESEL INJECTION
Fault finding – Interpretation of statuses13B
ET704
ET705
CONTINUED 1
Sensor electrical conformity
"ACTIVE"
or
"INACTIVE"If the brake lights are working:
– check the continuity and the absence of interference resistance on the
following connection:
•5A between components 160 and 120 / 645 / 119.
If there is a repair procedure (see Technical Note 6015A, Electrical wiring repair,
Wiring: Precautions for repair), repair the wiring, otherwise replace the wiring.
If the brake lights are not operational, check:
– the condition and fitting of the brake switch,
– the condition and conformity of the brake light fuse,
– the conformity of the values in the following table:
For MEGANE II ph2 and SCENIC II ph2 with ESP:
Continuity between
connections:Insulation between
connections:
Switch engaged
(Brake pedal released)5A and BPT 65G and SP17
Switch released
(Brake pedal depressed)65G and SP17 5A and BPT
For MEGANE II ph2 and SCENIC II ph2 without ESP:
Continuity between
connections:Insulation between
connections:
Switch engaged
(Brake pedal released)5A BPT 65A SP17
Switch released
(Brake pedal depressed)65A SP17 5A BPT
EDC16CP33
Program No.: C4
VDiag No.: 04, 08, 18, 1C,
20, 24, 26, 28, 34, 38, 44,
4C, 54, 58, 5C, 60, 62, 74
AFTER REPAIRCarry out a road test, then check with the diagnostic tool.
Page 340 of 510
13B-340
AFTER REPAIRCarry out a road test, then check with the diagnostic tool.
V12 MR-372-J84-13B300$121.mif
DIESEL INJECTION
Fault finding – Interpretation of parameters13B
PR030ACCELERATOR PEDAL POSITION
PARAMETER
DEFINITIONThis parameter indicates the accelerator pedal position as a percentage.
NOTESThere must be no present or stored faults.
Perform this fault finding procedure:
– after finding an inconsistency in the parameter,
– after a customer complaint (e.g. lack of power, etc.).
Conformity check: Engine stopped and ignition on, or engine running, and engine coolant
temperature > 80°C
If no pressure is being applied to the pedal PR030 = 0%.
In the event of a fault, consult the interpretation of DF196 Pedal sensor circuit gang 1 or DF198 Pedal sensor
circuit gang 2.
Sensor electrical conformity
Check the continuity and absence of interference resistance of the following connections:
–3LR between components 120 and 921,
–3LS between components 120 and 921,
–3LT between components 120 and 921,
–3LU between components 120 and 921,
–3LW between components 120 and 921,
–3LV between components 120 and 921.
If the connection or connections are faulty and there is a repair procedure (see Technical Note 6015A, Electrical
wiring repair, Wiring: Precautions for repair), repair the wiring, otherwise replace it.
EDC16CP33_V18_PR030 / EDC16CP33_V1C_PR030 / EDC16CP33_V54_PR030 / EDC16CP33_V20_PR030 / EDC16CP33_V58_PR030 /
EDC16CP33_V5C_PR030 / EDC16CP33_V24_PR030 / EDC16CP33_V04_PR030 / EDC16CP33_V08_PR030 / EDC16CP33_V44_PR030 /
EDC16CP33_V4C_PR030 / EDC16CP33_V34_PR030 / EDC16CP33_V38_PR030 / EDC16CP33_V74_PR030 / EDC16CP33_V28_PR030 /
EDC16CP33_V62_PR030 / EDC16CP33_V26_PR030 / EDC16CP33_V60_PR030
EDC16CP33
Program No.: C4
VDiag No.: 04, 08, 18, 1C,
20, 24, 26, 28, 34, 38, 44,
4C, 54, 58, 5C, 60, 62, 74
Page 345 of 510
13B-345
AFTER REPAIRCarry out a road test, then check with the diagnostic tool.
V12 MR-372-J84-13B300$121.mif
DIESEL INJECTION
Fault finding – Interpretation of parameters13B
PR038
CONTINUED
Sensor electrical conformity
Check the condition of the rail pressure sensor connector (see Wiring Diagram Technical Note, Vehicle,
Component code 1032).
Check the condition of the engine management computer connector (see Wiring Diagram Technical Note,
Vehicle, Component code 120).
If one of the connectors is faulty and there is a repair procedure (see Technical Note 6015A, Electrical wiring
repair, Wiring: Precautions for repair), repair the connector, otherwise replace the wiring.
Check the continuity and absence of interference resistance of the following connections:
•3LX between components 120 and 1032,
•3LY between components 120 and 1032,
•3LZ between components 120 and 1032.
If the connection or connections are faulty and there is a repair procedure (see Technical Note 6015A, Electrical
wiring repair, Wiring: Precautions for repair), repair the wiring, otherwise replace it.
Check that there are no external diesel leaks from the high pressure fuel circuit.
With the ignition on and the engine stopped for over 1 minute:
View parameter PR038 Rail pressure.
– If the pressure is below 90 bar, the sensor is in order.
– If the pressure is above 90 bar, contact the Techline.
EDC16CP33
Program No.: C4
VDiag No.: 04, 08, 18, 1C,
20, 24, 26, 28, 34, 38, 44,
4C, 54, 58, 5C, 60, 62, 74
Page 347 of 510
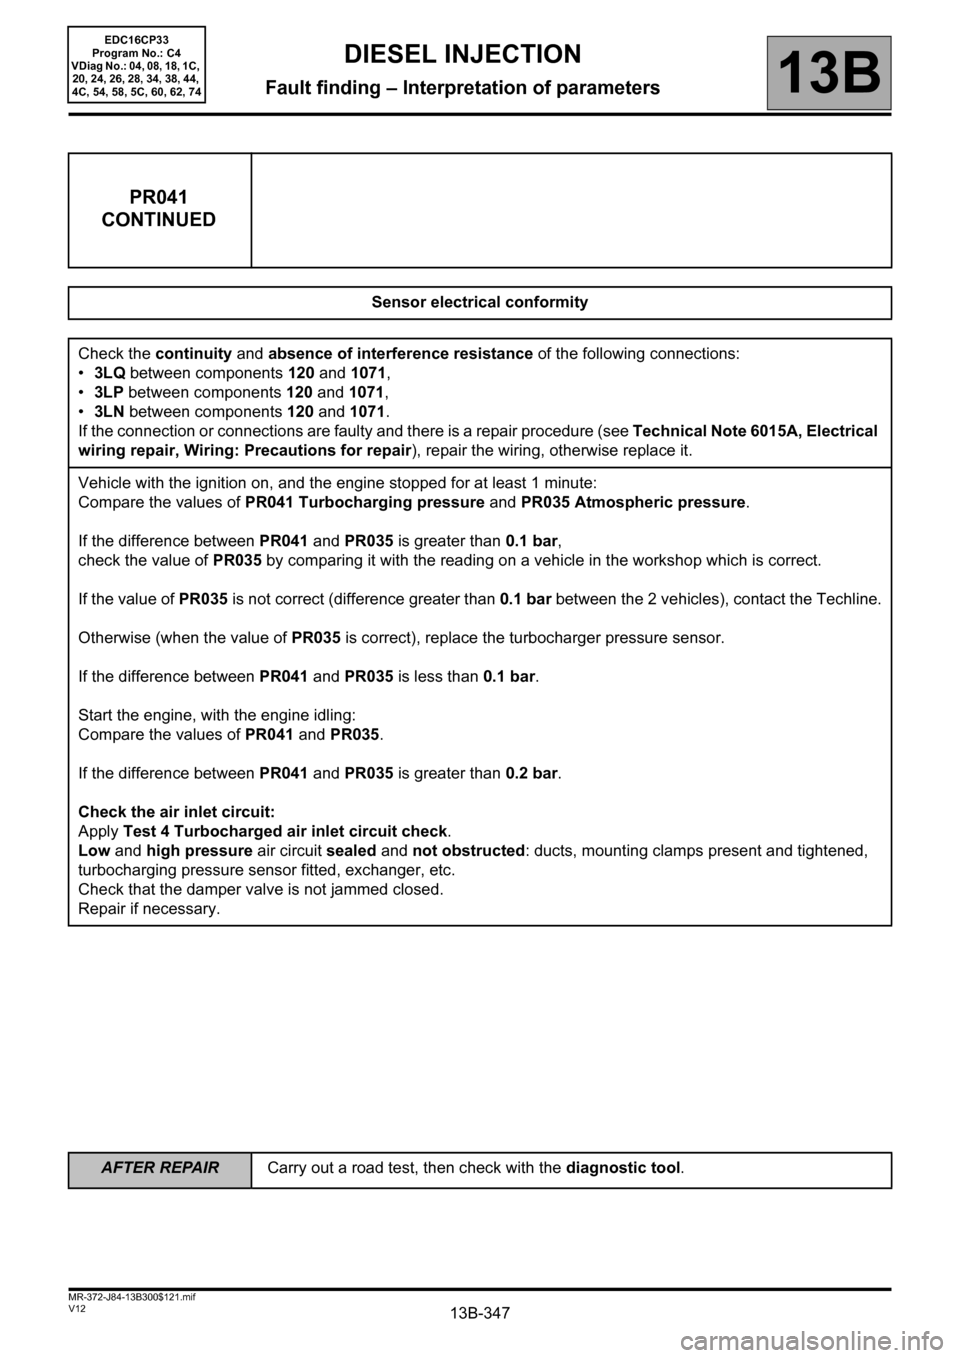
13B-347
AFTER REPAIRCarry out a road test, then check with the diagnostic tool.
V12 MR-372-J84-13B300$121.mif
DIESEL INJECTION
Fault finding – Interpretation of parameters13B
PR041
CONTINUED
Sensor electrical conformity
Check the continuity and absence of interference resistance of the following connections:
•3LQ between components 120 and 1071,
•3LP between components 120 and 1071,
•3LN between components 120 and 1071.
If the connection or connections are faulty and there is a repair procedure (see Technical Note 6015A, Electrical
wiring repair, Wiring: Precautions for repair), repair the wiring, otherwise replace it.
Vehicle with the ignition on, and the engine stopped for at least 1 minute:
Compare the values of PR041 Turbocharging pressure and PR035 Atmospheric pressure.
If the difference between PR041 and PR035 is greater than 0.1 bar,
check the value of PR035 by comparing it with the reading on a vehicle in the workshop which is correct.
If the value of PR035 is not correct (difference greater than 0.1 bar between the 2 vehicles), contact the Techline.
Otherwise (when the value of PR035 is correct), replace the turbocharger pressure sensor.
If the difference between PR041 and PR035 is less than 0.1 bar.
Start the engine, with the engine idling:
Compare the values of PR041 and PR035.
If the difference between PR041 and PR035 is greater than 0.2 bar.
Check the air inlet circuit:
Apply Test 4 Turbocharged air inlet circuit check.
Low and high pressure air circuit sealed and not obstructed: ducts, mounting clamps present and tightened,
turbocharging pressure sensor fitted, exchanger, etc.
Check that the damper valve is not jammed closed.
Repair if necessary.
EDC16CP33
Program No.: C4
VDiag No.: 04, 08, 18, 1C,
20, 24, 26, 28, 34, 38, 44,
4C, 54, 58, 5C, 60, 62, 74