torque RENAULT TWINGO 2009 2.G Chasiss Repair Manual
[x] Cancel search | Manufacturer: RENAULT, Model Year: 2009, Model line: TWINGO, Model: RENAULT TWINGO 2009 2.GPages: 281
Page 106 of 281

33A-8
REAR AXLE COMPONENTS
Rear brake calliper: Removal - Refitting
EQ UIPMENT LEVEL SPORT
33A
aPush the piston to the bottom of its housing using
the (Fre. 1190-01).
II - REFITTING OPERATION FOR PART
CONCERNED
aRefit the brake calliper on the calliper mounting.
aTorque tighten:
-the new bolts on the brake calliper guide pins
(35 N.m),
-the brake pipe union on the calliper (13 N.m).
aFit the parking brake cable.
aClip the handbrake on the brake calliper.
III - FINAL OPERATION
aRefit the rear wheel (see 35A, Wheels and tyres,
Wheel: Removal - Refitting, page 35A-1) .
aRemove the pedal press from the brake pedal.
aBleed the brake circuit (see 30A, General informa-
tion, Braking circuit: Bleed, page 30A-4) .
106309
IMPORTANT
To avoid any accident, bring the pistons, brake
pads and brake discs into contact by depressing
the brake pad several times.
Page 107 of 281
33A-9
REAR AXLE COMPONENTS
Rear brake calliper mounting: Removal - Refitting
EQ UIPMENT LEVEL SPORT
33A
REMOVAL
I - REMOVAL PREPARATION OPERATION
aPosition the vehicle on a two-post lift (see Vehicle:
Towing and lifting) (02A, Lifting equipment).
aRelease the parking brake.
aRemove:
-the rear wheel (see 35A, Wheels and tyres,
Wheel: Removal - Refitting, page 35A-1) ,
-the rear brake pads (see 33A, Rear axle compo-
nents, Rear brake pads: Removal - Refitting,
page 33A-1) .aRemove:
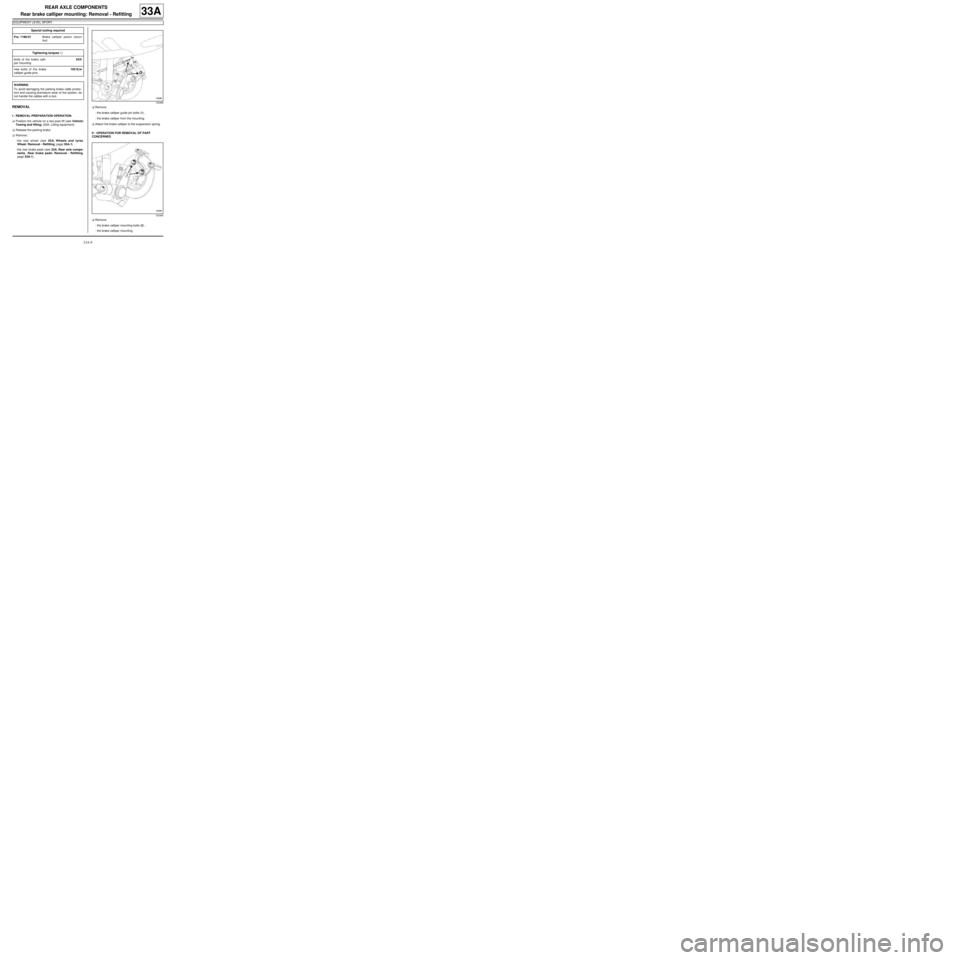
-the brake calliper guide pin bolts (1) ,
-the brake calliper from the mounting.
aAttach the brake calliper to the suspension spring.
II - OPERATION FOR REMOVAL OF PART
CONCERNED
aRemove:
-the brake calliper mounting bolts (2) ,
-the brake calliper mounting. Special tooling required
Fre. 1190-01Brake calliper piston return
tool.
Tightening torquesm
bolts of the brake calli-
per mountingXXX
new bolts of the brake
calliper guide pins105 N.m
WARNING
To avoid damaging the parking brake cable protec-
tors and causing premature wear of the system, do
not handle the cables with a tool.
132468
132465
Page 108 of 281
33A-10
REAR AXLE COMPONENTS
Rear brake calliper mounting: Removal - Refitting
EQ UIPMENT LEVEL SPORT
33A
REFITTING
I - REFITTING PREPARATION OPERATION
aClean using a wire brush and BRAKE CLEANER
(see Vehicle: Parts and consumables for the re-
pair) (04B, Consumables - Products):
-the calliper supports,
-the callipers.
aAlways replace:
-the calliper mounting bolts,
-the calliper guide pin bolts.
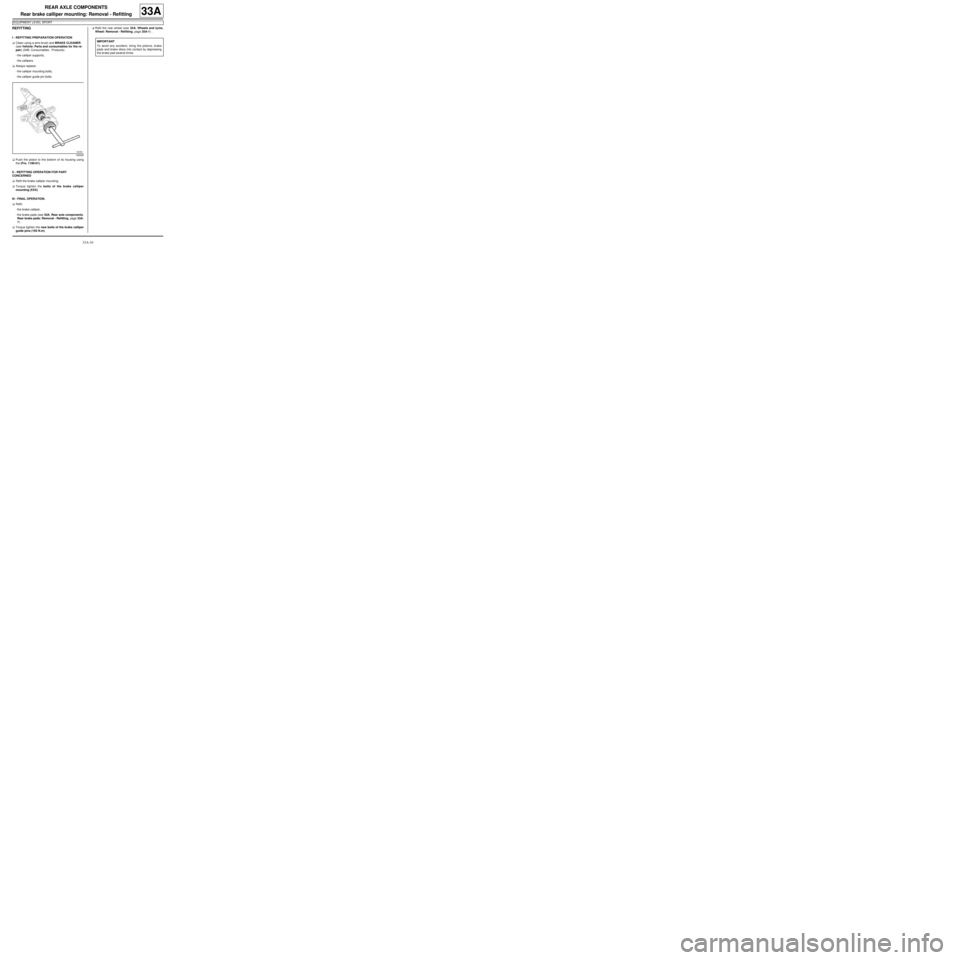
aPush the piston to the bottom of its housing using
the (Fre. 1190-01).
II - REFITTING OPERATION FOR PART
CONCERNED
aRefit the brake calliper mounting.
aTorque tighten the bolts of the brake calliper
mounting (XXX).
III - FINAL OPERATION.
aRefit:
-the brake calliper,
-the brake pads (see 33A, Rear axle components,
Rear brake pads: Removal - Refitting, page 33A-
1) .
aTorque tighten the new bolts of the brake calliper
guide pins (105 N.m).aRefit the rear wheel (see 35A, Wheels and tyres,
Wheel: Removal - Refitting, page 35A-1) .
106309
IMPORTANT
To avoid any accident, bring the pistons, brake
pads and brake discs into contact by depressing
the brake pad several times.
Page 109 of 281

33A-11
REAR AXLE COMPONENTS
Rear brake disc: Removal - Refitting
EQ UIPMENT LEVEL SPORT
33A
Brake discs cannot be reground. If there is excessive
scoring or wear, they will need to be replaced (see
30A, General information, Brake: Specifications,
page 30A-19) .
REMOVAL
I - REMOVAL PREPARATION OPERATION
aPosition the vehicle on a two-post lift (see Vehicle:
Towing and lifting) (02A, Lifting equipment).
aRemove:
-the rear wheels (see 35A, Wheels and tyres,
Wheel: Removal - Refitting, page 35A-1) ,
-the rear brake pads (see 33A, Rear axle compo-
nents, Rear brake pads: Removal - Refitting,
page 33A-1) .aRemove:
-the brake calliper mounting bolts (1) ,
-the "brake calliper mounting - brake calliper" as-
sembly.
aAttach the "calliper mounting - brake calliper" to the
shock absorber spring.
II - OPERATION FOR REMOVAL OF PART
CONCERNED
aRemove the hub's nut cover (2) . Equipment required
par ts washer
Tightening torquesm
new hub nut175 N.m
brake calliper mounting
bolts105 N.m
WARNING
To avoid damaging the parking brake cable protec-
tors and causing premature wear of the system, do
not handle the cables with a tool.
132467
132456
Page 110 of 281
33A-12
REAR AXLE COMPONENTS
Rear brake disc: Removal - Refitting
EQ UIPMENT LEVEL SPORT
33A
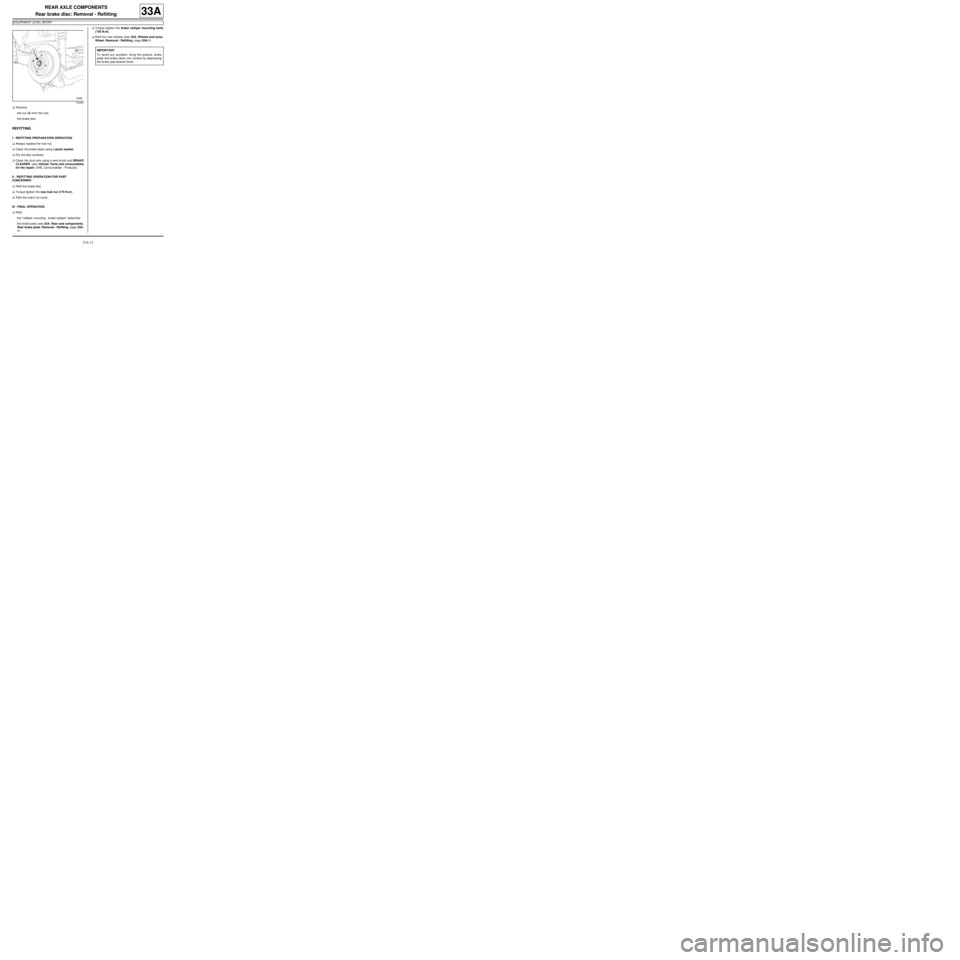
aRemove:
-the nut (3) from the hub,
-the brake disc.
REFITTING
I - REFITTING PREPARATION OPERATION
aAlways replace the hub nut.
aClean the brake discs using a parts washer.
aDry the disc surfaces.
aClean the stub axle using a wire brush and BRAKE
CLEANER (see Vehicle: Parts and consumables
for the repair) (04B, Consumables - Products).
II - REFITTING OPERATION FOR PART
CONCERNED
aRefit the brake disc.
aTorque tighten the new hub nut (175 N.m ).
aRefit the hub's nut cover.
III - FINAL OPERATION.
aRefit:
-the "calliper mounting - brake calliper" assembly,
-the brake pads (see 33A, Rear axle components,
Rear brake pads: Removal - Refitting, page 33A-
1) .aTorque tighten the brake calliper mounting bolts
(105 N.m).
aRefit the rear wheels (see 35A, Wheels and tyres,
Wheel: Removal - Refitting, page 35A-1) .
132455
IMPORTANT
To avoid any accident, bring the pistons, brake
pads and brake discs into contact by depressing
the brake pad several times.
Page 115 of 281
33A-17
REAR AXLE COMPONENTS
Rear brake cylinder: Removal - Refitting
33A
REMOVAL
I - OPERATION FOR PREPARATION OF PART
CONCERNED
aPosition the vehicle on a lift ( (see Vehicle: Towing
and lifting) ).
aRelease the parking brake.
aRemove:
-the rear wheels (see 35A, Wheels and tyres,
Wheel: Removal - Refitting, page 35A-1) ,
-the rear brake drum (see 33A, Rear axle compo-
nents, Rear brake drum: Removal - Refitting,
page 33A-19) .
II - REMOVAL OPERATION FOR PART
CONCERNED
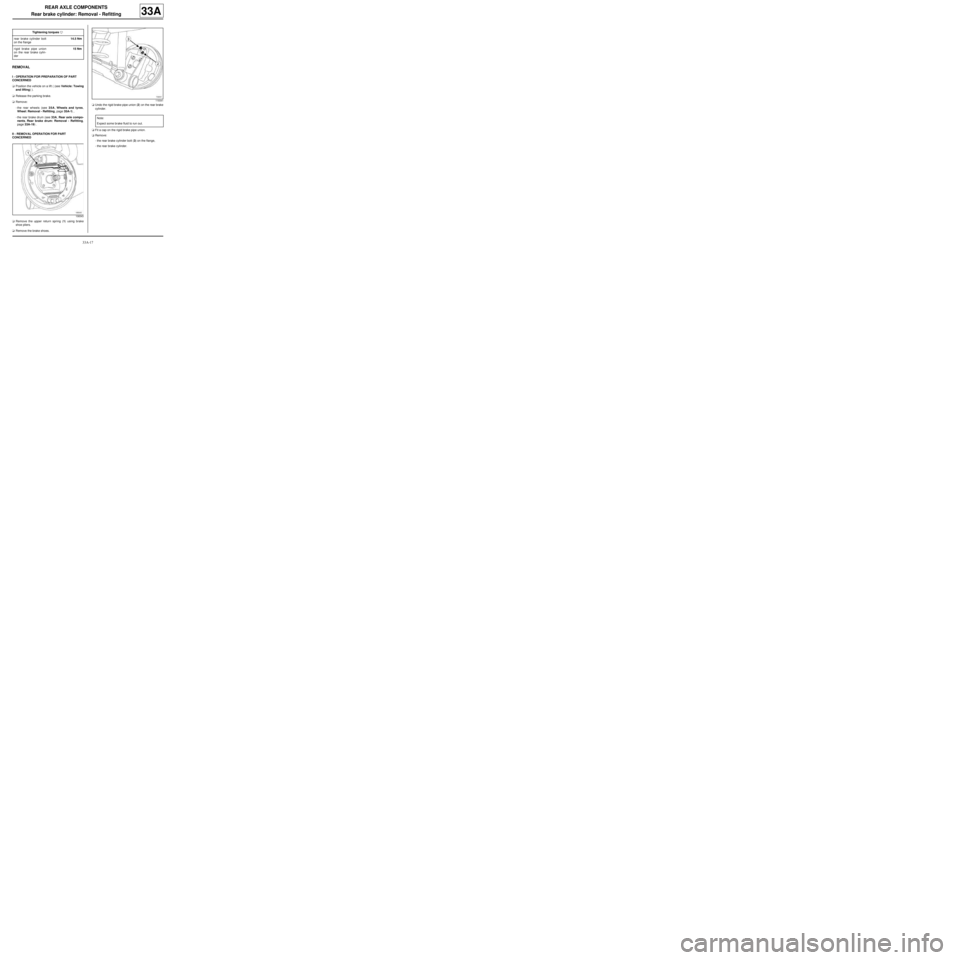
aRemove the upper return spring (1) using brake
shoe pliers.
aRemove the brake shoes.aUndo the rigid brake pipe union (2) on the rear brake
cylinder.
aFit a cap on the rigid brake pipe union.
aRemove:
-the rear brake cylinder bolt (3) on the flange,
-the rear brake cylinder. Tightening torquesm
rear brake cylinder bolt
on the flange14.5 Nm
rigid brake pipe union
on the rear brake cylin-
der15 Nm
108343
119341
Note:
Expect some br ake fluid to run out.
Page 116 of 281
33A-18
REAR AXLE COMPONENTS
Rear brake cylinder: Removal - Refitting
33A
REFITTING
I - REFITTING PREPARATIONS OPERATION
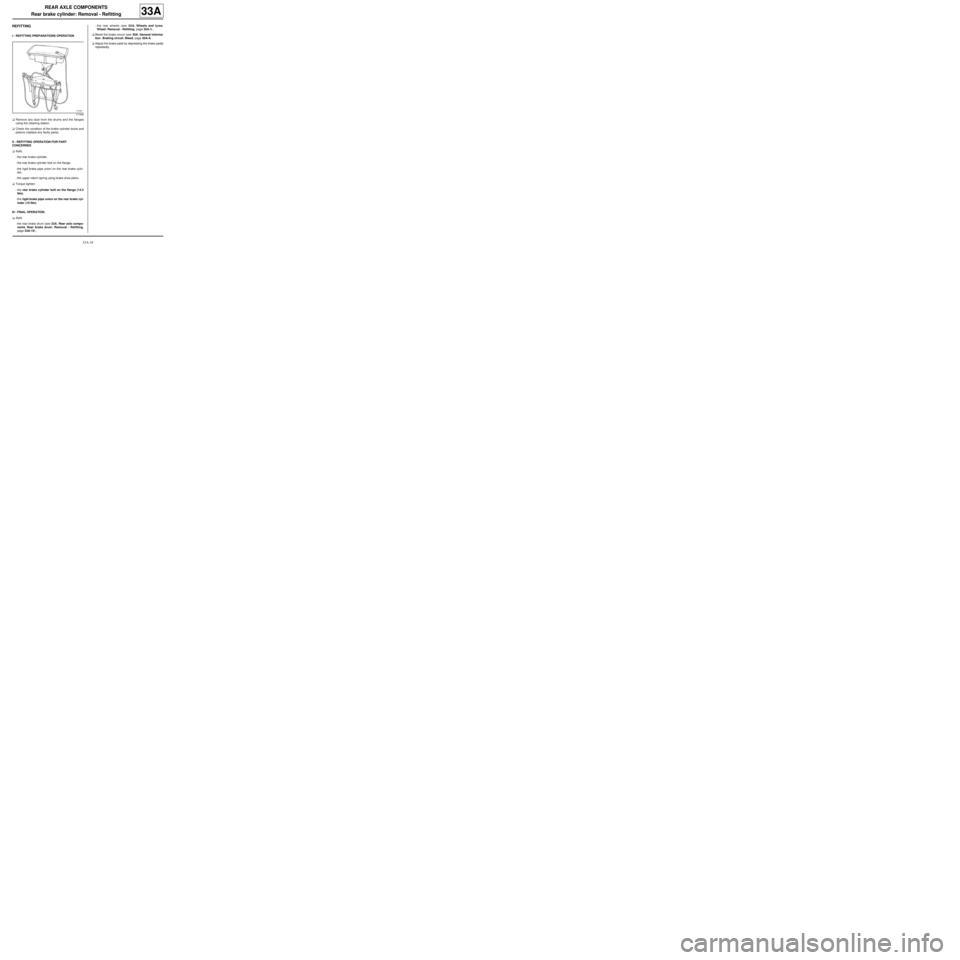
aRemove any dust from the drums and the flanges
using the cleaning station.
aCheck the condition of the brake cylinder boots and
pistons (replace any faulty parts).
II - REFITTING OPERATION FOR PART
CONCERNED
aRefit:
-the rear brake cylinder,
-the rear brake cylinder bolt on the flange,
-the rigid brake pipe union on the rear brake cylin-
der,
-the upper return spring using brake shoe pliers.
aTorque tighten:
-the rear brake cylinder bolt on the flange (14.5
Nm),
-the rigid brake pipe union on the rear brake cyl-
inder (15 Nm).
III - FINAL OPERATION.
aRefit:
-the rear brake drum (see 33A, Rear axle compo-
nents, Rear brake drum: Removal - Refitting,
page 33A-19) ,-the rear wheels (see 35A, Wheels and tyres,
Wheel: Removal - Refitting, page 35A-1) .
aBleed the brake circuit (see 30A, General informa-
tion, Braking circuit: Bleed, page 30A-4) .
aAdjust the brake pads by depressing the brake pedal
repeatedly.
117348
Page 117 of 281
33A-19
REAR AXLE COMPONENTS
Rear brake drum: Removal - Refitting
33A
When a brake drum is replaced, the brake drum on the
opposite side must be replaced as well.
Always replace the brake pads if the brake drums are
being replaced.
REMOVAL
I - REMOVAL PREPARATION OPERATION
aPosition the vehicle on a two-post lift (see Vehicle:
Towing and lifting) (02A, Lifting equipment).
aRelease the parking brake.
aRemove the rear wheels (see 35A, Wheels and ty-
res, Wheel: Removal - Refitting, page 35A-1) .II - OPERATION FOR REMOVAL OF PART
CONCERNED
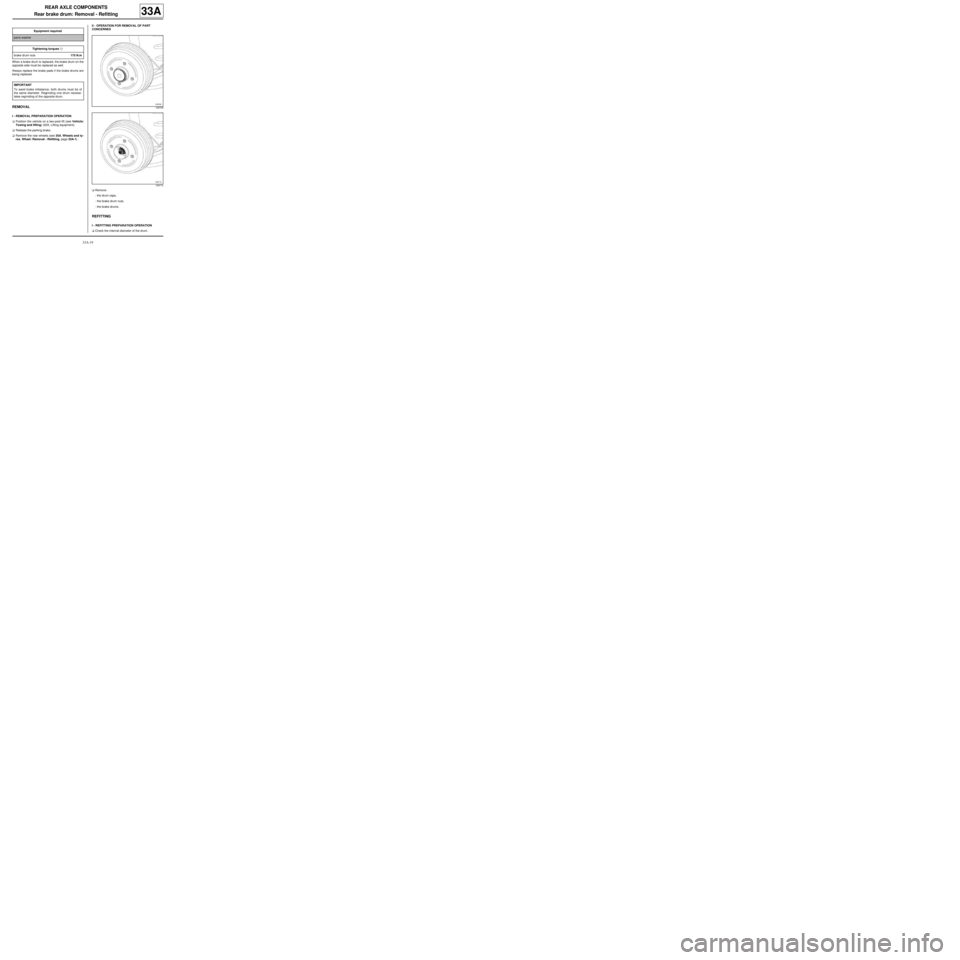
aRemove:
-the drum caps,
-the brake drum nuts,
-the brake drums.
REFITTING
I - REFITTING PREPARATION OPERATION
aCheck the internal diameter of the drum. Equipment required
par ts washer
Tightening torquesm
brake drum nuts175 N.m
IMPORTANT
To avoid brake imbalance, both drums must be of
the same diameter. Regrinding one drum necessi-
tates regrinding of the opposite drum.
109709
109710
Page 118 of 281
33A-20
REAR AXLE COMPONENTS
Rear brake drum: Removal - Refitting
33A
aAlways replace the brake drum nuts.
aparts always to be replaced: rear drum cap.
aReplace any faulty parts.
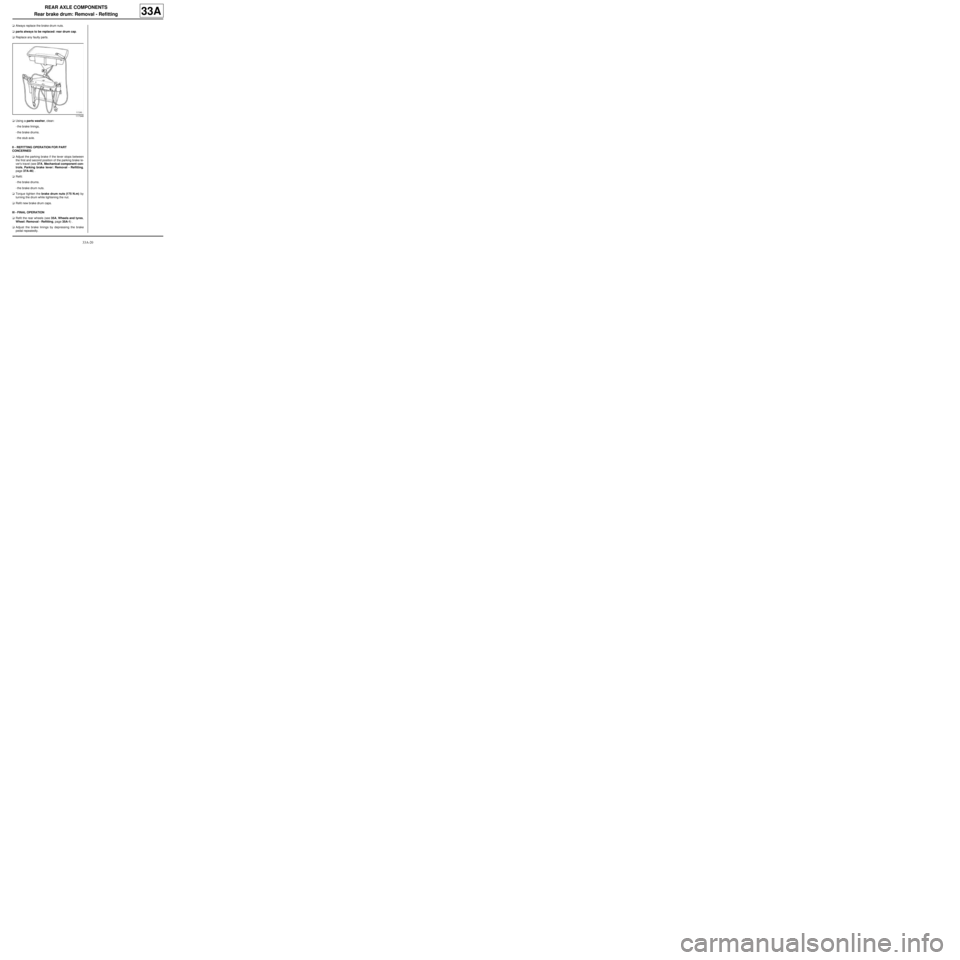
aUsing a parts washer, clean:
-the brake linings,
-the brake drums.
-the stub axle.
II - REFITTING OPERATION FOR PART
CONCERNED
aAdjust the parking brake if the lever stops between
the first and second position of the parking brake le-
ver's travel (see 37A, Mechanical component con-
trols, Parking brake lever: Removal - Refitting,
page 37A-46) .
aRefit:
-the brake drums.
-the brake drum nuts.
aTorque tighten the brake drum nuts (175 N.m) by
turning the drum while tightening the nut.
aRefit new brake drum caps.
III - FINAL OPERATION
aRefit the rear wheels (see 35A, Wheels and tyres,
Wheel: Removal - Refitting, page 35A-1) .
aAdjust the brake linings by depressing the brake
pedal repeatedly.
117348
Page 120 of 281
33A-22
REAR AXLE COMPONENTS
Rigid brake pipe: Removal - Refitting
C44
33A
The pipes have a rigid section and a flexible section.
REMOVAL
I - REMOVAL PREPARATION OPERATION
aPosition the vehicle on a two-post lift ( (see Vehicle:
Towing and lifting) ).
aFit the pedal press tool to the brake pedal to limit
the escape of brake fluid.II - OPERATION FOR REMOVAL OF PART
CONCERNED
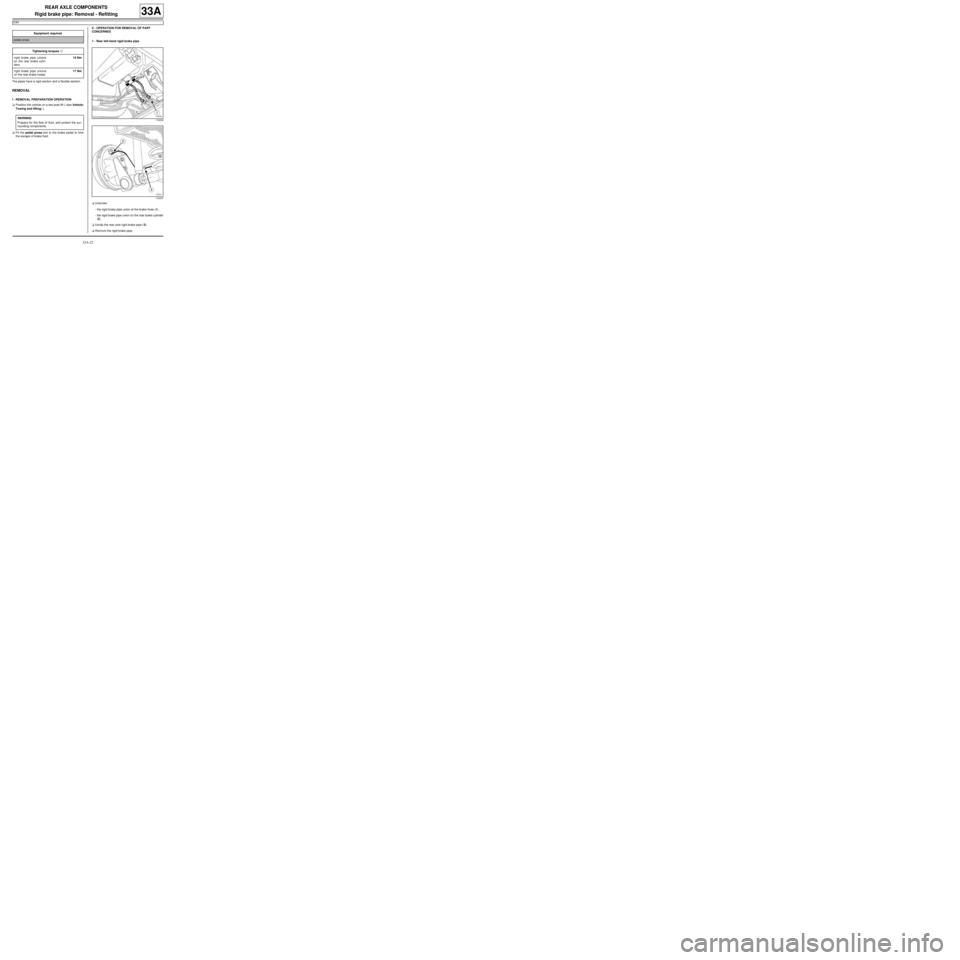
1 - Rear left-hand rigid brake pipe
aUnscrew:
-the rigid brake pipe union at the brake hose (1) .
-the rigid brake pipe union on the rear brake cylinder
(2) .
aUnclip the rear axle rigid brake pipe (3) .
aRemove the rigid brake pipe. Equipment required
pedal press
Tightening torquesm
rigid brake pipe unions
on the rear brake cylin-
ders15 Nm
rigid brake pipe unions
on the rear brake hoses17 Nm
WARNING
Prepare for the flow of fluid, and protect the sur-
rounding components.
119339
119337