RENAULT TWINGO 2009 2.G Chasiss Manual PDF
Manufacturer: RENAULT, Model Year: 2009, Model line: TWINGO, Model: RENAULT TWINGO 2009 2.GPages: 281
Page 71 of 281

31A-28
FRONT AXLE COMPONENTS
Front hub carrier bearing: Removal - Refitting
31A
II - REFITTING OPERATION FOR PART
CONCERNED
aRefit the bearing using a hydraulic press, taking hold
of the outer bush with a pipe with an outer diame-
ter of 70 mm (8) .
aRefit the circlip.aRefit the hub (9) using a hydraulic press, taking hold
of the bearing's internal bush with a pipe with an
outer diameter of 50 mm (10) .
III - FINAL OPERATION.
aRefit:
-the front driveshaft hub carrier (see 31A, Front
axle components, Front driveshaft hub carrier:
Removal - Refitting, page 31A-23) ,
-the brake disc (see 31A, Front axle components,
Front brake disc: Removal - Refitting, page 31A-
19) ,
-the calliper mounting (see 31A, Front axle com-
ponents, Front brake calliper mounting: Re-
moval - Refitting, page 31A-14) ,
-the front brake pads (see 31A, Front axle compo-
nents, Front brake pads: Removal - Refitting,
page 31A-1) ,
-the front wheel on the side in question (see 35A,
Wheels and tyres, Wheel: Removal - Refitting,
page 35A-1) .
114182
WARNING
Do not press the bearing's inner bush so as to
avoid damaging the bearing (very high shrink-fit-
ting force).
Note:
the black side of the bearing must be fitted on the
circlip side.
114183
Page 72 of 281
31A-29
FRONT AXLE COMPONENTS
Front shock absorber and spring: Removal - Refitting31A
REMOVAL
I - REMOVAL PREPARATION OPERATION
aPosition the vehicle on a two-post lift (see Vehicle:
Towing and lifting) (02A, Lifting equipment).
aDisconnect the battery (see ) (80A, Battery).
aRemove the front wheels (see 35A, Wheels and ty-
res, Wheel: Removal - Refitting, page 35A-1) .II - OPERATION FOR REMOVAL OF PART
CONCERNED
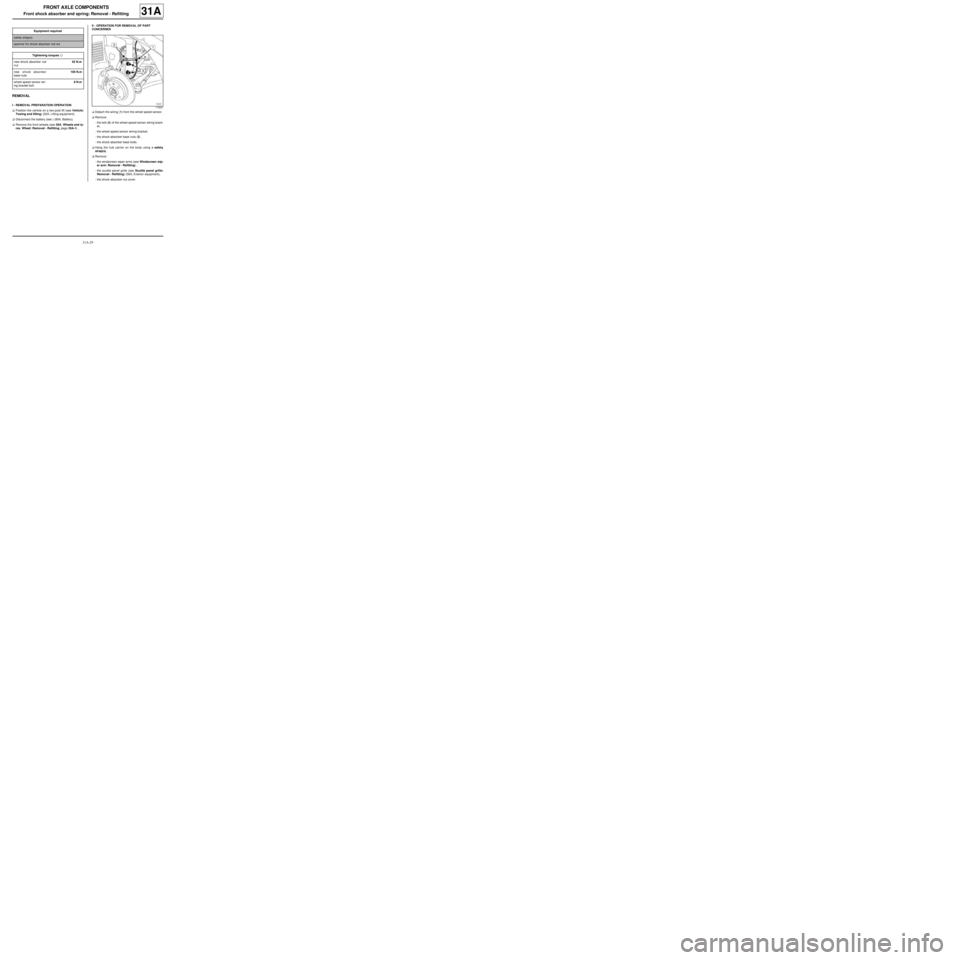
aDetach the wiring (1) from the wheel speed sensor.
aRemove:
-the bolt (2) of the wheel speed sensor wiring brack-
et,
-the wheel speed sensor wiring bracket,
-the shock absorber base nuts (3) ,
-the shock absorber base bolts.
aHang the hub carrier on the body using a safety
strap(s).
aRemove:
-the windscreen wiper arms (see Windscreen wip-
er arm: Removal - Refitting) ,
-the scuttle panel grille (see Scuttle panel grille:
Removal - Refitting) (56A, Exterior equipment),
-the shock absorber nut cover. Equipment required
safety strap(s)
spanner for shock absorber rod nut
Tightening torquesm
new shock absorber rod
nut62 N.m
new shock absorber
base nuts105 N.m
wheel speed sensor wir-
ing bracket bolt8 N.m
119221
Page 73 of 281
31A-30
FRONT AXLE COMPONENTS
Front shock absorber and spring: Removal - Refitting31A
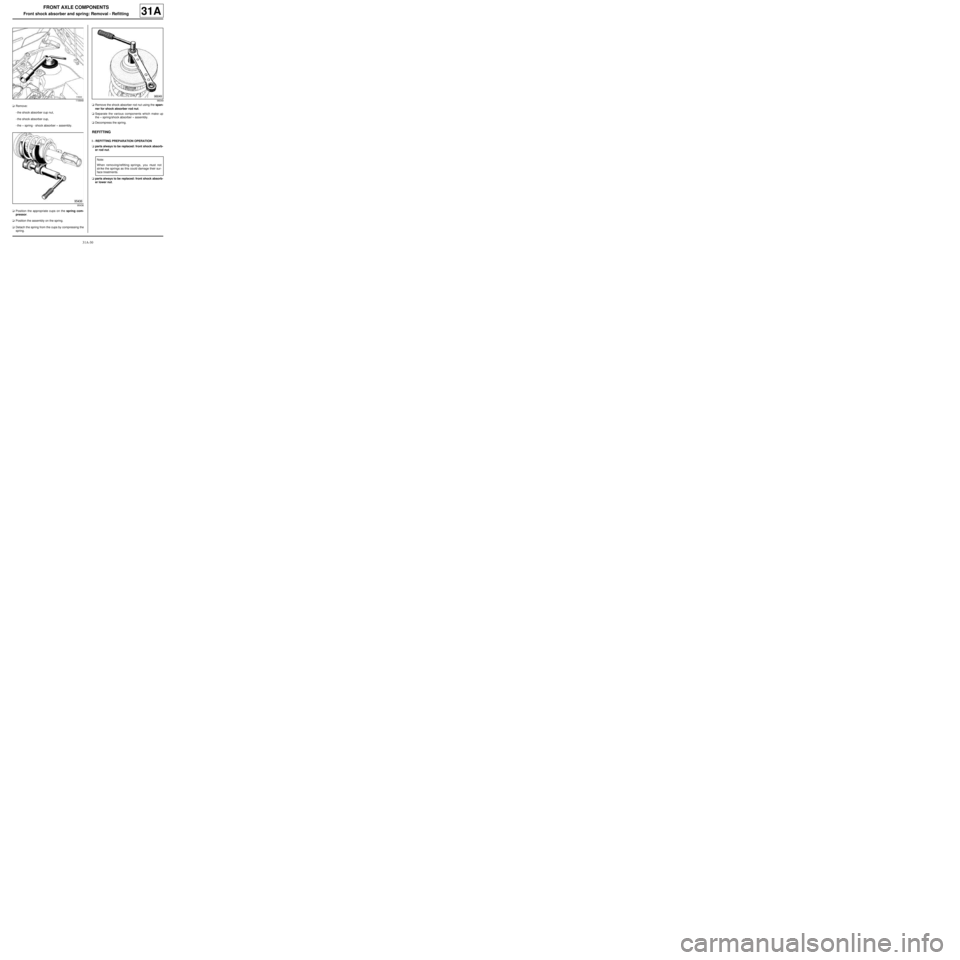
aRemove:
-the shock absorber cup nut,
-the shock absorber cup,
-the « spring - shock absorber » assembly.
aPosition the appropriate cups on the spring com-
pressor.
aPosition the assembly on the spring.
aDetach the spring from the cups by compressing the
spring.aRemove the shock absorber rod nut using the span-
ner for shock absorber rod nut.
aSeparate the various components which make up
the « spring/shock absorber » assembly.
aDecompress the spring.
REFITTING
I - REFITTING PREPARATION OPERATION
aparts always to be replaced: front shock absorb-
er rod nut.
aparts always to be replaced: front shock absorb-
er lower nut.
118948
9543696049
Note:
When removing/refitting springs, you must not
str ike the springs as this could damage their sur-
face treatments.
Page 74 of 281
31A-31
FRONT AXLE COMPONENTS
Front shock absorber and spring: Removal - Refitting31A
a
II - REFITTING OPERATION FOR PART
CONCERNED
aPlace the spring compressor tool in the vice fitted
with jaws.
aCompress the spring.
aInsert the spring in the neck of the cup.aRespect the order and direction of fitting for the con-
stituent parts.
aTorque tighten the new shock absorber rod nut
(62 N.m).
aDecompress the spring.
aRemove the spring compressor tool.
aRefit:
-the « spring/shock absorber » assembly,
-the shock absorber cup,
-the shock absorber nut cover.
aRemove the safety strap(s).
aRefit:
-the shock absorber base bolts,
-the shock absorber base nuts,
-the wheel speed sensor wiring bracket,
-the bolt of the wheel speed sensor wiring bracket.
aTighten to torque:
-the new shock absorber base nuts (105 N.m),
-the wheel speed sensor wiring bracket bolt (8
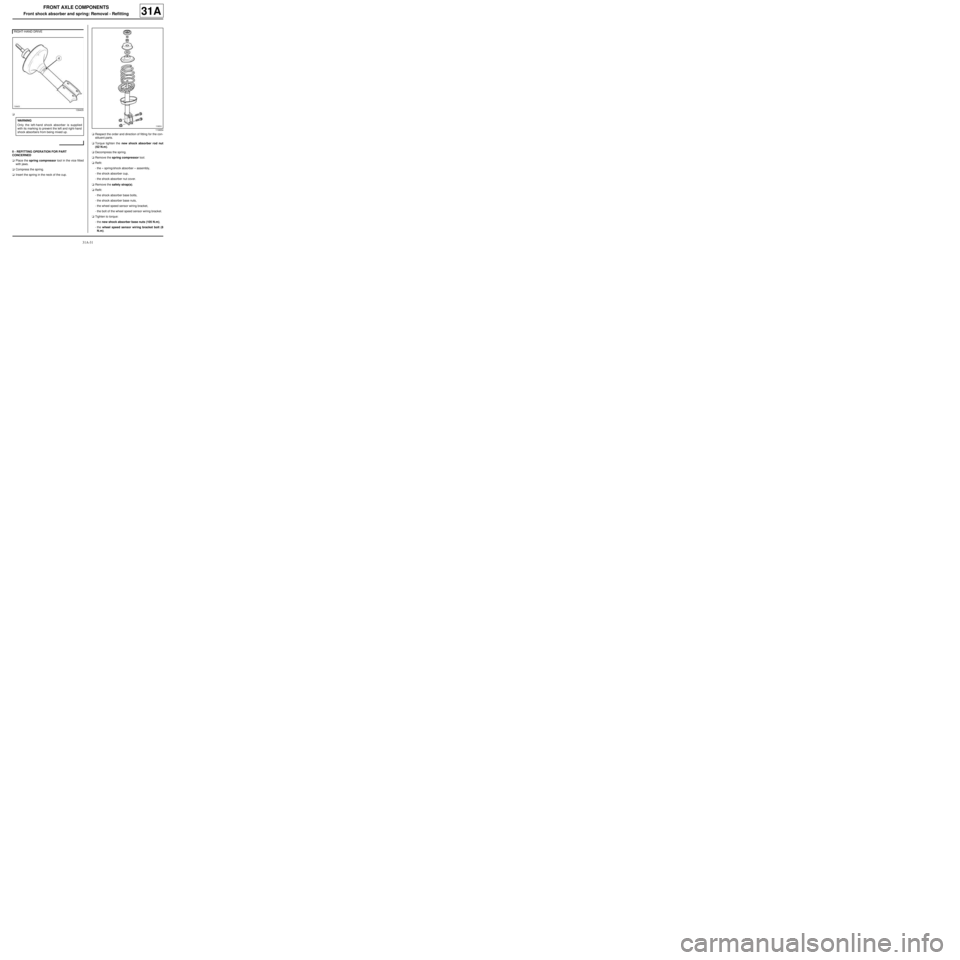
N.m). RIGHT-HAND DRIVE
139405
WARNING
Only the left-hand shock absorber is supplied
with its marking to prevent the left and right-hand
shock absorbers from being mixed up.
119654
Page 75 of 281
31A-32
FRONT AXLE COMPONENTS
Front shock absorber and spring: Removal - Refitting31A
aClip on the wheel speed sensor wiring harness.
aRefit:
-the scuttle panel grille (see Scuttle panel grille:
Removal - Refitting) (56A, Exterior equipment),
-the windscreen wiper arms (see Windscreen wip-
er arm: Removal - Refitting) (85A, Wiping -
Washing).
III - FINAL OPERATION
aRefit the front wheels (see 35A, Wheels and tyres,
Wheel: Removal - Refitting, page 35A-1) .
aConnect the battery (see ) (80A, Battery).
aAdjust the front axle (see 30A, General informa-
tion, Front axle system: Adjustment, page 30A-
36) .
Page 76 of 281
31A-33
FRONT AXLE COMPONENTS
Front driveshaft lower arm: Removal - Refitting
EQ UIPMENT LEVEL EA0 or EQUIPMENT LEVEL EA1 or EQUIPMENT LEVEL EA3 or EQUIPMENT LEVEL EA5
or EQUIPMENT LEVEL EAG or EQUIPMENT LEVEL EZ2 or EQUIPMENT LEVEL EZ4
31A
REMOVAL
I - REMOVAL PREPARATION OPERATION
aPosition the vehicle on a two-post lift (see Vehicle:
Towing and lifting) (02A, Lifting equipment).
aRemove the front wheel on the side concerned (see
35A, Wheels and tyres, Wheel: Removal - Refit-
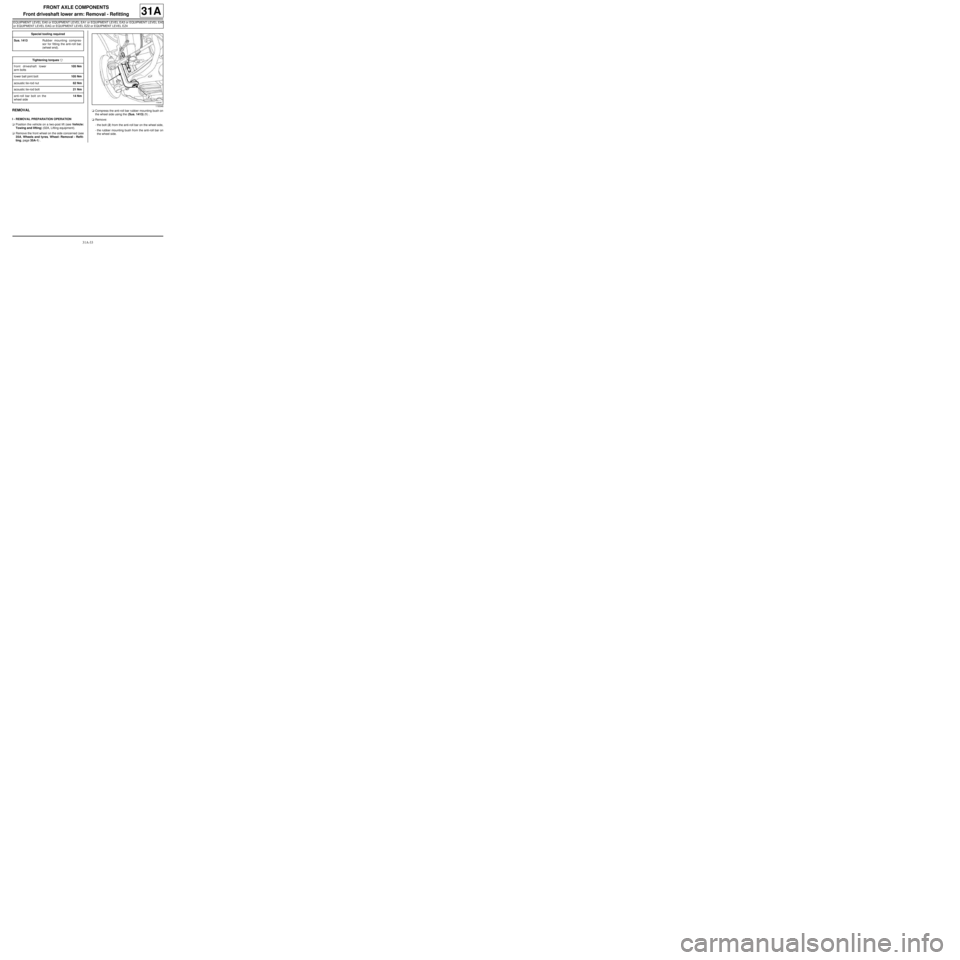
ting, page 35A-1) .aCompress the anti-roll bar rubber mounting bush on
the wheel side using the (Sus. 1413) (1) .
aRemove:
-the bolt (2) from the anti-roll bar on the wheel side,
-the rubber mounting bush from the anti-roll bar on
the wheel side. Special tooling required
Sus. 1413Rubber mounting compres-
sor for fitting the anti-roll bar.
(wheel end).
Tightening torquesm
front driveshaft lower
arm bolts105 Nm
lower ball joint bolt105 Nm
acoustic tie-rod nut62 Nm
acoustic tie-rod bolt21 Nm
anti-roll bar bolt on the
wheel side14 Nm
119346
Page 77 of 281
31A-34
FRONT AXLE COMPONENTS
Front driveshaft lower arm: Removal - Refitting
EQ UIPMENT LEVEL EA0 or EQUIPMENT LEVEL EA1 or EQUIPMENT LEVEL EA3 or EQUIPMENT LEVEL EA5
or EQUIPMENT LEVEL EAG or EQUIPMENT LEVEL EZ2 or EQUIPMENT LEVEL EZ4
31A
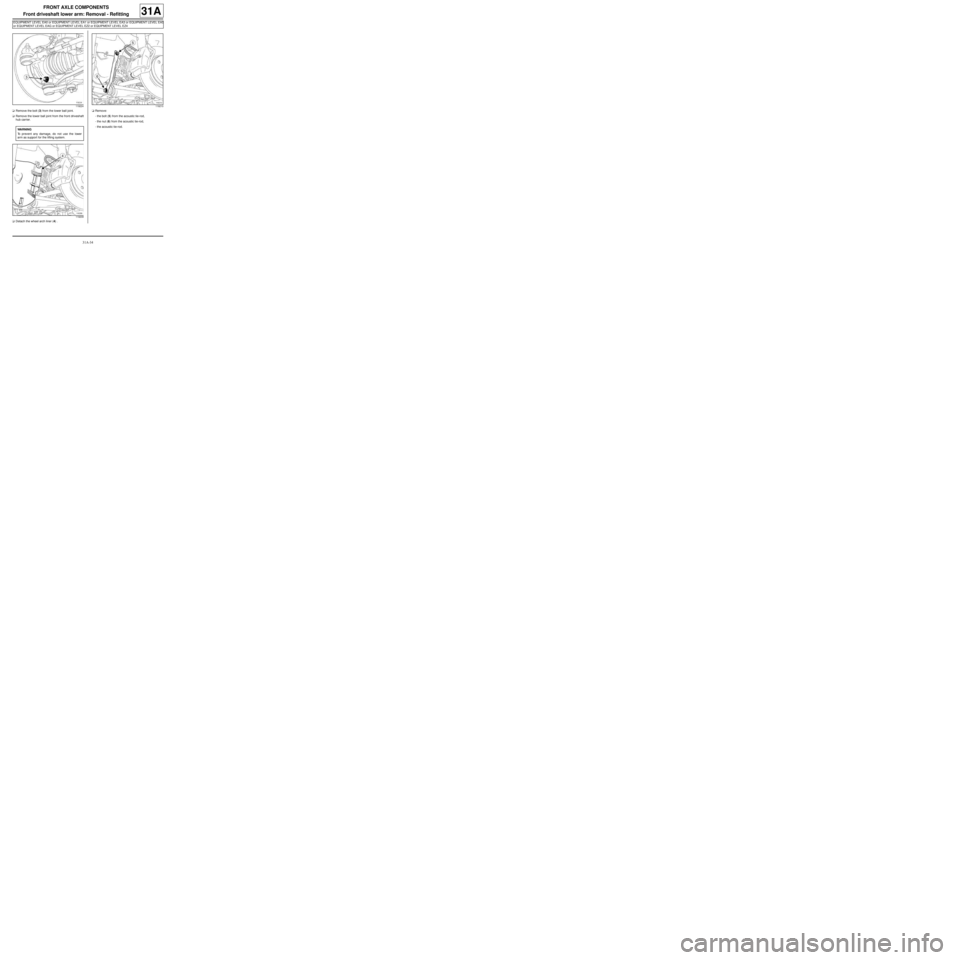
aRemove the bolt (3) from the lower ball joint.
aRemove the lower ball joint from the front driveshaft
hub carrier.
aDetach the wheel arch liner (4) .aRemove:
-the bolt (5) from the acoustic tie-rod,
-the nut (6) from the acoustic tie-rod,
-the acoustic tie-rod.
119224
WARNING
To prevent any damage, do not use the lower
arm as support for the lifting system.
119209
119210
Page 78 of 281
31A-35
FRONT AXLE COMPONENTS
Front driveshaft lower arm: Removal - Refitting
EQ UIPMENT LEVEL EA0 or EQUIPMENT LEVEL EA1 or EQUIPMENT LEVEL EA3 or EQUIPMENT LEVEL EA5
or EQUIPMENT LEVEL EAG or EQUIPMENT LEVEL EZ2 or EQUIPMENT LEVEL EZ4
31A
II - OPERATION FOR REMOVAL OF PART
CONCERNED
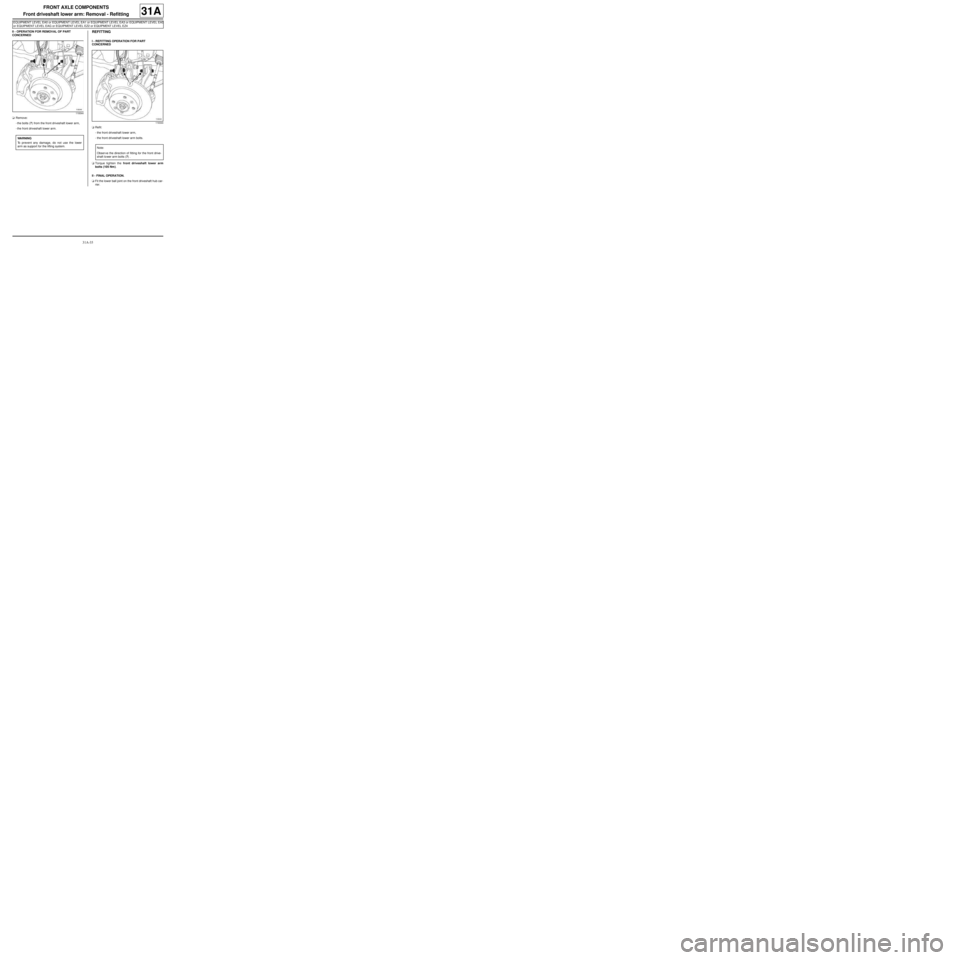
aRemove:
-the bolts (7) from the front driveshaft lower arm,
-the front driveshaft lower arm.REFITTING
I - REFITTING OPERATION FOR PART
CONCERNED
aRefit:
-the front driveshaft lower arm,
-the front driveshaft lower arm bolts.
aTorque tighten the front driveshaft lower arm
bolts (105 Nm).
II - FINAL OPERATION.
aFit the lower ball joint on the front driveshaft hub car-
rier.
119344
WARNING
To prevent any damage, do not use the lower
arm as support for the lifting system.
119344
Note:
Obser ve the direction of fitting for the front drive-
shaft lo wer arm bolts (7) .
Page 79 of 281
31A-36
FRONT AXLE COMPONENTS
Front driveshaft lower arm: Removal - Refitting
EQ UIPMENT LEVEL EA0 or EQUIPMENT LEVEL EA1 or EQUIPMENT LEVEL EA3 or EQUIPMENT LEVEL EA5
or EQUIPMENT LEVEL EAG or EQUIPMENT LEVEL EZ2 or EQUIPMENT LEVEL EZ4
31A
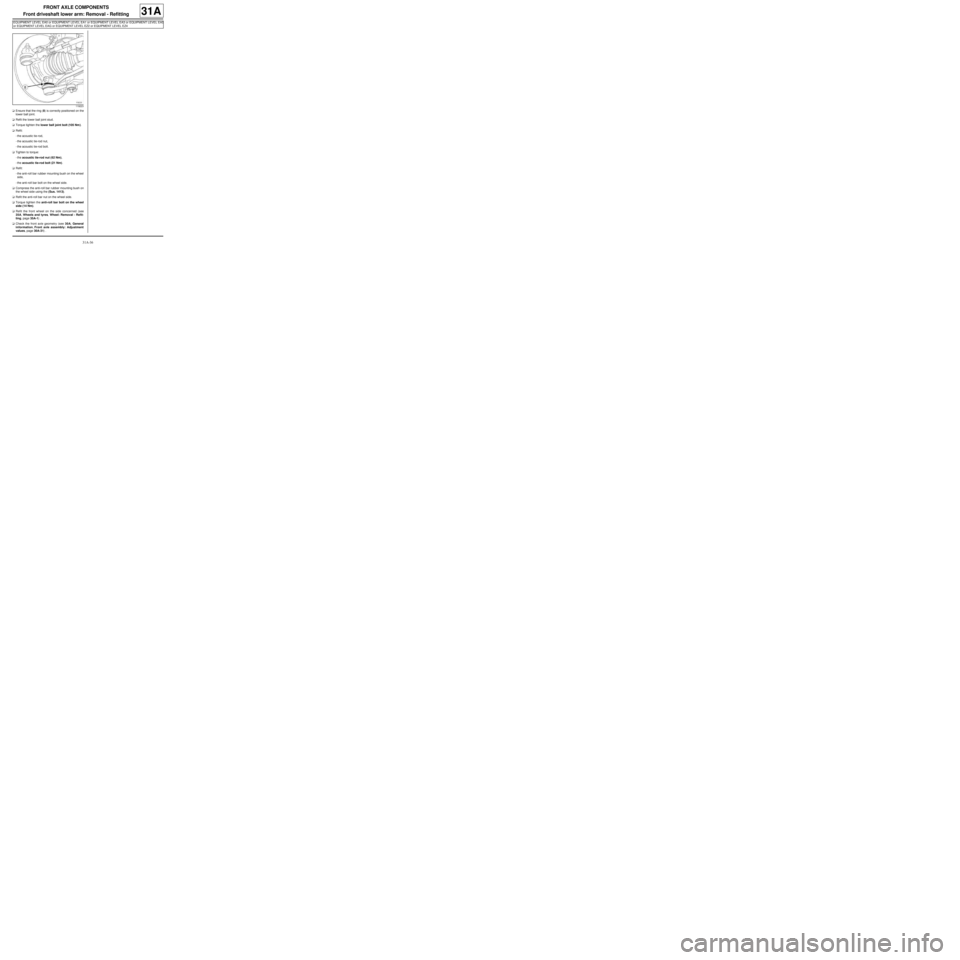
aEnsure that the ring (8) is correctly positioned on the
lower ball joint.
aRefit the lower ball joint stud.
aTorque tighten the lower ball joint bolt (105 Nm).
aRefit:
-the acoustic tie-rod,
-the acoustic tie-rod nut,
-the acoustic tie-rod bolt.
aTighten to torque:
-the acoustic tie-rod nut (62 Nm),
-the acoustic tie-rod bolt (21 Nm).
aRefit:
-the anti-roll bar rubber mounting bush on the wheel
side,
-the anti-roll bar bolt on the wheel side.
aCompress the anti-roll bar rubber mounting bush on
the wheel side using the (Sus. 1413).
aRefit the anti-roll bar nut on the wheel side.
aTorque tighten the anti-roll bar bolt on the wheel
side (14 Nm).
aRefit the front wheel on the side concerned (see
35A, Wheels and tyres, Wheel: Removal - Refit-
ting, page 35A-1) .
aCheck the front axle geometry (see 30A, General
information, Front axle assembly: Adjustment
values, page 30A-31) .
119223
Page 80 of 281
31A-37
FRONT AXLE COMPONENTS
Front driveshaft lower arm: Removal - Refitting
EQ UIPMENT LEVEL SPORT
31A
REMOVAL
I - REMOVAL PREPARATION OPERATION
aPosition the vehicle on a two-post lift (see Vehicle:
Towing and lifting) (02A, Lifting equipment).
aRemove the front wheel (see 35A, Wheels and ty-
res, Wheel: Removal - Refitting, page 35A-1) .
aDetach the wheel arch liner (1) .aRemove:
-the bolt (2) from the acoustic tie-rod,
-the nut (3) from the acoustic tie-rod,
-the acoustic tie-rod. Tightening torquesm
front driveshaft lower
arm bolts105 N.m
lower ball joint nut62 N.m
acoustic tie-rod nut62 N.m
acoustic tie-rod bolt21 N.m
119209
119210