RENAULT TWINGO 2009 2.G Electrical Equipment Owners Manual
TWINGO 2009 2.G
RENAULT
RENAULT
https://www.carmanualsonline.info/img/7/1692/w960_1692-0.png
RENAULT TWINGO 2009 2.G Electrical Equipment Owners Manual
Trending: fuel filter, tailgate, Engine fuse and relay, airbag off, air condition, mirror, coolant
Page 91 of 241
85A-21
WIPING - WASHING
Rain and light sensor: Removal - Refitting
LIGHTS + AUTOMATIC WINDSCREEN WIPER
85A
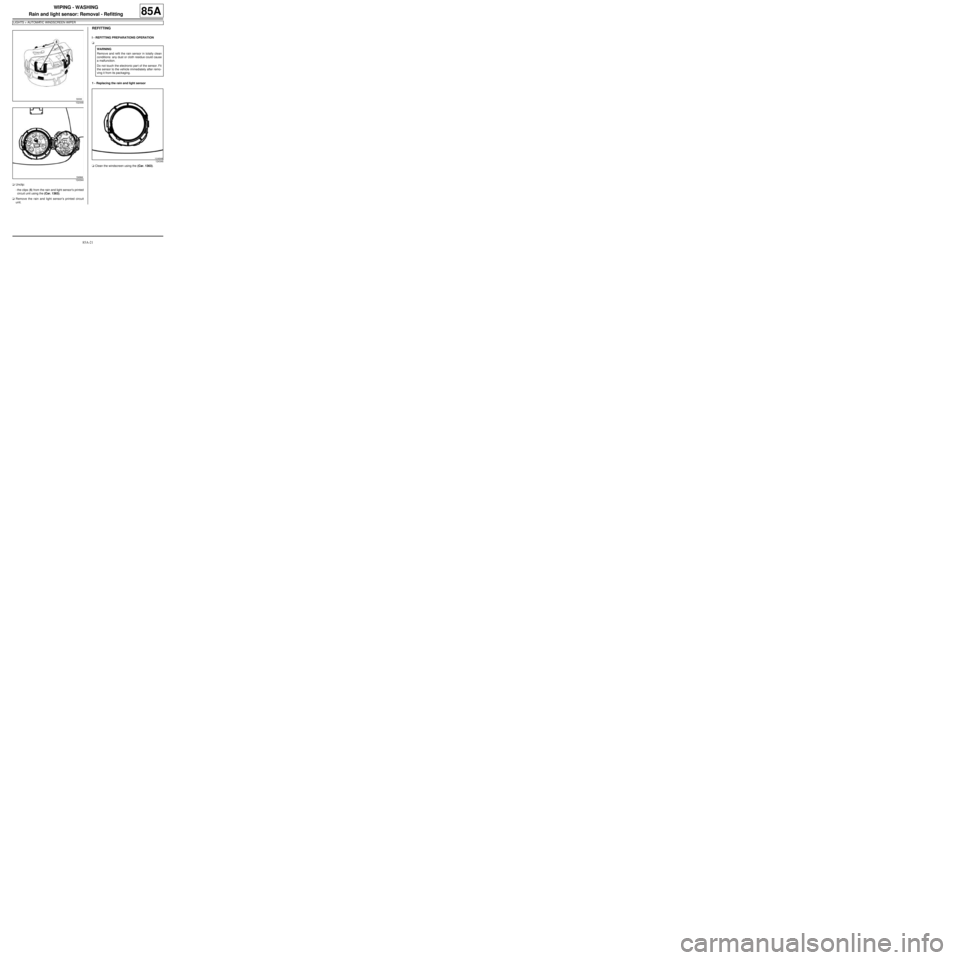
aUnclip:
-the clips (5) from the rain and light sensor's printed
circuit unit using the (Car. 1363).
aRemove the rain and light sensor's printed circuit
unit.
REFITTING
I - REFITTING PREPARATIONS OPERATION
a
1 - Replacing the rain and light sensor
aClean the windscreen using the (Car. 1363).
102446
124344
WARNING
Remove and refit the rain sensor in totally clean
conditions: any dust or cloth residue could cause
a malfunction.
Do not touch the electronic par t of the sensor. Fit
the sensor to the vehicle immediately after remo-
ving it from its packaging.
124346
Page 92 of 241
85A-22
WIPING - WASHING
Rain and light sensor: Removal - Refitting
LIGHTS + AUTOMATIC WINDSCREEN WIPER
85A
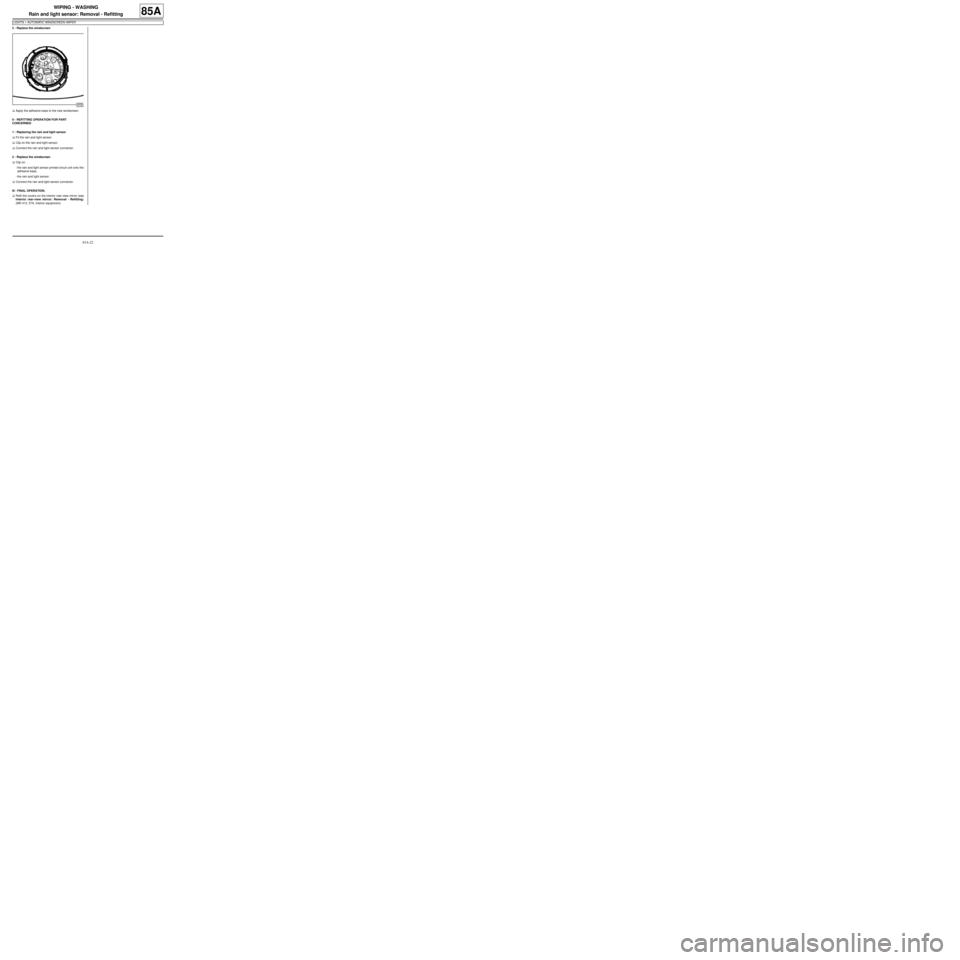
2 - Replace the windscreen
aApply the adhesive base to the new windscreen.
II - REFITTING OPERATION FOR PART
CONCERNED
1 - Replacing the rain and light sensor
aFit the rain and light sensor.
aClip on the rain and light sensor.
aConnect the rain and light sensor connector.
2 - Replace the windscreen
aClip on:
-the rain and light sensor printed circuit unit onto the
adhesive base,
-the rain and light sensor.
aConnect the rain and light sensor connector.
III - FINAL OPERATION.
aRefit the covers on the interior rear-view mirror (see
Interior rear-view mirror: Removal - Refitting)
(MR 412, 57A, Interior equipment).
124345
Page 93 of 241
85A-23
WIPING - WASHING
Screen washer pump: Removal - Refitting
85A
REMOVAL
I - REMOVAL PREPARATION OPERATION
aPosition the vehicle on a two-post lift (see Vehicle:
Towing and lifting) (MR 411, 02A, Lifting equip-
ment).
aRemove:
-the front right-hand wheel (see Wheel: Removal -
Refitting) (MR 411, 35A, Wheels and tyres),
-the front right-hand wheel arch liner (see Front
wheel arch liner: Removal - Refitting) (MR 412,
55A, Exterior protection).
II - OPERATION FOR REMOVAL OF PART
CONCERNED
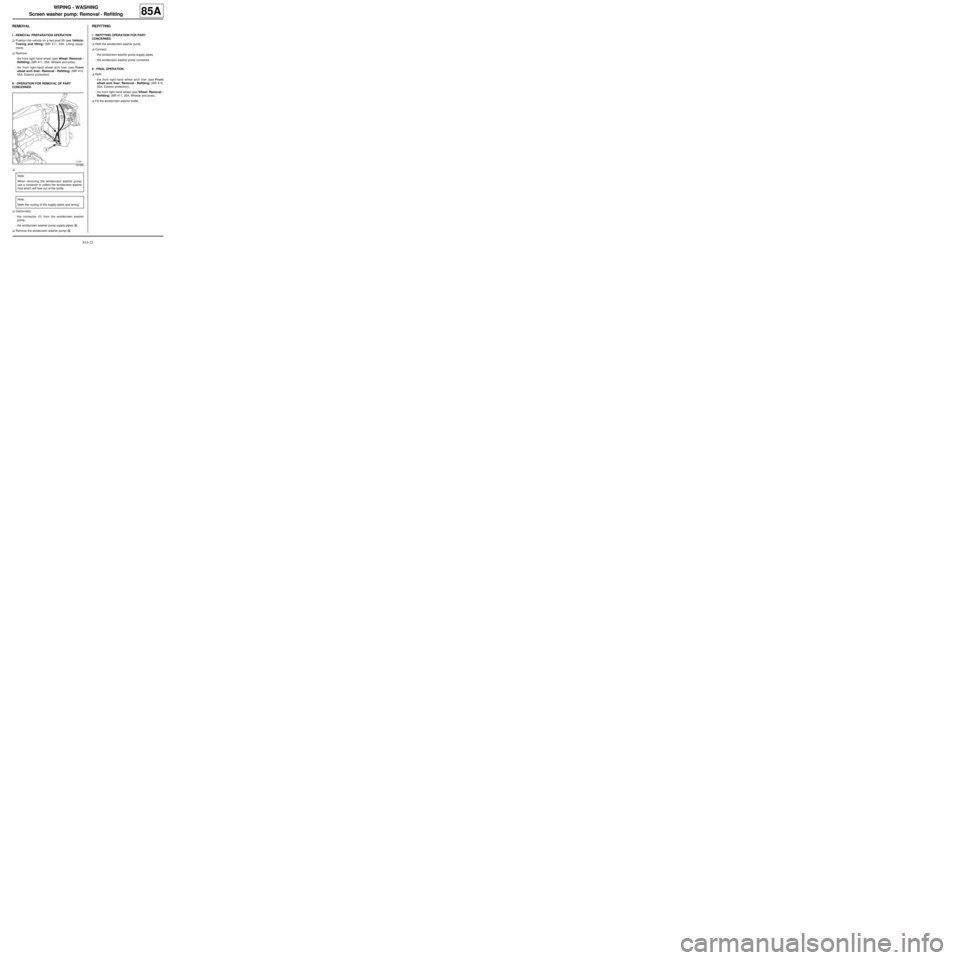
a
aDisconnect:
-the connector (1) from the windscreen washer
pump,
-the windscreen washer pump supply pipes (2) .
aRemove the windscreen washer pump (3) .
REFITTING
I - REFITTING OPERATION FOR PART
CONCERNED
aRefit the windscreen washer pump.
aConnect:
-the windscreen washer pump supply pipes,
-the windscreen washer pump connector.
II - FINAL OPERATION.
aRefit:
-the front right-hand wheel arch liner (see Front
wheel arch liner: Removal - Refitting) (MR 412,
55A, Exterior protection),
-the front right-hand wheel (see Wheel: Removal -
Refitting) (MR 411, 35A, Wheels and tyres).
aFill the windscreen washer bottle.
121089
Note:
When removing the windscreen washer pump,
use a container to collect the windscreen washer
fluid which will flow out of the bottle.
Note:
Mark the routing of the supply pipes and wiring.
Page 94 of 241
85A-24
WIPING - WASHING
Front screen washer jet: Removal - Refitting
85A
REMOVAL
OPERATION FOR REMOVAL OF PART
CONCERNED
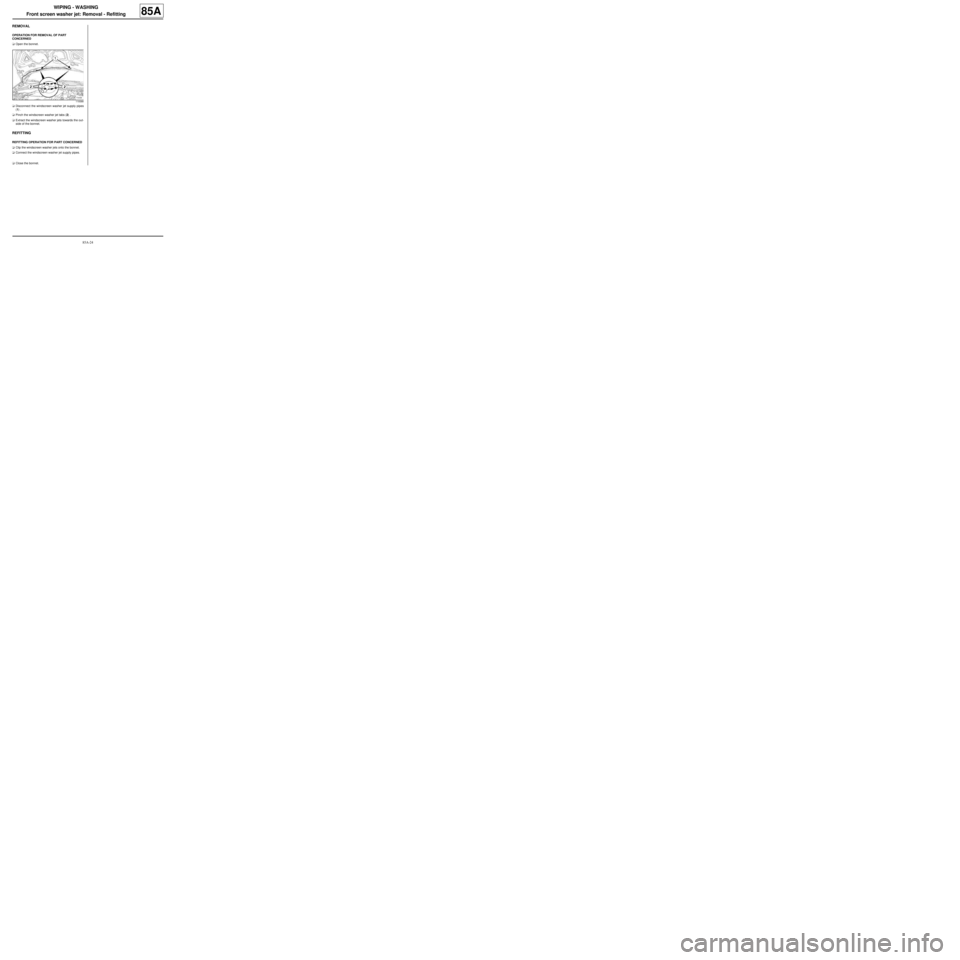
aOpen the bonnet.
aDisconnect the windscreen washer jet supply pipes
(1) .
aPinch the windscreen washer jet tabs (2) .
aExtract the windscreen washer jets towards the out-
side of the bonnet.
REFITTING
REFITTING OPERATION FOR PART CONCERNED
aClip the windscreen washer jets onto the bonnet.
aConnect the windscreen washer jet supply pipes.
aClose the bonnet.
119388
Page 95 of 241
85A-25
WIPING - WASHING
Rear screen washer jet: Removal - Refitting
85A
REMOVAL
I - REMOVAL PREPARATION OPERATION
aRemove the high level brake light (see 81A, Rear li-
ghting, 3rd brake light: Removal - Refitting, page
81A-6) .
II - OPERATION FOR REMOVAL OF PART
CONCERNED
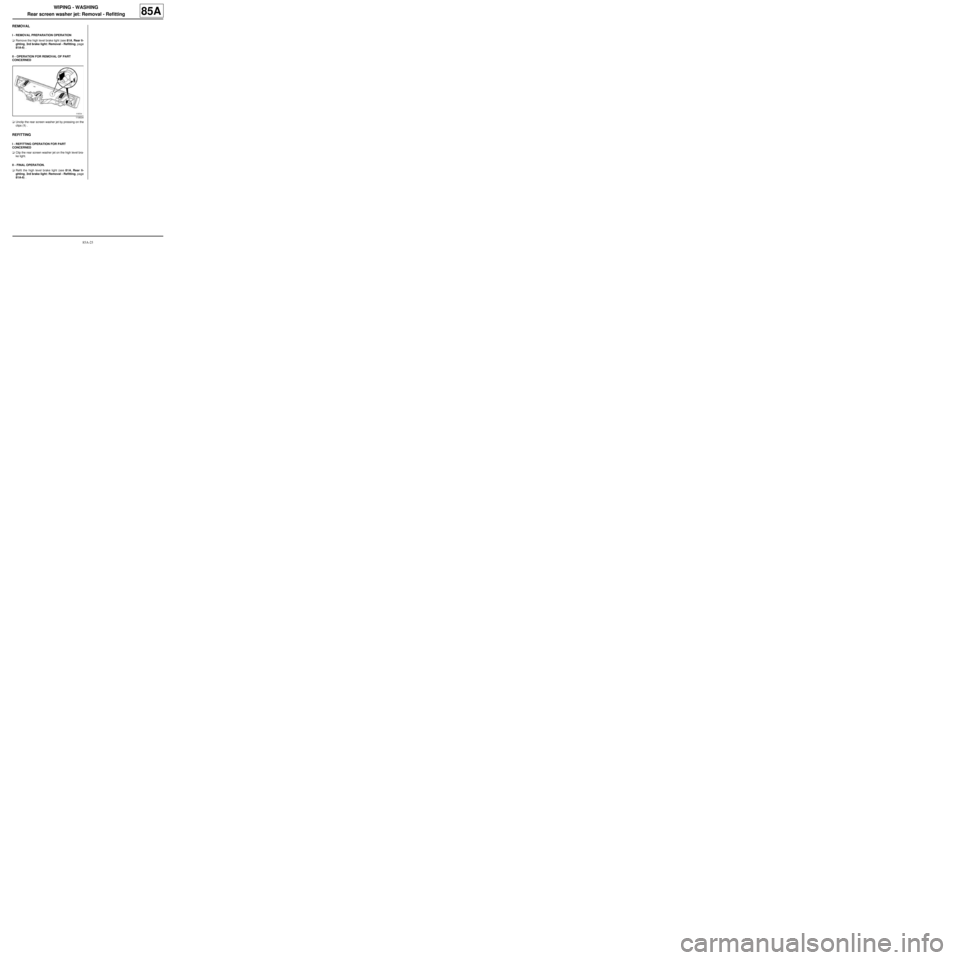
aUnclip the rear screen washer jet by pressing on the
clips (1) .
REFITTING
I - REFITTING OPERATION FOR PART
CONCERNED
aClip the rear screen washer jet on the high level bra-
ke light.
II - FINAL OPERATION.
aRefit the high level brake light (see 81A, Rear li-
ghting, 3rd brake light: Removal - Refitting, page
81A-6) .
119534
Page 96 of 241
85A-26
WIPING - WASHING
Windscreen washer reservoir: Removal - Refitting
85A
REMOVAL
I - REMOVAL PREPARATION OPERATION
aPosition the vehicle on a two-post lift (see Vehicle:
Towing and lifting) (MR 411, 02A, Lifting equip-
ment).
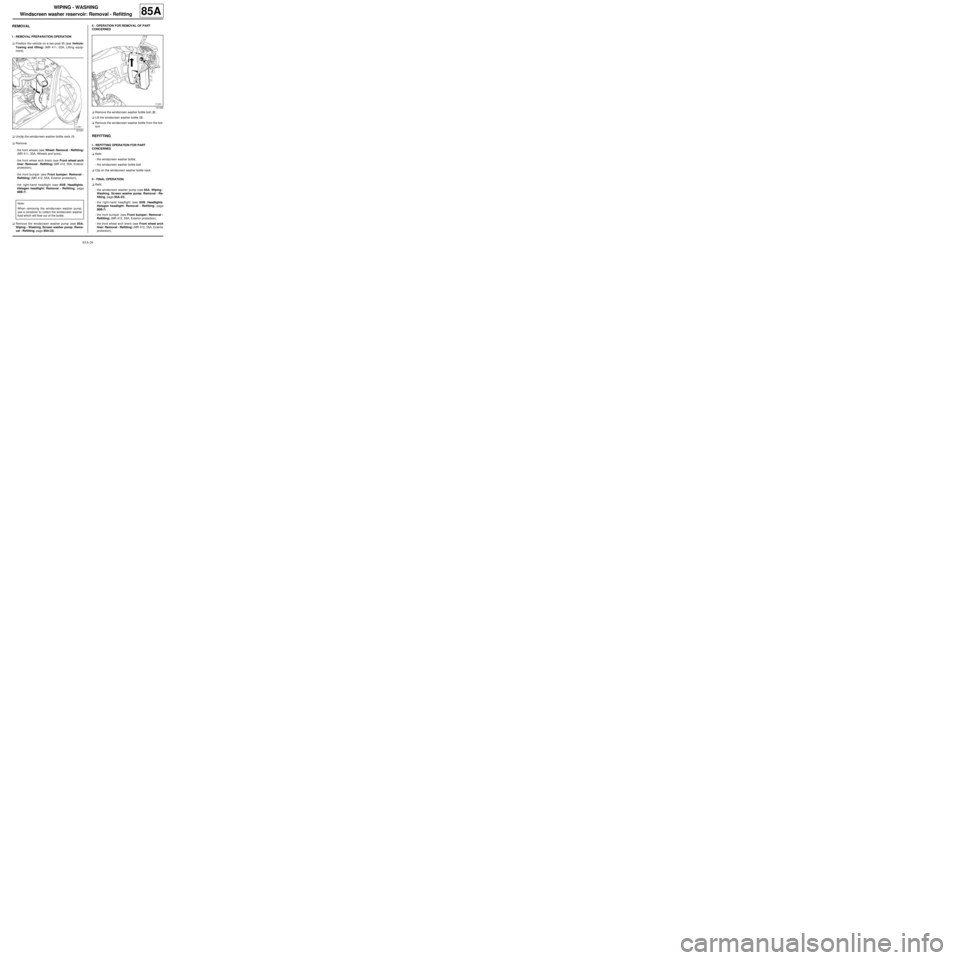
aUnclip the windscreen washer bottle neck (1) .
aRemove:
-the front wheels (see Wheel: Removal - Refitting)
(MR 411, 35A, Wheels and tyres),
-the front wheel arch liners (see Front wheel arch
liner: Removal - Refitting) (MR 412, 55A, Exterior
protection),
-the front bumper (see Front bumper: Removal -
Refitting) (MR 412, 55A, Exterior protection),
-the right-hand headlight (see 80B, Headlights,
Halogen headlight: Removal - Refitting, page
80B-7) .
aRemove the windscreen washer pump (see 85A,
Wiping - Washing, Screen washer pump: Remo-
val - Refitting, page 85A-23) .II - OPERATION FOR REMOVAL OF PART
CONCERNED
aRemove the windscreen washer bottle bolt (2) .
aLift the windscreen washer bottle (3) .
aRemove the windscreen washer bottle from the bot-
tom.
REFITTING
I - REFITTING OPERATION FOR PART
CONCERNED
aRefit:
-the windscreen washer bottle,
-the windscreen washer bottle bolt.
aClip on the windscreen washer bottle neck.
II - FINAL OPERATION.
aRefit:
-the windscreen washer pump (see 85A, Wiping -
Washing, Screen washer pump: Removal - Re-
fitting, page 85A-23) ,
-the right-hand headlight (see 80B, Headlights,
Halogen headlight: Removal - Refitting, page
80B-7) ,
-the front bumper (see Front bumper: Removal -
Refitting) (MR 412, 55A, Exterior protection),
-the front wheel arch liners (see Front wheel arch
liner: Removal - Refitting) (MR 412, 55A, Exterior
protection),
121091
Note:
When removing the windscreen washer pump,
use a container to collect the windscreen washer
fluid which will flow out of the bottle.
121090
Page 97 of 241
85A-27
WIPING - WASHING
Windscreen washer reservoir: Removal - Refitting
85A
-the front wheels (see Wheel: Removal - Refitting)
(MR 411, 35A, Wheels and tyres).
aFill the windscreen washer bottle.
aAdjust the headlight beam (see 80B, Headlights,
Halogen headlight: Adjustment, page 80B-9) .
Page 98 of 241
86A-1
RADIO
Radio: List and location of components
WITH 2 SPEAKERS, WITHOUT RADIO or WITH 4 SPEAKERS, WITHOUT RADIO or RADIO NO. 01 or RADIO
NO. 03
86A
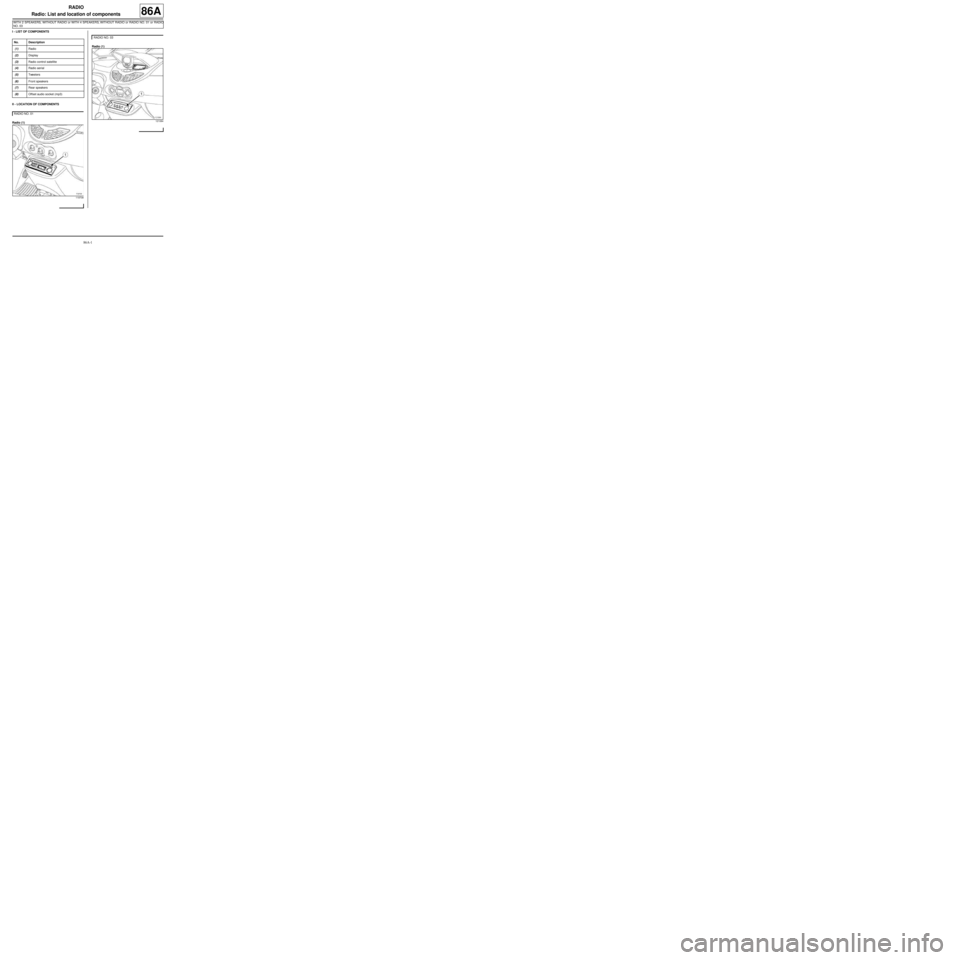
I - LIST OF COMPONENTS
II - LOCATION OF COMPONENTS
Radio (1)Radio (1) No. Description
(1) Radio
(2) Display
(3) Radio control satellite
(4) Radio aerial
(5) Tweeters
(6) Front speakers
(7) Rear speakers
(8) Offset audio socket (mp3)
RADIO NO. 01
119708
RADIO NO. 03
121084
Page 99 of 241
86A-2
RADIO
Radio: List and location of components
WITH 2 SPEAKERS, WITHOUT RADIO or WITH 4 SPEAKERS, WITHOUT RADIO or RADIO NO. 01 or RADIO
NO. 03
86A
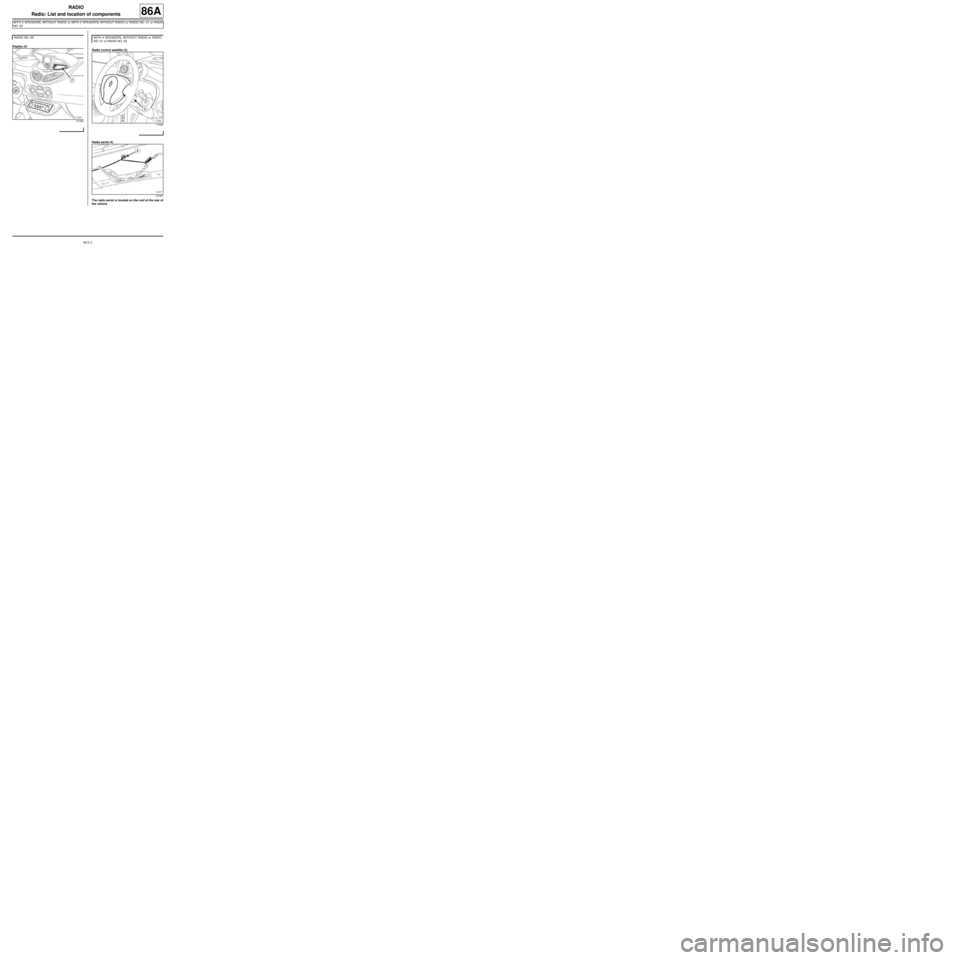
Display (2)
Radio control satellite (3)
Radio aerial (4)
The radio aerial is located on the roof at the rear of
the vehicle. RADIO NO. 03
121084
WITH 4 SPEAKERS, WITHOUT RADIO or RADIO
NO. 01 or RADIO NO. 03
119480
121087
Page 100 of 241
86A-3
RADIO
Radio: List and location of components
WITH 2 SPEAKERS, WITHOUT RADIO or WITH 4 SPEAKERS, WITHOUT RADIO or RADIO NO. 01 or RADIO
NO. 03
86A
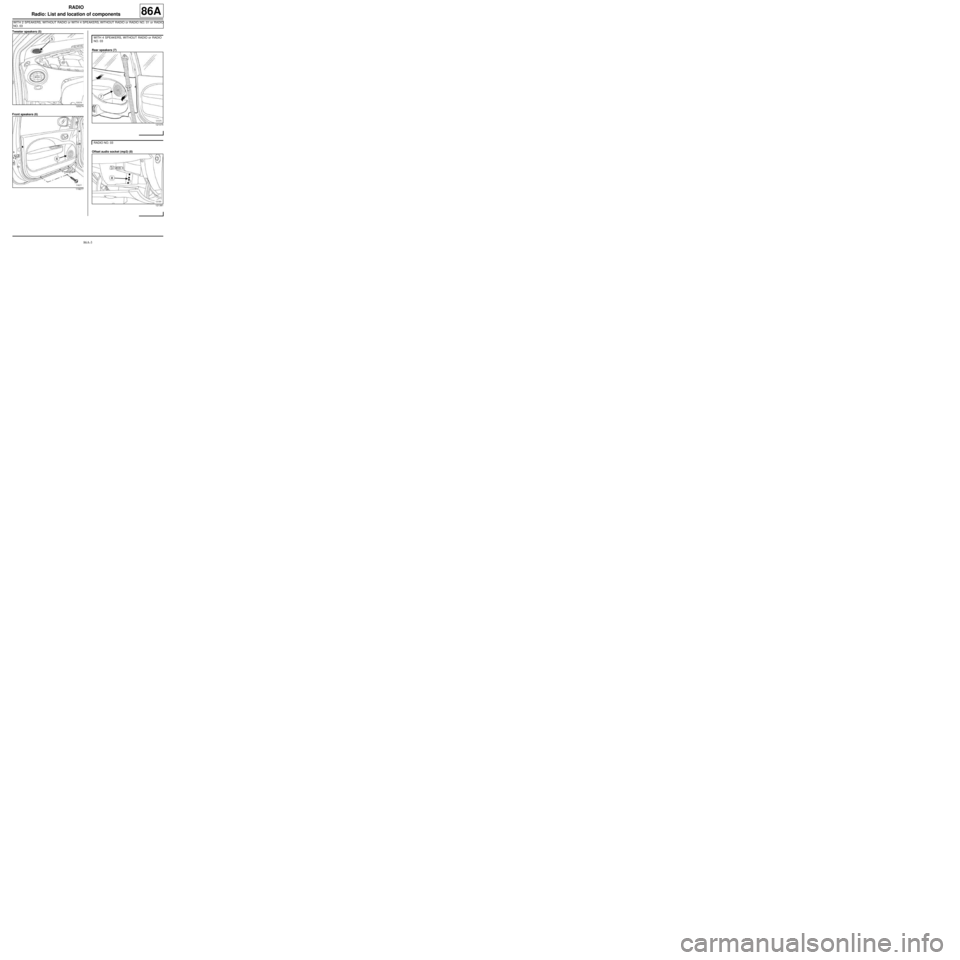
Tweeter speakers (5)
Front speakers (6)Rear speakers (7)
Offset audio socket (mp3) (8)
120274
119277
WITH 4 SPEAKERS, WITHOUT RADIO or RADIO
NO. 03
121075
RADIO NO. 03
121381
Trending: lock, wheel bolts, tow, mirror, battery, charging, warning
