RENAULT TWINGO 2009 2.G Electrical Equipment Owner's Guide
TWINGO 2009 2.G
RENAULT
RENAULT
https://www.carmanualsonline.info/img/7/1692/w960_1692-0.png
RENAULT TWINGO 2009 2.G Electrical Equipment Owner's Guide
Trending: heating, wheel, light, key, clutch, turn signal, tow
Page 31 of 241
81A-6
REAR LIGHTING
3rd brake light: Removal - Refitting
81A
REMOVAL
OPERATION FOR REMOVAL OF PART
CONCERNED
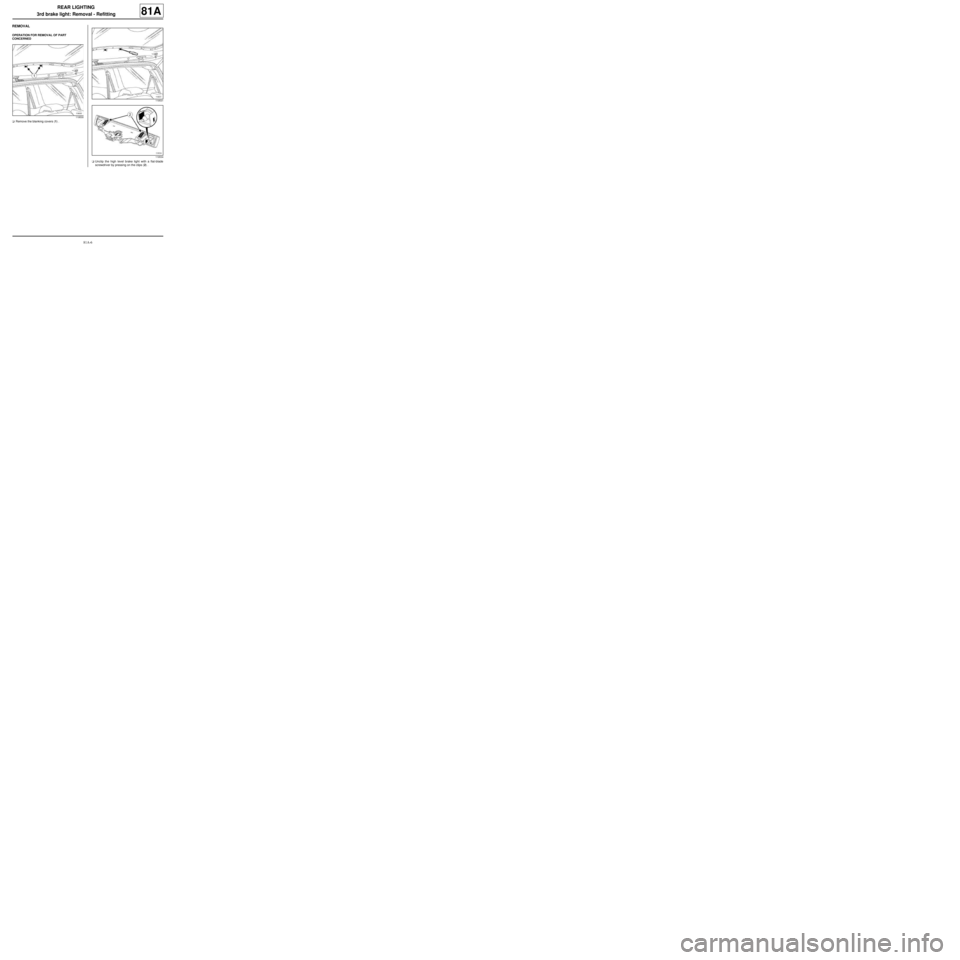
aRemove the blanking covers (1) .
aUnclip the high level brake light with a flat-blade
screwdriver by pressing on the clips (2) .
119530
119531
119534
Page 32 of 241
81A-7
REAR LIGHTING
3rd brake light: Removal - Refitting
81A
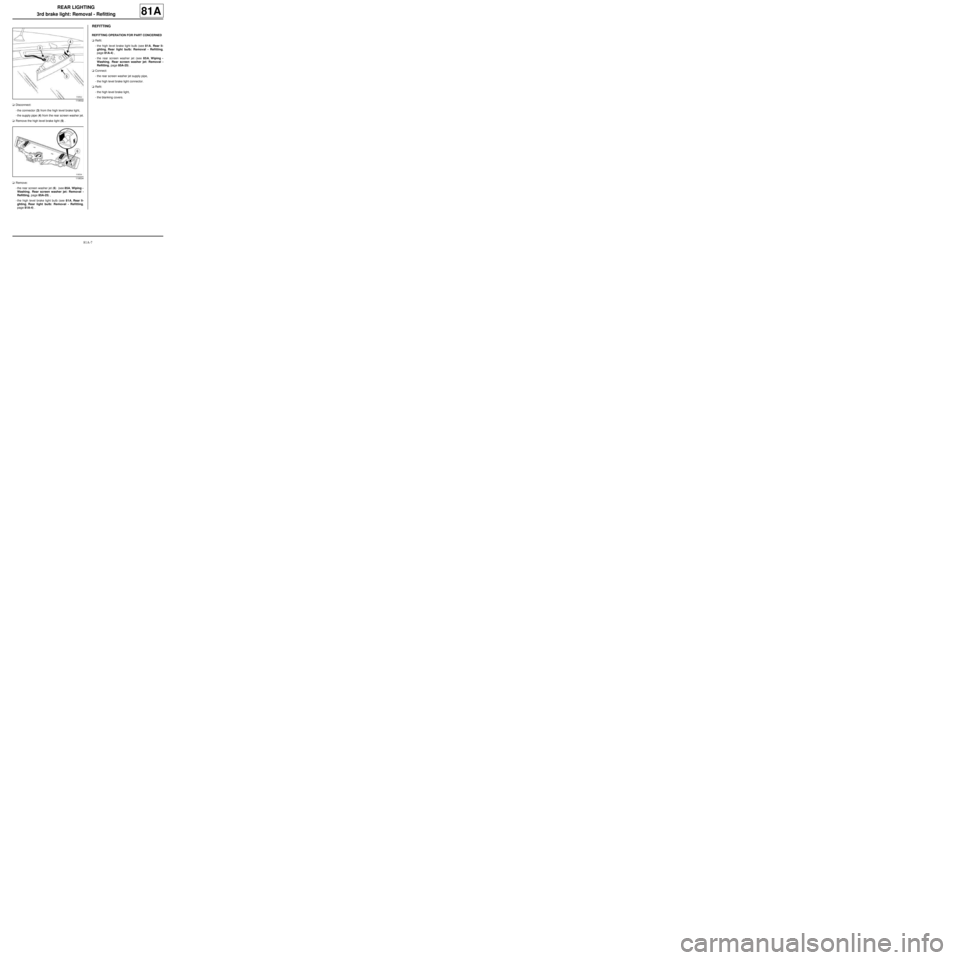
aDisconnect:
-the connector (3) from the high level brake light,
-the supply pipe (4) from the rear screen washer jet.
aRemove the high level brake light (5) .
aRemove:
-the rear screen washer jet (6) (see 85A, Wiping -
Washing, Rear screen washer jet: Removal -
Refitting, page 85A-25) ,
-the high level brake light bulb (see 81A, Rear li-
ghting, Rear light bulb: Removal - Refitting,
page 81A-4) .
REFITTING
REFITTING OPERATION FOR PART CONCERNED
aRefit:
-the high level brake light bulb (see 81A, Rear li-
ghting, Rear light bulb: Removal - Refitting,
page 81A-4) ,
-the rear screen washer jet (see 85A, Wiping -
Washing, Rear screen washer jet: Removal -
Refitting, page 85A-25) .
aConnect:
-the rear screen washer jet supply pipe,
-the high level brake light connector.
aRefit:
-the high level brake light,
-the blanking covers.
119532
119534
Page 33 of 241
81A-8
REAR LIGHTING
Number plate light: Removal - Refitting
81A
REMOVAL
I - REMOVAL PREPARATION OPERATION
aSwitch off the ignition.
II - REMOVAL OPERATION FOR PART
CONCERNED
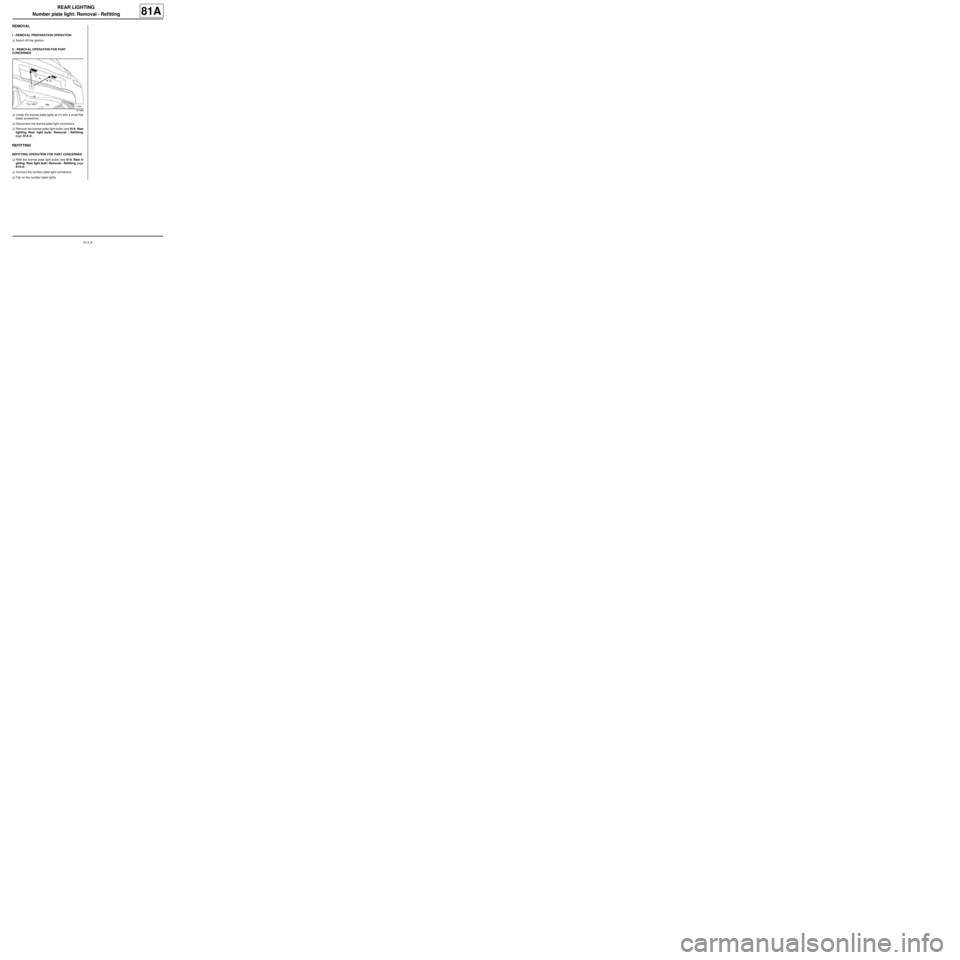
aUnclip the license plate lights at (1) with a small flat-
blade screwdriver.
aDisconnect the license plate light connectors.
aRemove the license plate light bulbs (see 81A, Rear
lighting, Rear light bulb: Removal - Refitting,
page 81A-4) .
REFITTING
REFITTING OPERATION FOR PART CONCERNED
aRefit the license plate light bulbs (see 81A, Rear li-
ghting, Rear light bulb: Removal - Refitting, page
81A-4) .
aConnect the number plate light connectors.
aClip on the number plate lights.
121082
Page 34 of 241
81B-1
INTERIOR LIGHTING
Interior lighting: List and location of components
81B
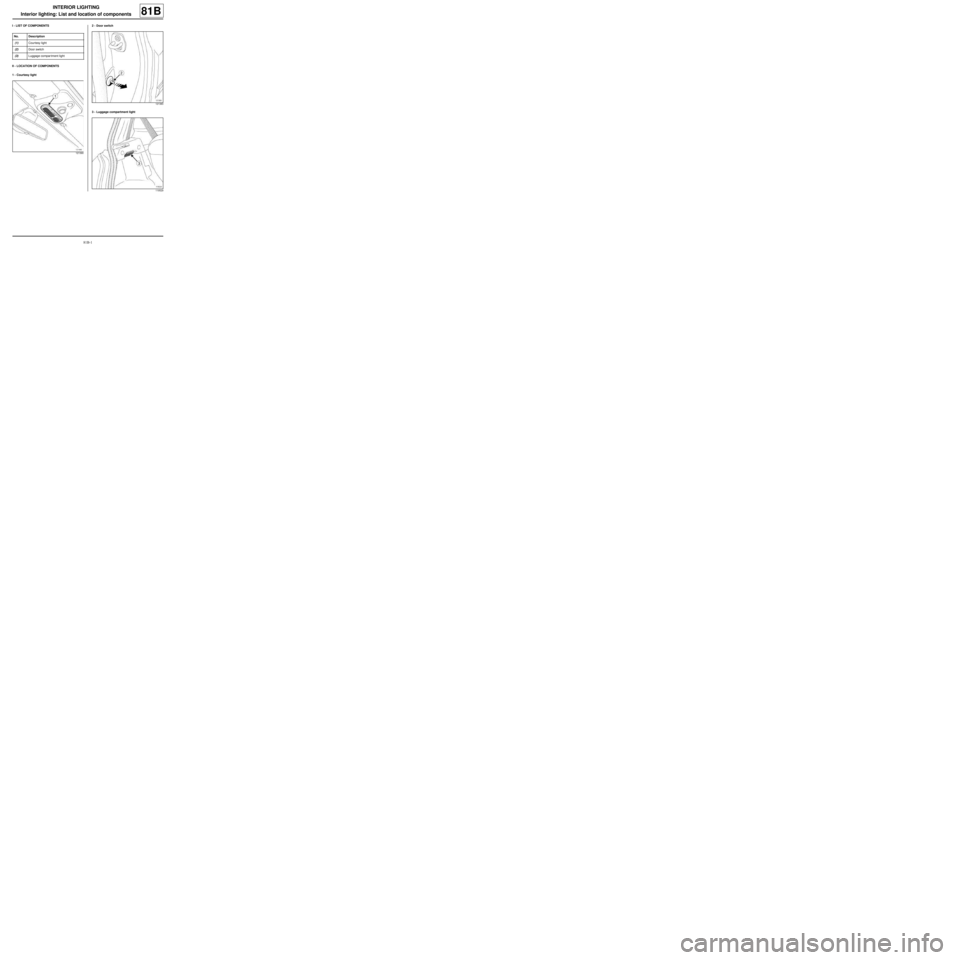
I - LIST OF COMPONENTS
II - LOCATION OF COMPONENTS
1 - Courtesy light2 - Door switch
3 - Luggage compartment light No. Description
(1) Courtesy light
(2) Door switch
(3) Luggage compar tment light
121390
121383
119529
Page 35 of 241
81B-2
INTERIOR LIGHTING
Interior light: Removal - Refitting
81B
REMOVAL
OPERATION FOR REMOVAL OF PART
CONCERNED
aUnclip the translucent cover at (1) using a small flat-
blade screwdriver.
aRemove the bulbs (2) .
aUnclip the courtesy lights (3) at (4) using a small flat-
blade screwdriver.
aDisconnect the courtesy lights connector.
REFITTING
aConnect the courtesy lights connector.
aClip the courtesy lights onto their mounting.
aRefit the bulbs.
aFit the translucent cover onto the courtesy lights.
121390
121389
Note:
If the bulbs are changed, use W5W approved
bulbs.
Page 36 of 241
81B-3
INTERIOR LIGHTING
Door switch: Removal - Refitting
81B
REMOVAL
I - REMOVAL PREPARATION OPERATION
aRemove:
-the rear parcel shelf side trim (see Rear parcel
shelf side trim: Removal - Refitting) (MR 412,
71A, Seat internal trim),
-the rear panel trim (see Rear panel lining: Remo-
val - Refitting) (MR 412, 71A, Seat internal trim).
II - OPERATION FOR REMOVAL OF PART
CONCERNED
aDisconnect the connector (1) from the door switch.
aRemove the door switch at (3) by pressing on the
clips (2) .
REFITTING
I - REFITTING OPERATION FOR PART
CONCERNED
aFit the door switch.
aConnect the door switch connector.
121382
121384
121383
Page 37 of 241
81B-4
INTERIOR LIGHTING
Door switch: Removal - Refitting
81B
II - FINAL OPERATION.
aRefit:
-the rear panel trim (see Rear panel lining: Remo-
val - Refitting) (MR 412, 71A, Seat internal trim),
-the rear parcel shelf side trim (see Rear parcel
shelf side trim: Removal - Refitting) (MR 412,
71A, Seat internal trim).
Page 38 of 241
81B-5
INTERIOR LIGHTING
Luggage compartment light: Removal - Refitting
81B
REMOVAL
aUndo the luggage compartment light (1) using a
scratch awl (2) .
aDisconnect the luggage compartment lighting con-
nector.
aUnclip the bulb mounting (3) from the translucent co-
ver (4) at (5) .
aRemove the bulb.
REFITTING
REFITTING OPERATION FOR PART CONCERNED
aRefit the bulb.
aFit the bulb mounting onto the translucent cover.
aConnect the luggage compartment light connector.
aClip the luggage compartment light onto the rear
parcel shelf side trim.
121388
121387
Note:
If the bulb is changed, use a W5W approved
bulb.
Page 39 of 241
81C-1
FUSES
Fuses: List and location of components
81C
I - LIST OF COMPONENTS
II - POSITION OF THE COMPONENTS
1 - Passenger compartment fuse and relay box
2 - Additional relay/fuse box No. Description
(1) Passenger compartment fuse and relay
box
(2) Additional relay/fuse box
(3) Battery protection fuses
(4) Engine interconnection unit
LEFT-HAND DRIVE
119504
RIGHT-HAND DRIVE
125233
LEFT-HAND DRIVE
121209
Page 40 of 241
81C-2
FUSES
Fuses: List and location of components
81C
3 - Battery protection fuses4 - Engine interconnection unit RIGHT-HAND DRIVE
125234
119370
102292
119373
Trending: oil, fuse box location, wheel, charging, fuse box, length, brake
