fuel RENAULT TWINGO 2009 2.G Engine And Peripherals Workshop Manual
[x] Cancel search | Manufacturer: RENAULT, Model Year: 2009, Model line: TWINGO, Model: RENAULT TWINGO 2009 2.GPages: 652
Page 306 of 652
12A-41
FUEL MIXTURE
Inlet distributor: Removal - Refitting
K4M
12A
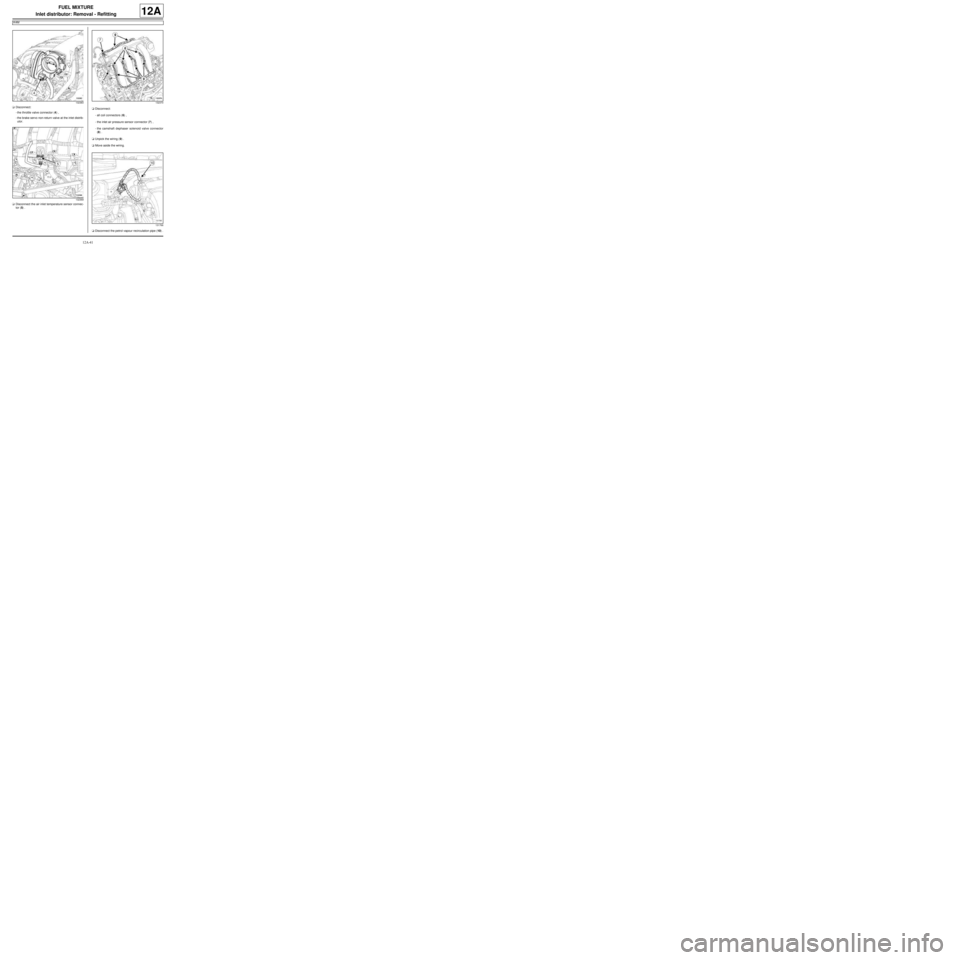
aDisconnect:
-the throttle valve connector (4) ,
-the brake servo non-return valve at the inlet distrib-
utor.
aDisconnect the air inlet temperature sensor connec-
tor (5) .aDisconnect:
-all coil connectors (6) ,
-the inlet air pressure sensor connector (7) ,
-the camshaft dephaser solenoid valve connector
(8) .
aUnpick the wiring (9) .
aMove aside the wiring.
aDisconnect the petrol vapour recirculation pipe (10) .
132383
132369132370
131766
Page 307 of 652
12A-42
FUEL MIXTURE
Inlet distributor: Removal - Refitting
K4M
12A
II - REMOVAL OPERATION
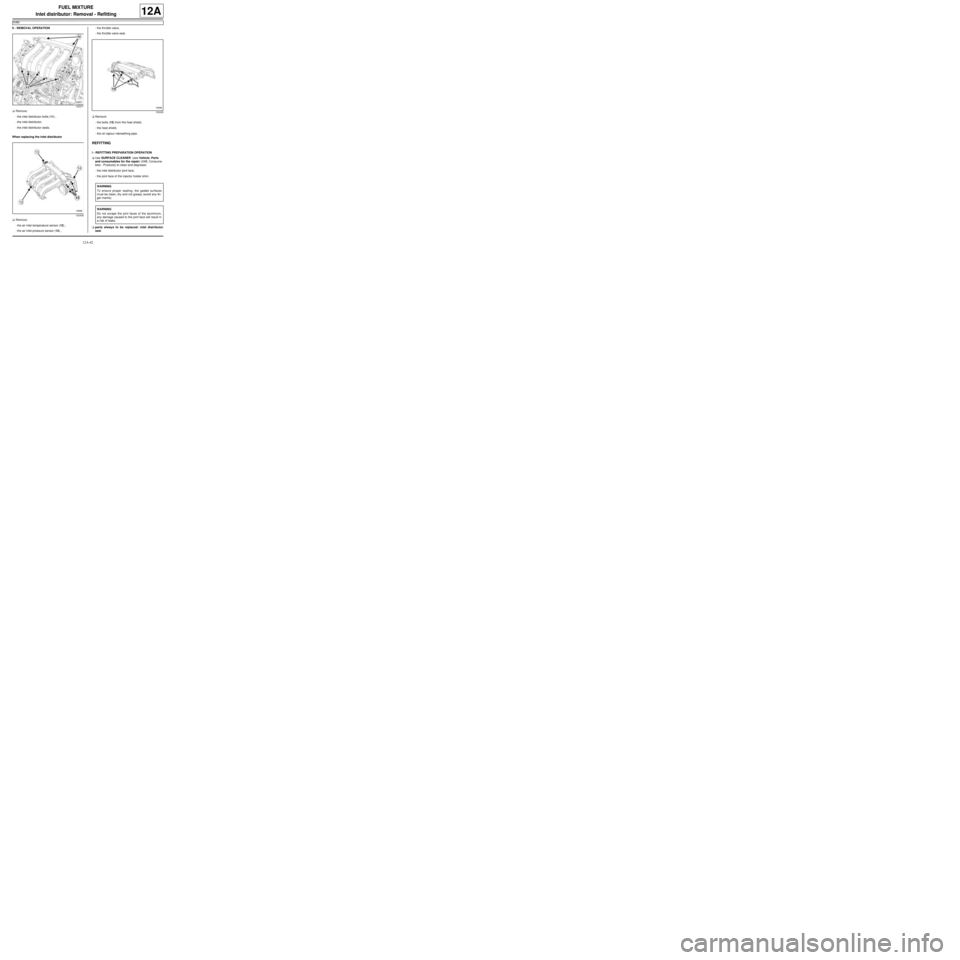
aRemove:
-the inlet distributor bolts (11) ,
-the inlet distributor,
-the inlet distributor seals.
When replacing the inlet distributor
aRemove:
-the air inlet temperature sensor (12) ,
-the air inlet pressure sensor (13) ,-the throttle valve,
-the throttle valve seal.
aRemove:
-the bolts (15) from the heat shield,
-the heat shield,
-the oil vapour rebreathing pipe.
REFITTING
I - REFITTING PREPARATION OPERATION
aUse SURFACE CLEANER (see Vehicle: Parts
and consumables for the repair) (04B, Consuma-
bles - Products) to clean and degrease:
-the inlet distributor joint face,
-the joint face of the injector holder shim.
aparts always to be replaced: inlet distributor
seal.
132371
132438
132439
WARNING
To ensure proper sealing, the gasket surfaces
must be clean, dry and not greasy (avoid any fin-
ger mar ks).
WARNING
Do not scrape the joint faces of the aluminium,
any damage caused to the joint face will result in
a risk of leaks.
Page 308 of 652
12A-43
FUEL MIXTURE
Inlet distributor: Removal - Refitting
K4M
12A
aFit new seals to the inlet distributor.
When replacing the inlet distributor
aparts always to be replaced: Throttle valve seal.
aUse SURFACE CLEANER (see Vehicle: Parts
and consumables for the repair) (04B, Consuma-
bles - Products) to clean and degrease:
-the throttle valve joint face if it is to be re-used,
-the inlet distributor seal housing.
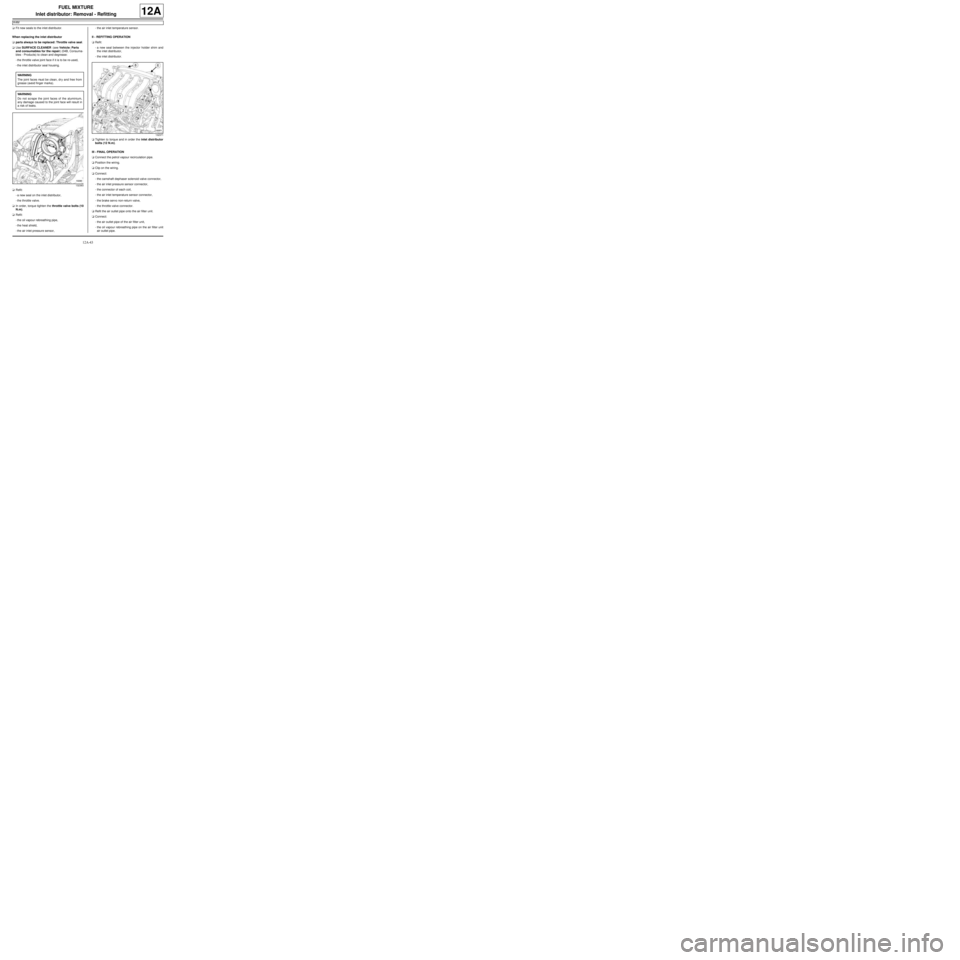
aRefit:
-a new seal on the inlet distributor,
-the throttle valve.
aIn order, torque tighten the throttle valve bolts (10
N.m).
aRefit:
-the oil vapour rebreathing pipe,
-the heat shield,
-the air inlet pressure sensor,-the air inlet temperature sensor.
II - REFITTING OPERATION
aRefit:
-a new seal between the injector holder shim and
the inlet distributor,
-the inlet distributor.
aTighten to torque and in order the inlet distributor
bolts (12 N.m).
III - FINAL OPERATION
aConnect the petrol vapour recirculation pipe.
aPosition the wiring.
aClip on the wiring.
aConnect:
-the camshaft dephaser solenoid valve connector,
-the air inlet pressure sensor connector,
-the connector of each coil,
-the air inlet temperature sensor connector,
-the brake servo non-return valve,
-the throttle valve connector.
aRefit the air outlet pipe onto the air filter unit.
aConnect:
-the air outlet pipe of the air filter unit,
-the oil vapour rebreathing pipe on the air filter unit
air outlet pipe. WARNING
The joint faces must be clean, dr y and free from
grease (avoid finger marks).
WARNING
Do not scrape the joint faces of the aluminium,
any damage caused to the joint face will result in
a risk of leaks.
132383
132371
Page 309 of 652

12A-44
FUEL MIXTURE
Inlet distributor: Removal - Refitting
K4M
12A
aTorque tighten:
-the clip of the air filter unit air outlet pipe on the
throttle valve (3.5 N.m),
-the clip of the air filter unit air outlet pipe on the
air filter unit (3.5 N.m).
aRefit:
-the dipstick,
-the scoop under the scuttle panel grille (see Scoop
under the scuttle panel grille: Removal - Refit-
ting) (56A, Exterior equipment),
-the scuttle panel grille (see Scuttle panel grille:
Removal - Refitting) (56A, Exterior equipment),
-the windscreen wiper arms (see Windscreen wip-
er arm: Removal - Refitting) (85A, Wiping -
Washing).
aConnect the battery (see Battery: Removal - Refit-
ting) (80A, Battery).
Page 310 of 652
12A-45
FUEL MIXTURE
Injector holder shim: Removal - Refitting
K4M
12A
REMOVAL
I - REMOVAL PREPARATION OPERATION
aDisconnect the battery (see ) (80A, Battery).
aRemove:
-the windscreen wiper arms (see Windscreen wip-
er arm: Removal - Refitting) (85A, Wiping -
Washing),
-the scuttle panel grille (see Scuttle panel grille:
Removal - Refitting) (56A, Exterior equipment),
-the scoop under the scuttle panel grille (see Scoop
under the scuttle panel grille: Removal - Refit-
ting) (56A, Exterior equipment).aRemove:
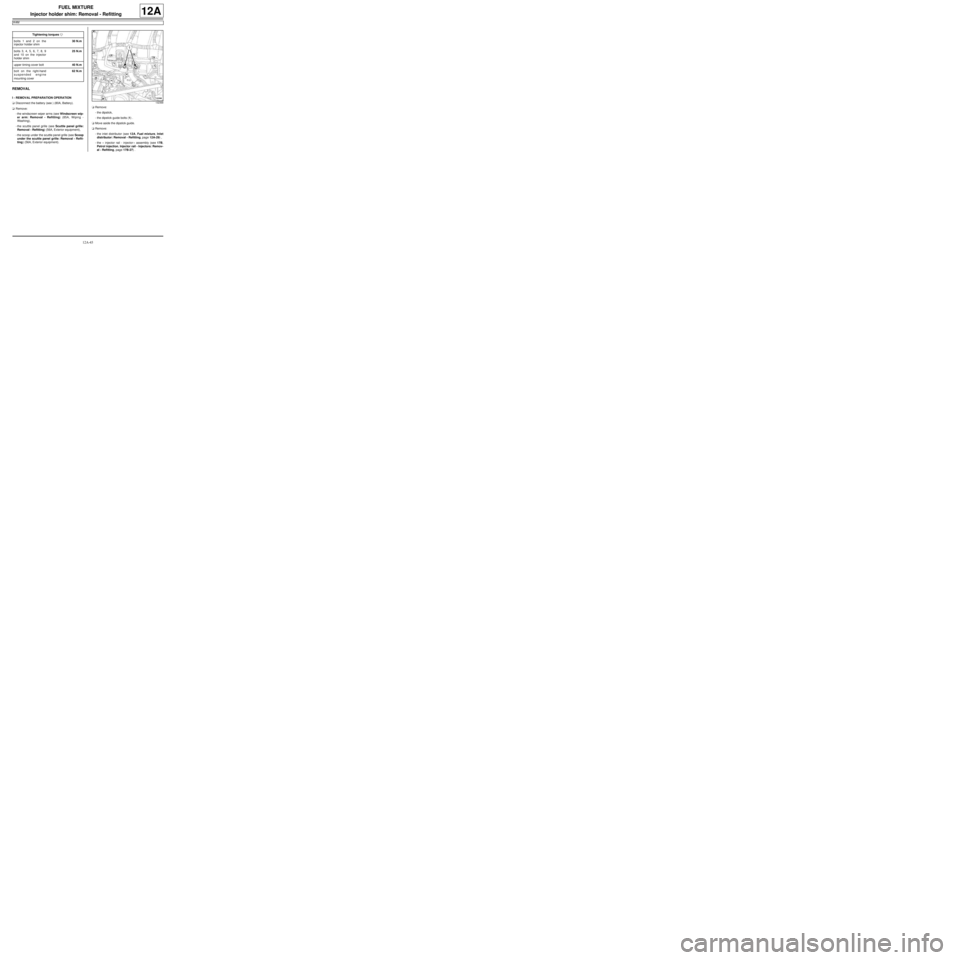
-the dipstick,
-the dipstick guide bolts (1) .
aMove aside the dipstick guide.
aRemove:
-the inlet distributor (see 12A, Fuel mixture, Inlet
distributor: Removal - Refitting, page 12A-29) ,
-the « injector rail - injector » assembly (see 17B,
Petrol injection, Injector rail - Injectors: Remov-
al - Refitting, page 17B-27) . Tightening torquesm
bolts 1 and 2 on the
injector holder shim30 N.m
bolts 3, 4, 5, 6, 7, 8, 9
and 10 on the injector
holder shim25 N.m
upper timing cover bolt40 N.m
bolt on the right-hand
suspended engine
mounting cover62 N.m
132368
Page 311 of 652
12A-46
FUEL MIXTURE
Injector holder shim: Removal - Refitting
K4M
12A
II - REMOVAL OPERATION
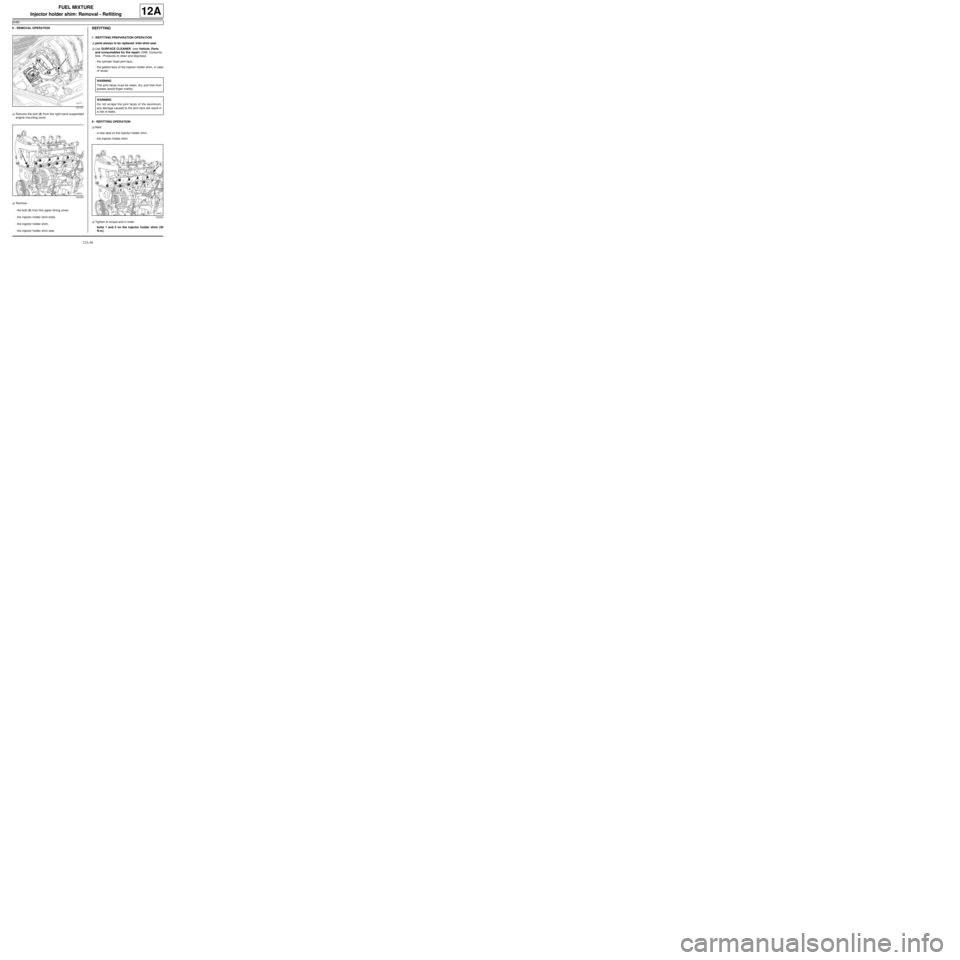
aRemove the bolt (2) from the right-hand suspended
engine mounting cover.
aRemove:
-the bolt (3) from the upper timing cover,
-the injector holder shim bolts,
-the injector holder shim,
-the injector holder shim seal.REFITTING
I - REFITTING PREPARATION OPERATION
aparts always to be replaced: Inlet shim seal.
aUse SURFACE CLEANER (see Vehicle: Parts
and consumables for the repair) (04B, Consuma-
bles - Products) to clean and degrease:
-the cylinder head joint face,
-the gasket face of the injector holder shim, in case
of reuse.
II - REFITTING OPERATION
aRefit:
-a new seal on the injector holder shim,
-the injector holder shim.
aTighten to torque and in order:
-bolts 1 and 2 on the injector holder shim (30
N.m),
131777
102303
WARNING
The joint faces must be clean, dr y and free from
grease (avoid finger marks).
WARNING
Do not scrape the joint faces of the aluminium,
any damage caused to the joint face will result in
a risk of leaks.
102303
Page 312 of 652
12A-47
FUEL MIXTURE
Injector holder shim: Removal - Refitting
K4M
12A
-bolts 3, 4, 5, 6, 7, 8, 9 and 10 on the injector
holder shim (25 N.m).
aTorque tighten:
-the upper timing cover bolt (40 N.m),
-the bolt on the right-hand suspended engine
mounting cover (62 N.m).
III - FINAL OPERATION
aRefit:
-the « injector rail - injector » assembly (see 17B,
Petrol injection, Injector rail - Injectors: Remov-
al - Refitting, page 17B-27) ,
-the inlet distributor (see 12A, Fuel mixture, Inlet
distributor: Removal - Refitting, page 12A-29) ,
-dipstick guide ,
-the dipstick,
-the scoop under the scuttle panel grille (see Scoop
under the scuttle panel grille: Removal - Refit-
ting) (56A, Exterior equipment),
-the scuttle panel grille (see Scuttle panel grille:
Removal - Refitting) (56A, Exterior equipment),
-the windscreen wiper arms (see Windscreen wip-
er arm: Removal - Refitting) (85A, Wiping -
Washing).
aConnect the battery (see ) (80A, Battery).
Page 313 of 652

12A-48
FUEL MIXTURE
Exhaust manifold: Removal - Refitting
D4F, and 772 – D7F
12A
REMOVAL
I - REMOVAL PREPARATION OPERATION
aPosition the vehicle on a two-post lift (see Vehicle:
Towing and lifting) (02A, Lifting equipment).
aRemove the nuts (1) from the exhaust flange.aRemove:
-the bolts (2) from the heat shield,
-the heat shield. Tightening torquesm
exhaust manifold studs
on the cylinder head10 N.m
exhaust manifold nuts25 N.m
121731
D4F
120301
Page 314 of 652
12A-49
FUEL MIXTURE
Exhaust manifold: Removal - Refitting
D4F, and 772 – D7F
12A
II - OPERATION FOR REMOVAL OF PART
CONCERNED
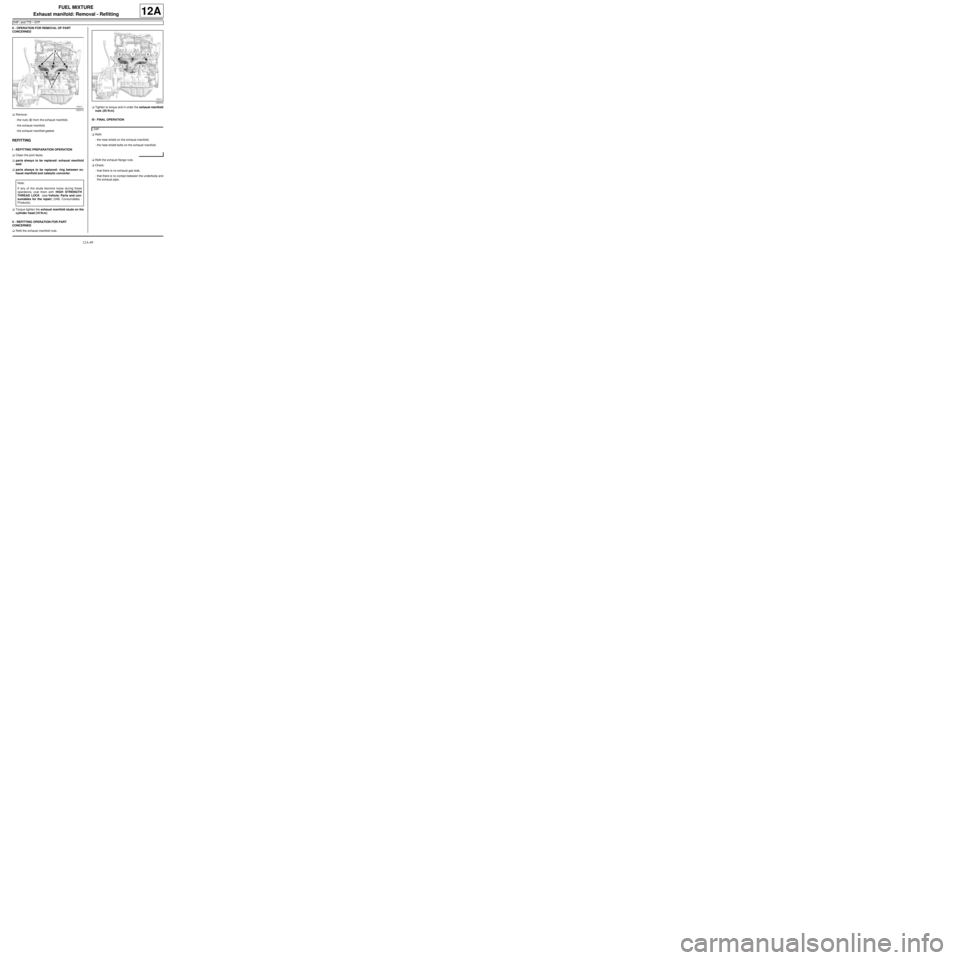
aRemove:
-the nuts (3) from the exhaust manifold,
-the exhaust manifold,
-the exhaust manifold gasket.
REFITTING
I - REFITTING PREPARATION OPERATION
aClean the joint faces.
aparts always to be replaced: exhaust manifold
seal.
aparts always to be replaced: ring between ex-
haust manifold and catalytic converter.
aTorque tighten the exhaust manifold studs on the
cylinder head (10 N.m).
II - REFITTING OPERATION FOR PART
CONCERNED
aRefit the exhaust manifold nuts.aTighten to torque and in order the exhaust manifold
nuts (25 N.m).
III - FINAL OPERATION
aRefit:
-the heat shield on the exhaust manifold,
-the heat shield bolts on the exhaust manifold.
aRefit the exhaust flange nuts.
aCheck:
-that there is no exhaust gas leak,
-that there is no contact between the underbody and
the exhaust pipe,
120312
Note:
If any of the studs become loose during these
operations, coat them with HIGH STRENGTH
THREAD LOCK (see Vehicle: Parts and con-
sumables for the repair) (04B, Consumables -
Products).
120312
D4F
Page 315 of 652
12A-50
FUEL MIXTURE
Exhaust manifold: Removal - Refitting
K9K
12A
REMOVAL
I - REMOVAL PREPARATION OPERATION
aPosition the vehicle on a two-post lift (see Vehicle:
Towing and lifting) (02A, Lifting equipment).
aDisconnect the battery (see ) (80A, Battery).
aRemove:
-the engine cover,
-the windscreen wiper arms (see Windscreen wip-
er arm: Removal - Refitting) (85A, Wiping -
Washing),
-the scuttle panel grille (see Scuttle panel grille:
Removal - Refitting) (56A, Exterior equipment),
-the scoop under the scuttle panel grille (see Scoop
under the scuttle panel grille: Removal - Refit-
ting) (56A, Exterior equipment),
-the air filter unit (see 12A, Fuel mixture, Air filter
unit: Removal - Refitting, page 12A-13) ,
-the EGR solenoid valve (see 14A, Antipollution,
Exhaust gas recirculation solenoid valve: Re-
moval - Refitting, page 14A-10) ,
-the lower engine tie-bar (see 19D, Engine mount-
ing, Lower engine tie-bar: Removal - Refitting,
page 19D-18) ,
-the catalytic converter (see 19B, Exhaust, Cata-
lytic converter: Removal - Refitting, page 19B-
12) ,
-the turbocharger (see 12B, Turbocharging, Tur-
bocharger: Removal - Refitting, page 12B-4) .aRemove:
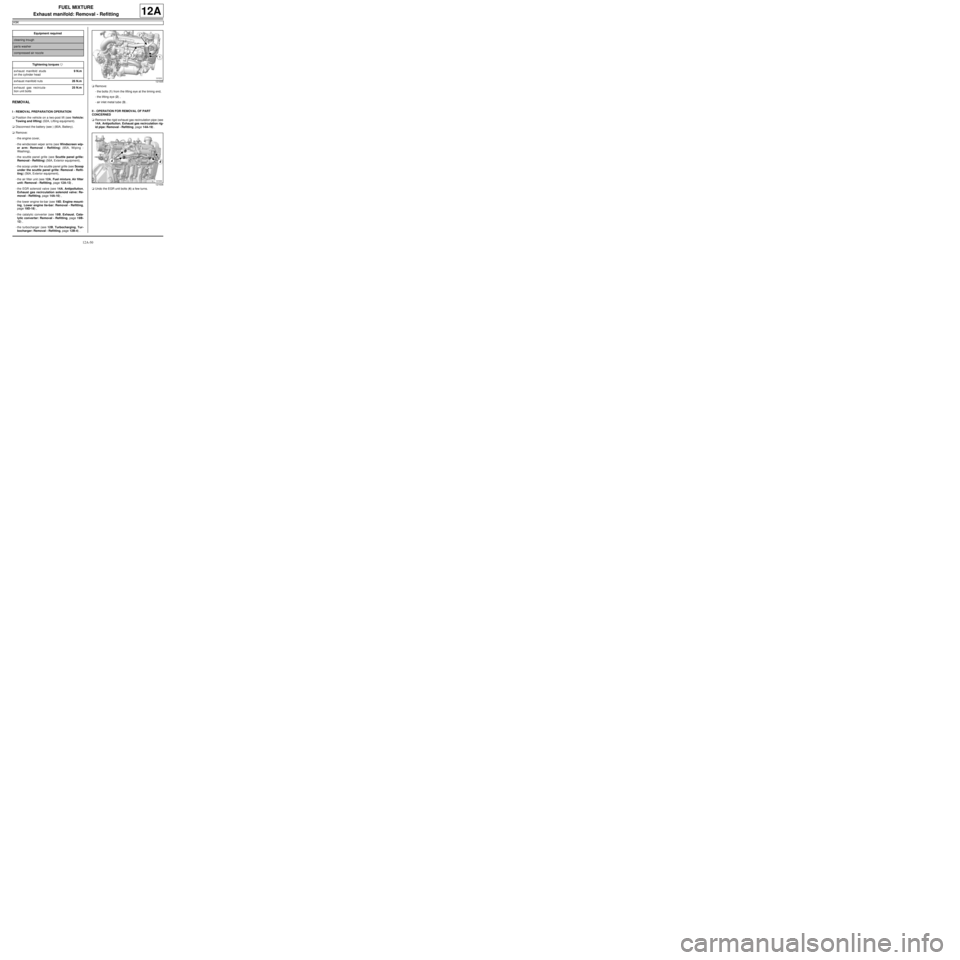
-the bolts (1) from the lifting eye at the timing end,
-the lifting eye (2) ,
-air inlet metal tube (3) .
II - OPERATION FOR REMOVAL OF PART
CONCERNED
aRemove the rigid exhaust gas recirculation pipe (see
14A, Antipollution, Exhaust gas recirculation rig-
id pipe: Removal - Refitting, page 14A-19) .
aUndo the EGR unit bolts (4) a few turns. Equipment required
cleaning trough
par ts washer
compressed air nozzle
Tightening torquesm
exhaust manifold studs
on the cylinder head9 N.m
exhaust manifold nuts26 N.m
exhaust gas recircula-
tion unit bolts25 N.m
121635
121636