fuel RENAULT TWINGO 2009 2.G Engine And Peripherals Manual Online
[x] Cancel search | Manufacturer: RENAULT, Model Year: 2009, Model line: TWINGO, Model: RENAULT TWINGO 2009 2.GPages: 652
Page 276 of 652
12A-11
FUEL MIXTURE
Air filter: Removal - Refitting
K9K, and 718 or 740
12A
REMOVAL
I - REMOVAL PREPARATION OPERATION
aRemove the air filter unit (see 12A, Fuel mixture,
Air filter unit: Removal - Refitting, page 12A-13) .
II - OPERATION FOR REMOVAL OF PART
CONCERNED
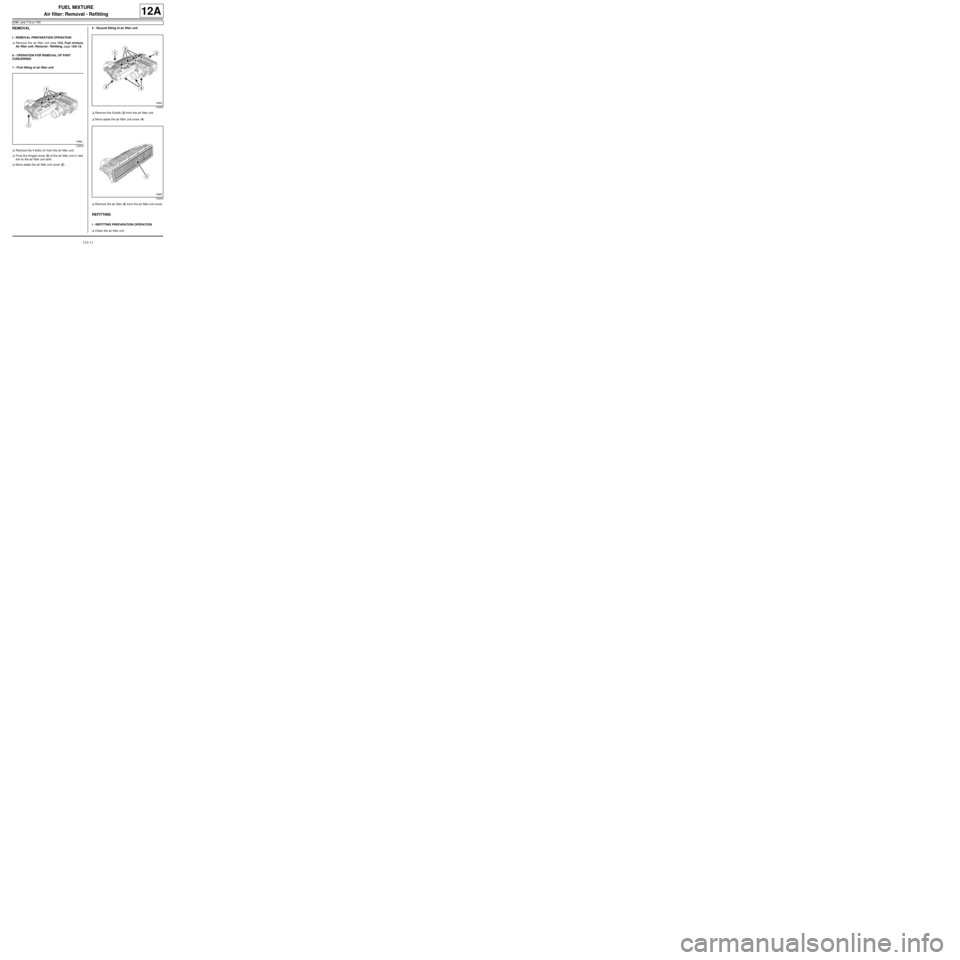
1 - First fitting of air filter unit
aRemove the 4 bolts (1) from the air filter unit.
aPivot the hinged cover (2) of the air filter unit in rela-
tion to the air filter unit tank.
aMove aside the air filter unit cover (2) .2 - Second fitting of air filter unit
aRemove the 9 bolts (3) from the air filter unit.
aMove aside the air filter unit cover (4) .
aRemove the air filter (5) from the air filter unit cover.
REFITTING
I - REFITTING PREPARATION OPERATION
aClean the air filter unit.
132602
132602
132605
Page 277 of 652
12A-12
FUEL MIXTURE
Air filter: Removal - Refitting
K9K, and 718 or 740
12A
II - REFITTING OPERATION FOR PART
CONCERNED
aRefit the air filter in the air filter unit cover.
aFit the air filter unit cover.
III - FINAL OPERATION
aRefit the air filter unit (see 12A, Fuel mixture, Air fil-
ter unit: Removal - Refitting, page 12A-13) . WARNING
If the air filter is fitted incorrectly in the air filter
unit, unfiltered air may enter the engine and
cause the engine to malfunction.
Page 278 of 652
12A-13
FUEL MIXTURE
Air filter unit: Removal - Refitting
D4F, and 772
12A
REMOVAL
I - REMOVAL PREPARATION OPERATION
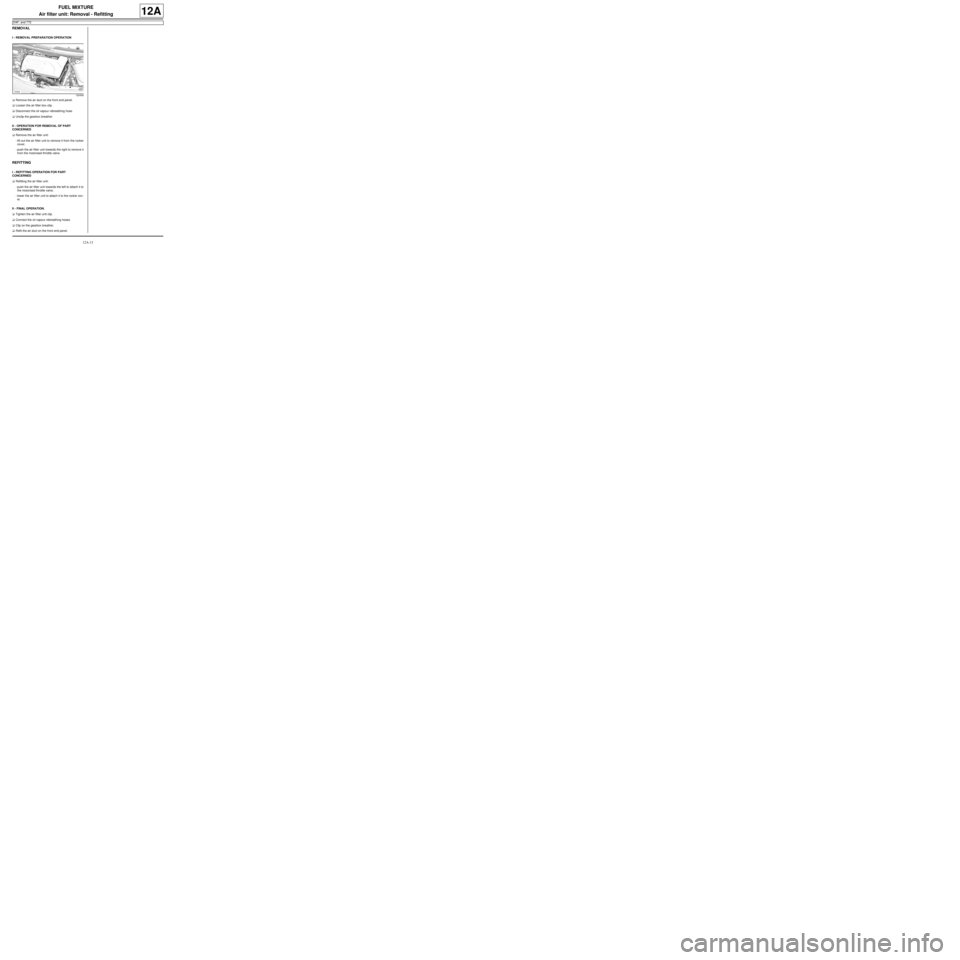
aRemove the air duct on the front end panel.
aLoosen the air filter box clip .
aDisconnect the oil vapour rebreathing hose.
aUnclip the gearbox breather.
II - OPERATION FOR REMOVAL OF PART
CONCERNED
aRemove the air filter unit:
-lift out the air filter unit to remove it from the rocker
cover,
-push the air filter unit towards the right to remove it
from the motorised throttle valve.
REFITTING
I - REFITTING OPERATION FOR PART
CONCERNED
aRefitting the air filter unit:
-push the air filter unit towards the left to attach it to
the motorised throttle valve,
-lower the air filter unit to attach it to the rocker cov-
er.
II - FINAL OPERATION.
aTighten the air filter unit clip.
aConnect the oil vapour rebreathing hoses.
aClip on the gearbox breather.
aRefit the air duct on the front end panel.
120409
Page 279 of 652
12A-14
FUEL MIXTURE
Air filter unit: Removal - Refitting
K9K
12A
REMOVAL
I - REMOVAL PREPARATION OPERATION
aRemove the front engine cover.
II - OPERATION FOR REMOVAL OF PART
CONCERNED
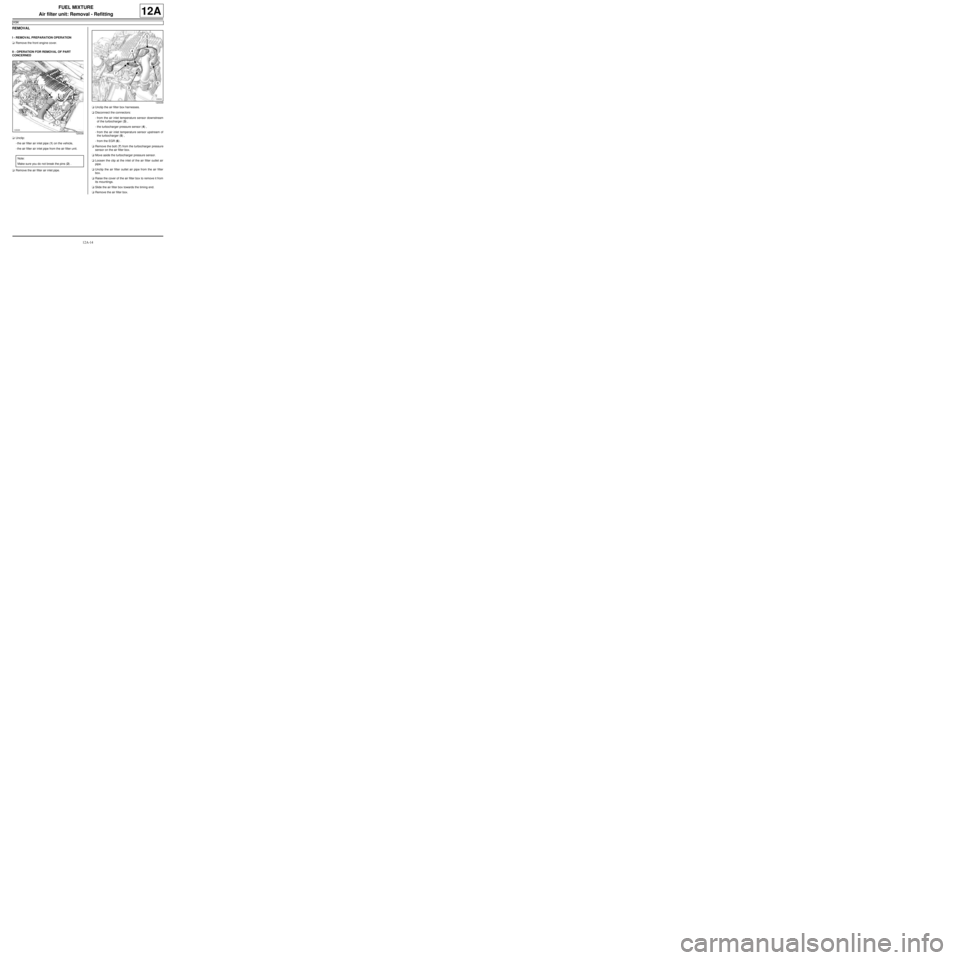
aUnclip:
-the air filter air inlet pipe (1) on the vehicle,
-the air filter air inlet pipe from the air filter unit.
aRemove the air filter air inlet pipe.aUnclip the air filter box harnesses.
aDisconnect the connectors:
-from the air inlet temperature sensor downstream
of the turbocharger (3) ,
-the turbocharger pressure sensor (4) ,
-from the air inlet temperature sensor upstream of
the turbocharger (5) ,
-from the EGR (6) .
aRemove the bolt (7) from the turbocharger pressure
sensor on the air filter box.
aMove aside the turbocharger pressure sensor.
aLoosen the clip at the inlet of the air filter outlet air
pipe.
aUnclip the air filter outlet air pipe from the air filter
box.
aRaise the cover of the air filter box to remove it from
its mountings.
aSlide the air filter box towards the timing end.
aRemove the air filter box.
120038
Note:
Make sure you do not break the pins (2) .
120039
Page 280 of 652
12A-15
FUEL MIXTURE
Air filter unit: Removal - Refitting
K9K
12A
REMOVAL
I - REFITTING OPERATION FOR PART
CONCERNED
aSlide the air filter box towards the gearbox side.
aCheck the condition of the air filter box mountings,
replace them if necessary.
aClip:
-the air filter box onto its mountings,
-the air filter air outlet pipe to the air filter.
aTighten the air pipe clip on the air filter outlet.
aRefit the air filter air inlet pipe on the vehicle.
aPosition the turbocharger pressure sensor on the air
filter box.
aRefit the bolt mounting the turbocharger pressure
sensor on the air filter box.
aConnect the connectors:
-of the inlet air temperature sensor,
-of the turbocharging pressure sensor,
-of the flow sensor,
-of the EGR.
aClip on the air filter box harnesses.
aClip the air filter inlet air pipe to the air filter box.
II - FINAL OPERATION.
aRefit the engine cover.Note:
Ensure that the centring lug of the box is fully
inserted in the cylinder head.
Page 281 of 652
12A-16
FUEL MIXTURE
Air filter unit: Removal - Refitting
D7F
12A
PARTS AND CONSUMABLES FOR THE
REPAIR WORK
aParts always to be replaced :
-the air filter.
REMOVAL
I - REMOVAL PREPARATION OPERATION
aRemove the anti-interference wire bolt.
aDisconnect the ignition coil connector (1) .
aRemove the ignition coil bolts (2) .
aMove aside the ignition coil.
aRemove the air filter box cover (3) .II - OPERATION FOR REMOVAL OF PART
CONCERNED
aDisconnect:
-the non-return valve pipe on the brake servo,
-the petrol vapour rebreather pipe union from the in-
take distributor.
aMove aside the air filter box air inlet duct.
aUndo the air filter box air outlet duct clip.
aRemove the air filter box air outlet duct.
aUnclip the air filter box elastic straps.
aRemove:
-the air filter box,
-the air filter from the air filter unit.
REFITTING
I - REFITTING PREPARATIONS OPERATION
If reusing the air filter box
aUse a compressed air nozzle to clean the air filter
housing to get rid of any foreign bodies.
II - REFITTING OPERATION FOR PART
CONCERNED
aRefit the air filter box fitted with a new seal.
aClip on the air filter box elastic straps.
aRefit the air filter box air outlet duct.
aTighten the air filter box air outlet duct clip.
aRefit the air filter box air inlet duct.
aConnect:
-the non-return valve pipe on the brake servo,
-the petrol vapour rebreather pipe union from the in-
take distributor.
III - FINAL OPERATION.
aFit the ignition coil.
aRefit the ignition coil bolts.
aConnect the connector of the ignition coil.
aRefit the anti-interference wire bolt. Equipment required
compressed air nozzle
120404
Page 282 of 652
12A-17
FUEL MIXTURE
Air filter unit: Removal - Refitting
D4F, and 780 or 782
12A
REMOVAL
I - REMOVAL PREPARATION OPERATION
aDisconnect the air inlet pipe from the air filter unit (1)
.
aMove aside the air inlet pipe from the air filter unit.
aUnclip the wiring (2) from the oxygen sensor up-
stream of the air filter unit.
aRemove the bolts (3) from the air filter unit.
aLoosen the clip (4) on the air filter unit air outlet pipe
by gently moving it away from the air filter unit.
aDisconnect the air filter unit air outlet pipe from the
air filter unit.
II - OPERATION FOR REMOVAL OF PART
CONCERNED
aRemove the air filter unit.
REFITTING
I - REFITTING OPERATION FOR PART
CONCERNED
aRefit the air filter unit.II - FINAL OPERATION
aConnect the air filter unit air outlet pipe to the air filter
unit.
aTighten the clip of the air filter unit air outlet pipe on
the air filter unit.
aRefit the air filter unit bolts.
aClip the upstream oxygen sensor wiring onto the air
filter unit.
aRefit the air filter unit air inlet pipe.
122395
Note:
Position the air filter unit centring pin in the slot
provided for it.
Page 283 of 652
12A-18
FUEL MIXTURE
Air filter unit: Removal - Refitting
K4M
12A
REMOVAL
REMOVAL OPERATION
aLoosen the clip (1) of the air outlet pipe on the air fil-
ter unit.
aDisconnect the air outlet pipe from the air filter unit.
aMove aside the air filter unit in the order of the ar-
rows.
aDisconnect the air inlet pipe from the air filter unit.
aRemove the air filter unit.
REFITTING
REFITTING OPERATION
aConnect the air inlet pipe to the air filter unit.
aRefit the air filter unit.
aConnect the air outlet pipe of the air filter unit.
aTorque tighten the clip of the air outlet pipe on the
air filter unit3 (.5 N.m). Tightening torquesm
clip of the air outlet pipe
on the air fi lter unit3.5 N.m
131778
Page 284 of 652
12A-19
FUEL MIXTURE
Air resonator: Removal - Refitting
K4M
12A
REMOVAL
I - REMOVAL PREPARATION OPERATION
aPosition the vehicle on a two-post lift (see Vehicle:
Towing and lifting) (02A, Lifting equipment).
aRemove:
-the engine undertray,
-the front left-hand wheel (see Wheel: Removal -
Refitting) (35A, Wheels and tyres),
-the front left-hand wheel arch liner (see Front
wheel arch liner: Removal - Refitting) (55A, Ex-
terior protection).
II - REMOVAL OPERATION
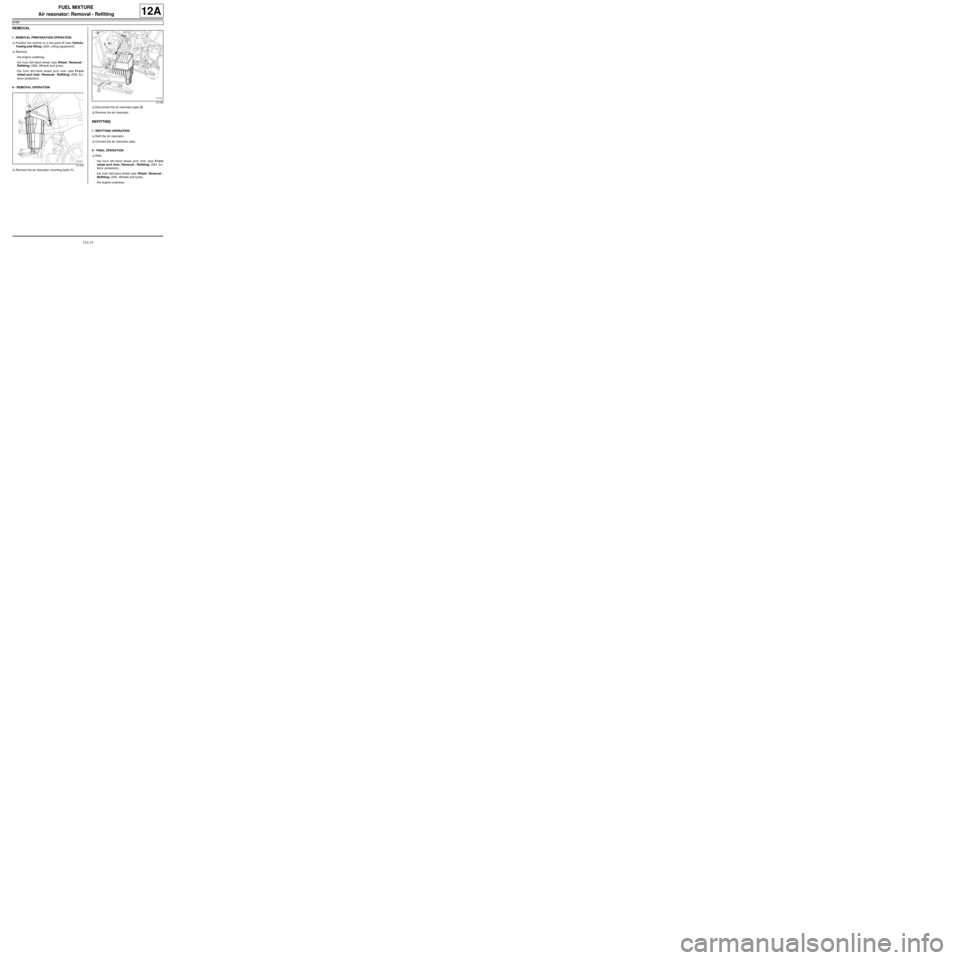
aRemove the air resonator mounting bolts (1) .aDisconnect the air resonator pipe (2) .
aRemove the air resonator .
REFITTING
I - REFITTING OPERATION
aRefit the air resonator.
aConnect the air resonator pipe.
II - FINAL OPERATION
aRefit:
-the front left-hand wheel arch liner (see Front
wheel arch liner: Removal - Refitting) (55A, Ex-
terior protection),
-the front left-hand wheel (see Wheel: Removal -
Refitting) (35A, Wheels and tyres),
-the engine undertray.
131764
131765
Page 285 of 652
12A-20
FUEL MIXTURE
Throttle valve: Removal - Refitting
D4F, and 772
12A
REMOVAL
I - REMOVAL PREPARATION OPERATION
aDisconnect the battery (see Battery: Removal - Re-
fitting) (80A, Battery).
aRemove the air filter unit (see 12A, Fuel mixture,
Air filter unit: Removal - Refitting, page 12A-13) .
II - OPERATION FOR REMOVAL OF PART
CONCERNED
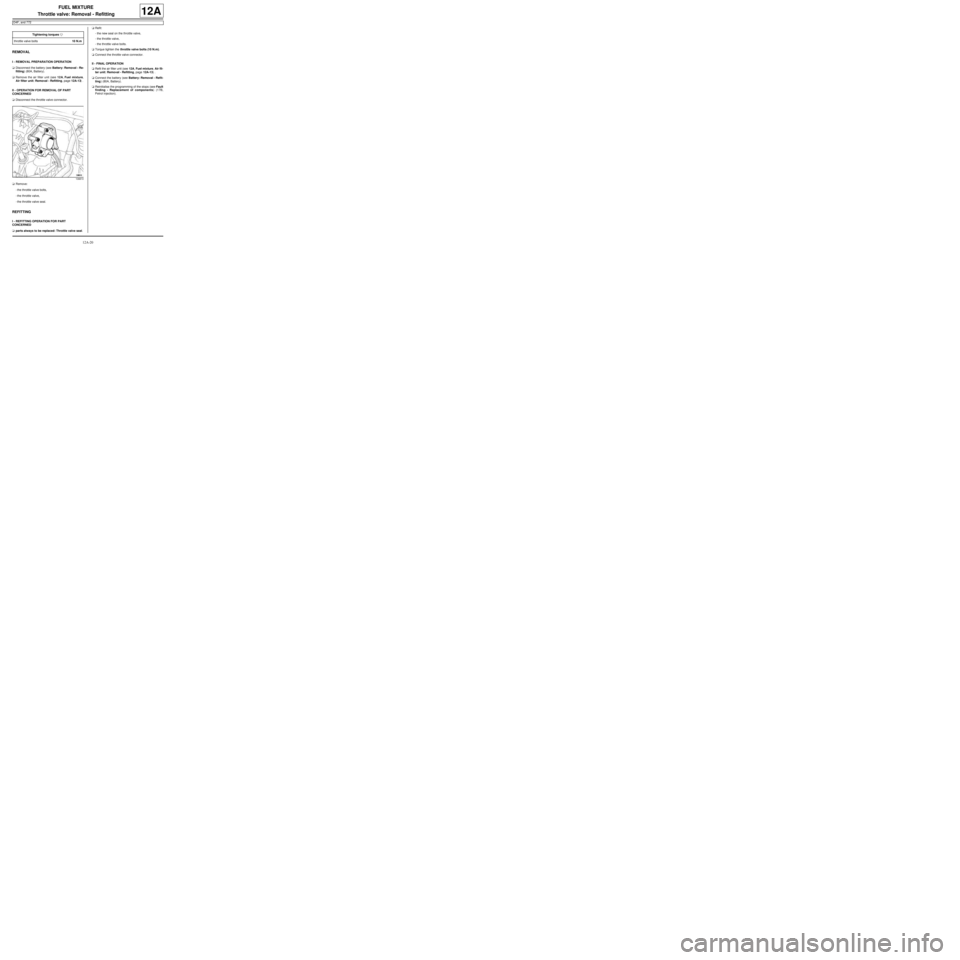
aDisconnect the throttle valve connector.
aRemove:
-the throttle valve bolts,
-the throttle valve,
-the throttle valve seal.
REFITTING
I - REFITTING OPERATION FOR PART
CONCERNED
aparts always to be replaced: Throttle valve seal.aRefit:
-the new seal on the throttle valve,
-the throttle valve,
-the throttle valve bolts.
aTorque tighten the throttle valve bolts (10 N.m).
aConnect the throttle valve connector.
II - FINAL OPERATION
aRefit the air filter unit (see 12A, Fuel mixture, Air fil-
ter unit: Removal - Refitting, page 12A-13) .
aConnect the battery (see Battery: Removal - Refit-
ting) (80A, Battery).
aReinitialise the programming of the stops (see Fault
finding - Replacement of components) (17B,
Petrol injection). Tightening torquesm
throttle valve bolts10 N.m
108810